Building a Cedar Strip Canoe
Article #21, Published October 12, 2017 by Elijah Wasson
A quote for the read:
"I've always wanted to sail around the world in a handmade boat, and I built a boat."
— Will Ferrell
Sorry for the length of this post, building a canoe is a big process!
I’ve always wanted to build some type of a boat by hand. I don’t know why. I guess it just feels like you haven’t passed a step in life yet until you’ve build a boat. So I looked online for tutorials and such and found plans for a 16-foot Prospector cedar strip canoe. It was without a doubt a big project to take on, especially being my first time ever building such a big and complicated thing. It’s also a huge investment, money and time-wise.
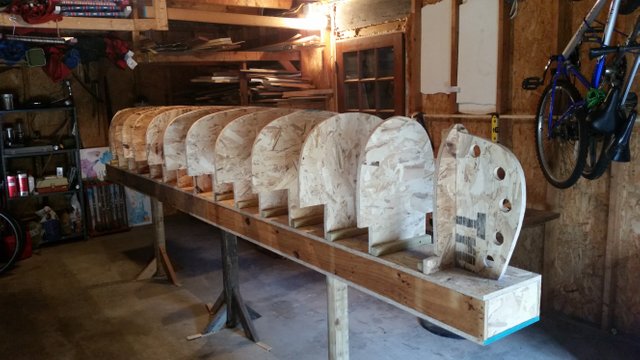
While I was waiting for my plans to be shipped, I began to build the base upon which the canoe is build. This is called the strongbox. Essentially it’s just a 15’ 1” long box on legs that the frames will be attached to. This was by far the strongest box I have ever built.
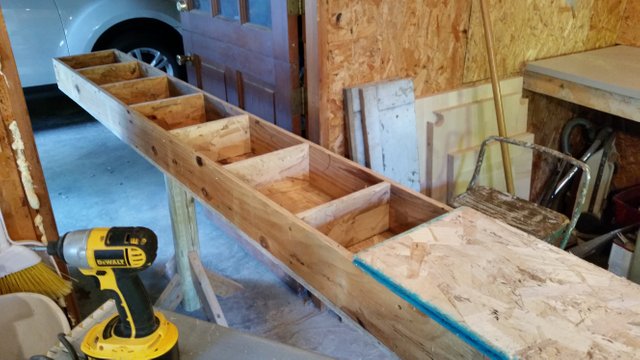
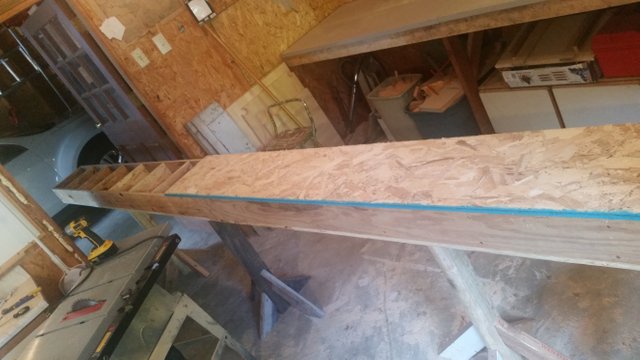
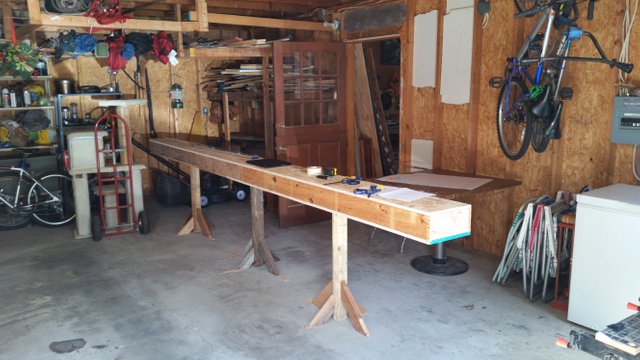
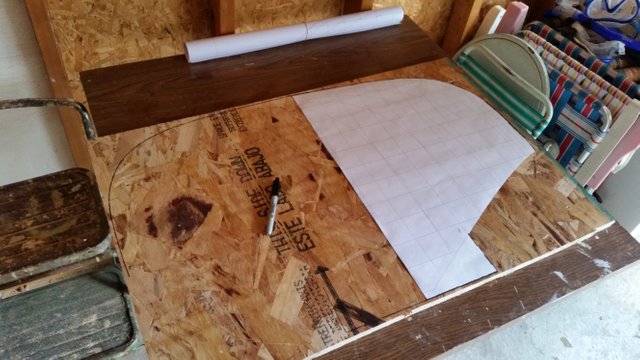
After the plans arrived and the strongbox was finished, I began cutting out and tracing the plans onto more plywood. Then I went ahead and sawed out each of the 17 frames. This was very boring and repetitive. I was definitely happy to be done with this daunting yet crucial step after attaching them to the strongbox.
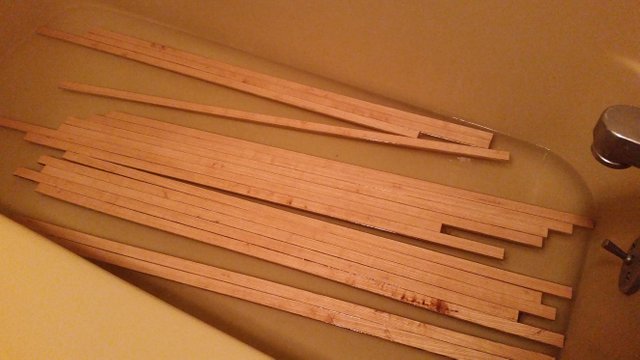
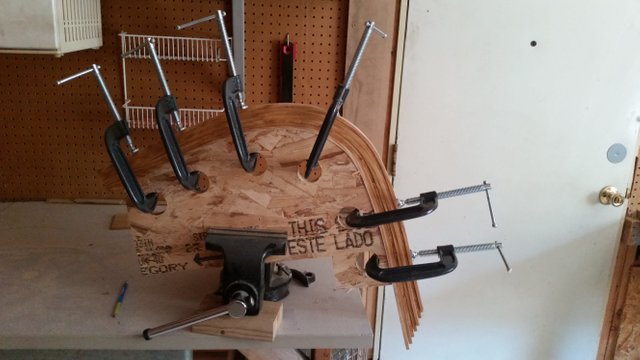
Next came the stems – the very ends of the canoe. These were made from white ash which I striped down. These required to be bent around the stem frame. To do this I soaked the strips in hot water overnight and then bent them around the stem frame and allowed them to dry in this shape for about a week. The stems have two parts: the inner and outer. When everything was nice and dry and took the inner strips off the frame and sanded the heck out of them to create a running-bevel upon which the cedar strips from the canoe will run along. The outer stem hides the end of the cedar strips… it’s easier to understand this when you see the pictures.
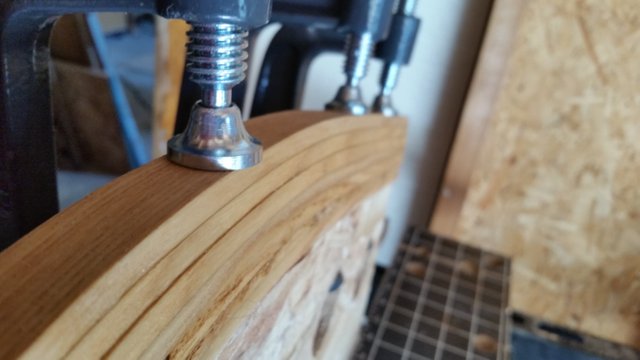
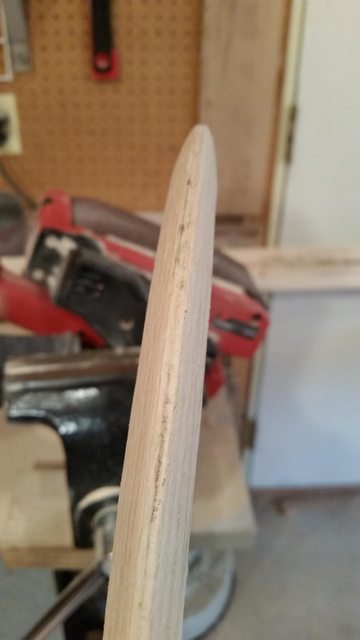
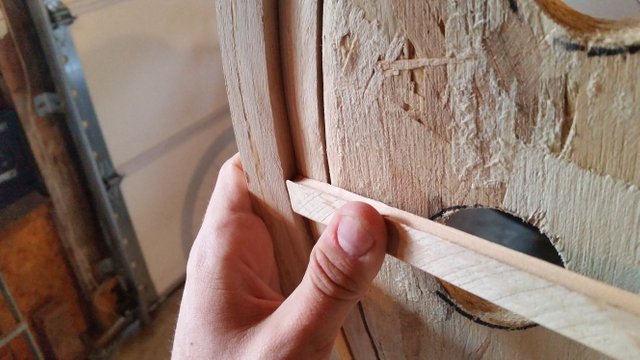
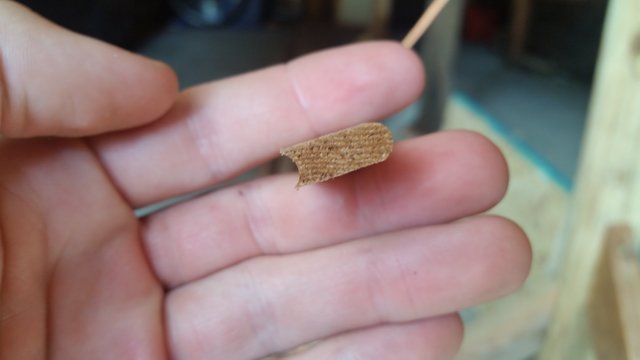
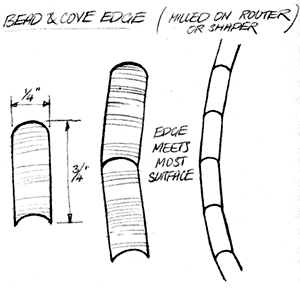
And finally the most time-consuming step: the striping and routing of the cedar boards. Long story short, we cut down the 16’ cedar boards down to 93 ¾” x ¼” strips. Then we routed a ‘bead & cove’ onto each of them. This type of routing allows for each strip to be able to turn in the one it’s attached to without showing any gap. The diagram below demonstrates this better.
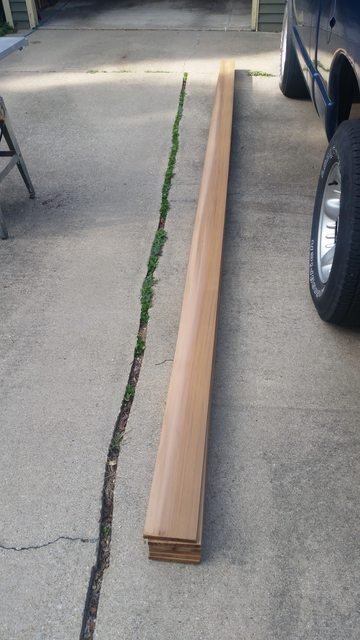
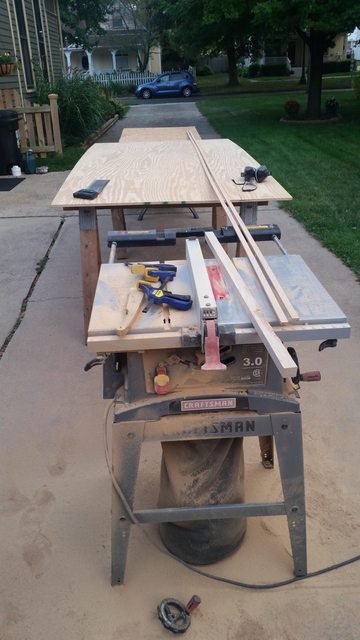
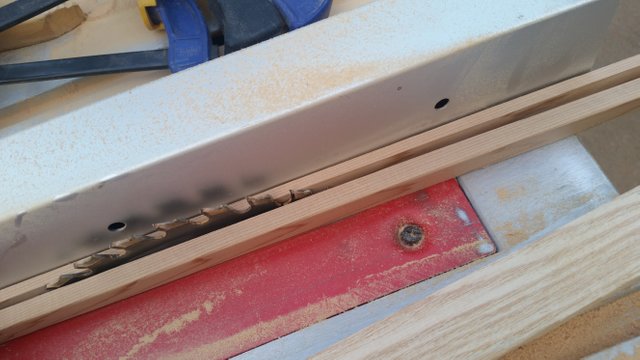
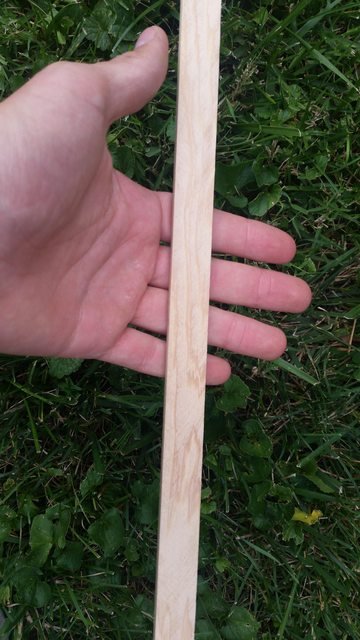
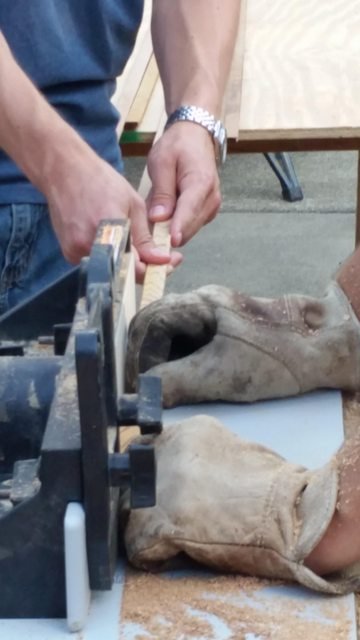
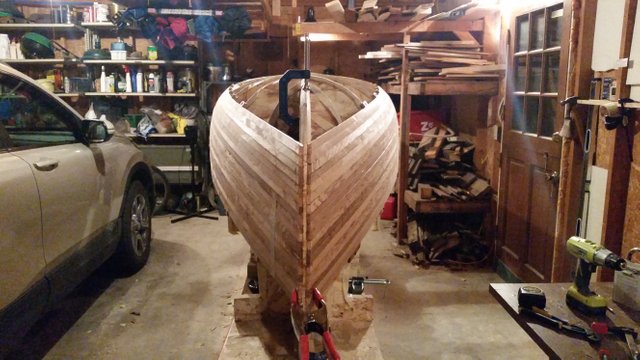
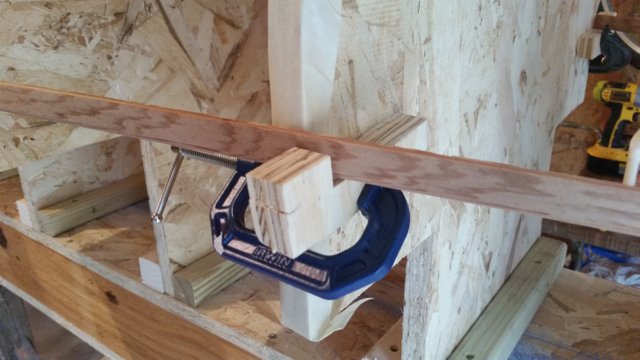
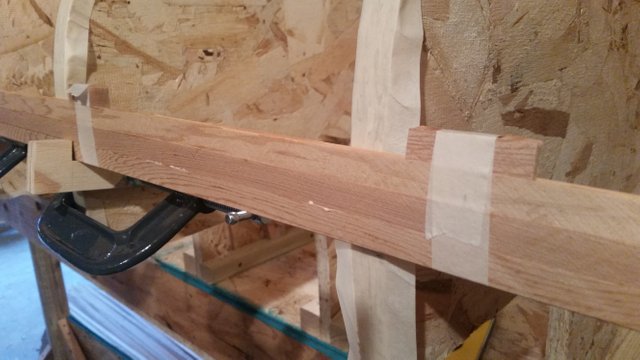
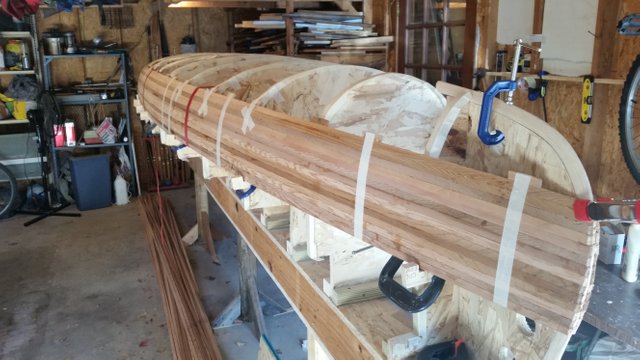
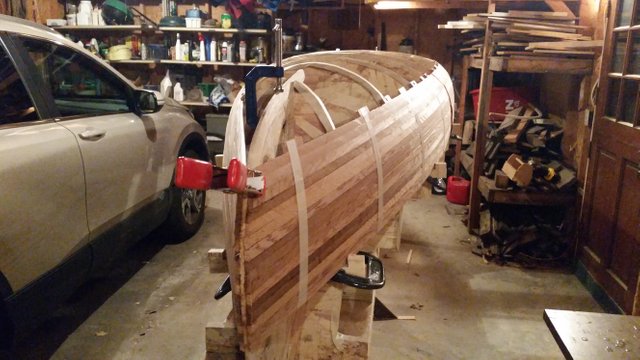
Now, I need to say that I have not finished the canoe yet. This next part is as far as I’ve gotten. Putting the strips together around the frames was pretty exciting after doing all of this work preparing. Basically I just glue a few strips together, put them around the frame, and let the glue dry for about and hour and then repeat. It’s really starting to look like a canoe now!



I'm a 16-year-old junior in high school. I've figured out that Steemit is a great way to express my feelings about certain topics and get paid for it! I like to start all my articles with a quote to get the reader to understand the 'feeling' of the article before they start reading it.
See more of my posts here!
You did such a great job. It's a thing of beauty you've made there. Thanks for taking the time to document it... goes to show how a vision, goals, and regular work to make it happen can do great things. Congratulations!
Thanks! I still have a LONG ways to go yet...