Adventures in 3D Printing: Purchase and Print....
The Purchase
Being a 'tech' guy, i am always looking for new toys to play with. 3d printing has always interested me so i decided to take the plunge and buy myself a printer. I had a few criteria the printer had to meet.....
- Affordable.
- No assembly.
- Reasonable reviews.
After many hours of internet research i found the Wanhao Duplicator I3 Mini. This little printer checked all the boxes.
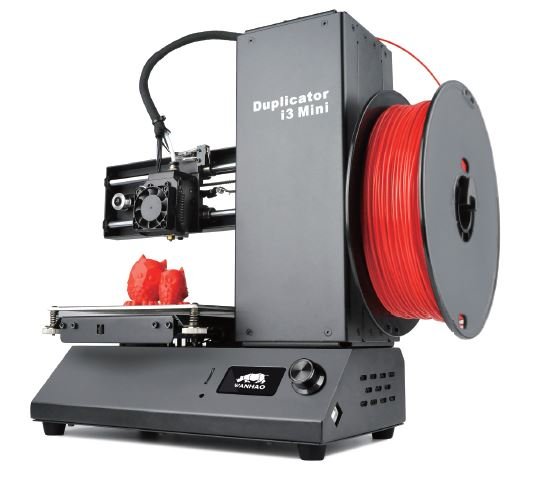
Here is an extract of the printers description...
"The Duplicator i3 Mini is the latest derivative in the very popular i3 range of 3D Printers.
The Mini has a smaller build size than the standard i3, but still large enough for most projects. The printer comes almost fully assembled and will be ready to print within minutes after unboxing.
Like all of our 3D printers, the Duplicator i3 Mini uses an open material system, which means you are not limited in your choice of materials. Filament is supplied on open spools and not in proprietary cartridges or spools marked with NFC tags which generally cost 3 or 4 times that of standard materials."
So the order was placed and while i waited i downloaded the splicing software 'Cura for Wanhao' (a program that takes a 3d model and converts it into language the printer understands) and set up the printer settings (this was done by watching a few Youtube videos).
Arrival and Print
The day finally arrived and a large parcel was delivered to my door. Time to unbox!
First impressions were the printer has an excellent build quality and all i have to do is attach the spool holder. Easy. This printer is almost a plug and play setup!
The printer includes a 16gig micro sd as well.
I downloaded the BabyGroot model from Thingiverse (https://www.thingiverse.com/thing:2014307) and loaded it into the splicing software and exported the gcode to the micro sd.
Before i can start printing a few steps are needed to prepare the printer for print.
1 Add the filament
2 Level the print bed
3 Apply some glue stick to the print bed to help with adhesion.
Ready lets go....
Groot is split into 2 parts, the body and head. I printed the body first. 5 hours later the printer finished.
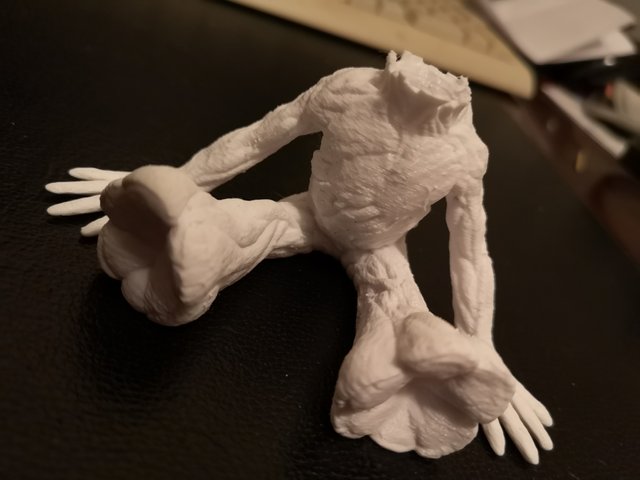
Another 5 hours i got the head and put the pieces together.
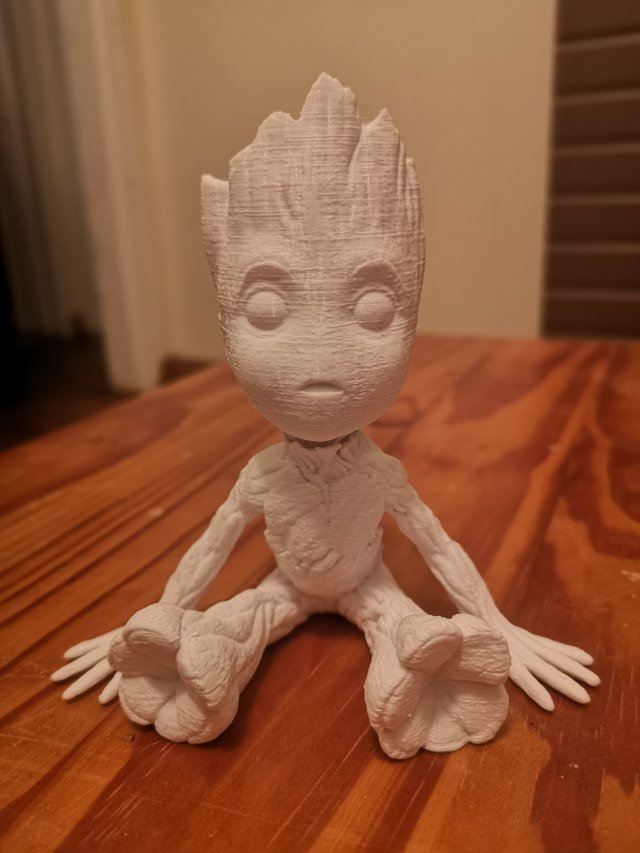
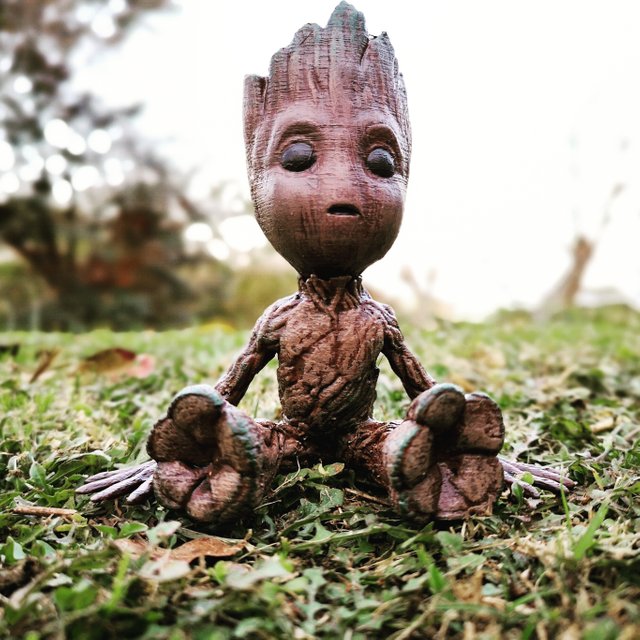
The last step was apply some paint and i am very pleased with the results.
Conclusion
This printer exceeded my expectations in both quality and simplicity.
3d printing is no longer out of reach and comes in at an affordable price. Even at this low end price range, the prints are good and with only a small amount of research, the basics of 3d printing is easily learnt.
If this interests you, dive in and please share your experiences with this amazing technology.
Happy printing.
CONGRATULATIONES