Learnwithsteem : Teaching robotics using the ESP32 board - First lesson

Hi steemians,
Today, I'm starting a new series with several articles to teach ESP32 robotic board programming, and I'll try to give you an experience I've had this year with my students as part of my high school programming subject. I also wish you a good training and feel free to interact with the content by leaving your valuables comments.
What is a programmable card?
It is a card on which electronic components, including one or more microcontrollers, are integrated. The microcontroller enables the card to be controlled using a computer program. This program can be written in different programming languages, because without a program it cannot work. To do this, you must connect your card to a computer to insert a program into it, so that you can use it independently.
Examples of Programmable Cards:

Presentation of the ESP32 board:
The ESP32, like all microcontroller boards, lets you control the system interactively from the program you define and store in its memory. It has a fairly complete connectivity.
It is developed by Espressif Company, distinguished by its low cost compared to other cards that have used the Internet of Things (IoT) and embedded applications. It is a system on chip (SoC) with Wifi and Bluetooth wireless connections.

Comparison of specifications of ESP32 Vs Microbit Vs Arduino uno:
| Number of processors | 2 | 1 | 1 |
| Architecture | 32 bit | 32 bit | 8 bit |
| µcontroller | ESP32 Devkit V1 | nRF51822 | ATmega 328P |
| frequency | 240MHz | 16MHz | 16MHz |
| RAM | 320 KB | 16 KB | 2 KB |
| flash | 16 MB | 256 KB | 32 KB |
| Wi-Fi | YES | NO | NO |
| Bluetooth | YES | YES | NO |
| GPIO pins | 36 | 25 | 14 |
| UV | 2.7~3.6V | 3V | 5V |
The pins of the ESP32 card:
Pins or GPIO (GPIO ports (General Purpose Input/Output) are input-output ports widely used in the microcontroller area).
You can assign several functions to the same pin, thanks to the multiplexing circuit of the ESP32 card. You can choose the role of a pin (UART, I2C, SPI) by programming it.

Install ESP32 driver:
After connecting the card to the USB port, Windows detects "CP2102 USB To UART Bridge Controller".
You need to download the driver at the following link: Link
Unzip the CP210x_Windows_Drivers.zip file then run the file corresponding to your 32 bit or 64 bit architecture: CP210xVCPinstaller.exe
Follow the installation steps:
Let install the driver

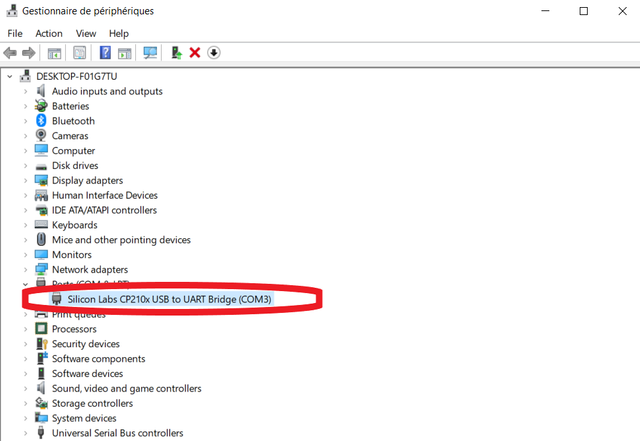
- Installation of the driver completed on the COM3 in our case, and you can check that the driver is installed in the device manager:
Configuring the ESP32 board and installing MicroPython:
Download the latest version of ESP32 Firmware from the following link: http://micropython.org/download#esp32
Download the latest version of the Python interpreter from the link:
Link and install it by activating the "Add Python to Path" optionDownload the latest Python Thonny IDE editor version from the link: Thonny and install it
Launch Thonny, set the Python interpreter to MicroPython (ESP32), fix the com port of the ESP32 card then flash it with the Firmware file (.bin) already downloaded by pressing "install" then the "Boot" button on the ESP32 card.
Micro-Python installation (Flashing ESP module) and here are the steps in pictures:

ESP32 test in Thonny:
After flashing the ESP32 board by Micropython firmware:
Connect the ESP32 card to the USB port of the PC then run Thonny
Open the "Tools" menu then "Options" then choose the "Interpreter" tab finally define the "MicroPython (Esp32)" interpreter and the corresponding port finally click on "Ok"
The command prompt >>> appears and you can now type Micropython commands
Restart the map by the command
 machine import
 machine.reset()
or by pressing the "EN" Enable button on the "ESP32" card
- Booting the board and displaying the installed Micropython firmware
First application: Flashing LED using Thonny on the ESP32 board
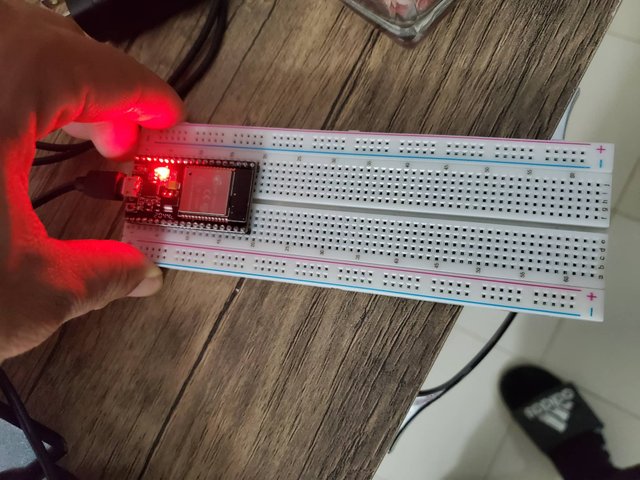
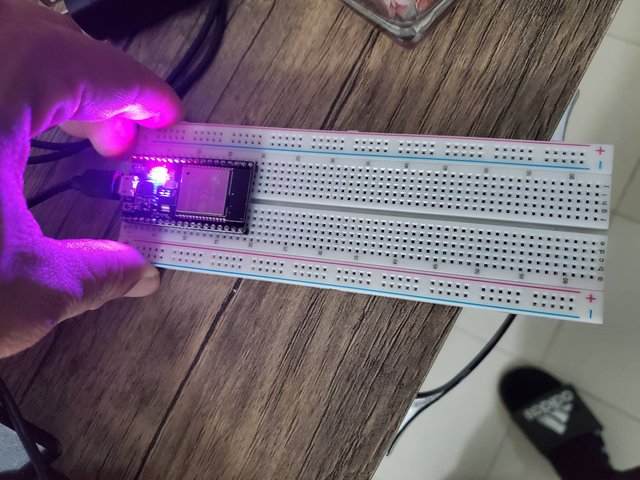
Flash the LED incorporated in the ESP32 card with a period of 0.5 seconds. (Knowing that the LED is connected to pin 2)
Start by creating a new file: File-> New or Type "Ctrl+N"
Enter the following code:
 from machine import Pin # import Pin class from “machine” library
 from time import sleep # import sleep class from “time” library
 led = Pin(2, Pin.OUT) # set pin 2 as output
 while True: # repeat forever
 led.value(1) # Turn on the LED diode    or: led.on( )
 sleep(1) # Wait 1 second
 led.value(0) # turn off the LED diode     or: led.off( )
 sleep(1) # Wait 1 second
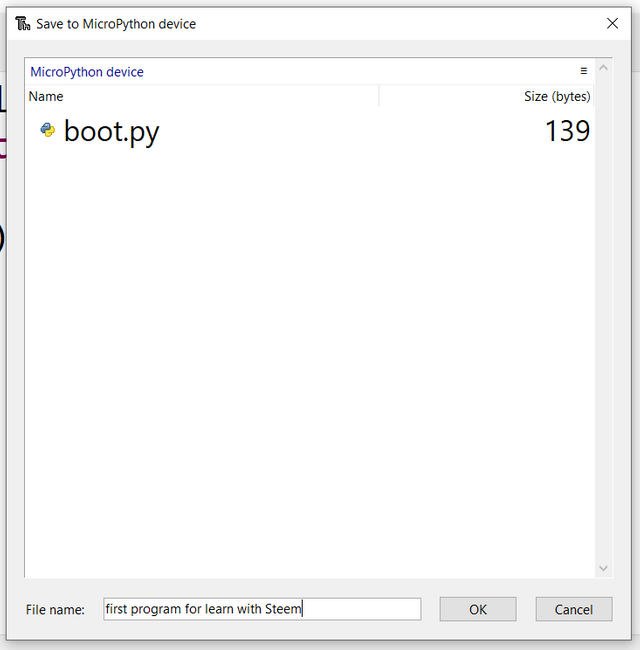
Save the file: file -> save as -> Save or click on the "Save" button
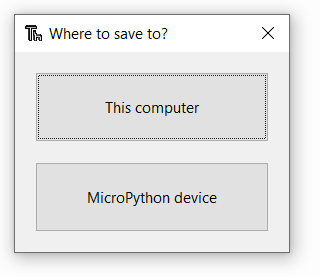
- Choose "This computer" or "MicroPython device" to save directly to the ESP32 board.
- Choose the main name then click on the "Ok" button
Note: -In the "MicroPython device" folder, there is by default "boot.py" which loads when the ESP32 board starts and allows you to set the configuration options.
-It is recommended to write the main code to be executed in a "main.py" file to be executed immediately after "boot.py".
- To run the code, just click on the "Run the current script" button (F5)
Note: You have to stop the execution (Ctrl+F2), before you can save again on the ESP32 board.
The result in pictures:
On video :
https://www.youtube.com/shorts/6Szmz7DMVFE



It is a card on which electronic components, including one or more microcontrollers, are integrated. The microcontroller enables the card to be controlled using a computer program. This program can be written in different programming languages, because without a program it cannot work. To do this, you must connect your card to a computer to insert a program into it, so that you can use it independently.
This is huge, but Sade to say I am lost because my IQ on programming is low, but this post has given me idea on card programming. On the whole it's so nice to have you here @kouba01
You can folow the next parts to more understand its use and improve your knowledge on programming.Thank you
Thanks I'll not miss it
You've got a free upvote from witness fuli.
Peace & Love!
Thank you for contributing to #LearnWithSteem theme. This post has been upvoted by @fabio2614 using @steemcurator09 account. We encourage you to keep publishing quality and original content in the Steemit ecosystem to earn support for your content.
Regards,
Team #Sevengers
Hello, @kouba01. Your article has been supported using the @steemcurator05 account.
Hello friend, this topic is very interesting. Your explanation is very good and detailed, I congratulate you and I wish you much success.