Install Wordpress Locally On Your System
For the past several weeks I have been working on developing an online literary journal for The Writers' Block - the premier fiction writing community right here on Steem. This will serve as both a proof of concept and testing ground for our eventual finished product that our dev team will code for us. I have been building it in Wordpress and looked for ways to optimize my workflow. As such, I investigated installing Wordpress to my PC. Here I will document how to do it. But first, some reasons why you might want to.
Why local?

Source
Firstly, speed. Consider this scenario: you want to make changes to how a page looks or functions. Normally you go into your admin page, change some settings, click buttons and wait for the instructions to be sent to your hosted site. The site updates, you click to preview, it's not quite looking right so you rinse and repeat. Each section you open in the admin area takes a second or two to load. Now imagine doing that for ten to twelve hours straight. All those seconds add up. Believe me, I have spent several day-long shifts on this.

Source
Another reason you might consider a locally installed version of your Wordpress site is quite important if you are planning major changes to a live site. Imagine the confusion and frustration of your readers if as they are trying to catch up on your blog, it changes in appearance and possibly breaks while they are browsing. Not good. The sensible course of action would be to work on a duplicate of your site, get everything looking and working correctly and then update it in one fell swoop. More on this in a later post.
Finally, you may also find it helpful to keep a backup of your current site stored locally to work on, or to roll back to should you wish.
OK, I'm convinced. How do I do it?
So, having decided that it would be useful to develop your Wordpress site locally on your system, how do you go about it? Quite easily, actually. Although there are several options for accomplishing this, I settled upon using Local by Flywheel. It is available for both Mac and Windows. Having a Windows system, I downloaded and installed that version. As you can see from the top screenshot, it is totally free - although Flywheel may well try to sell you Wordpress hosting. Ignore them, it's fine.
OK, so I had it installed, launched the software and...well...nothing. You see, Local need virtualization enabled on your system. Without going into a deep discussion of what this actually does, this enables your machine to act as though it is running several systems at the same time. So, I rebooted my PC, entered the BIOS, enabled the Intel Virtualisation Technology on my i7, and tried again. It worked.
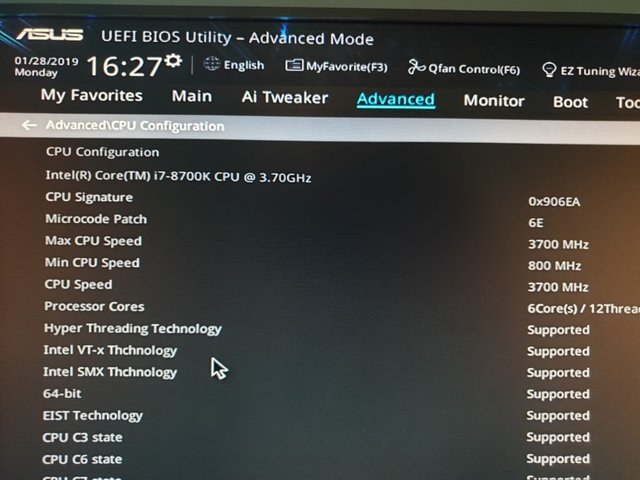
Um...Thchnology?
How do I use it?
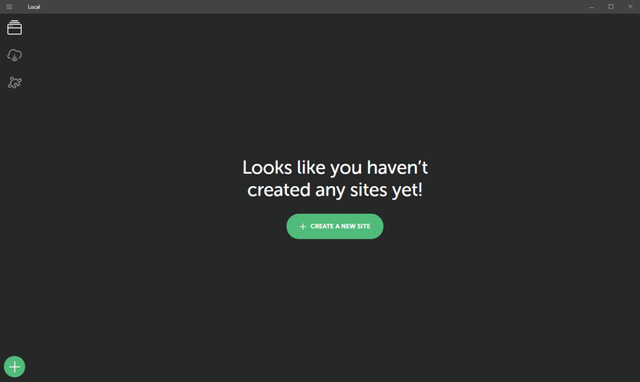
When Local first loads up it will look like this.
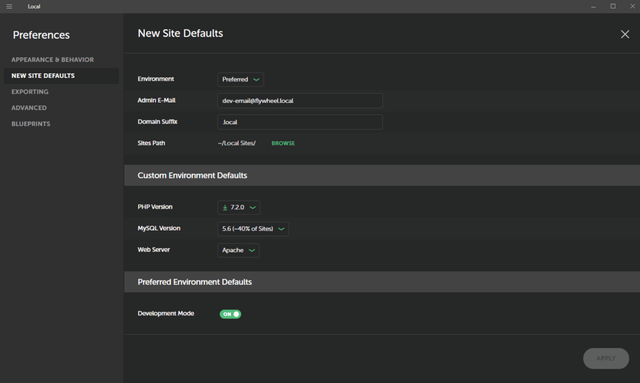
I have the dark theme enabled. Clicking the hamburger menu top left will reveal the preferences tab. Here you can opt for the light theme if you wish. Before creating a new site, it is recommended to enter 'New Site Defaults'. Here you can set your environment defaults that your web host uses.
For me, I have PHP version 7.2.0 set, MySQL is version 5.6 and the web server uses Apache. Yours may differ, so check with your host. Under this section you can also find Blueprints. If, for example, you always create a new site with certain themes or plugins loaded, you can set that up as a blueprint. Once set, close the menu - making sure to click 'Apply' first - then you are ready to create your first local site. Either click on the big plus button bottom left or on '+ Create A New Site'.
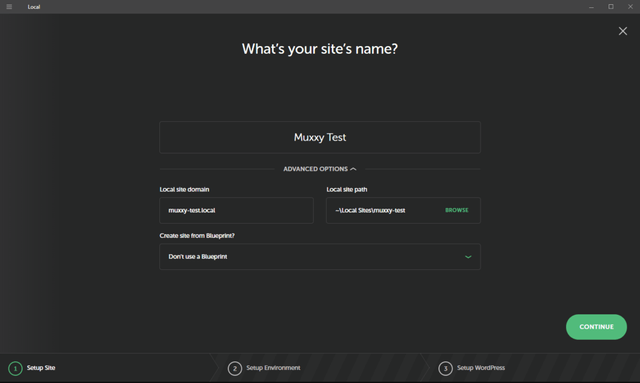
Give your site a name and, unless you really need to, leave the next two options on their defaults. Once you create blueprints, it's at this point that you can use one to base your new site off. Click 'continue'.
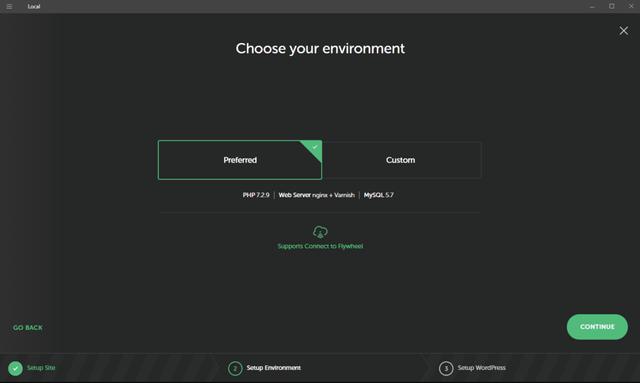
Remember those environment settings earlier? That's what is set under 'Preferred'. Should you have a need to change it for any reason in this particular instance, then choose 'Custom'. Here I'll use the preferred settings.
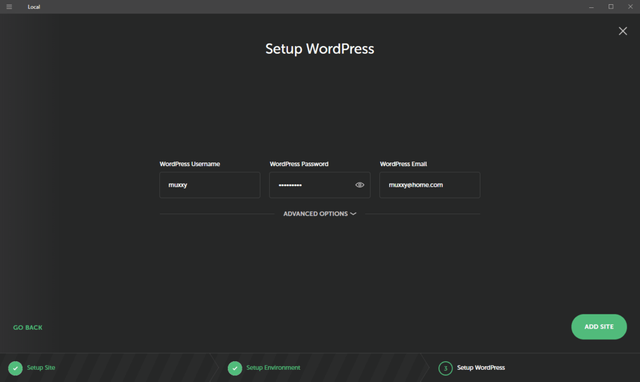
On this page you set up the admin username, password and email account associated with the site. You will need these details to log into your local Wordpress site. These details carry over when you eventually upload the site to your host, so don't forget them!
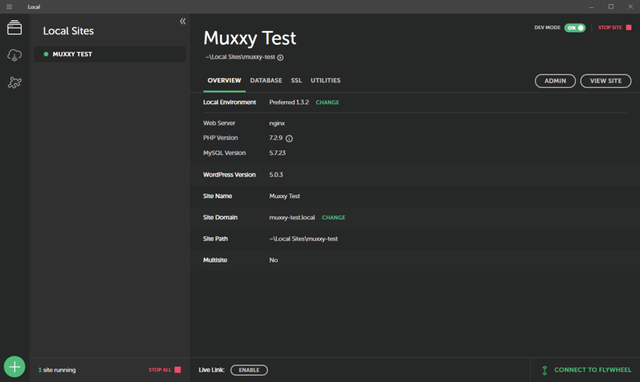
Clicking 'Add Site' prompts Local to download and install Wordpress as per your settings. This takes roughly 20 seconds here. If all went well you will reach this screen.
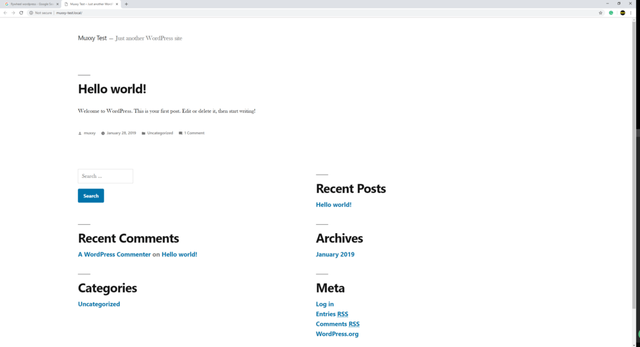
The status - bottom left - tells you the site is now running. You can stop the site from running by clicking - you guessed it - 'Stop Site' in the top right. Click on 'View Site' to launch your browser and show your locally created Wordpress site.
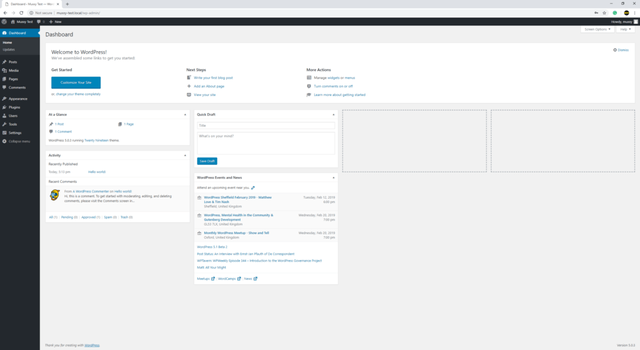
Naturally, clicking on 'Admin' in Local will open up the Wordpress admin page. Use your previously set details to log in.
From here you can do everything you would do on an actual live site, albeit much quicker. Install themes, plugins, edit pages, make posts. Everything.
OK, that's great. A few questions though.
How can I show my designs to other people without uploading the site to a host? Great question, glad I asked. If you take a look at the 'Local Sites' page, at the bottom you will see a 'Live Link' option. Once you click on 'Enable' it will create a link. Share that with other people and, providing your site is currently running locally, they will be able to browse it as though it were online. Nifty, eh?
Lastly, it's all well and good creating and editing my site locally, but how do I get it hosted? What if I want to edit an already published site, but locally? Whoah there speedy, one post at a time! I'll address these points in the next post. Stay tuned.
Posted from my blog with SteemPress : https://www.muxxy.co.uk/install-wordpress-locally-on-your-system/
Great tutorial. I have been encouraging more and more people to consider wordpress and keeping control of where their content is. For many steemit.com and other steem interfaces are easy and wordpress is scary so this is great. Resteeming
Posted using Partiko Android
Thank you. Even if you use it only as an easy repository of your own work, it's great. I'll be posting more Wordpress stuff.
I look forward to the future post, i know they can add a lot of value to people here on steem. Dont know how to tweet from parkito so i put this in favs so i can tweet it too when i get home.
Posted using Partiko Android
Much appreciated
great now shared on twitter, don't be afraid to ping me with any wordpress tutorial posts, my votes not worth much but i will do what I can to promote these posts
Again, thank you very much!
Great stuff man. tutorials like this one are paid for on Udemy
Wow, thanks.
Great tutorial. I was planning on using my work computer at home to do this. Hoping IT doesn't have the bios on lockdown otherwise I'm going to have to break out my behemoth personal laptop that's a few years past it's prime.
Looking forward to this post especially if you have some good free options. I don't mind paying in the future, but would like a free host to learn the software with while I'm setting everything up.
There are free options but, as with all things, you get what you pay for. I rent server space that allows me to host an unlimited number of sites and in fact I host some other Steemians' blogs for an attractive annual fee. All they have to do is buy their own domain name.
With a bit of luck the post about transferring from local to hosted will be up later today.
Looking forward to it.