[Python] 코드아카데미 따라하기 - chapter.2 Strings & Console Output
안녕하세요? 지금부터 Strings & Console Output 강좌를 시작하겠습니다.
1. Strings
Another useful data type is the string.
(또 다른 유용한 데이터 타입으로는 문자열이 있습니다.)
A string can contain letters, numbers, and symbols.
(문자열은 글자, 숫자, 기호를 포함할 수 있습니다.)
name = "Ryan"
age = "19"
food = "cheese"
In the above example, we create a variable name and set it to the string value "Ryan".
(위의 예제에서, name이라는 변수를 만들고 "Ryan" 문자열을 할당했습니다.)
We also set age to "19" and food to "cheese".
(또한 age에는 "19" 그리고 food에는 "cheese"를 할당했습니다.)
Strings need to be within quotes.
(문자열은 따옴표 안에 있어야합니다.)
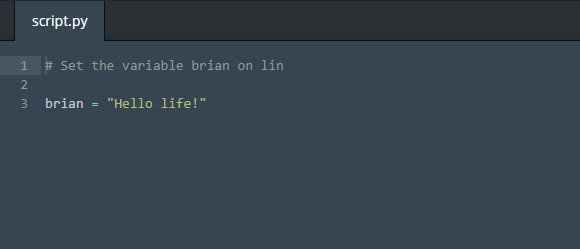
Instructions
Create a new variable brian and assign it the string "Hello life!".
(brian 변수에 문자열 "Hello life!"를 할당해주세요.)
2. Practice
Excellent! Let's get a little practice in with strings.
(잘했습니다! 문자열을 이용한 연습을 좀 해보겠습니다.)
Instructions
Set the following variables to their respective phrases:
(다음 변수에 해당 문구를 설정합니다.)
Set caesar to "Graham"
(caesar 변수에 "Graham"을 설정합니다.)
Set praline to "John"
(praline 변수에 "John"을 설정합니다.)
Set viking to "Teresa"
(viking 변수에 "Teresa"을 설정합니다.)

3. Escaping characters
There are some characters that cause problems. For example:
(문제를 일으키는 글자가 좀 있습니다. 예를 들면)
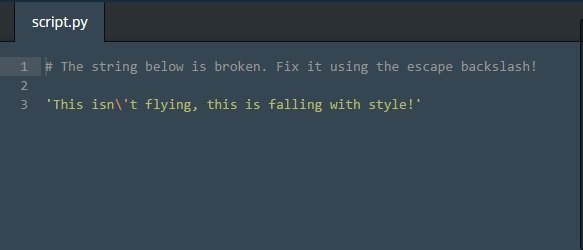
'There's a snake in my boot!'
This code breaks because Python thinks the apostrophe in 'There's'ends the string.
(이 코드는 실행 안 됩니다. 왜냐면 파이썬이 'There's' 아토스트로피를 문자열의 끝이라고 생각하기 때문입니다.)
We can use the backslash to fix the problem, like this:
(이 문제를 해결하기 위해 백슬래쉬를 이와 같이 사용합니다.)
'There's a snake in my boot!'
Instructions
Fix the string in the editor!
(에디터에 있는 문자열을 고치세요!)
4. Access by Index
Great work! Each character in a string is assigned a number.
(잘하셨습니다! 문자열에서 각각의 글자는 숫자가 할당됩니다.)
This number is called the index.
(이 숫자는 인덱스라고 불립니다.)
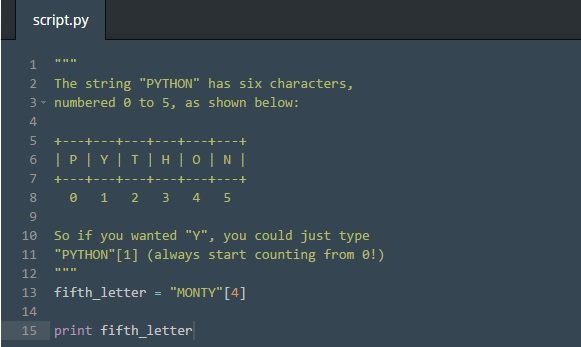
Check out the diagram in the editor.
(에디터에서 다이어그램을 살펴보세요.)
c = "cats"[0]
n = "Ryan"[3]
*여기서 중요한 점은 인덱스는 0번째부터 시작한다는 점입니다.
In the above example, we create a new variable called c and set it to"c", the character at index zero of the string "cats".
(위의 예제에서, 우리는 c라고 불리는 새로운 변수를 만들고 "cats"문자열의 0번째 인덱스인 글자 "c"로 설정합니다.)
Next, we create a new variable called n and set it to "n", the character at index three of the string"Ryan".
(다음으로, 우리는 n라고 불리는 새로운 변수를 만들고 "Ryan"문자열의 3번째 인덱스인 글자 "n"로 설정합니다. )
In Python, we start counting the index from zero instead of one.
(파이썬에서, 우리는 1부터 카운팅하는 대신에 0부터 카운팅을 시작합니다.)
Instructions
On line 13, assign the variable fifth_letter equal to the fifth letter of the string "MONTY".
(라인 13에서, fifth_letter 변수에 "MONTY" 문자열의 5번째 문자를 할당합니다.)
Remember that the fifth letter is not at index 5. Start counting your indices from zero.
(5번째 문자가 인덱스 5가 아니라는걸 명심하세요. 0부터 인덱스를 카운팅하세요. )
5. String methods
Great work! Now that we know how to store strings, let's see how we can change them using string methods.
(잘하셨어요! 이제 우리는 문자열을 어떻게 저장하는지 알게됐습니다, 자 우리는 문자열 메소드를 이용하여 문자열을 바꿔보겠습니다.)
String methods let you perform specific tasks for strings.
(문자열 메소드는 문자열에 대해 특정 작업을 수행할 수 있습니다.)
We'll focus on four string methods:
(우리는 4개의 문자열 메소드에 초점을 맞추겠습니다.)
len()
lower()
upper()
str()
Let's start with len(), which gets the length (the number of characters) of a string!
(len() 메소드부터 시작하겠습니다. len()메소드는 문자열의 길이(글자의 수)를 반환합니다.)
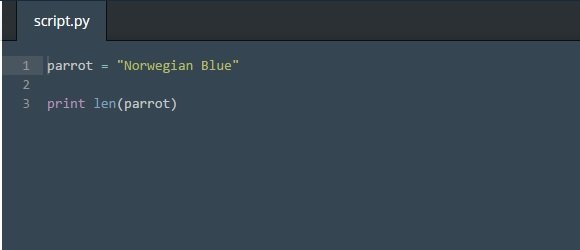
Instructions
On line 1, create a variable named parrot and set it to the string"Norwegian Blue".
(라인 1에서는, parrot이라는 변수를 만들고 문자열 "Norwegian Blue"로 설정하겠습니다.)
On line 3, type len(parrot) after the word print, like so: print len(parrot).
(라인 3에서는, print란 글자 다음에 len(parrot)를 쳐보겠습니다. 이처럼 말이죠: print len(parrot))
The output will be the number of letters in "Norwegian Blue"!
(출력값은 "Norwegian Blue"의 글자 수가 나올 겁니다.)
6. lower()
Well done! You can use the lower() method to get rid of all the capitalization in your strings.
(잘했어요! 당신은 문자열의 모든 대문자를 제거하기 위해 lower() 메소드를 사용할 수 있습니다.)
You call lower() like so:
(당신은 lower() 메소드를 이와같이 사용합니다.)
"Ryan".lower()
which will return "ryan".
("ryan"을 반환할 겁니다.)
Instructions
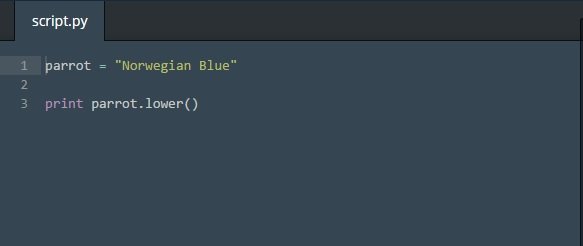
Call lower() on parrot (after print) on line 3 in the editor.
(에디터의 라인 3에서 print 다음에 parrot에 lower() 메소드를 불러보세요.)
7. upper()
Now your string is 100% lower case! A similar method exists to make a string completely upper case.
(자 지금 당신의 문자열은 100% 소문자입니다. 문자열을 완전히 대문자로 만들는 비슷한 메소드가 존재합니다.)
Instructions
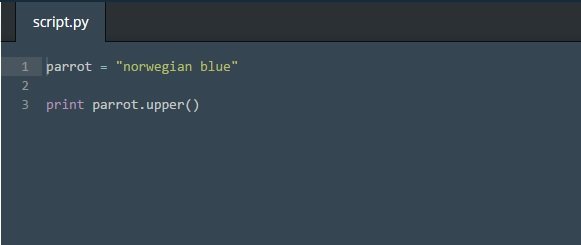
Call upper() on parrot (after print on line 3) in order to capitalize all the characters in the string!
(이 문자열의 모든 글자를 대문자화 하기 위해 (라인 3의 print 다음의) parrot에 upper() 메소드를 불러줍니다.)
8. str()
Now let's look at str(), which is a little less straightforward.
(자 이제 좀 덜 간단한 str() 메소드를 보겠습니다.)
The str() method turns non-strings into strings! For example:
(str() 메소드는 문자열이 아닌 것을 문자열로 반환합니다. 예를 들면: )
str(2)
would turn 2 into "2".
(str(2) 숫자 2를 "2"로 반환합니다.)
Instructions
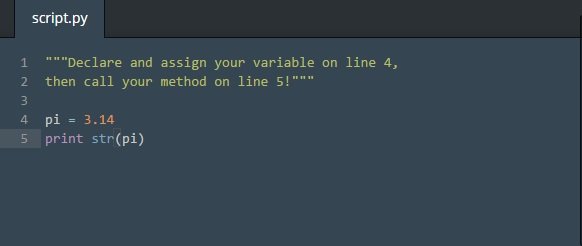
Create a variable pi and set it to 3.14 on line 4.
(라인 4에 pi 변수를 만들고 3.14로 설정합니다.)
Call str(pi) on line 5, after print.
(print 다음에 라인5에 str(pi)를 부릅니다.)
9. Dot Notation
Let's take a closer look at why you use len(string) and str(object), but dot notation (such as "String".upper()) for the rest.
(나머지에 대해 점 표기법(예를 들면 "String".upper())을 사용하기 않고 len(string)과 str(object)를 사용하는 이유를 자세히 살펴봅시다.)
lion = "roar"
len(lion)
lion.upper()
Methods that use dot notation only work with strings.
(점 표기법을 사용하는 메소드는 오직 문자열과 동작합니다.)
On the other hand, len() and str()can work on other data types.
(한편, len()과 str() 메소드는 다른 데이터 타입에도 동작합니다.)
Instructions
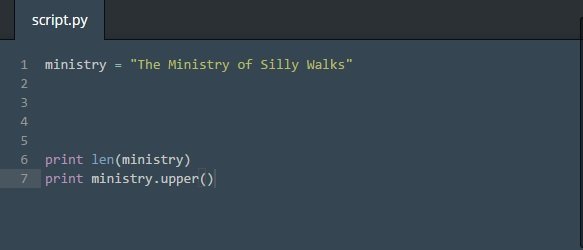
On line 3, call the len() function with the argument ministry.
(라인 3에서, 독립변수 ministry에 len() 함수를 불러보세요.)
On line 4, invoke the ministry's.upper() function.
(라인 4에서 ministry에 .upper() 함수를 불러오세요.)
10. Printing Strings
The area where we've been writing our code is called the editor.
(우리가 이제껏 코딩한 곳은 에디터라고 불립니다.)
The console (the window in the upper right) is where the results of your code is shown.
((윈도우창의 오른쪽 위) 당신의 코드의 결과값이 보여지는 곳은 콘솔창입니다.)
print simply displays your code in the console.
(print는 간단히 콘솔창에 당신의 코드를 보여줍니다.)
Instructions
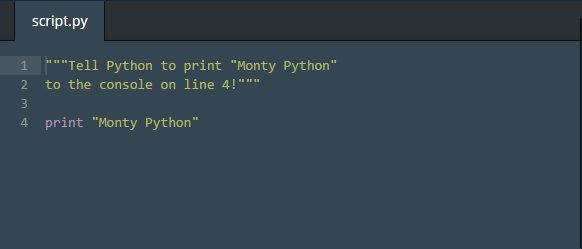
Print "Monty Python" to the console.
("Monty Python"을 콘솔에 출력하세요.)
11. Printing Variables
Great! Now that we've printed strings, let's print variables
(잘했어요! 지금 우린 문자열을 출력했습니다, 이제 변수를 출력해봅시다.)
Instructions
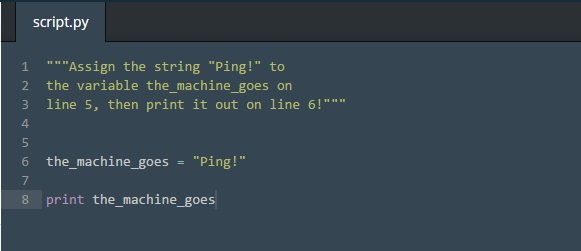
Declare a variable called the_machine_goes and assign it the string value "Ping!" on line 6.
(라인 6에, the_machine_goes라는 변수를 선언하고 "Ping!"이라는 문자열을 할당하세요.)
Go ahead and print the_machine_goes in line 8.
(계속해서 라인 8에 the_machine_goes를 출력하세요.)
12. String Concatenation(문자열 연결)
You know about strings, and you know about arithmetic operators.
(당신은 문자열에 대해 알고 있습니다. 그리고 산술 연산자에 대해도 알고 있습니다.)
Now let's combine the two!
(지금부터 두 개의 문자열을 합쳐봅시다.)
print "Life " + "of " + "Brian"
This will print out the phrase Life of Brian.
(위에 명령어는 Life of Brian이라는 문장이 출력될 것입니다.)
The + operator between strings will 'add' them together, one after the other.
(문자열 사이에 + 연산자는 다른 문자열 다음에 하나씩 추가하게됩니다.)
Notice that there are spaces inside the quotation marks after Life and of so that we can make the combined string look like 3 words.
(결합된 문자열이 세 단어처럼 보일 수 있도록 Life와 of 다음 따옴표 안에 공간이 있다는 걸 알 수 있습니다.)
Combining strings together like this is called concatenation.
(문자열을 이처럼 결합하는 걸 concatenation(연결)이라고 부릅니다.)
Let's try concatenating a few strings together now!
(자 지금부터 약간의 문자열을 연결해봅시다.)
Instructions
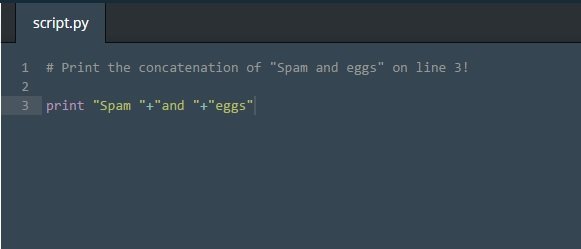
Let's give it a try. Print the concatenated strings "Spam ", "and ","eggs" on line 3, just like the example above.
(이제 한번 시도해봅시다. 라인 3에 위의 예제와 같이 Spam, and, eggs의 연결된 문자열을 출력해봅시다.)
Make sure you include the spaces after "Spam " and "and ".
(Spam 과 and 다음에 공간을 포함시키는걸 명심하세요.)
13. Explicit String Conversion(명시적 문자열 변환)
Sometimes you need to combine a string with something that isn't a string.
(가끔 당신은 문자열이 아닌 것과 문자열을 결합할 필요가 있을겁니다.)
In order to do that, you have to convert the non-string into a string.
(그러기 위해서는, 당신은 문자열이 아닌 것을 문자열로 바꿔줘야합니다.)
print "I have " + str(2) + " coconuts!"
This will print I have 2 coconuts!.
(위의 예제는 I have 2 coconuts 이라는 문장이 출력될 것입니다.)
The str() method converts non-strings into strings.
(str() 메소드는 문자열이 아닌 것을 문자열로 바꾸어줍니다.)
In the above example, you convert the number 2 into a string and then you concatenate the strings together just like in the previous exercise.
(위의 예제에서 당신은 숫자 2를 문자로 바꾸었고 이전 강좌와 같이 문자열과 연결했습니다.)
Now try it yourself!
(자 지금부터 스스로 해보세요.)
Instructions
Run the code as-is. You get an error!
(있는 그대로 코드를 실행해보세요. 오류가 납니다.)
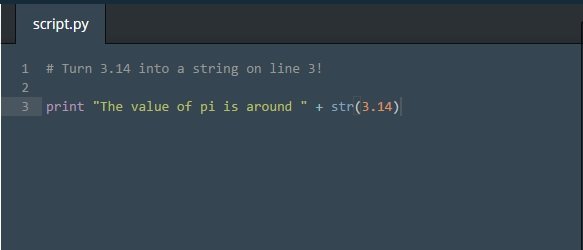
Use str() to turn 3.14 into a string. Then run the code again.
(3.14를 문자로 바꾸기 위해 str()메소드를 사용하세요. 그 다음 코드를 다시 실행해보세요.)
14. String Formatting with %, Part 1
When you want to print a variable with a string, there is a better method than concatenating strings together.
(문자열 변수를 출력하고 싶을 때 문자열을 연결하는 것 보다 나은 방법이 있습니다.)
name = "Mike"
print "Hello %s" % (name)
The % operator after a string is used to combine a string with variables.
(문자열 다음의 % 연산자는 문자열 변수를 결합하기 위해 사용됩니다.)
The % operator will replace a %s in the string with the string variable that comes after it.
(% 연산자는 뒤에 오는 문자열 변수의 문자열에 %s를 대체합니다.)
*위의 예제에서 name 변수의 값 "Mike"가 %s에 저장됩니다. 즉, %s와 name은 같습니다.
Instructions
Take a look at the code in the editor.
(에디터에 있는 코드를 보세요.)
What do you think it'll do? Click Save & Submit when you think you know.
(어떻게 될 것 같습니까? 아실 것 같으면 Save & submit 버튼을 클릭하세요.)
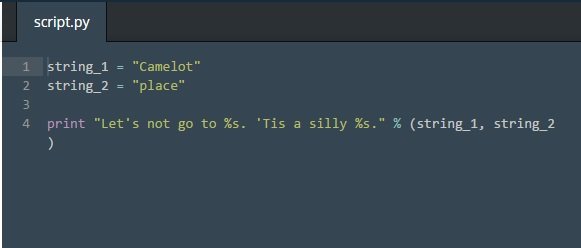
15. String Formatting with %, Part 2
Remember, we used the % operator to replace the %s placeholders with the variables in parentheses.
(우리는 괄호 안에 변수와 함께 %s의 자리를 대신할 % 연산자를 사용한다는 것을 잊지마세요.)
name = "Mike"
print "Hello %s" % (name)
You need the same number of %s terms in a string as the number of variables in parentheses:
(괄호 안의 변수 개수와 같이 %s의 개수도 똑같아야 합니다.)
print "The %s who %s %s!" % ("Knights", "say", "Ni")
This will print "The Knights who say Ni!"
Instructions
Now it's your turn! We have ___ in the code to show you what you need to change!
(이제 당신의 차례입니다! 우리는 당신이 무엇을 변경할 필요가 있는지 보여주기 위해 코드에 __처리했습니다.)
Inside the string, replace the three__with %s.
(문자열 안에, 3개의 __을 %s로 교체하세요.)
After the string but before the three variables, replace the final with a %.
(문자열 다음에 그렇지만 세 개의 변수 이전에(문자열과 세 개의 변수 사이) 마지막을 %로 교체하세요.)
Hit Save & Submit Code.
(Save&Submit Code를 누르세요.)
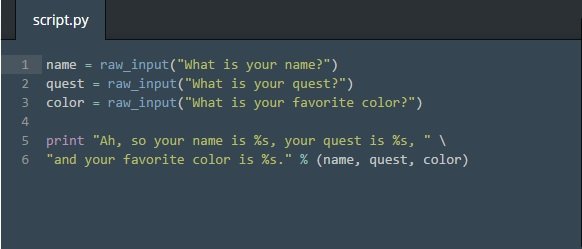
Answer the questions in the console as they pop up! Type in your answer and hit Enter.
(콘솔에 나온대로 질문에 대답하세요! 대답을 치고 엔터를 누르세요.)
16. And Now, For Something Completely Familiar
Great job! You've learned a lot in this unit, including:
(잘하셨어요! 이번 장에서 많은 걸 배우셨습니다.)
Three ways to create strings
(문자열을 만드는 3가지 방법을 포함해서)
'Alpha'
"Bravo"
str(3)
String methods
len("Charlie")
"Delta".upper()
"Echo".lower()
Printing a string
print "Foxtrot"
Advanced printing techniques
g = "Golf"
h = "Hotel"
print "%s, %s" % (g, h)
Instructions
Let's wrap it all up!
(이제 모두 마무리해봅시다!)
On line 3, create the variable my_string and set it to any string you'd like.
(라인 3에는, my_string 변수를 만들어서 원하는 문자열을 설정해봅시다.)
On line 4, print the length of my_string.
(라인 4에는, my_string의 길이를 출력해봅시다.)
On line 5, print the .upper() case version of my_string.
(라인 5에는 my_string의 대문자 버전을 출력해봅시다.)

다음 강좌는 Date and Time이 되겠습니다.
[이전강좌들]
아니...치타가 뜨다니...