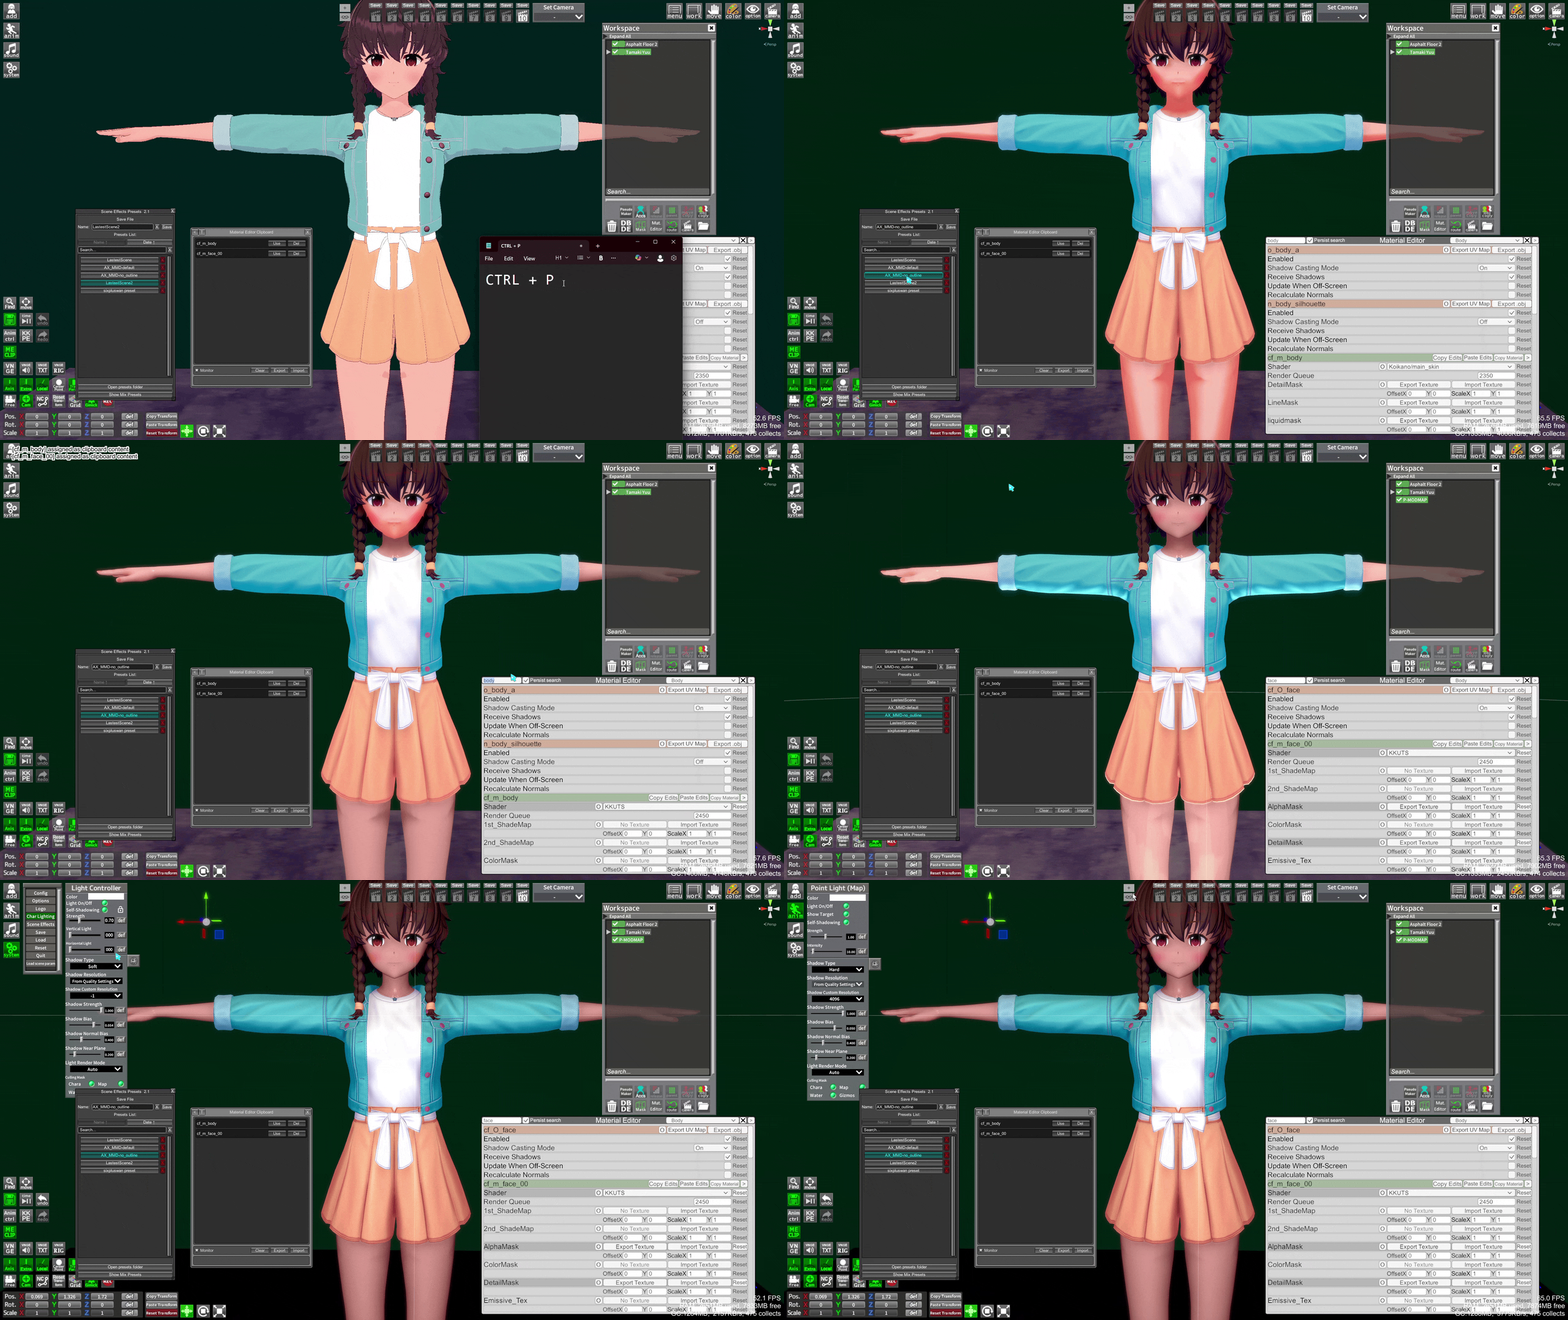
CharaStudio lighting and shaders
A starting point to learn about lighting and shaders
One important thing to note, you cannot do in the main game mode what can be achieved in Studio in terms of lighting, and I will be focusing on Studio
Requirements
(Most of the following components should be in the 3.35 HF patch, and the rest you can get from GitHub or the #koikatsu-mod-release-forum on Discord. Use KKManager's plugins and mods tab to check what it is you have already)
Here are the minimum components you need:
(Refer to this folder map if you don't know where things go)
[Plugins]
- LightSettings
- Material Editor 3.13+
- ObjectMap to access lights of maps (use v1.1.x, or 1.2+ once a stable build is released)
- Shader Fixer (KK Sunshine only)
- (optional) SceneEffectsPresets (Alt+F)
- (optional) BetterShadowQualitySettings
[Patchers]
- KKShadowPatcher (only KK/Party needs it)
[Shader mods]
- xukmi VanillaPlus shader version 1.7+
- KKUTS shader (or KKSUTS for Sunshine, do not keep more than one)
- (optional) Az shader
Extra tools
These plugins will make your life easier when swapping shaders on stuff:
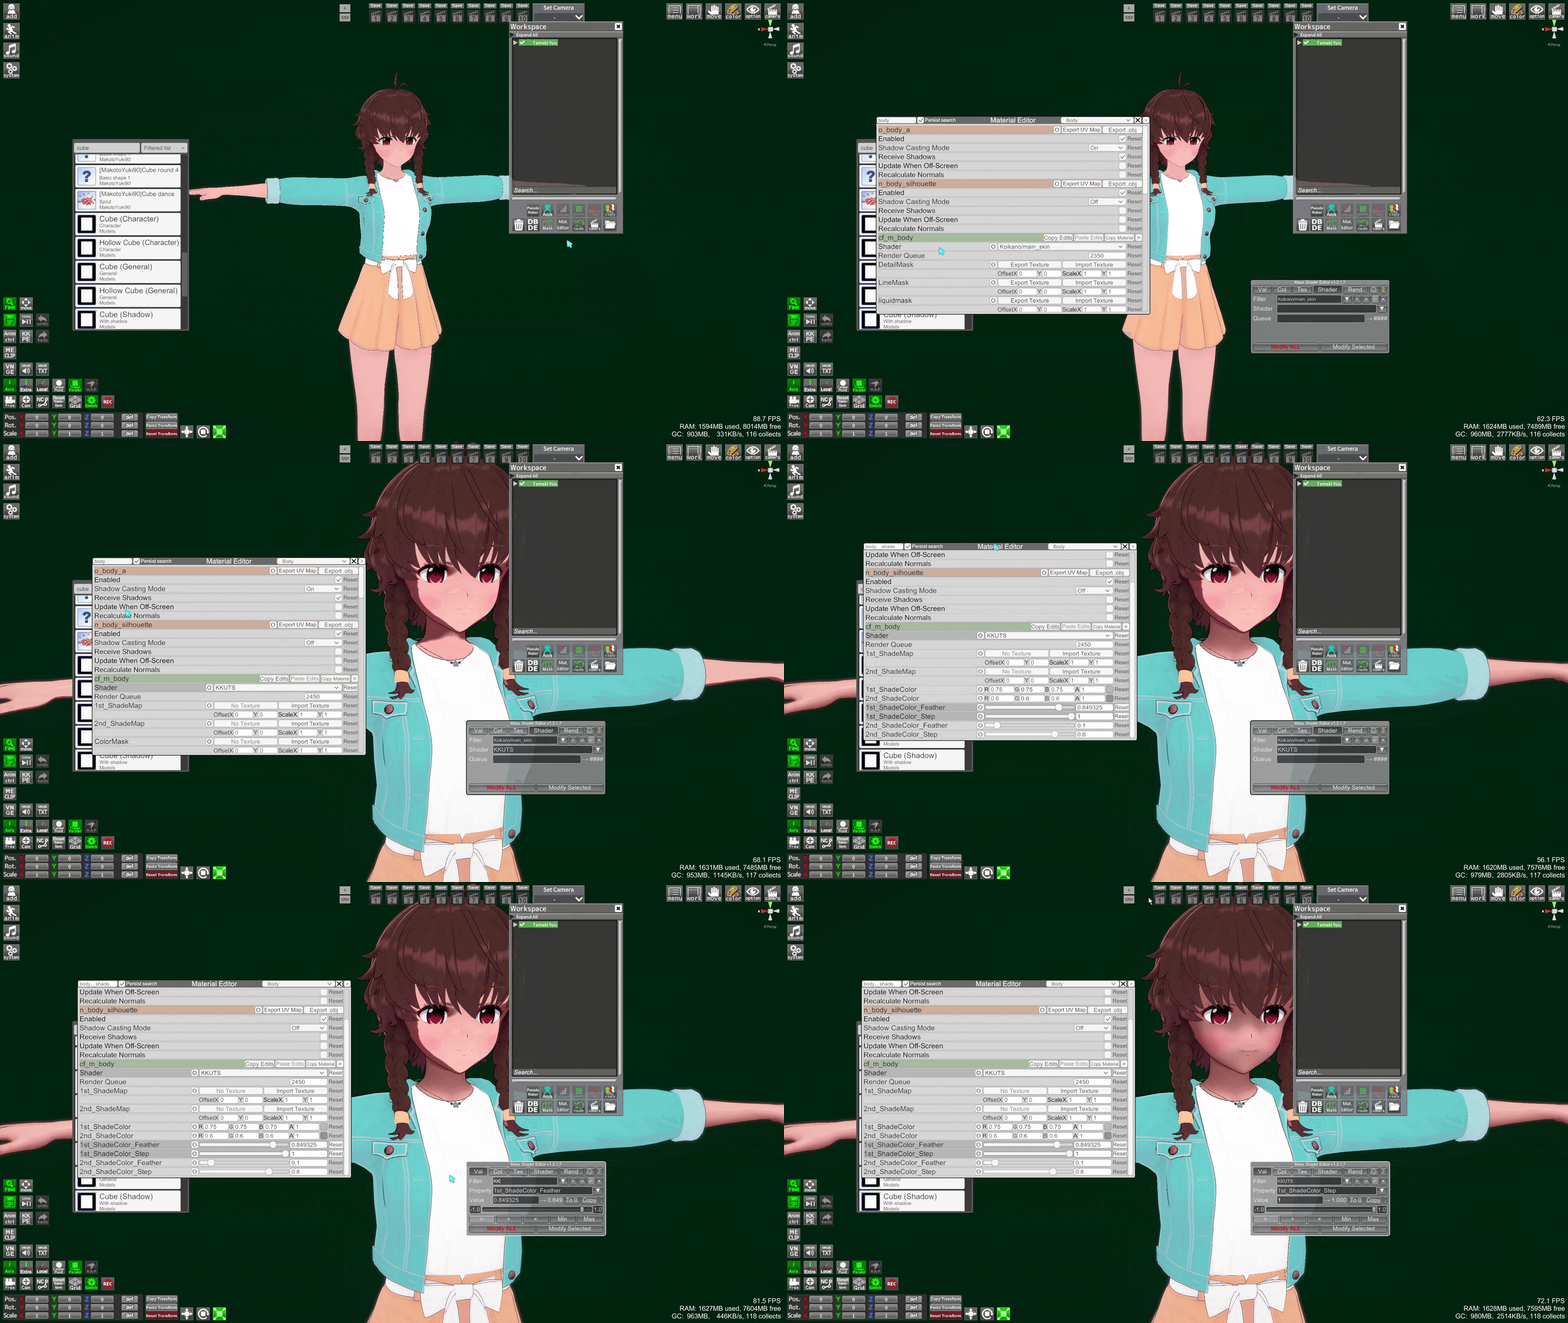
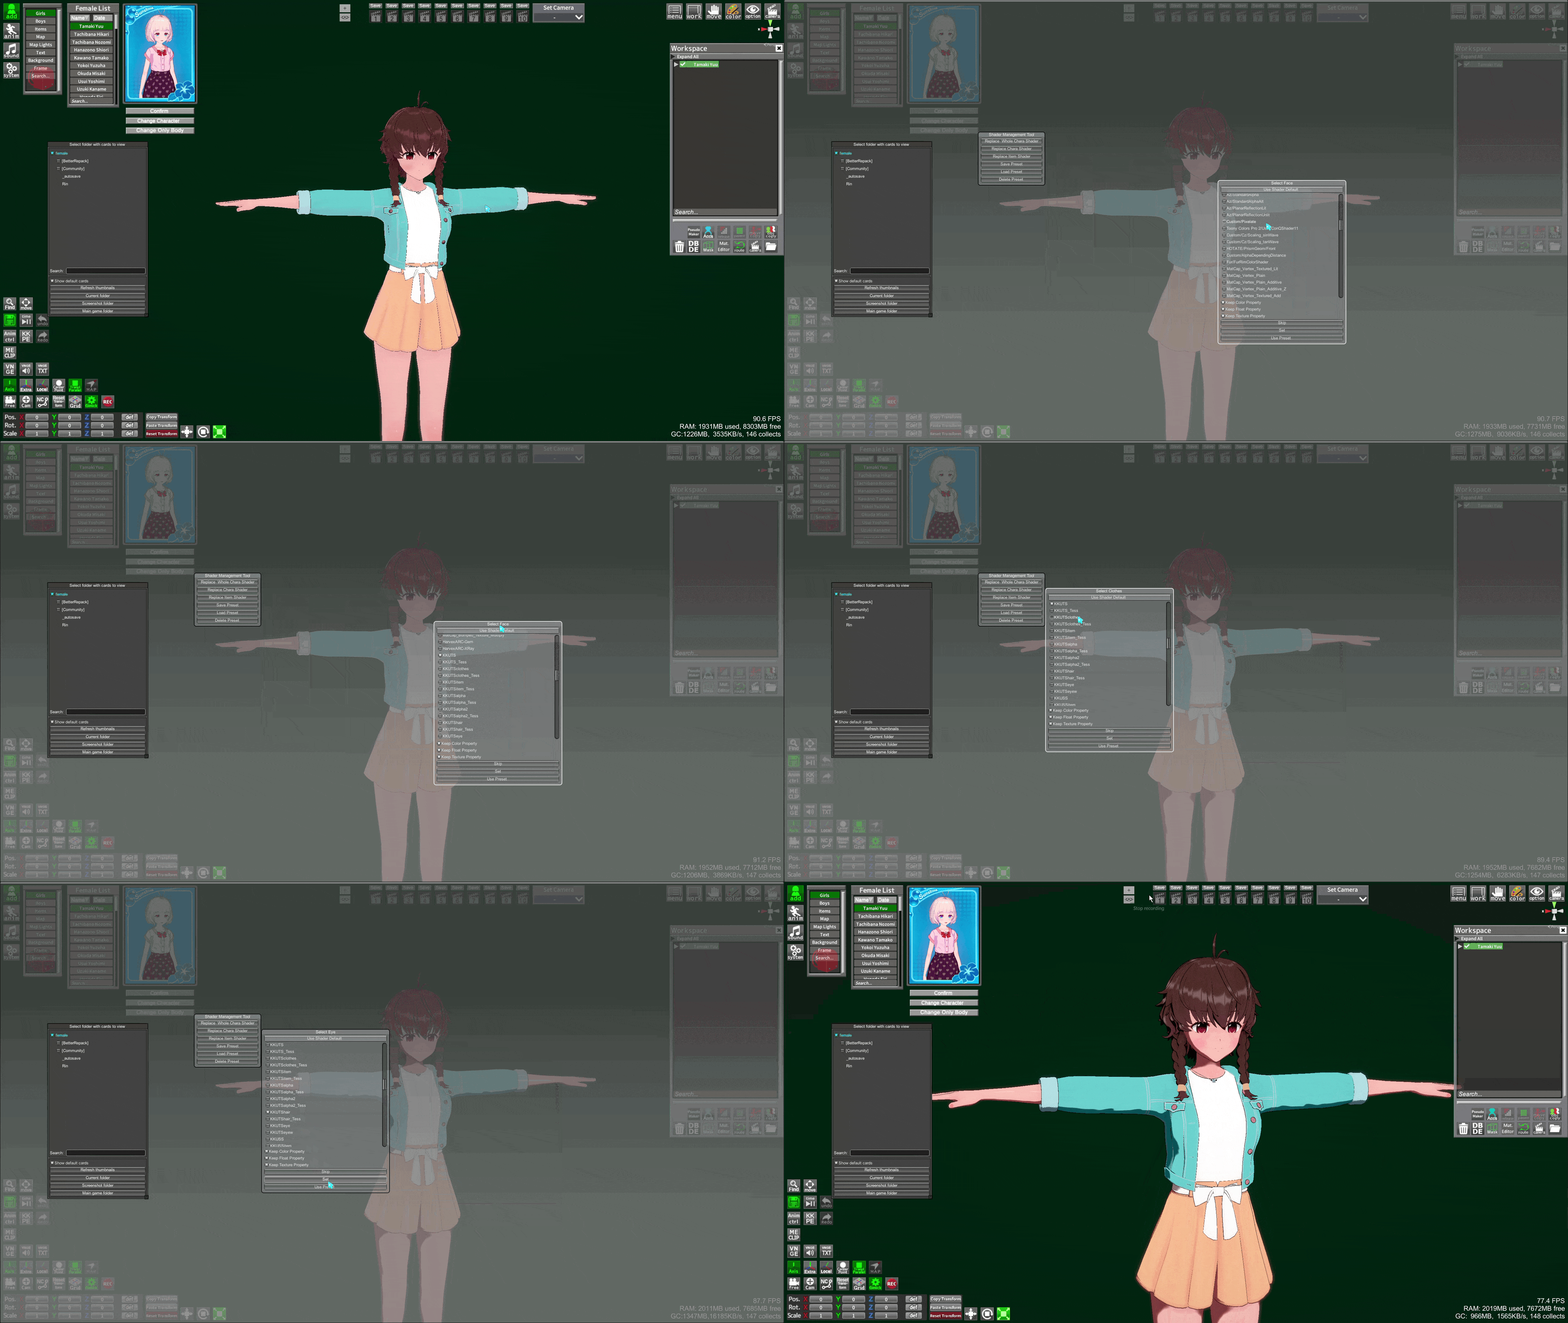
Here I use KKUTS shader as the example for the swaps and slider adjustments
- Mass Shader Editor (MSE)
Basics
If you are new to CharaStudio, start with the basics:
- Playlist of basics (Youtube)
- Intro to CharaStudio (Youtube)
- Navigating the Studio interface (Discord PDF)
If you are already familiar with CharaStudio, then Basic scene lighting and Scene effects menu will be related to lighting
Types of lights
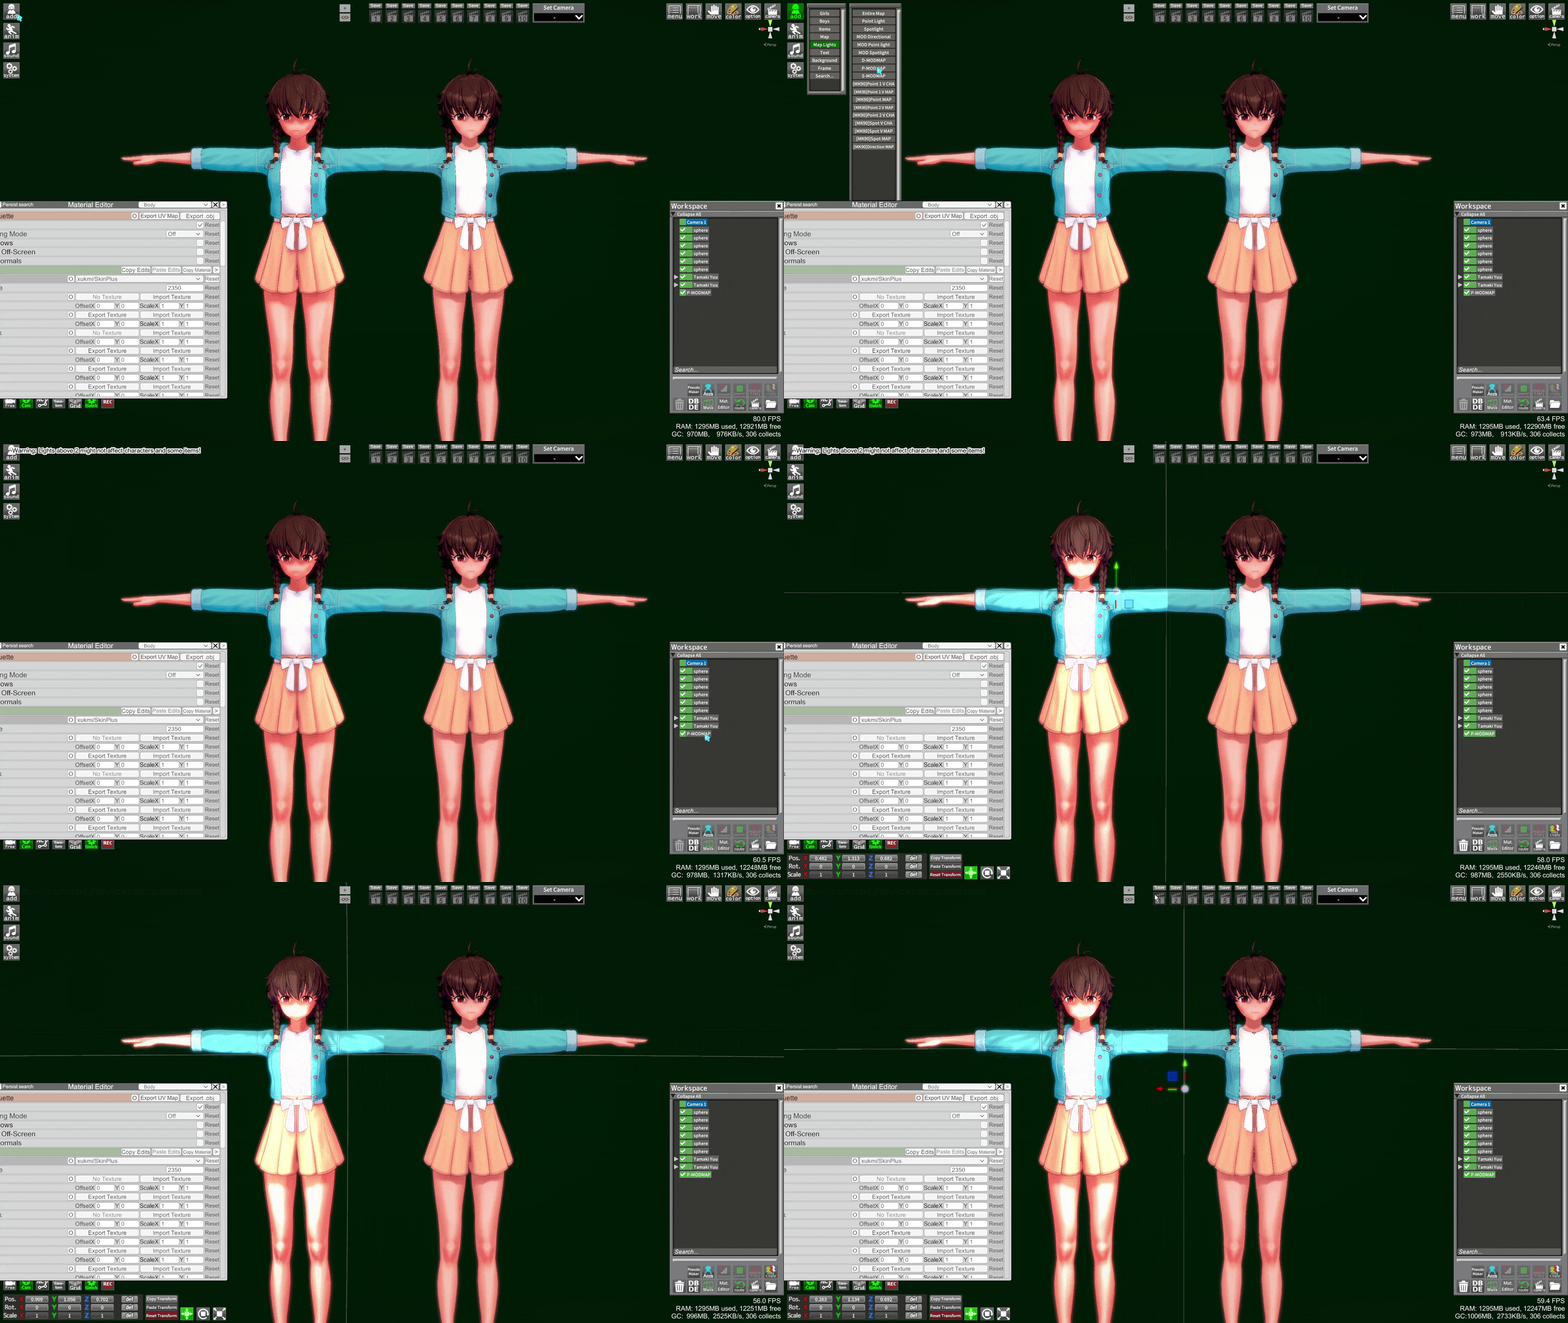
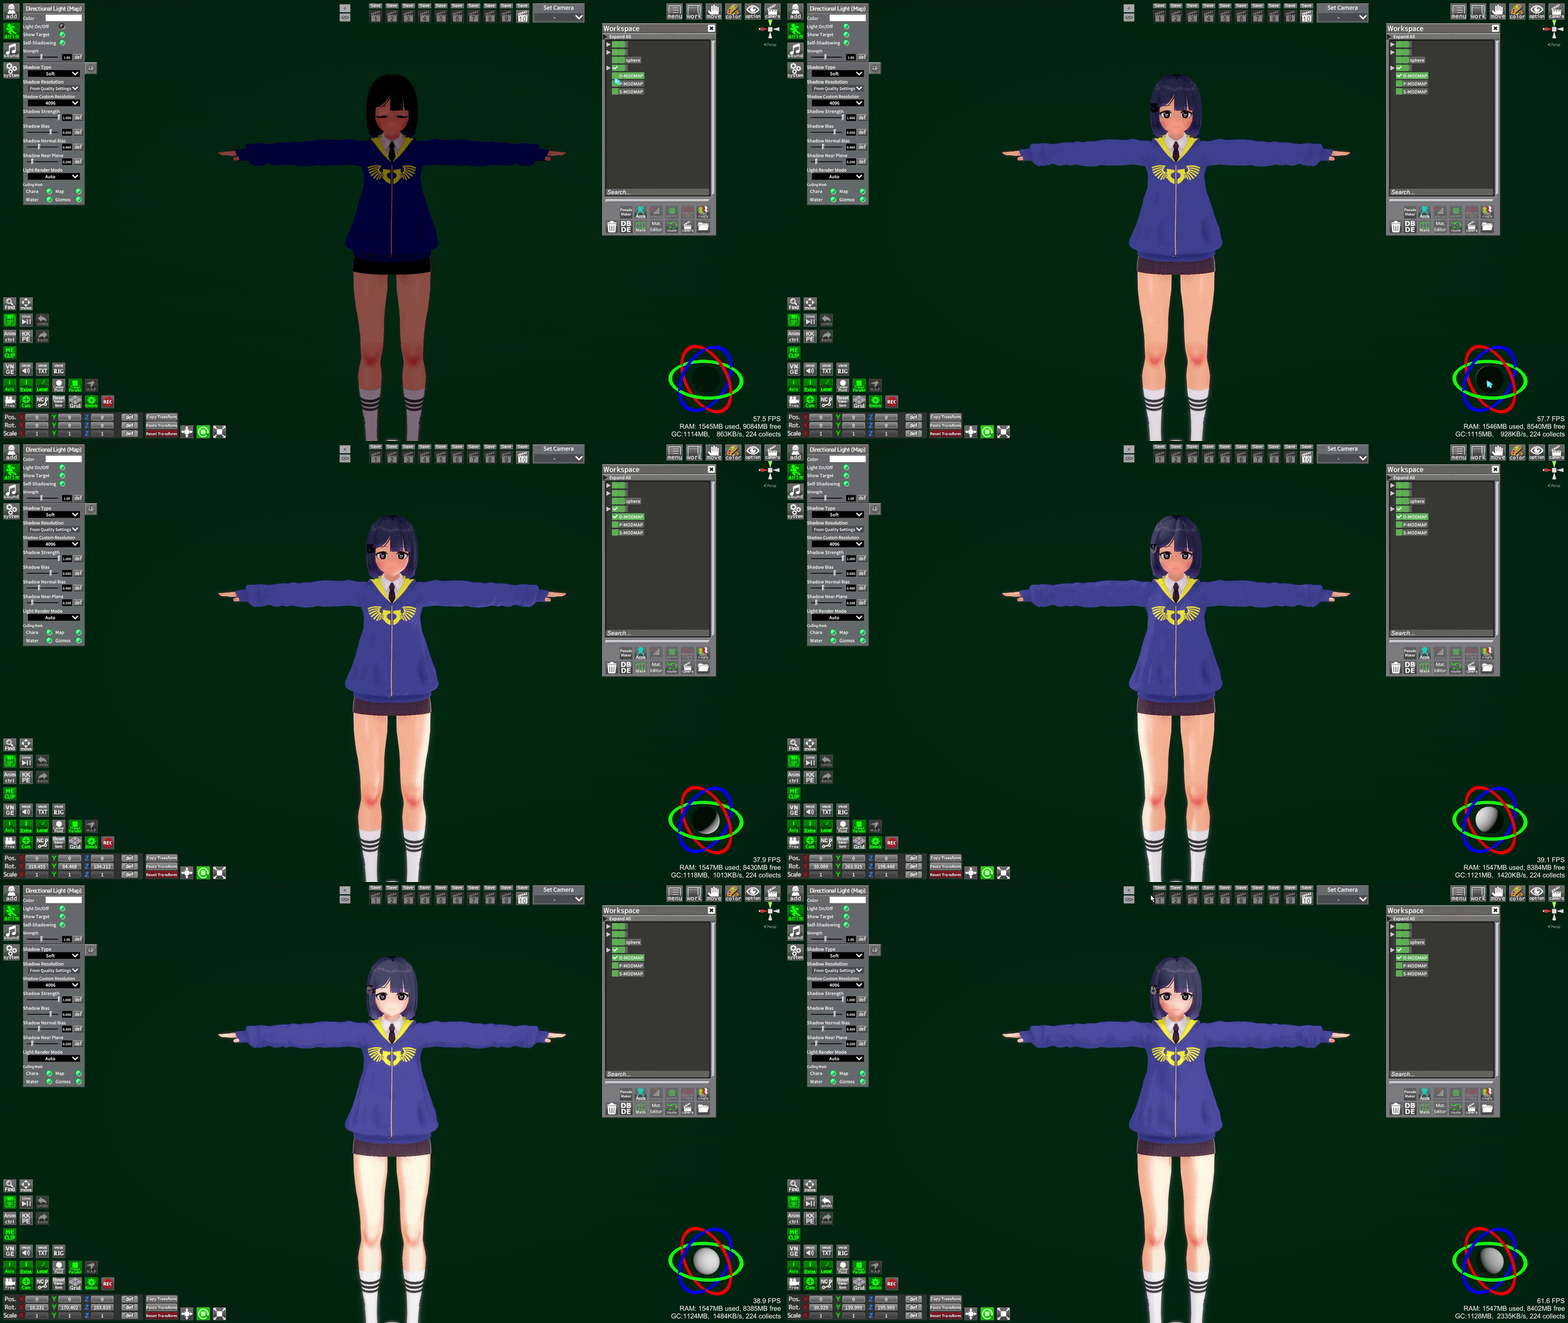
D-MODMAP
Think of it like the Sun, it always shines from a distance. Same type of light as System->Character Lighting, often used in maps
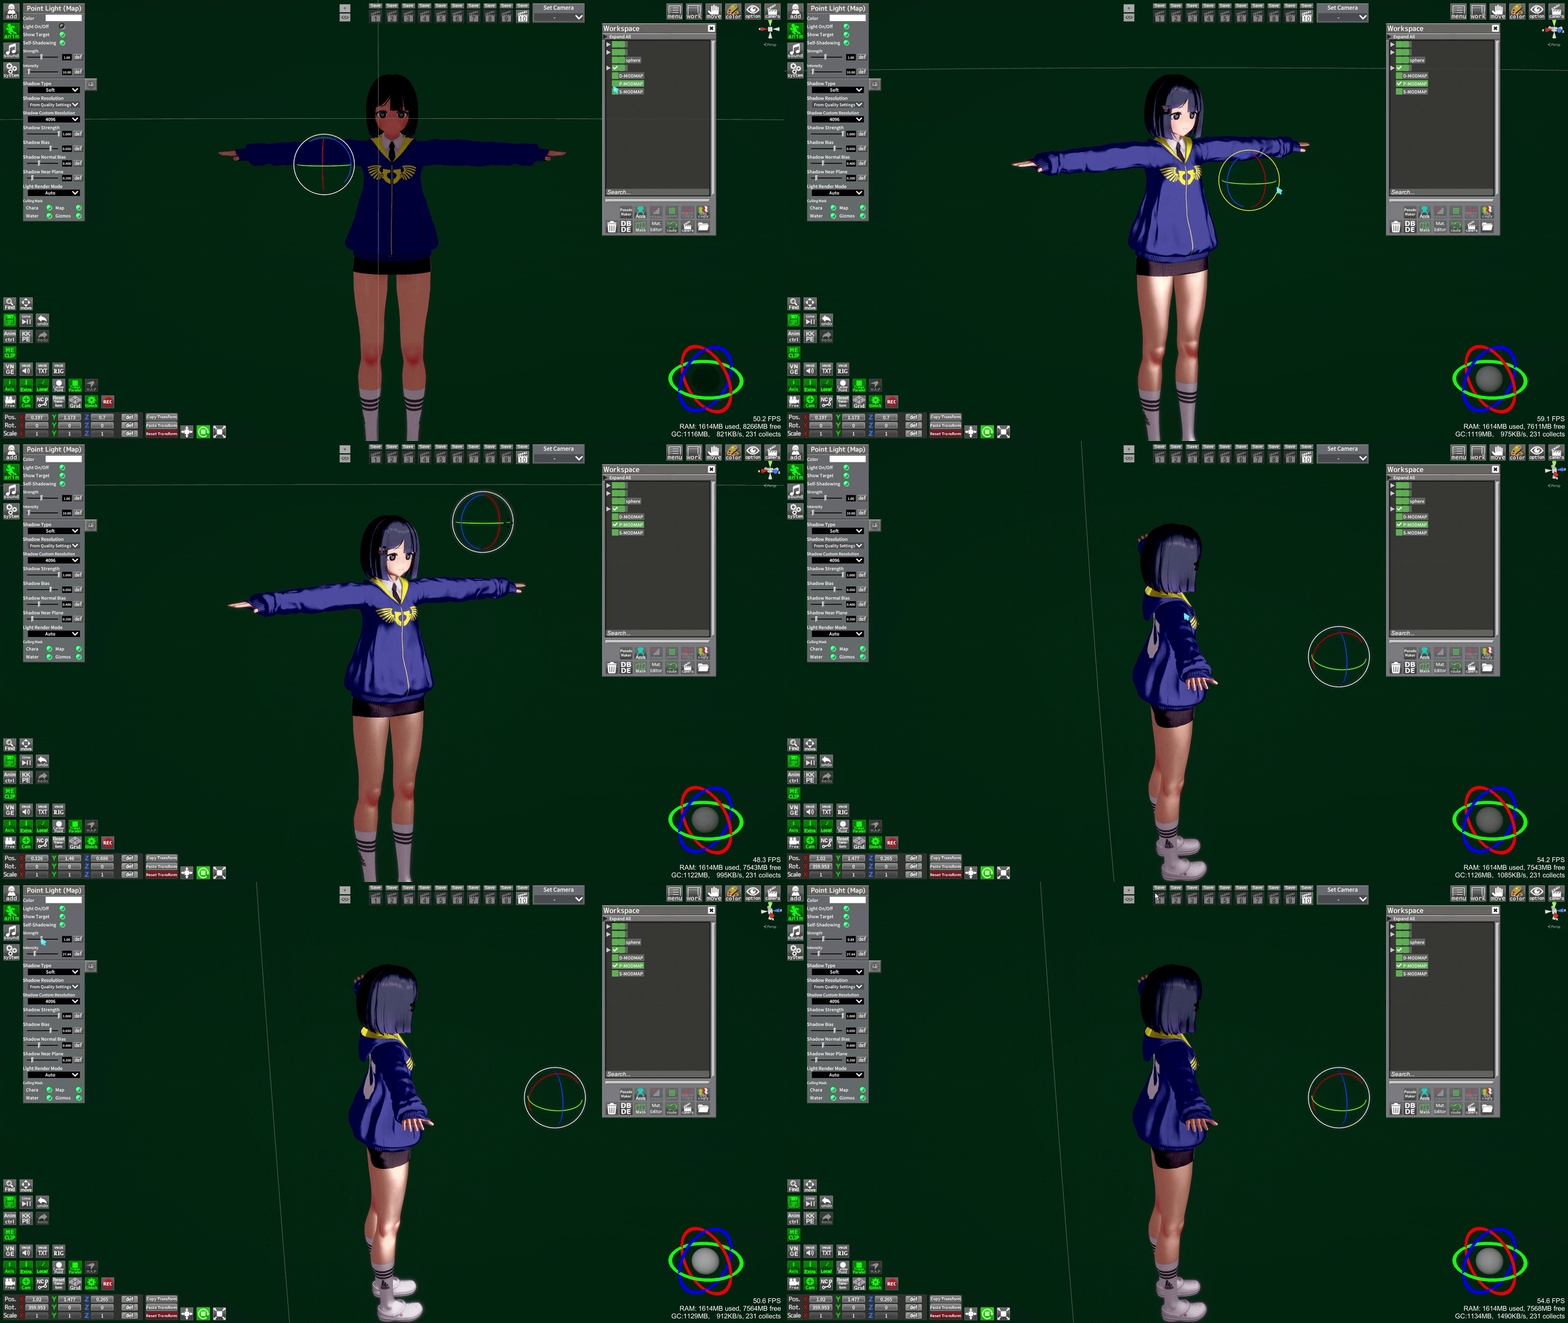
P-MODMAP
A "point" light, useful to highlight specific aspects of your character or to simulate lighting elements of your scene (ex. a candle's light)
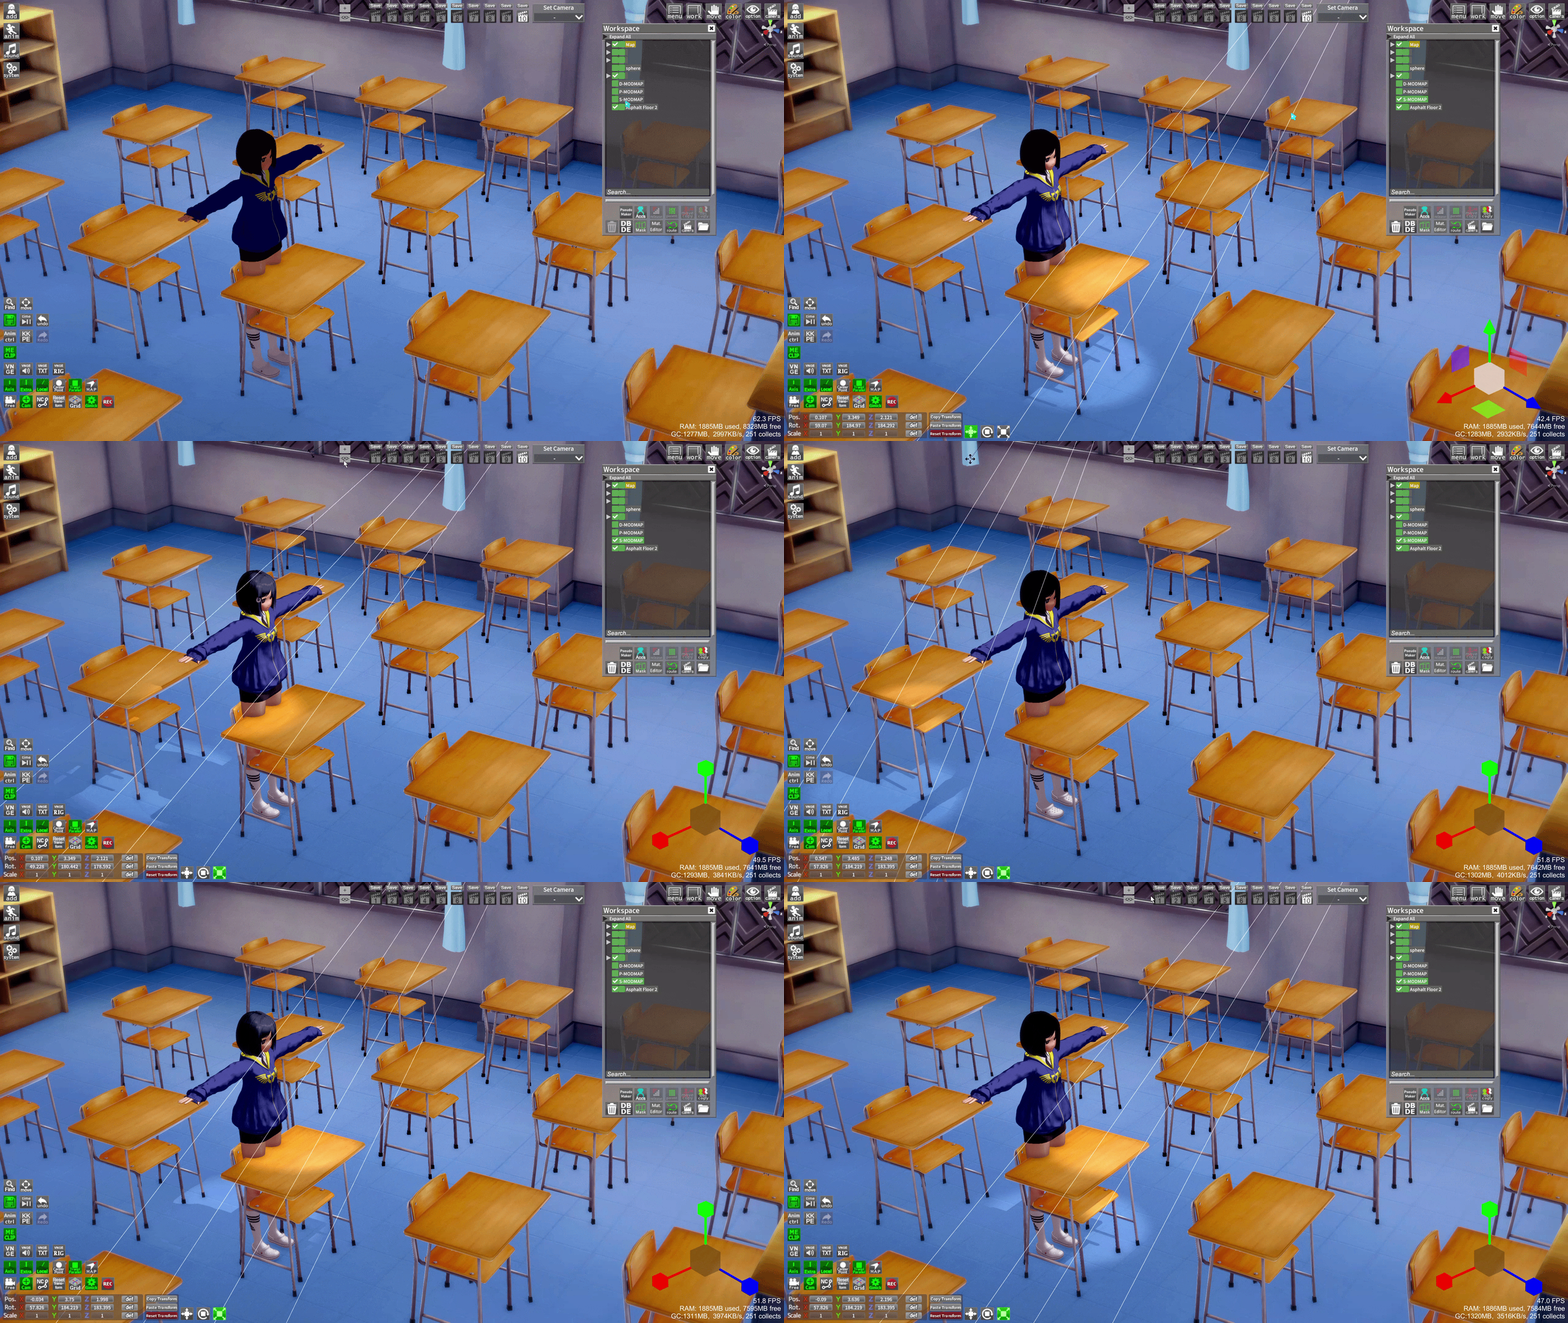
S-MODMAP
A spotlight, useful for a more directed light (ex. a spotlight or flashlight item)
Light from map
Maps from add->Map often have their own lighting. The ObjectMap plugin makes it possible to access elements of the map and edit the lighting
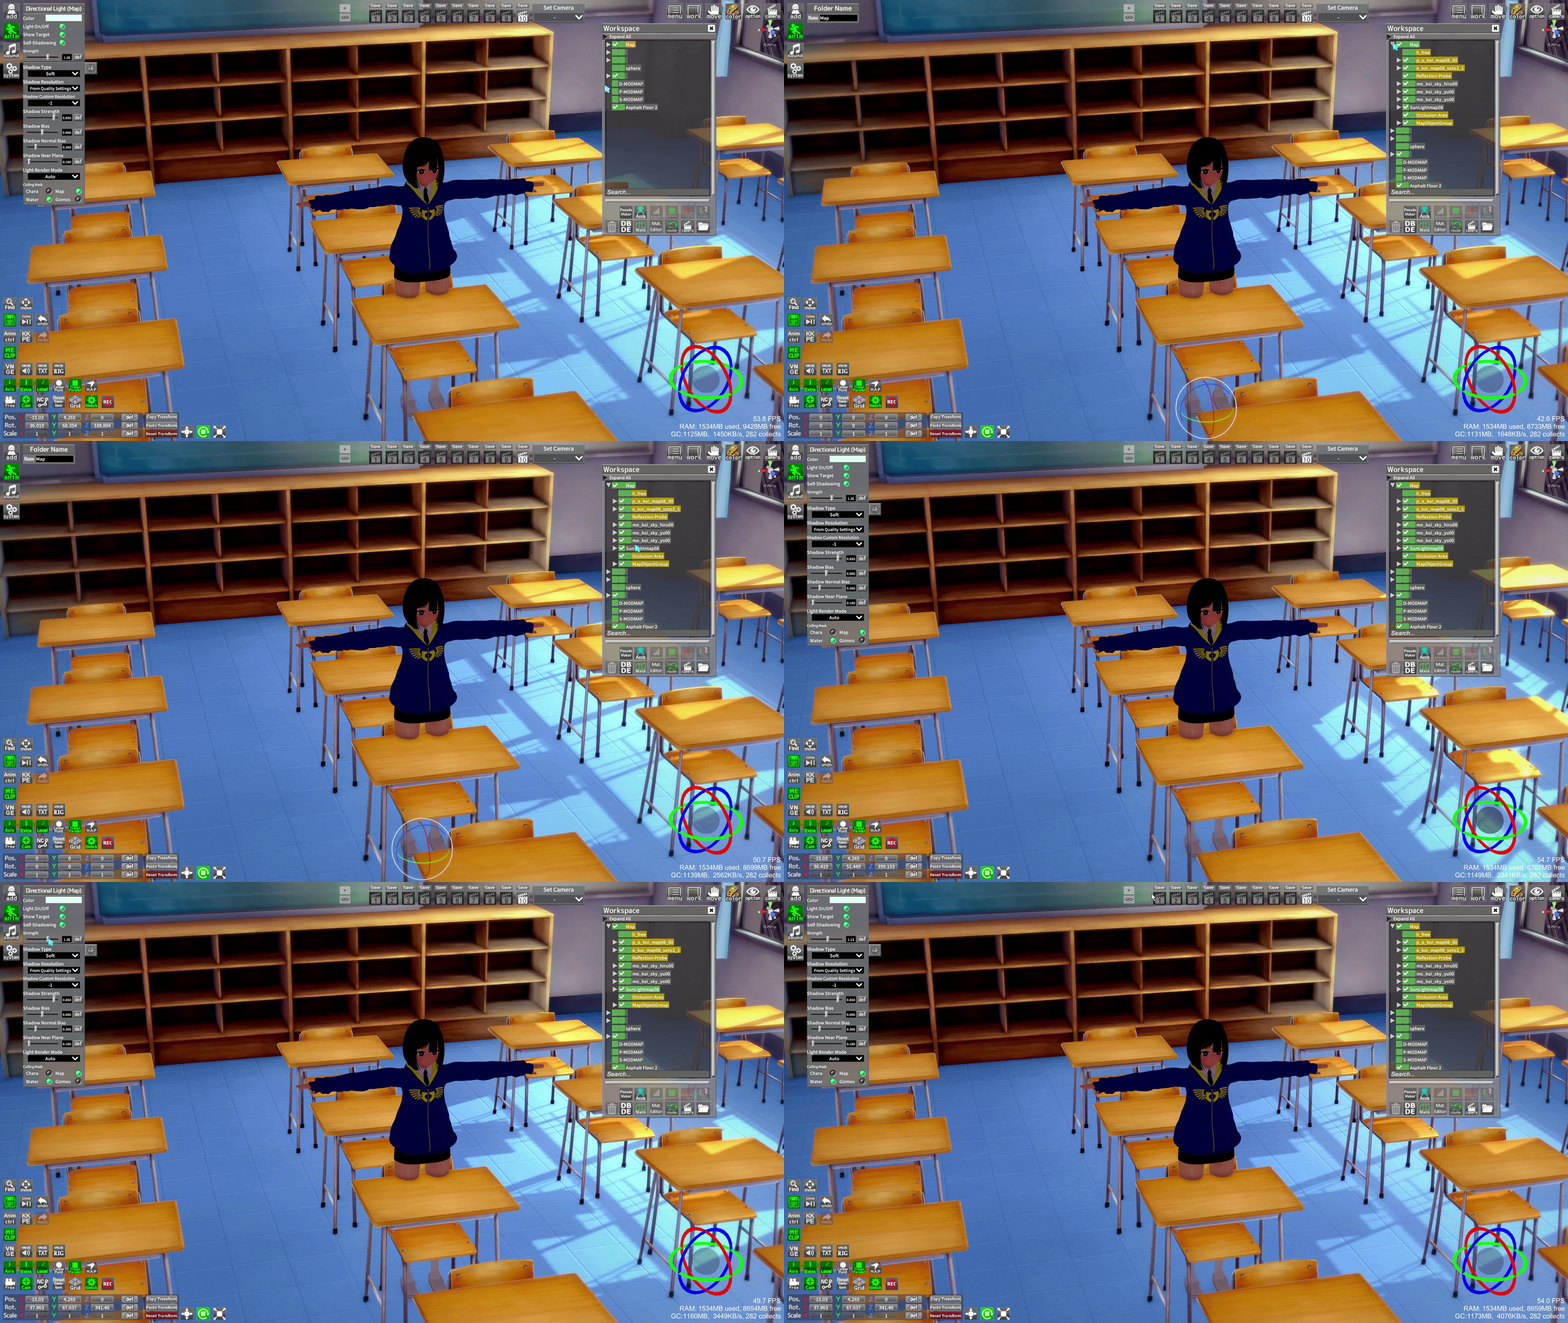
Light Layers
Lights can be set up to affect different layers. This allows you to have lights that affect only certain elements of your scenes. For example, lights that affect the environment and lights that affect the character. Both are affected by default.
There are 2 usable layers: Chara and Map
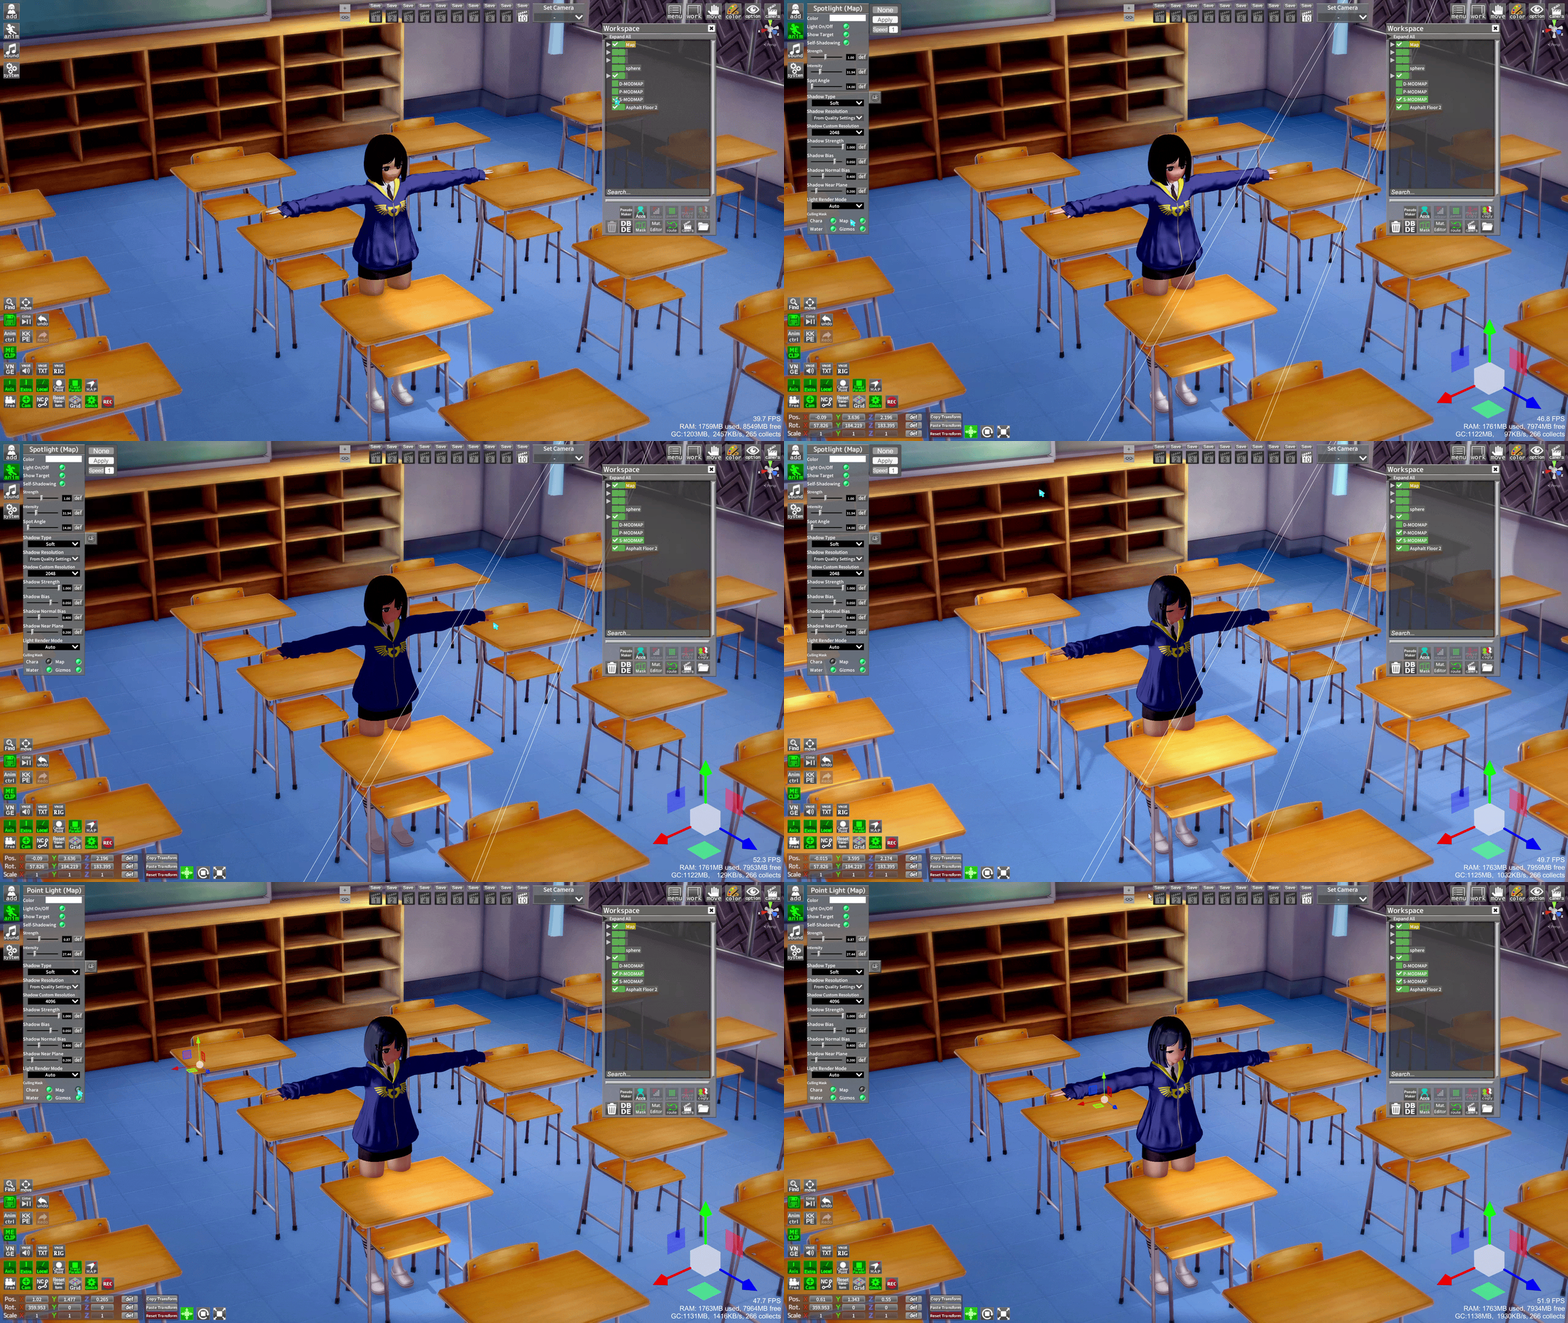
By default, characters are on the Chara layer, but you can change the layer of anything by pressing V
Light and Shadow reception
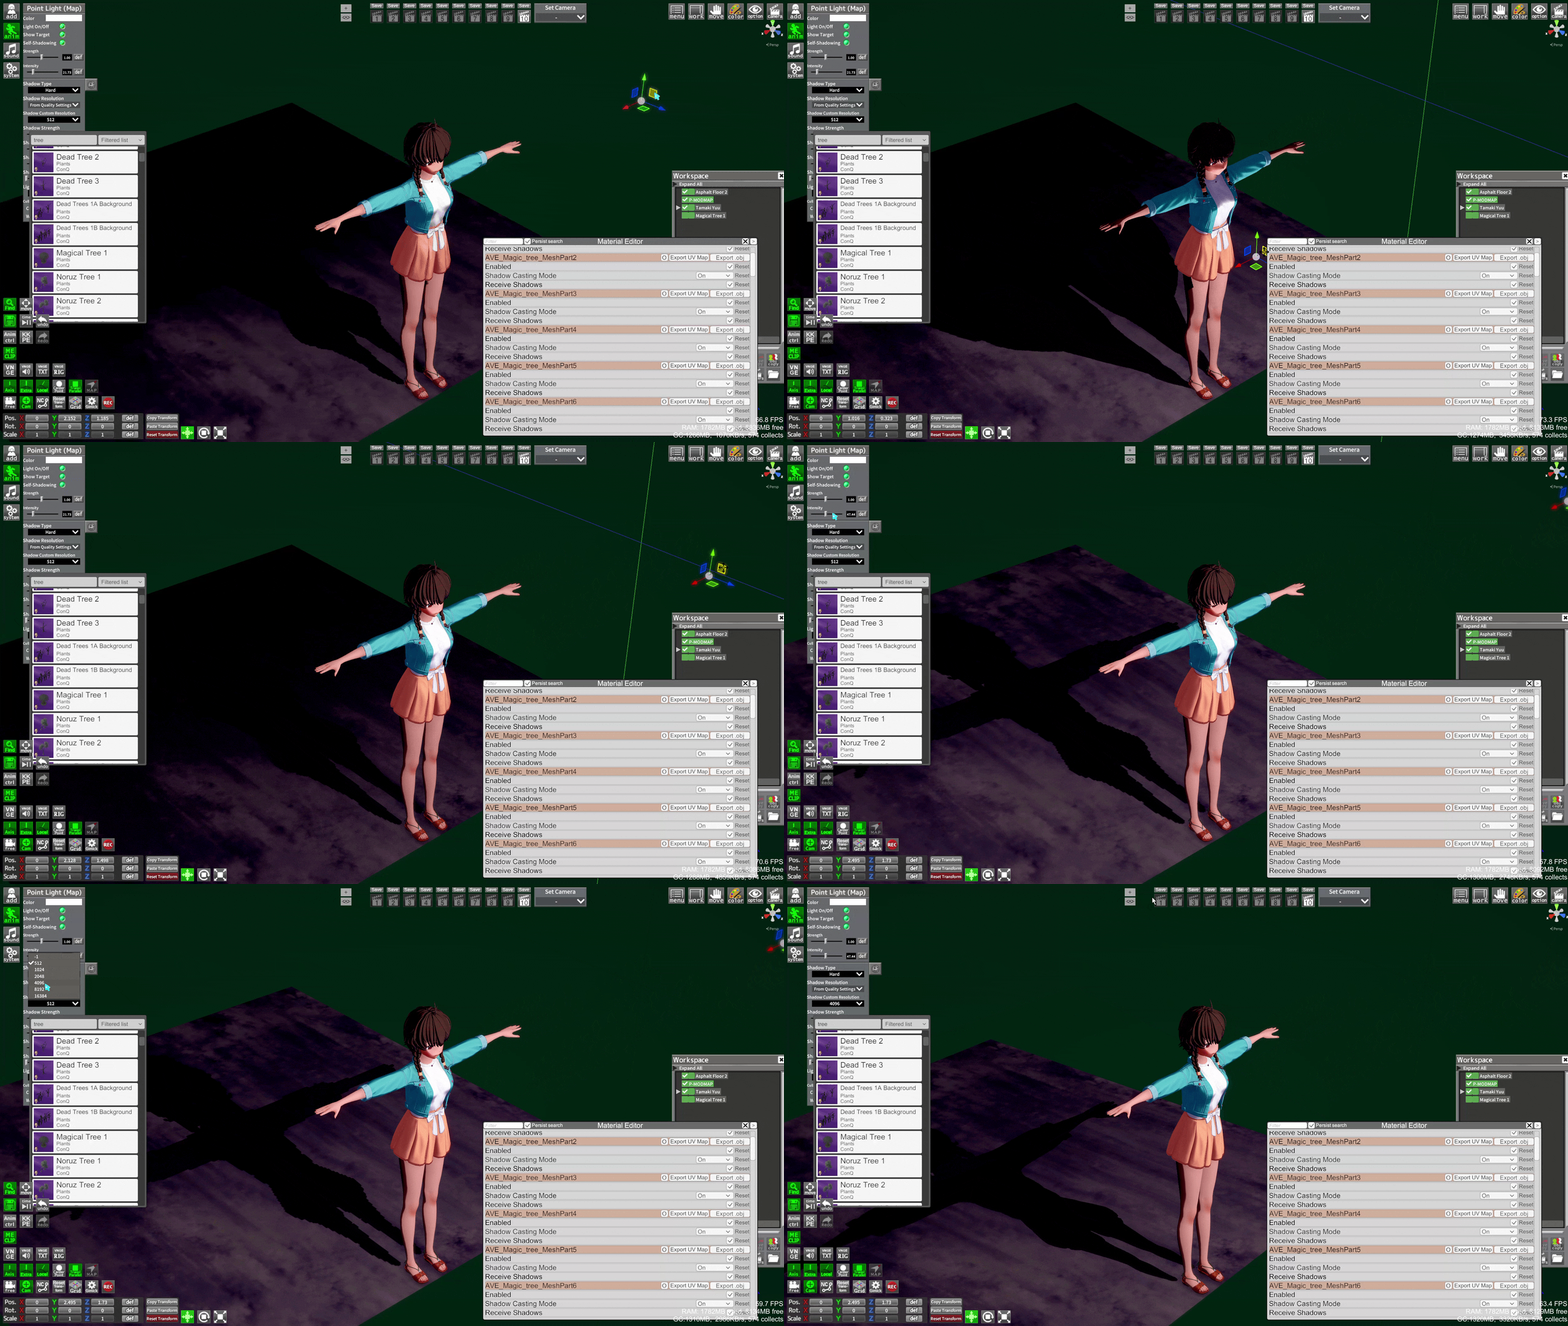
Whether or not a surface will receive a shadow depends on the surface, the surface's shader, and the item casting the shadow. Same for how they receive the light, so test different lights and different shaders.
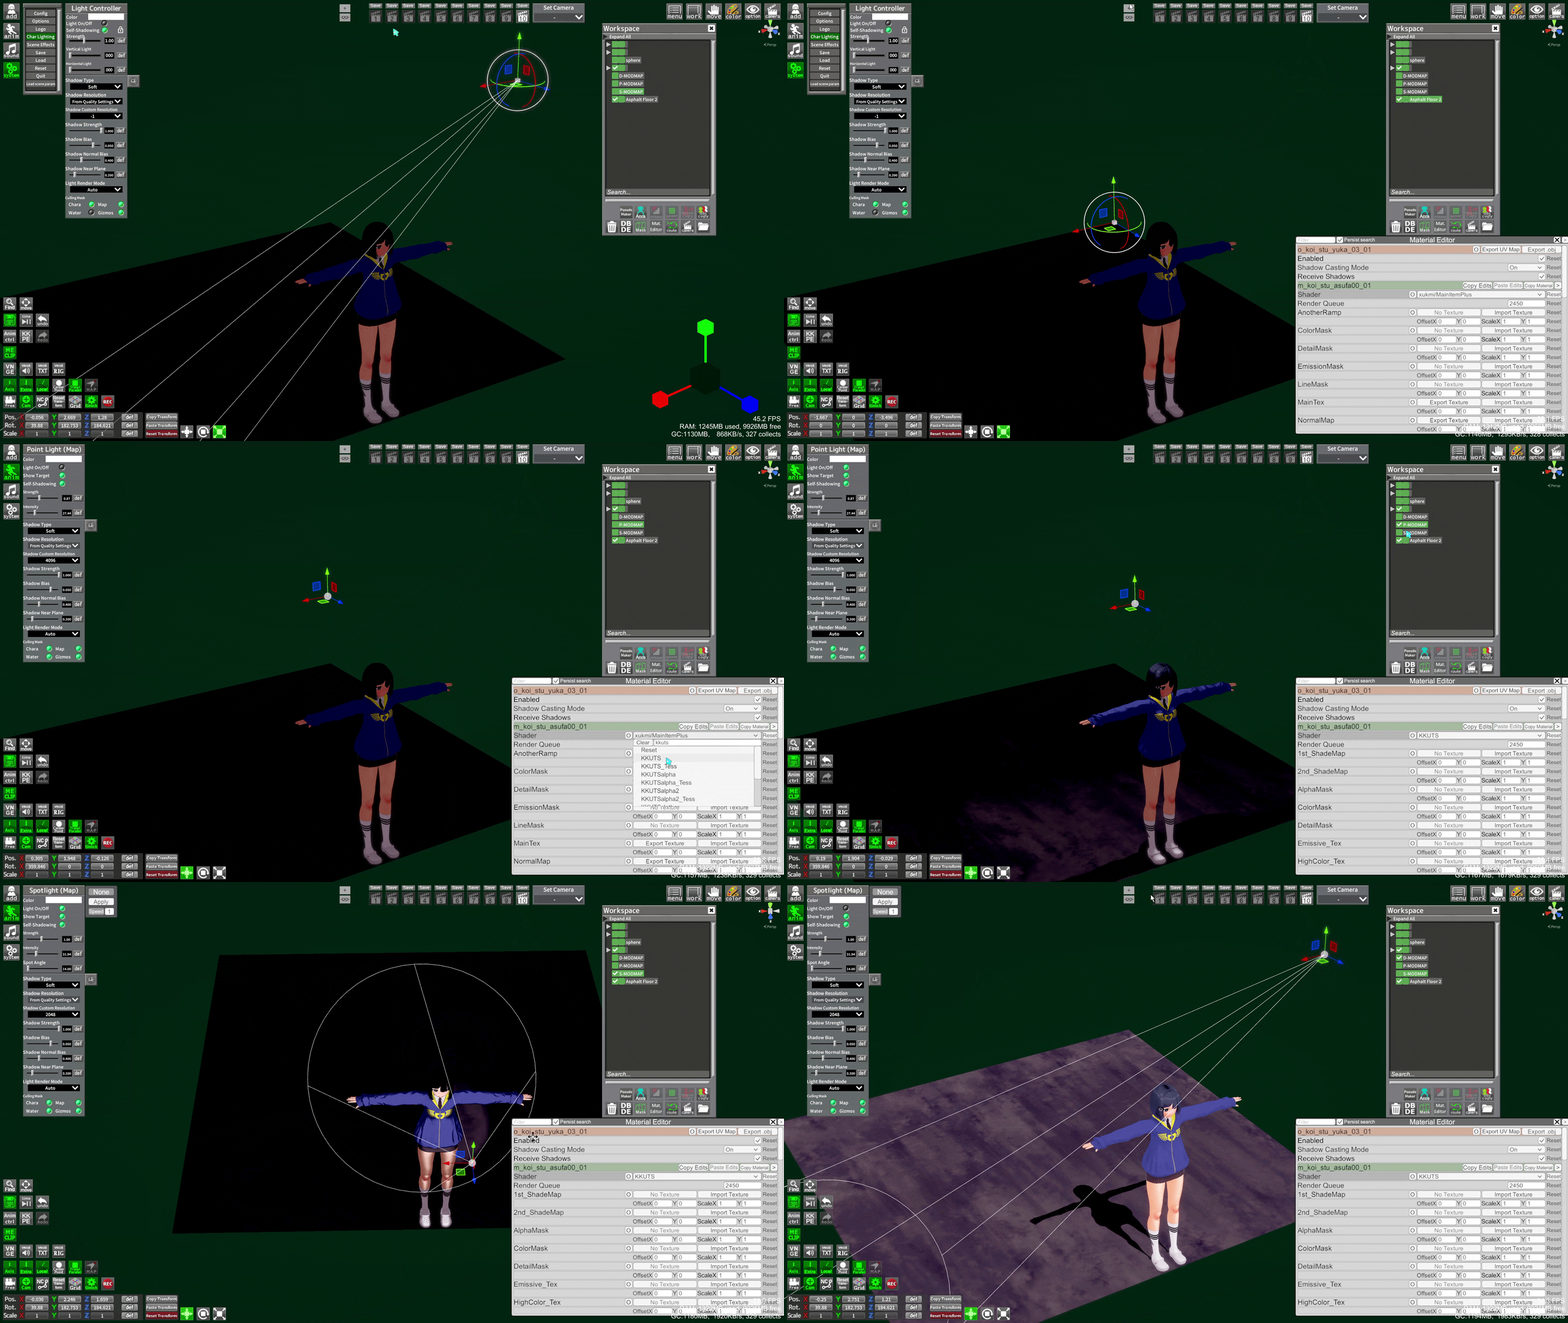
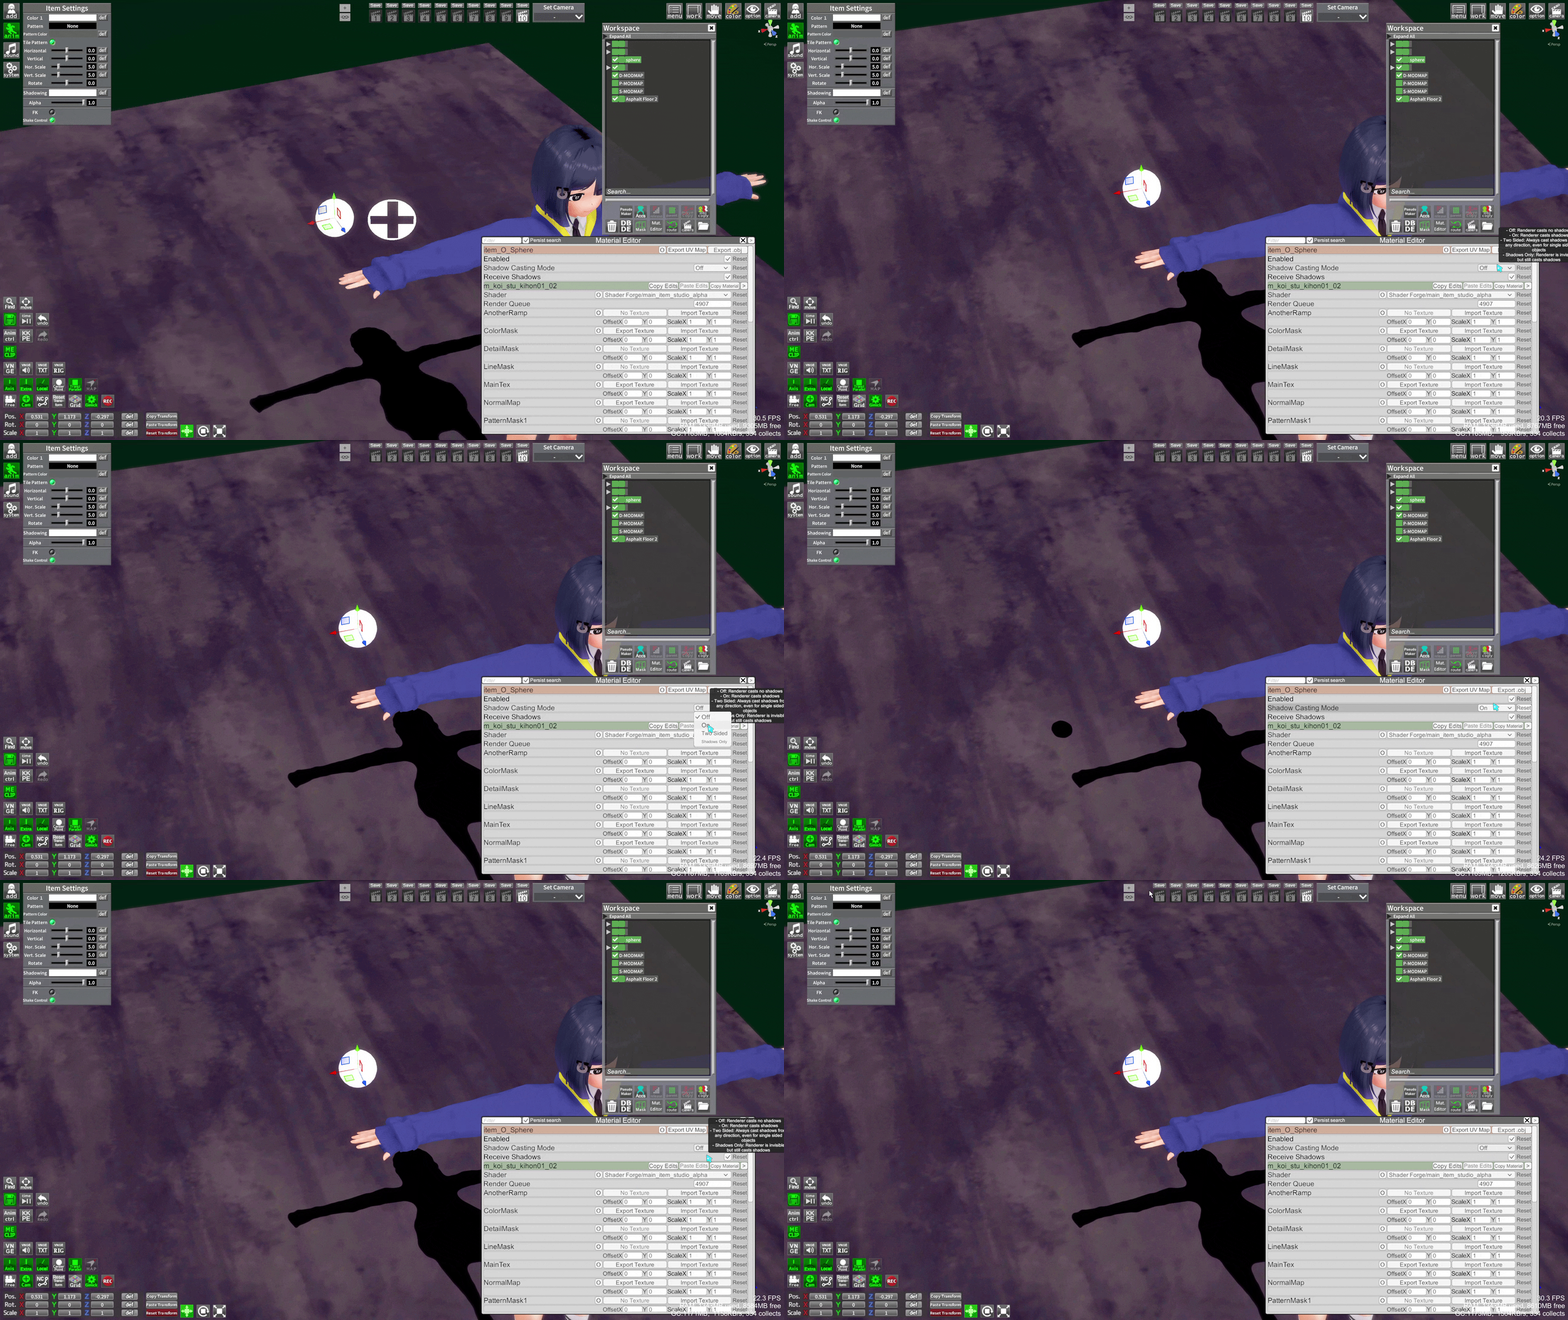
Also, some objects are set not to cast shadows by default, so enable them if you need
The distance of your lights, your shadow resolution, and shadow parameters can all affect how good the shadow looks, especially for "true lighting" shaders like KKUTS
Shader selection
First step is to not use the default Forge or Koikano shaders in Studio, they are very limited in how they react to light sources (ex. you can't use MODLIGHTs with them)
xukmi Vanilla+
V+ is like the default shaders, but better. It reacts to MODLIGHTs, has more sliders, and still reacts to Scene Effects
Koikatsu Unity Toon Shader
A big part of my KKUTS knowledge comes from pizdatyi's guides (also check links in description). He is working on the shader, so follow him to be updated
I think of the more advanced shaders like KKUTS and Az as "true lighting" shaders. The effect will entirely be based on lighting and is not affected by System->Scene Effects(with some exceptions). It also has realistic shadows
Left: V+, affected by presets, fake shadows
Right: KKUTS, only affected by some presets, real lighting and shadows
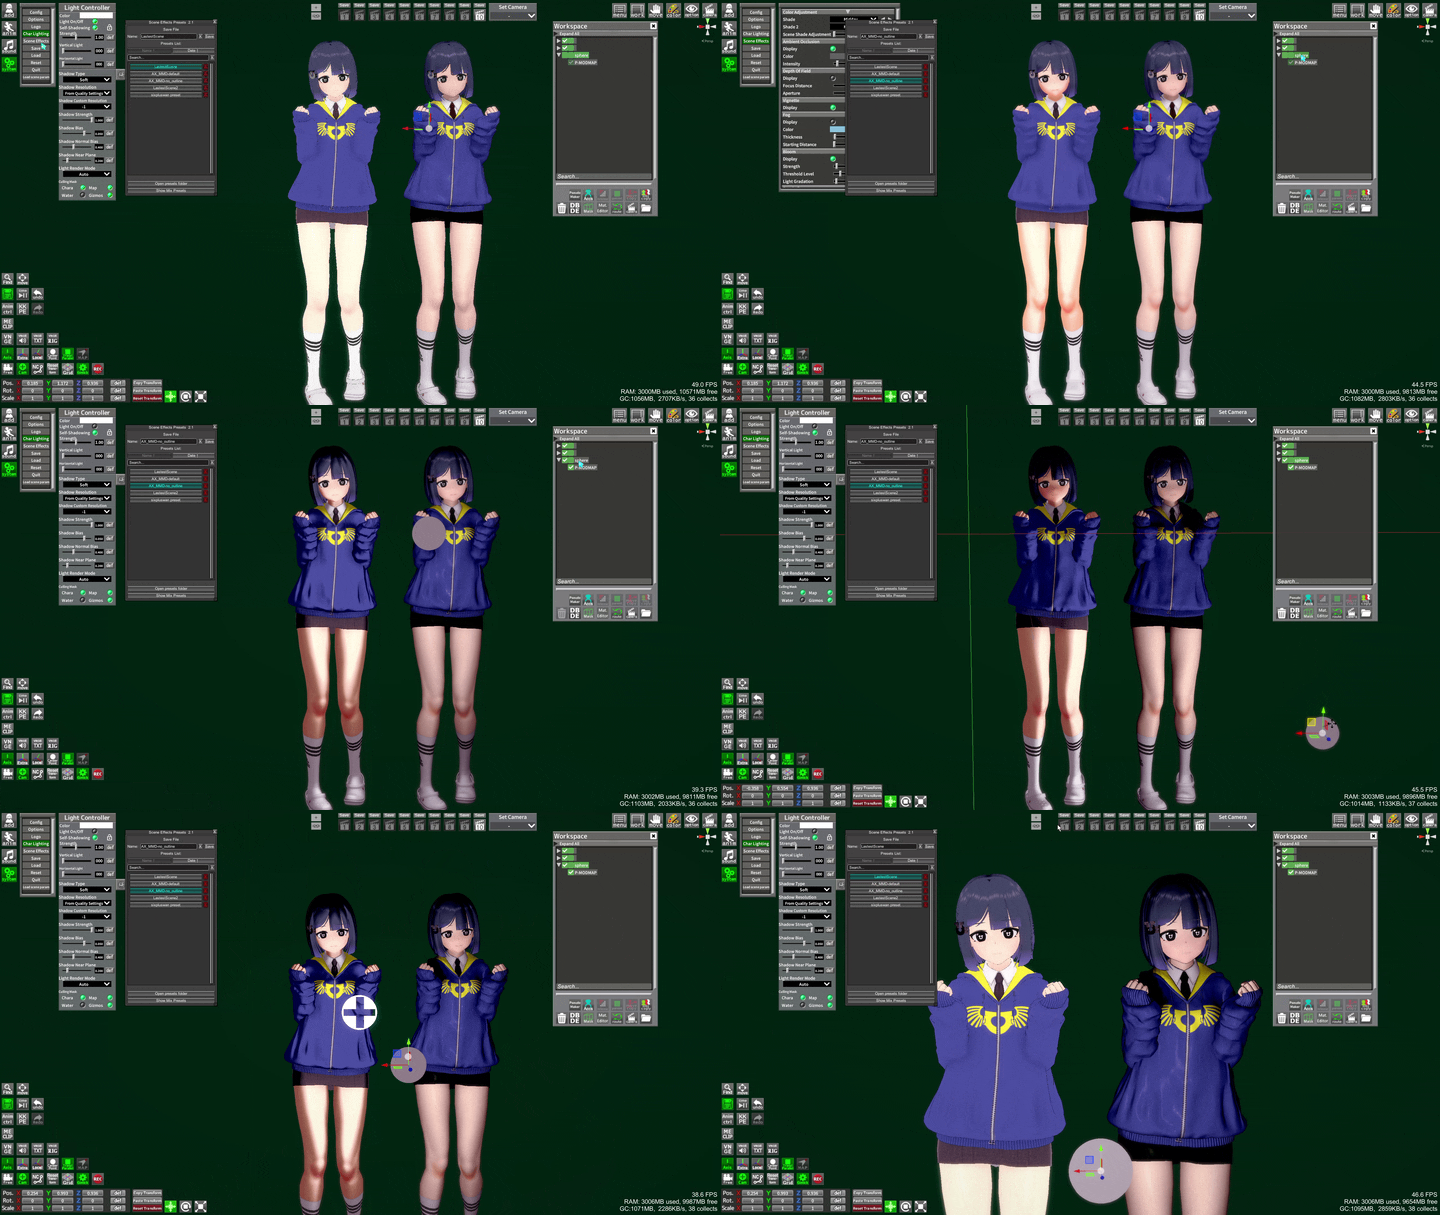
But it doesn't mean it can only produce a "realistic" or 3D look. It can make one or the other, depending on how you set it up
For a flat look, hard shadows with low HighColor and Specular, outline in preset:

For a more 3D look, smooth shadows with some HighColor and Specular, no outlines:

Az Shader Standard
I have little to no experience with this shader, because it requires more advanced knowledge of shaders and lighting in general (and I haven't found an easy-to-digest guide). But if you want to go for the full 3D look and make content that looks like it was made in Blender, this is the shader to learn.
This is how it looks by default, with no alterations and 1 point light (Character Lighting disabled)

I could not find a guide, but there is technical documentation you can read to learn
Intermediate guide
Maybe I'll fill this section someday. But for now, this online guide will do. There is some overlap with things I said already, but it covers a wider range of subjects and is more in-depth (such as individual sliders)
Textures
This is a whole other subject, and it can have a significant effect on how your character looks
NormalMap and NormalDetailMap, DetailMask, Shading Maps, Overlays and Underlays (Charamaker/StudioPseudoMaker only), lots of things that can accentuate/hide features of the character, give more details, or give you more control over the shading
(A few examples)
BodyOverlay - FaceOverlay
BodyDetailMask - NormalMap

Pizdatyi has some guides on different subjects
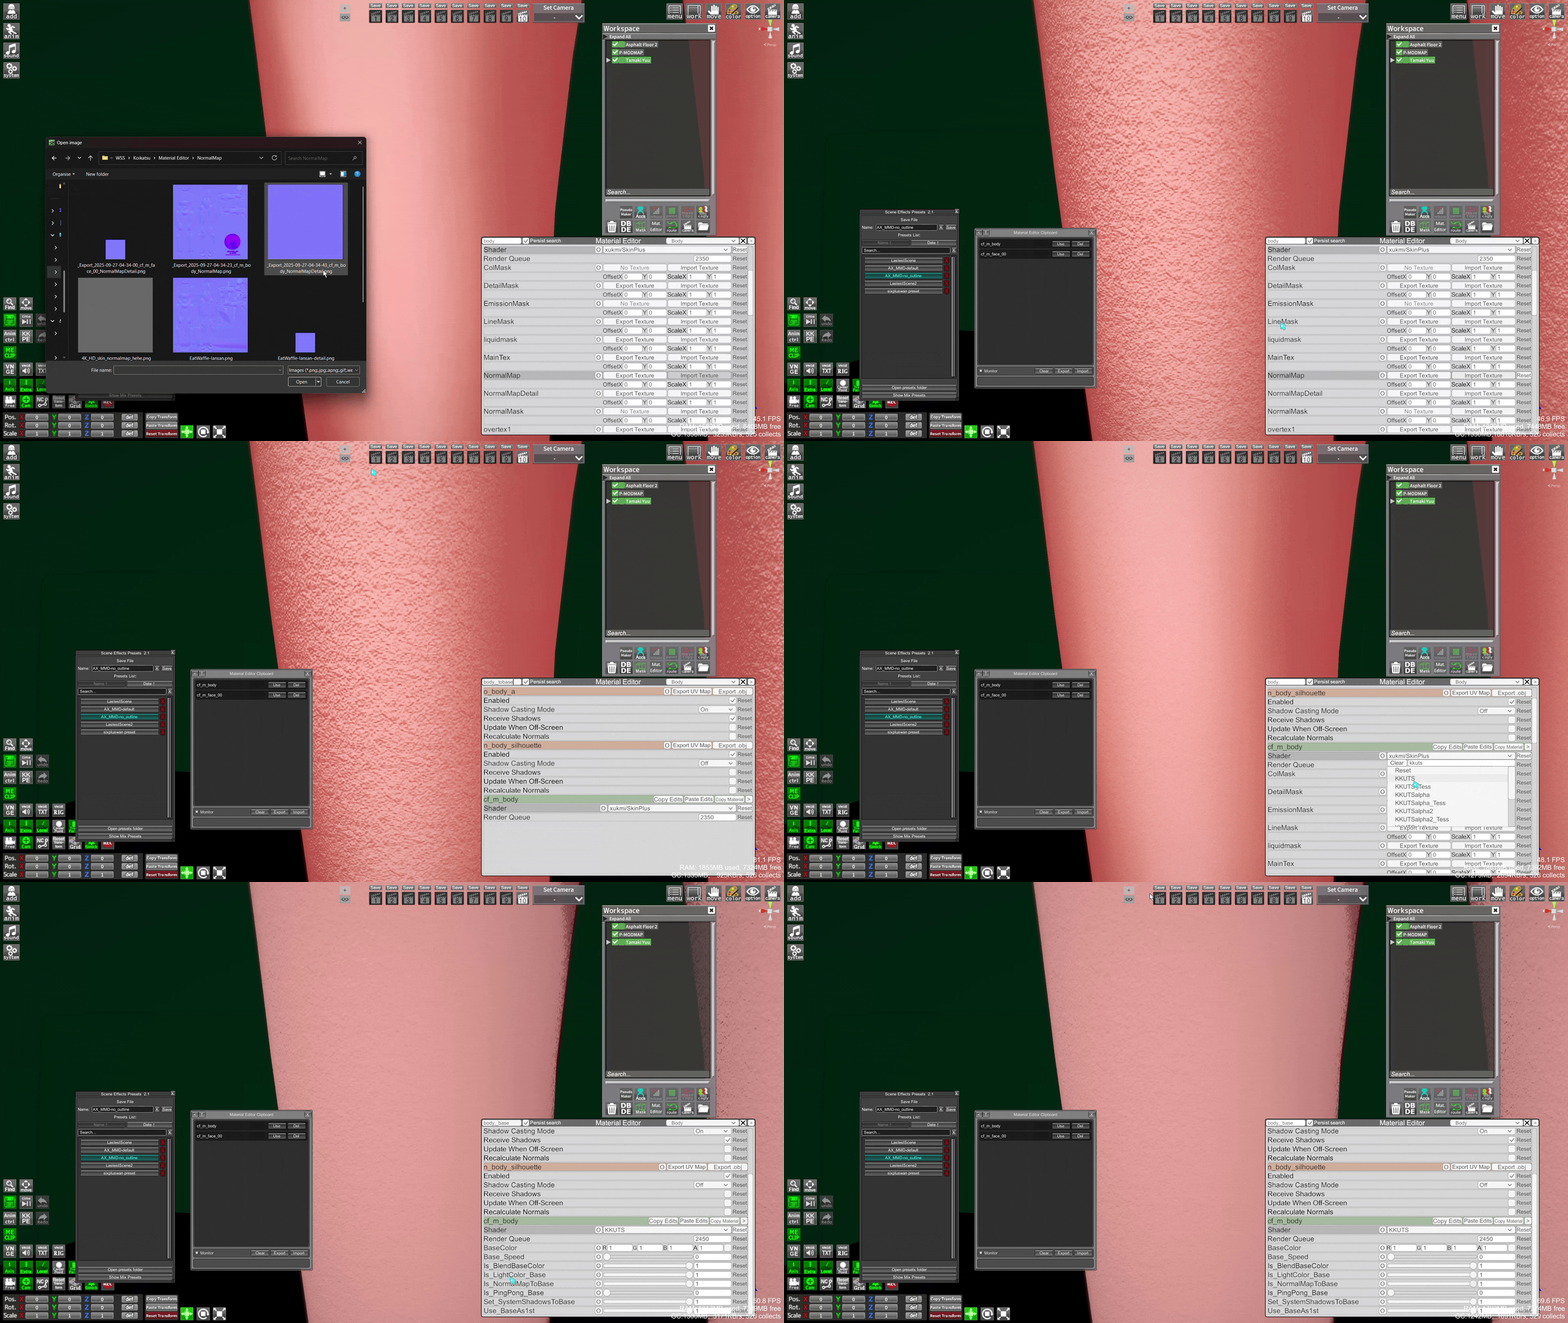
You can also explore the Sharing Site channels on Discord to get materials, such as this 4k NormalMap from #material-sharing that allows you to add skin pores
Quick preset
When I want to do a quick basic lighting setup, I use a mix of
- V+ to start, Ctrl+P to convert any default shaders
- Load a scene effect preset, I like a softer 2.5D look (things don't need to be 100% anime OR 3D)
- Load KKUTS skin presets with some textures included, or start with the
ShadeColorslider - Add some MODMAP lights and lower or disable
System->Chara Light - Tweak shadow settings
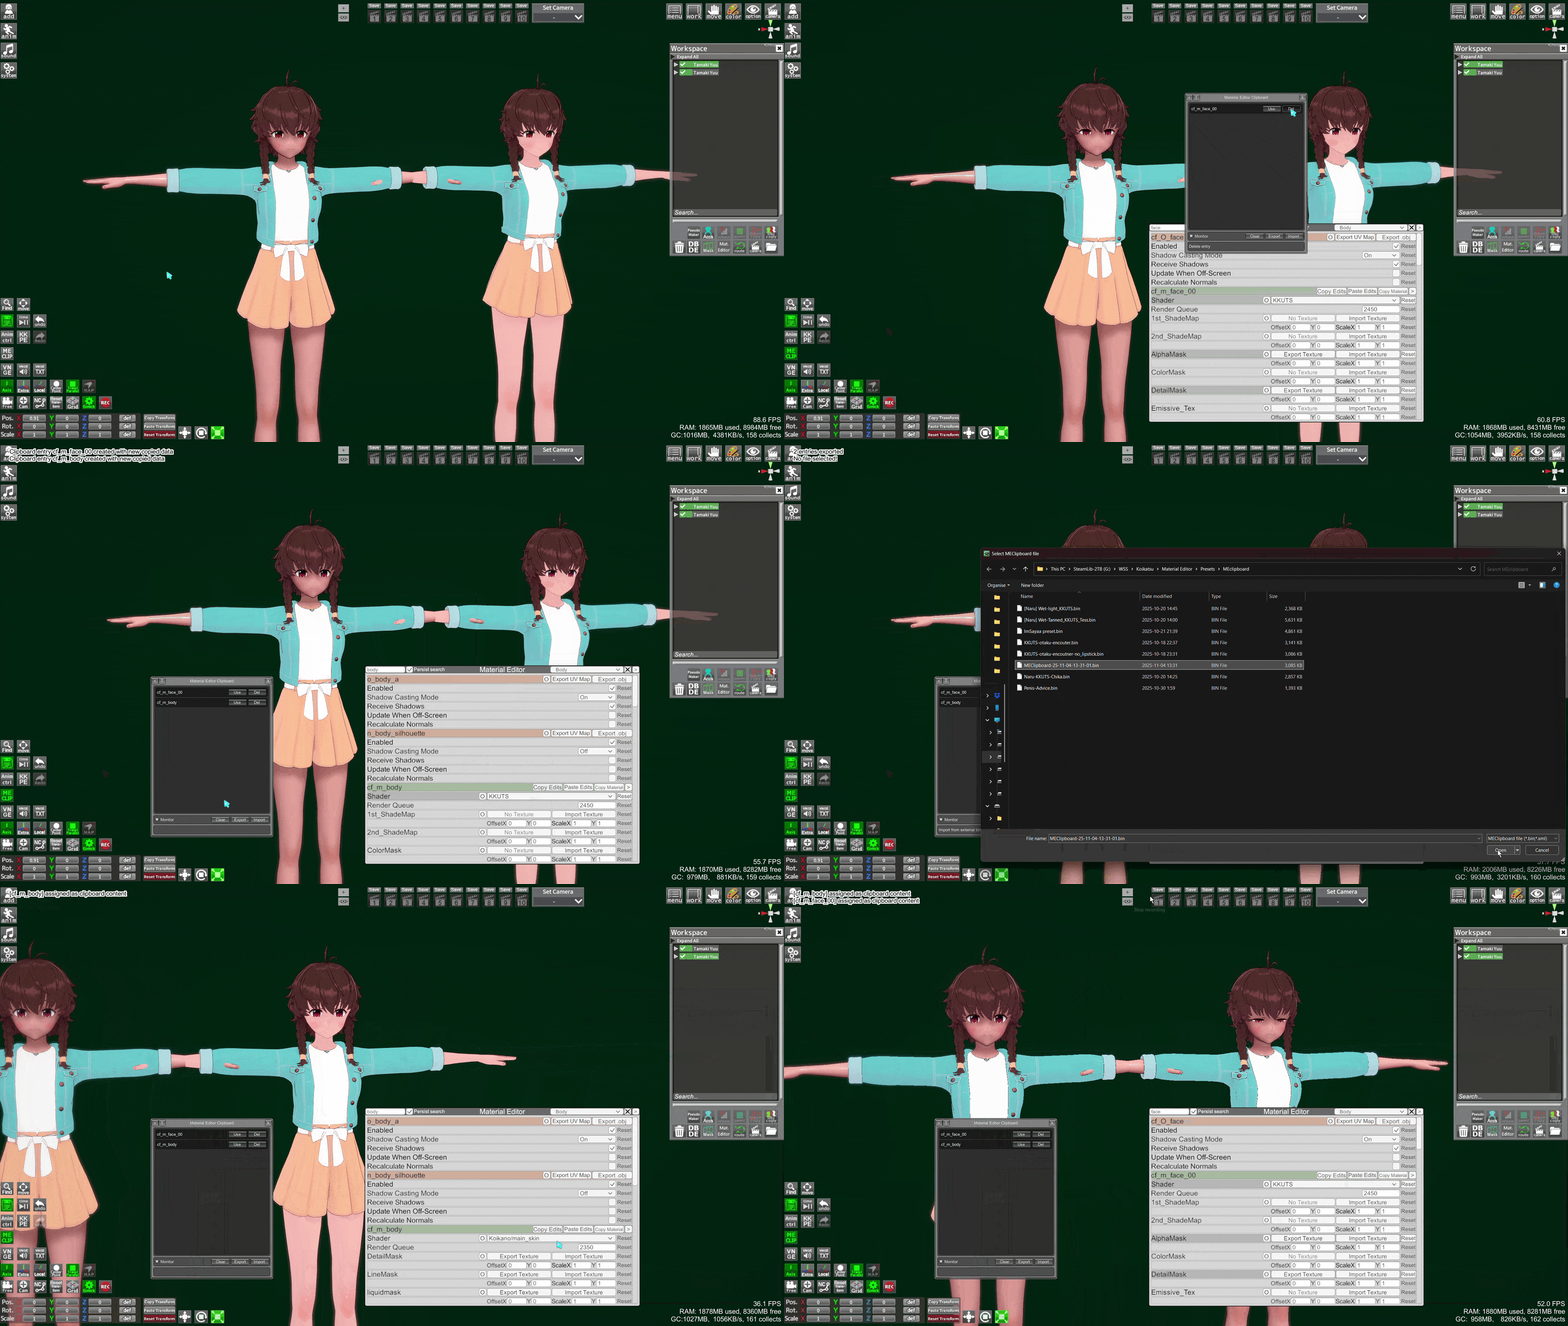
The Scene Effect presets and MEclipboard presets if you want to try them:
https://www.mediafire.com/file/1wa1jyj0f5s6y7o/Lighting-guide-presets.zip/file


