College Football on Kodi: Best Add-ons for Live Streaming the 2018 Season
Kodi is the most popular online media centre in the world right now. While it can play just about every file format imaginable on virtually any modern device, its ability to enable users to watch movies, TV shows, and live sporting events is the software’s primary appeal. Live sports streams are especially popular, with a number of dedicated third-party add-ons available for American football, and NCAA College Football fans in particular.
As with live NFL streams, Kodi users will need to download and install a third-party add-on in order to watch live NCAA streams and other College Football content. This is a pretty straightforward process, but to help you through it we have included our step-by-step guide to installing Kodi add-ons below. Then, you can use any of our recommendations to get your NCAA College Football fix, no matter where you are.
Reminder
When using Kodi to stream media content, especially live streams of sporting events, it is always advisable to use a VPN. Although Kodi is itself 100% legal, its third-party add-ons may not be. As such, users have been known to receive legal notices for breach of copyright law as a result of using these add-ons. A VPN can help shield you from liability by masking your activity online.
We’ve made our recommendation for the best VPN for Kodi users based on the following criteria:
- Fast connection speeds – VPNs often slow down your speed, but the best ones do so only minimally.
- Strong privacy provisions – No logging, strong encryption, and safety features protect your privacy.
- No restrictions on data or traffic – Streaming is a data-intensive activity, and may be done through protocols not supported by some VPNs.
- Broad server availability – Lots of options for proxy servers worldwide will optimise both your connection speed and the range of content you can access.
The Best VPN for Kodi: IPVanish
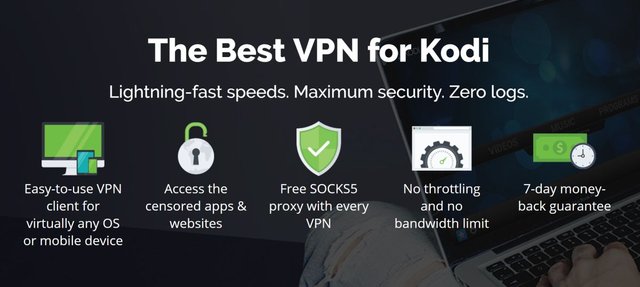
Featuring 256-bit AES encryption, DNS leak protection, an automatic kill switch, and a strict no-logging policy, your privacy is made a top priority. Connection speed is excellent, and we’ve found our Kodi streams to be largely buffer-free. IPVanish has a vast network of 850 proxy servers in 60 countries. There are absolutely no restrictions on what type of data can be passed through these servers (including torrent and P2P), nor any limit to your bandwidth. To top it all off, IPVanish has dedicated apps for nearly any modern device.
IPVanish offers a 7-day money back guarantee which means you have a week to test it risk-free. Please note that Addictive Tips readers can save a massive 60% here on the IPVanish annual plan, taking the monthly price down to only $4.87/mo.
How to Install Kodi Add-ons
Once you have Kodi safely downloaded and installed onto your device and you have signed up and connected to your VPN, you are ready to start installing add-ons. A whole world of entertaining is now literally at your fingertips! You can access these add-ons through repositories (or “repos”), which collect relevant add-ons together in one easy-to-access place. Official Kodi addons can be downloaded really easily through the official Kodi repository, but if you are looking for a third-party addon, there are few more steps you need to go through before you can start watching.
The first thing you need to do is change the Kodi settings to enable you to download add-ons from external sources. This can be done by following these four simple steps:
- Open Kodi and click on the gear icon in the top left to enter the System menu.
- Go to System Settings > Add-ons
- Toggle the slider next to “Unknown sources” to enable them to be downloaded
- Accept the pop-up warning message that pops up.
Once you have enabled add-ons from unknown sources, you have to actually download and install them. This is an equally straightforward process. All you need to do is tell Kodi where the relevant repository for your addon is located, add this repository to Kodi, and then choose which addons you want to install from it.
You can do all of this by following these few simple steps:
- Open Kodi and click on the gear icon in the top left to enter the System menu.
- Go to File Manager > Add Source.
- Click on the URL bar in the centre of the screen and type in the URL of the relevant add-on repository.
- Add a name for the repository in the text box below. Then click OK.
- Return to the Kodi main menu and select Add-ons followed by the open box icon. This can be found at the top of the menu on the left-hand side of the page.
- Click on Install from Zip File, then select the media source you just added and the repository you need to install.
- Wait a moment. Once the repository has installed, a notification will appear in the top right of the screen.
- Go back to the Add-ons menu again and click the open box icon once more.
- This time click on Install from repository.
- Select the repository you just downloaded and then search through the list of add-ons for the one you want to download.
- Click on your chosen add-on and then select Install to download and install it. You will need to wait for the confirmation notification again
With that your add-on has downloaded and will be available to use from the Add-on menu.
College Football is a big deal in the US. As the feeder league for the NFL (and the breeding ground for the next generation of American Football stars) there is plenty of demand to watch College Football on TV. In fact, major broadcasters ABC, CBS, Fox, and NBC are showing more than 100 live games between them during the course of the 2018 season. There will also be varying degrees of coverage of the rest of the games on ESPN, ESPN 2, ESPN U, ESPN Goal Line, Fox Sports 1, Fox Sports 2, Big Ten, and the SEC Network.
This spread of broadcasting rights means that Kodi users may need to use a combination of the add-ons recommended below when looking for particular games. This shouldn’t be a problem though, as all of the add-ons in this article have their own merits and are worthy of a place in your streaming arsenal. They all offer access to live game streams and recorded content from NCAA College Football, with the first one, in particular, a must-have for all true football fans.
DON’T FORGET: Use a VPN when streaming through Kodi. IPVanish gives our readers an exclusive discount of 60% and you’ll only pay $4.87 a month to keep your browsing safe and private.
USTV Now
USTV now is an interesting option because it offers a free and guaranteed 100% legal US TV streaming service. If this sounds too good to be true, note that there are a few catches. Firstly, you need to create an account with them to access the service. The process to do this is easy, but some Kodi users are reluctant to register their details with any add-on out of principle.
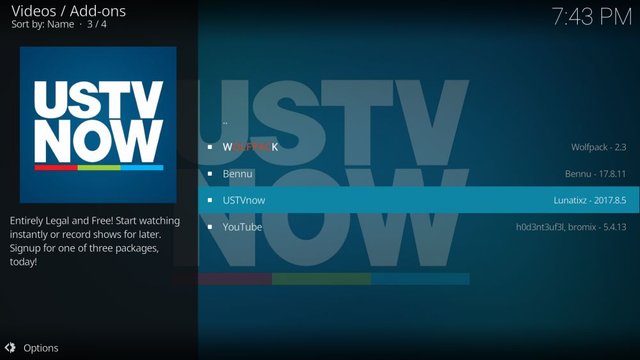
The free service is limited too. Only seven channels are included in this package, but they are ABC, CBS, CW, FOX, NBC, PBS, and My9. With the four main College Football providers in there, USTV Now users can look forward to more than 100 live NCAA College Football games on USTV Now. However, this service is only available in HD for 45 days. After that, you will have to put up with regular picture quality.
There is a paid version of the add-on available too, which boosts the number of channels to 24. But at $29.99 a month, it is pretty expensive. The reason for the price is that USTV Now has signed agreements with all the broadcasters it streams, so legality will never be in question. For College Football fans, however, the free version should more than suffice.
How to install USTV Now on Kodi
- Open Kodi and click on the gear icon in the top left to enter the System
- Go to File Manager > Add Source.
- Click on the URL bar in the centre of the screen and type in the following URL exactly – http://kdil.co/repo/kodil.zip
- Add a name, such as Kodil, for the repository in the text box below. Then click OK.
- Return to the Kodi main menu and select Add-ons followed by the open box icon. This can be found at the top of the menu on the left-hand side of the page.
- Click on Install from Zip File, then select the Kodisrael Repository you just added.
- Wait a moment. Once the repository has installed, a notification will appear in the top right of the screen.
- Go back to the Add-ons menu again and click the open box icon once more.
- This time click on Install from repository.
- Select the Kodisrael.co.il Repository and then search through the list of Video Addons for USTV Now.
- Click on the addon and then select Install to download and install it. You will need to wait for the confirmation notification again.
SportsDevil
SportsDevil is a popular and wide-ranging Kodi addon which, as the name suggests, offers live streams of just about any sport you might care to mention. American Football is particularly well catered to, with multiple links to live NFL and NCAA College Football games. SportsDevil is well maintained which means that most links work well and any reliability issues you do encounter are likely to stem from the link source rather than the SportsDevil add-on itself.
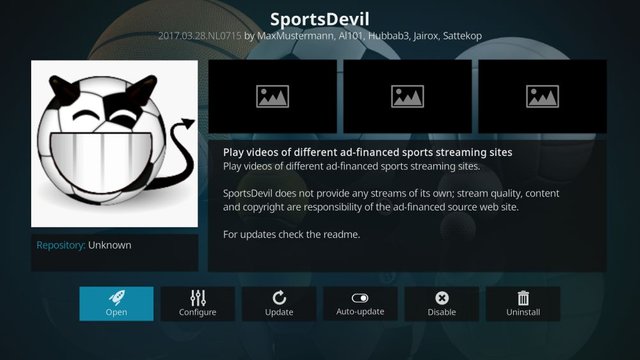
Multiple links for just about every College Football game means you should have no trouble finding one which works well for you. And with their simple and easy-to-use design, you will have no trouble finding the game you are after either. You can track a working version of SportsDevil down on the Smash Repository, but for the very latest edition, you will need to download it directly from the zip file. To make things easier for you, we have outlined both processes below.
How to install SportsDevil on Kodi from Zip file
- Firstly, download the zip file directly from the following URL: http://www.mediafire.com/file/l24at8ga43sabkr/plugin.video.SportsDevil_NL15-7.zip
- Go to the Kodi home page > Addons > My Addons.
- Now select the ellipses (…) at the top of the menu in the centre of the screen and click on Install from zip file.
- Locate where you saved the zip file downloaded in step 1 and select it. It should be called video.SportsDevil-2017_NL15-7.zip.
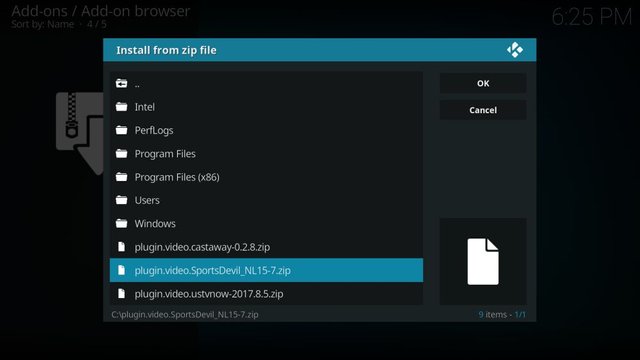
- The SportsDevil add-on should now install. Wait for the confirmation message at the top right of the screen to confirm that the addon has been successfully installed. Your SportsDevil add-on should now be accessible from the Video add-ons section of your Add-on menu.
How to install SportsDevil on Kodi from the Smash Repository
- Open Kodi and click on the gear icon in the top left to enter the System
- Go to File Manager > Add Source.
- Click on the URL bar in the centre of the screen and type in the following URL exactly – http://mediarepos.net/kodistuff/-SmashRepo.zip
- Add a name, such as Smash, for the repository in the text box below. Then click OK.
- Return to the Kodi main menu and select Add-ons followed by the open box icon. This can be found at the top of the menu on the left-hand side of the page.
- Click on Install from Zip File, then select the -Smash Repo.zip Repository you just added.


- Wait a moment. Once the repository has installed, a notification will appear in the top right of the screen.
- Go back to the Add-ons menu again and click the open box icon once more.
- This time click on Install from repository.
- Select the Smash Repository and then search through the list of Video Addons for SportsDevil.
- Click on the addon and then select Install to download and install it. You will need to wait for the confirmation notification again
cCloud TV
cCloud TV is perhaps the best IPTV Kodi add-on right now. It provides live streams from literally hundreds of channels around the world, including most of the popular US stations. This includes cable and subscription TV services which mean that just about every College Football game that is broadcast in the USA should be accessible through cCloud TV. The presence of ESPN is particularly welcome as it is not found everywhere.
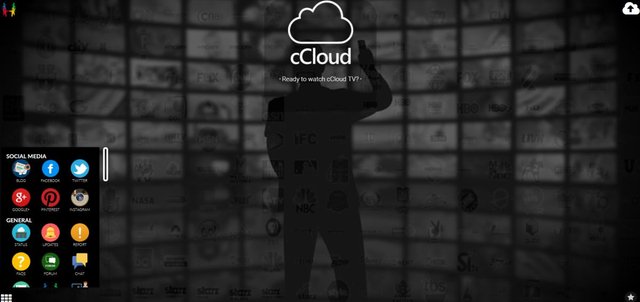
The beauty of cCloud TV is in its simplicity. The add-on has a clean design that is very intuitive to use. Simply find the channel you want to watch, select it, and the add-on will do the rest. It is also very simple to download and install, too.
How to install cCloud TV on Kodi
- Open Kodi and click on the gear icon in the top left to enter the System
- Go to File Manager > Add Source.
- Click on the URL bar in the centre of the screen and type in the following URL exactly – http://srp.nu
- Add a name, such as SuperRepo, for the repository in the text box below. Then click OK.
- Return to the Kodi main menu and select Add-ons followed by the open box icon. This can be found at the top of the menu on the left-hand side of the page.
- Click on Install from Zip File, then select the SuperRepo Repository you just added.
- Wait a moment. Once the repository has installed, a notification will appear in the top right of the screen.
- Go back to the Add-ons menu again and click the open box icon once more.
- This time click on Install from repository.
- Select the SuperRepo Repository and then search through the list of Video Addons for cCLoud
- Click on the addon and then select Install to download and install it. You will need to wait for the confirmation notification again.
DON’T FORGET: Use a VPN when streaming through Kodi. IPVanish gives our readers an exclusive discount of 60% and you’ll only pay $4.87 a month to keep your browsing safe and private.
Any of these recommended add-ons will help you to enjoy live streams of NCAA College Football games. But most of us prefer to watch games on our TV rather than peering at a laptop, iPad, or smartphone screen. Thankfully, there are a number of ways you can watch Kodi streams on your TV. Most devices offer HDMI connectors which will plug into TVs with an HDMI socket (which you’ll find on any modern TV).
But a more reliable way is to install Kodi on an Amazon Fire TV Stick. These devices are the size of a USB stick, cheap to buy, and plug directly into the back of your TV. Installing Kodi on an Amazon Fire TV is much easier than you might think and you can even add our recommended VPN to the device via their official Amazon app.
Conclusion
We’ve shown you how to gain access to the wide world of College Football via Kodi streams using our favourite third-party add-ons. Do you have some of your own? Were our instructions easy to follow? If you have any comments at all, please don’t hesitate to leave them in the comments section below!
Read original article
Posted from our news room : https://news.sye.host/college-football-on-kodi-best-add-ons-for-live-streaming-the-2018-season/
This user is on the @buildawhale blacklist for one or more of the following reasons: