LCVP with U.S. infantry - PART 1 (ITA/ENG)
We continue the realization of the LCVP with U.S. infantry of Italeri. Today we begin the construction of the structure of the hull.
The other parts of the model can be found here:
Photos, images and videos taken by myself during the construction of the model.
Continuiamo la realizzazione dell'LCVP with U.S. infantry di Italeri. Oggi cominciamo la realizzazione della struttura dello scafo.
Le altre parti del modellino è possibile trovarle qui:
Foto, immagini e video scattate dal sottoscritto durante la realizzazione del modellino.
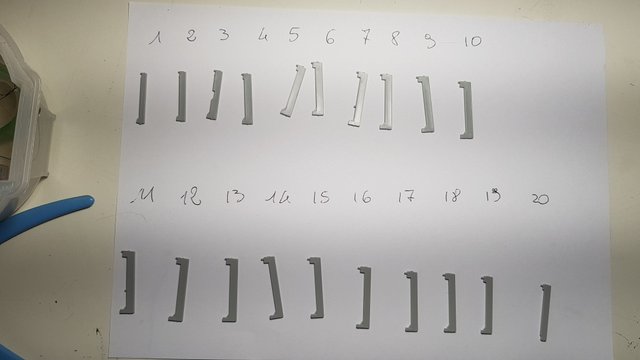
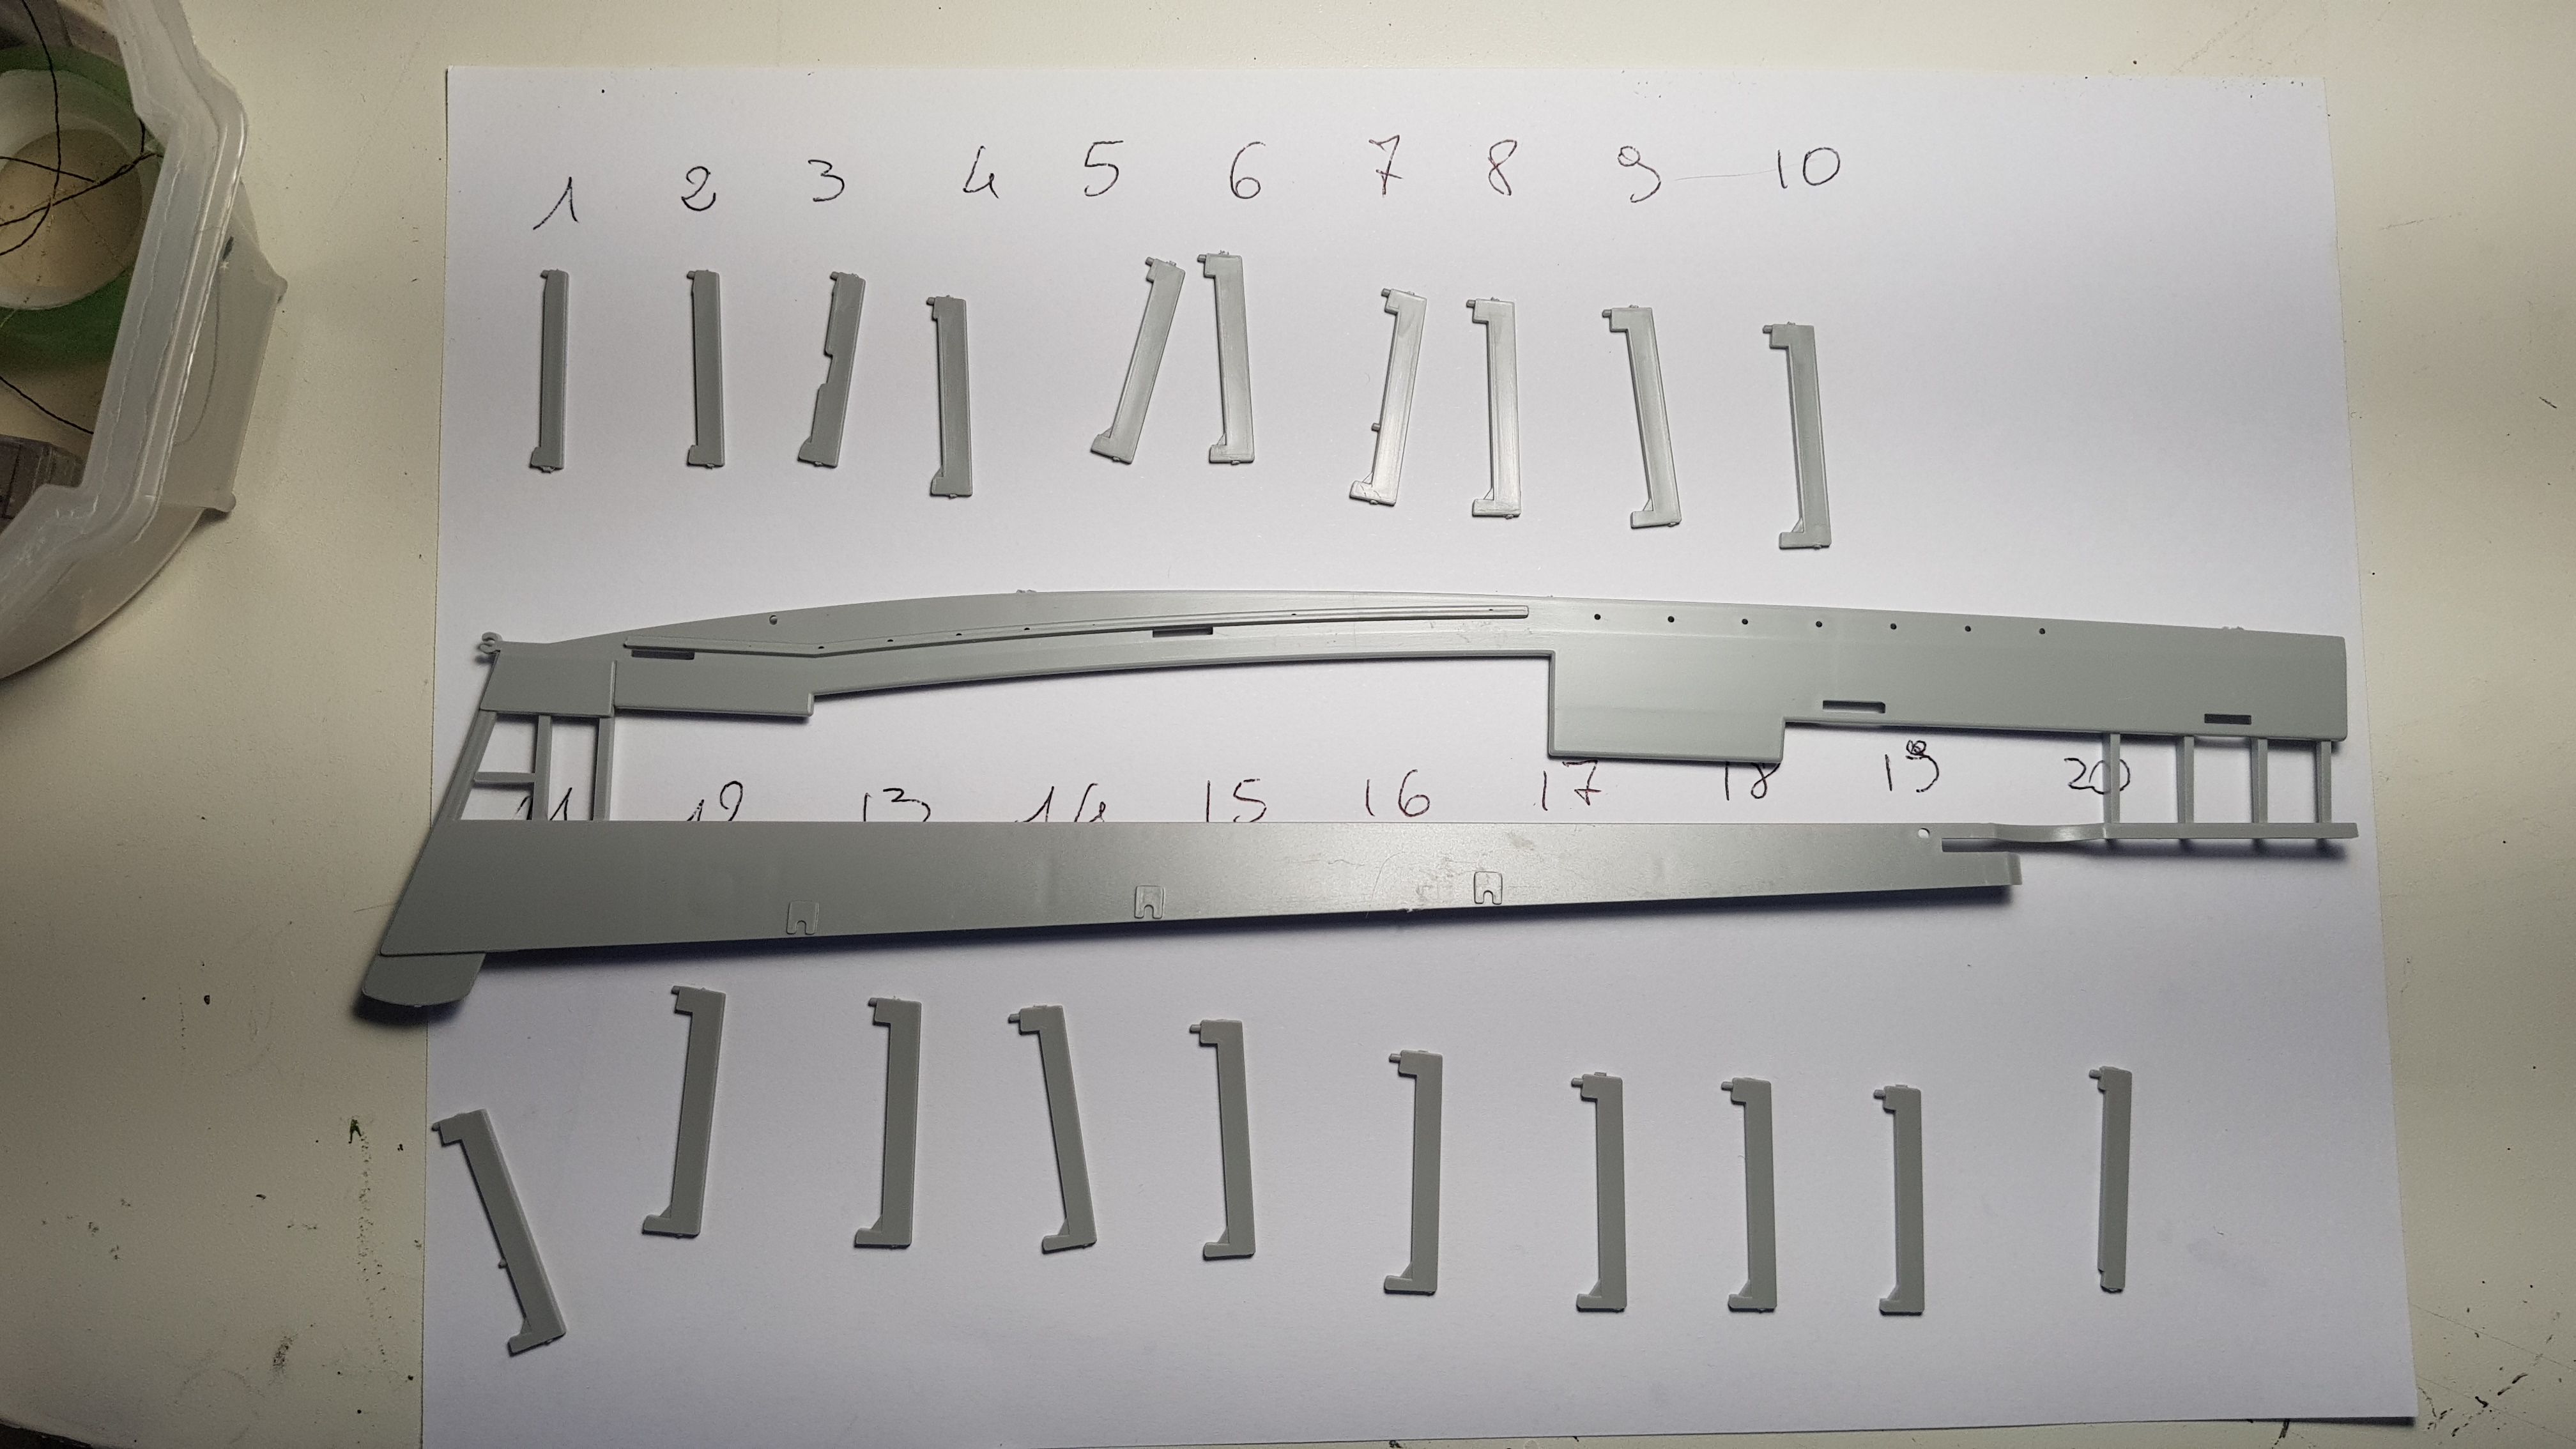
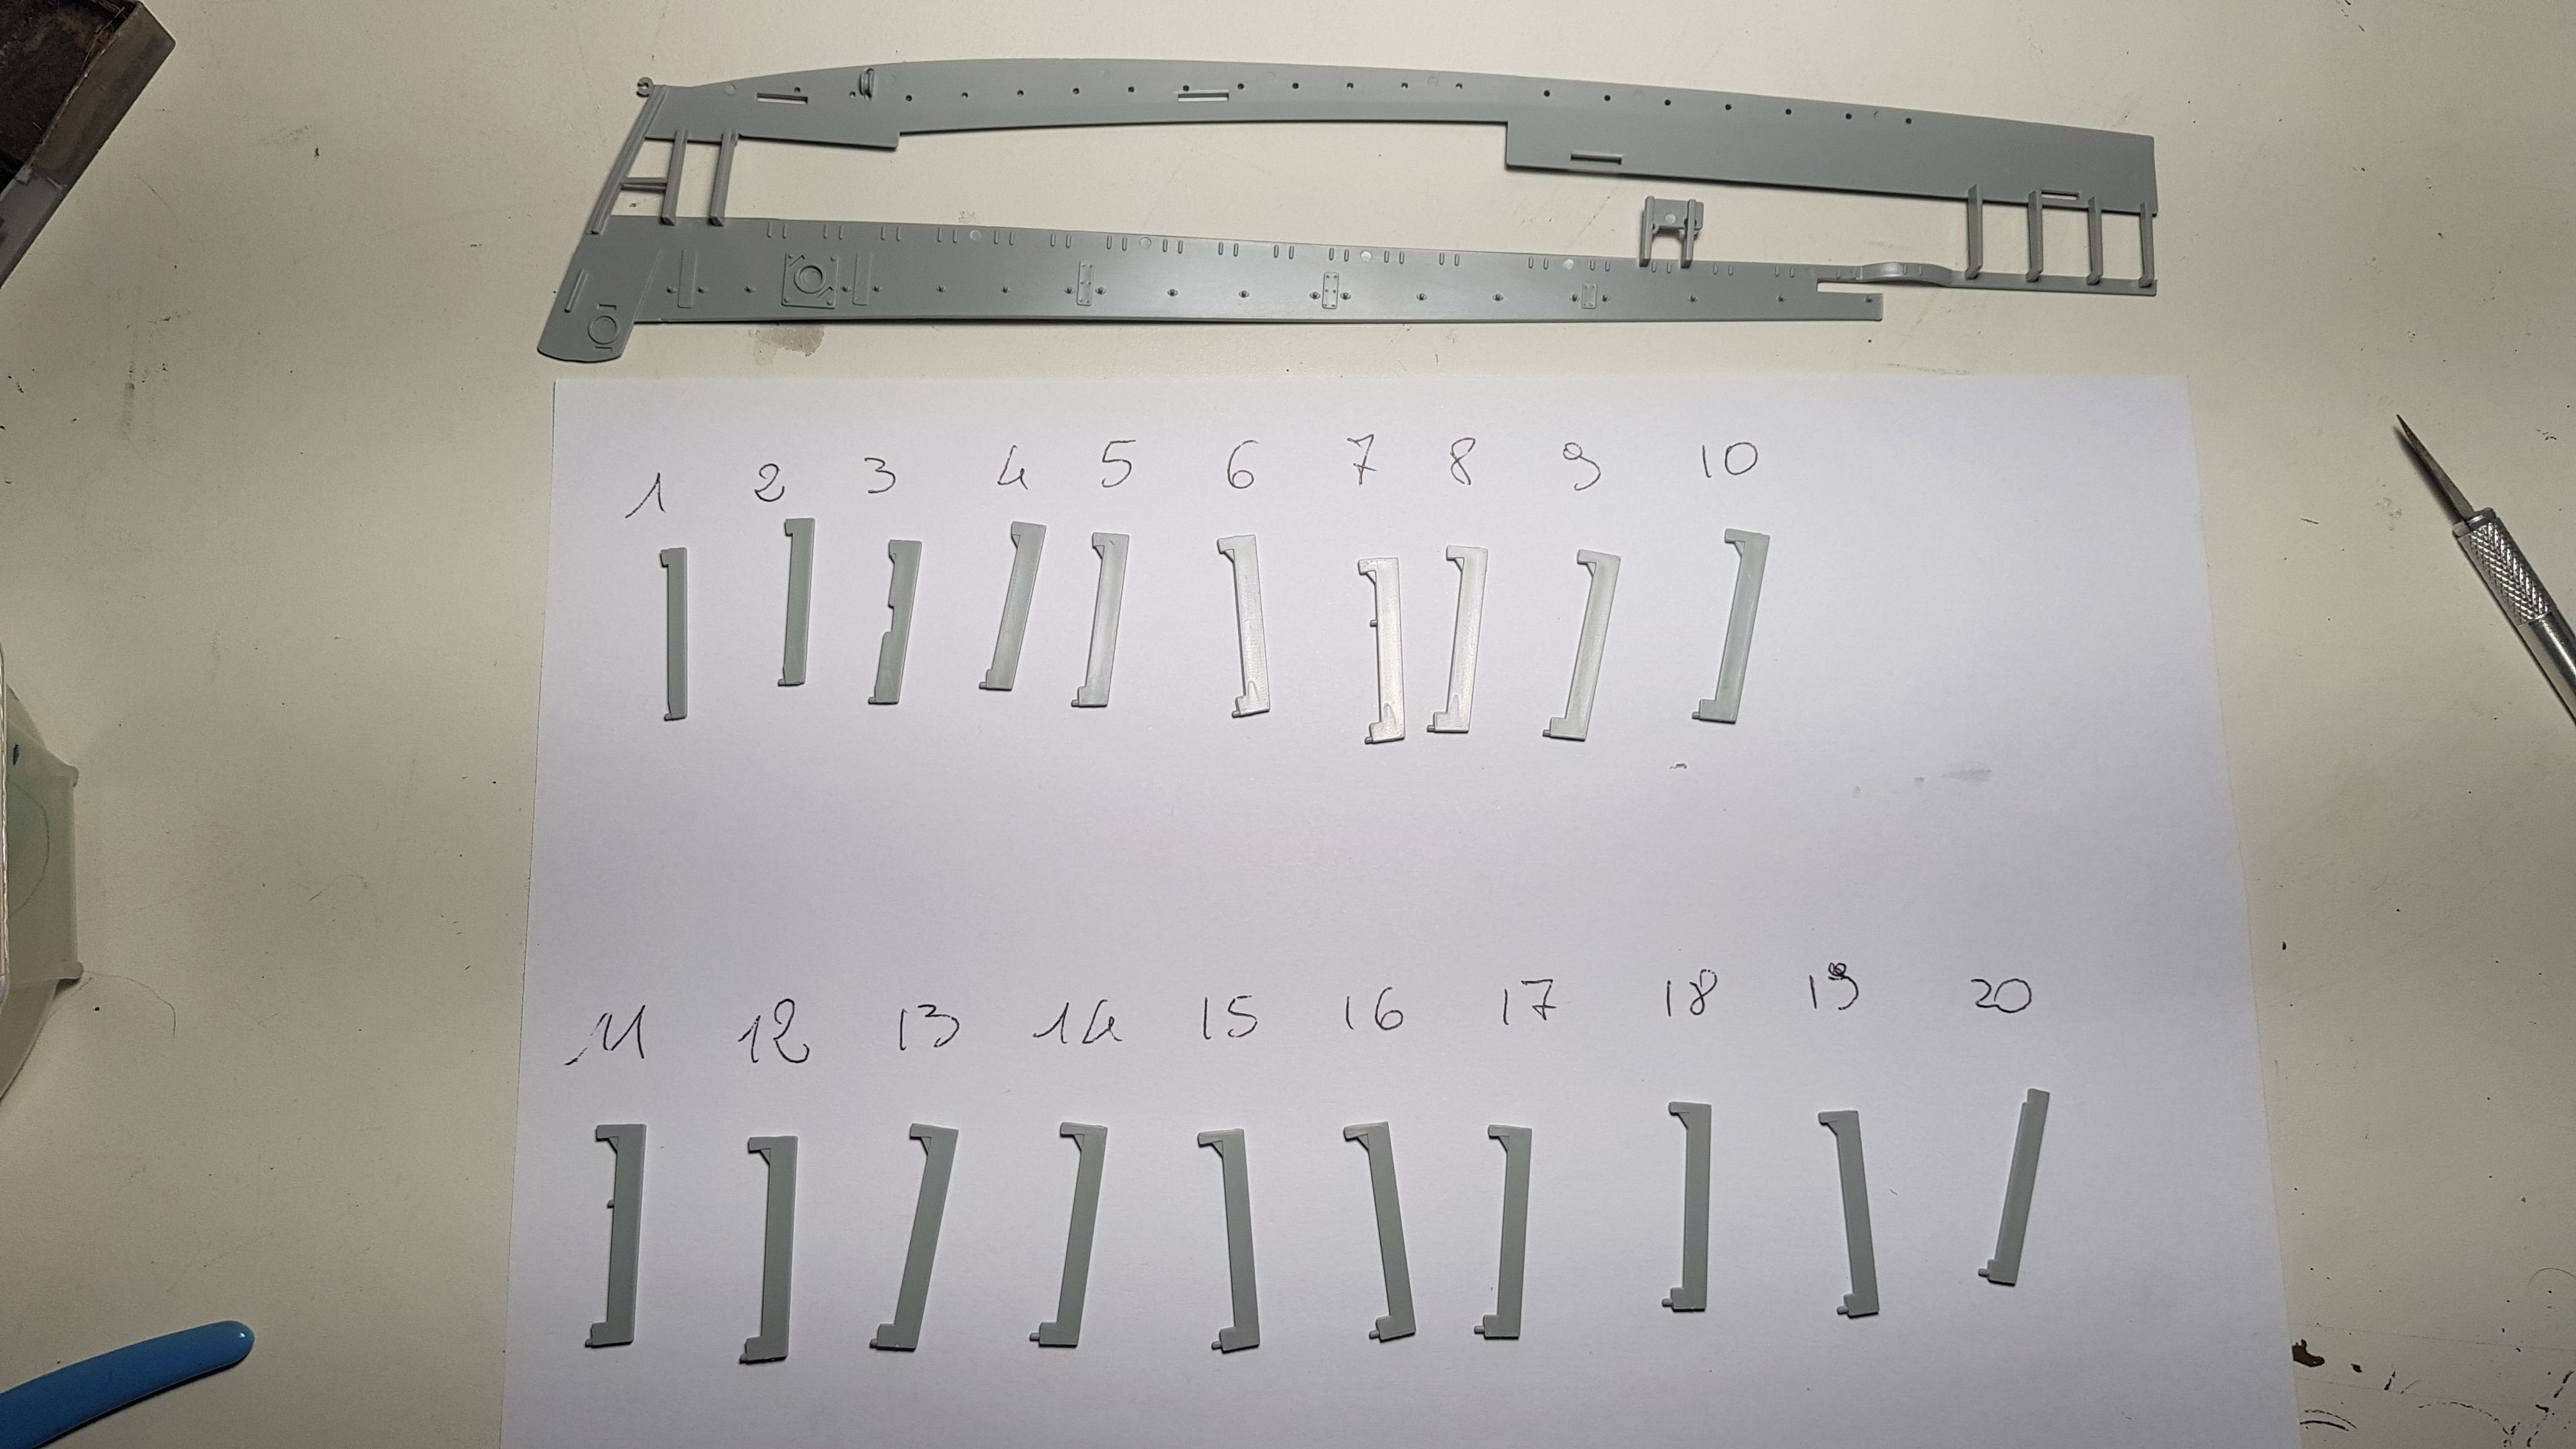
| Well, according to the instructions, you need to insert twenty supports to the side walls of the hull. All of different sizes, that's why I had to number them on the sheet | Bene, secondo le istruzioni bisogna inserire venti supporti alle paratie laterali dello scafo. Tutte di dimensioni diverse, ecco perché ho dovuto numerarle sul foglio |
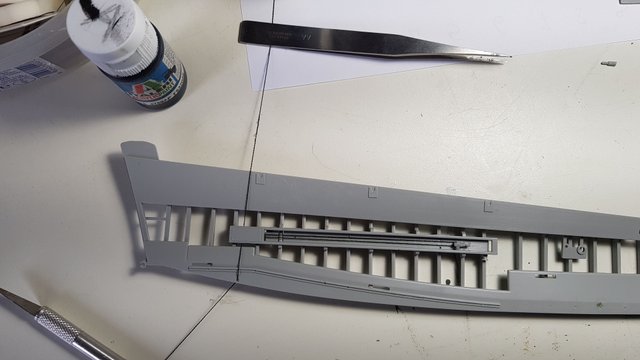
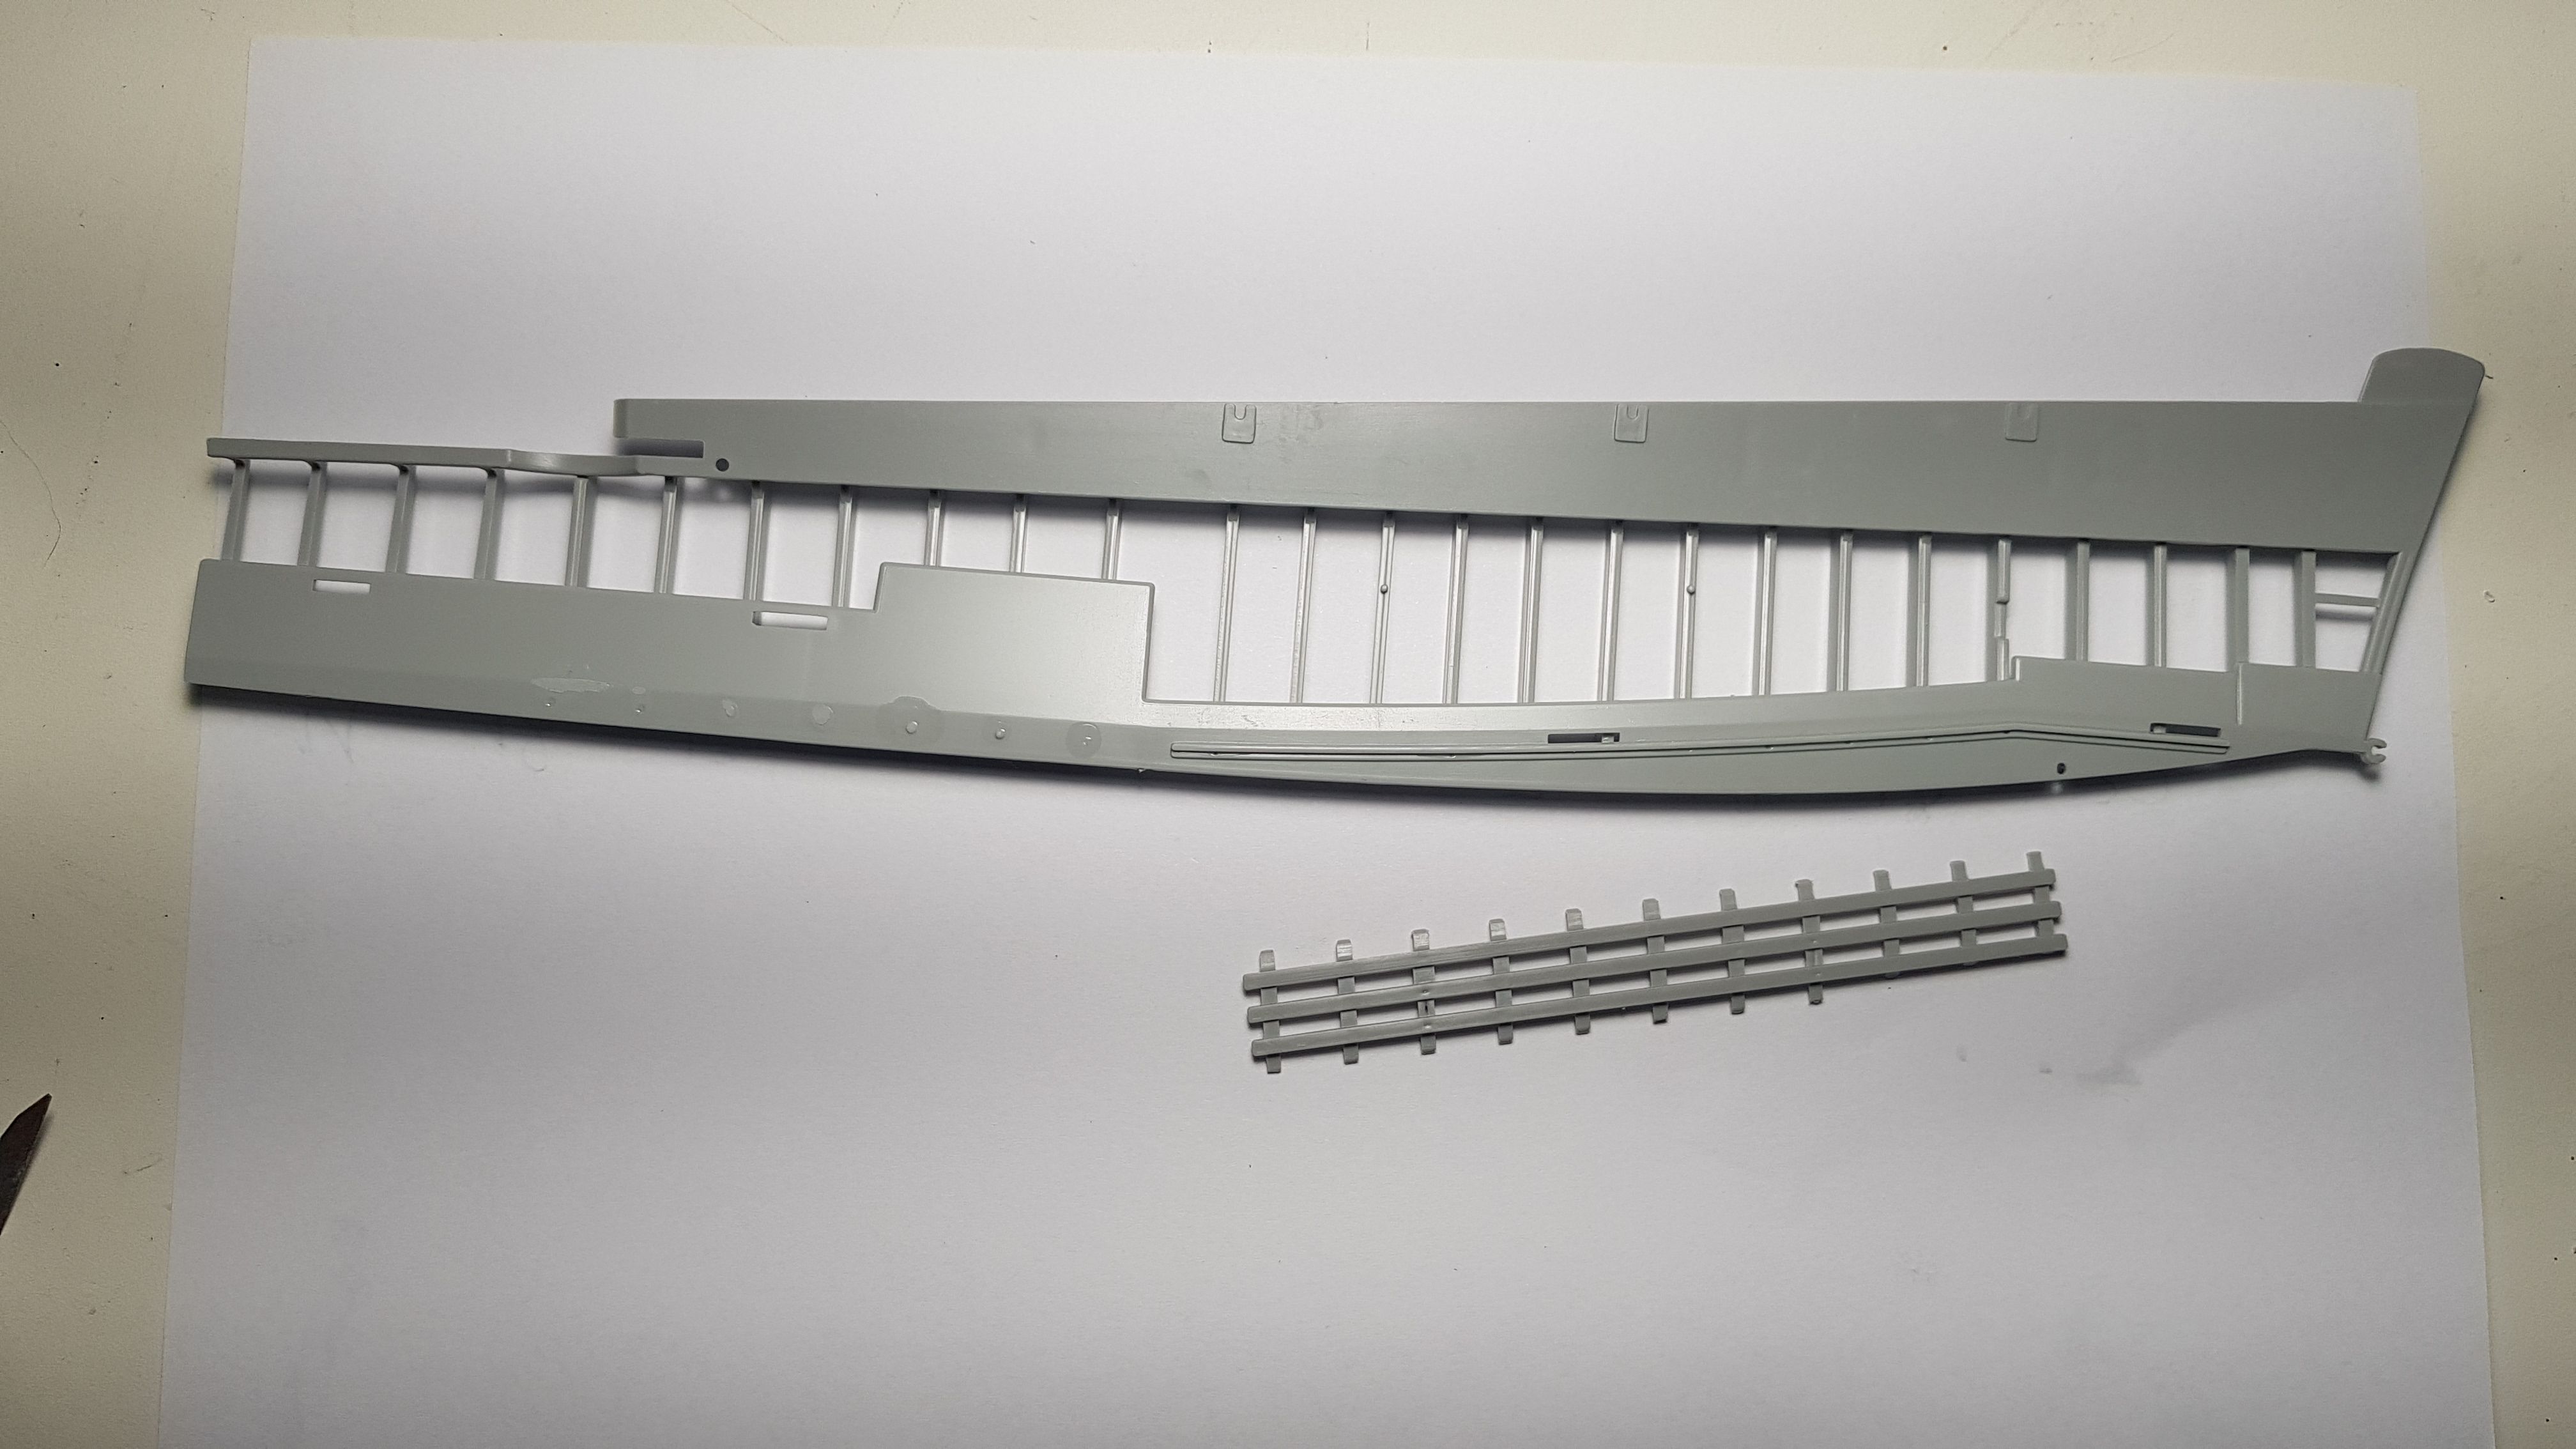
| Here is the piece of the side bulkhead up on all the twenty vertical supports will be inserted | Ecco il pezzo della paratia laterale su sui andranno ad essere inseriti tutti i venti supporti verticali |
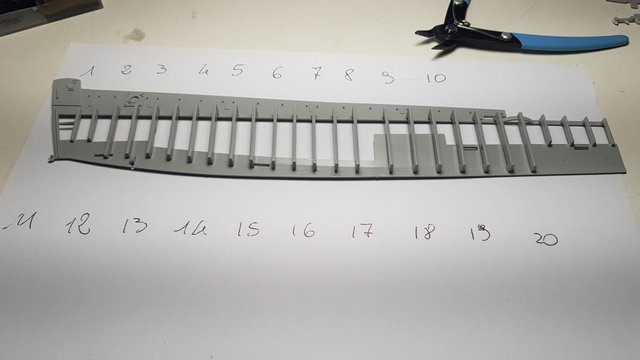
| Once the work is finished, the bulkhead is just like in the picture. All vertical supports must obviously be perfectly straight and parallel to the horizontal axis of the bulkhead. | Finito il lavoro la paratia viene così come in foto. Tutti i supporti verticali devono essere ovviamente perfettamente dritti e paralleli all'asse orizzontale della paratia. |
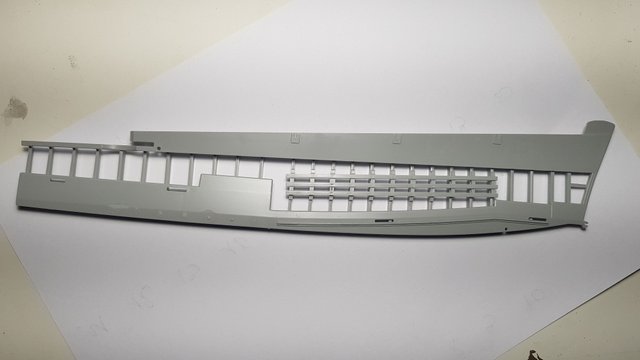
| Now you have to insert a side to the side bulkheads and fix them to the vertical supports. It was a side that could also be used as a ladder to descend from the side walls of the vehicle | Ora bisogna inserire una sponda alle paratie laterali e fissarle ai supporti verticali. Era una sponda che poteva essere utilizzata anche come scala per scendere dalle pareti laterali del mezzo |
| Here it is glued. I have not decided yet whether to paint it with a "steel" effect or leave it with a basic gray | Eccola incollata. Non ho ancora deciso se colorarla con effetto "steel" o lasciarla di un grigio base |
| Let's proceed with the other side. Also here twenty vertical supports all different from the side bulkhead. | Procediamo con l'altra sponda. Anche qui venti supporti verticali tutti diversi per la paratia laterale. |
| Mounted vertical supports. We can go further than proceeding as soon as the glue dries | Montati i supporti verticali. Possiamo andare oltre procedere oltre appena la colla si asciuga |
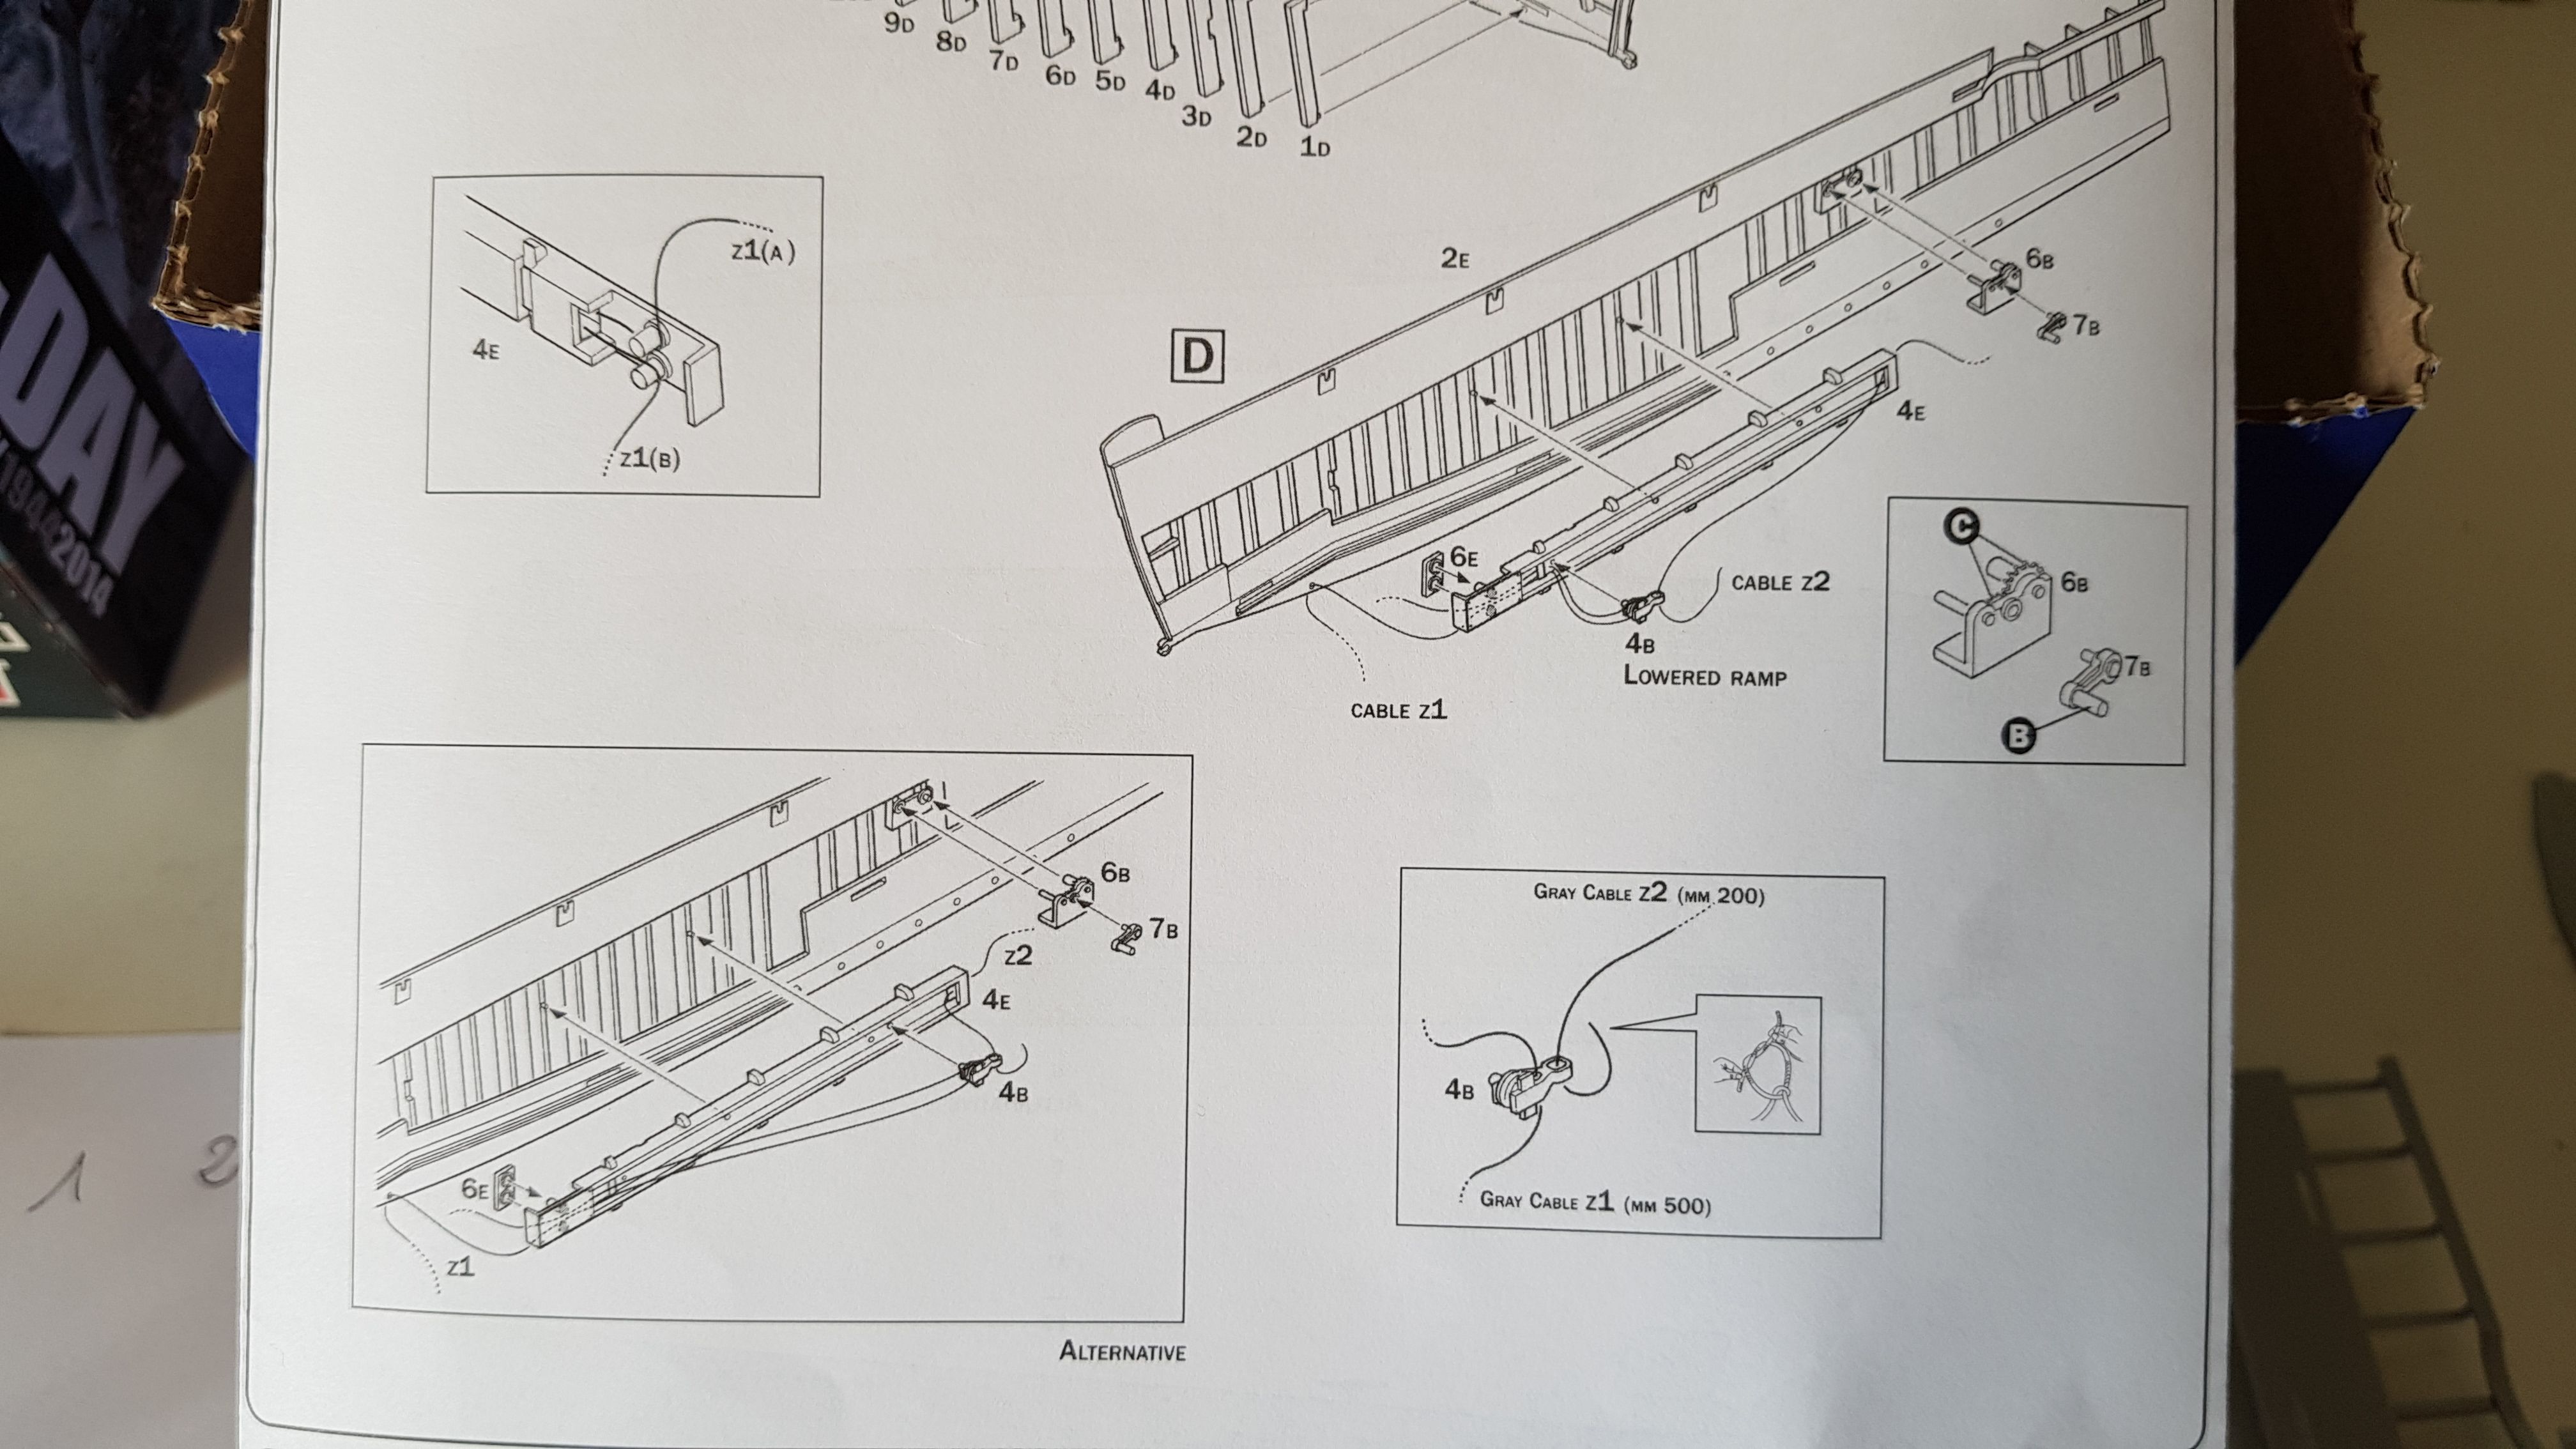
| Now, according to the instructions, it is necessary to create the opening mechanism of the front door which obviously had to be operated by a manual lever with a rope which, depending on the position of the tie rod, raised or lowered the front axle. From the instructions it is quite clear, the problem is to keep the black wire (the one supplied in the package) free from the glue | Ora, secondo le istruzioni bisogna creare il meccanismo di apertura del portellone anteriore che ovviamente andava azionato a leva manuale con una corda che, in base alla posizione del tirante, alzava o abbassava il ponte anteriore. Dalle istruzioni è abbastanza chiaro, il problema è mantenere il filo nero (quello in dotazione nella confezione) libero dalla colla |
| Let's start with the tie rod to be placed in the lateral support. It's a mess, but we do things calmly | Cominciamo con il tirante da posizionare nel supporto laterale. E' un casino, ma facciamo le cose con calma |
| We pass the black cable that would be the tie rod. Starting from the left you can see that it passes under the lower nacelle and then enters behind and, passing all the part of the corridor of the tie rod, it hooks to it, going backwards and then passing over it. The excess parts are not exactly in excess but will then attach to the front door by attaching to rings so as to check the lift of the tailgate. It's a real mess to explain it but later we'll see together all the steps to do to get a good result | Passiamo il cavo nero che sarebbe il tirante. Cominciando da sinistra si vede che passa sotto la carlinga inferiore per poi entrare dietro e, passando tutta la parte del corridoio del tirante, si aggancia ad esso tornando indietro per poi passare sopra. Le parti in eccesso non sono esattamente in eccesso ma si agganceranno poi al portellone anteriore allacciandosi a degli anelli in modo da controllare appunto l'alzo del portellone. E' un vero casino spiegarlo ma più avanti vedremo insieme tutti i passaggi da fare per ottenere un ottimo risultato |





good jop !! many thanks for info !!
i hav followe to you