Necessary Steps to Add In-App Purchase Feature In Your iOS Application
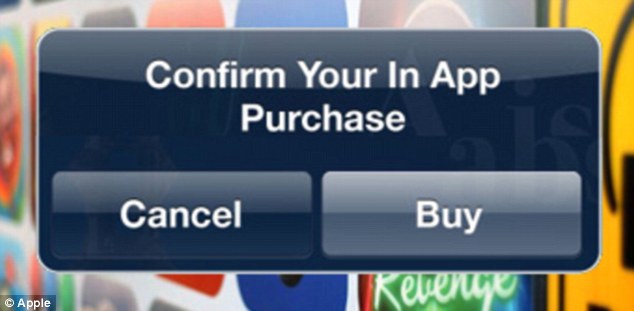
The purchases made by a user to get accessiblity of special features of an app such as add free app, confined levels or full game unlock, boosts etc and these feature can be acquired within a mobile app are known as In-App Purchases.
In this tutorial, I will explain you the necessary steps required for adding In-App Purchase feature that user will subscribe or purchase.
Steps Required for Adding In app purchase in iOS App
Step 1: Creating an App ID
First we have to create an App ID .This will link together your app in Xcode, to iTunes Connect, to your in-app purchasable products .
Login to https://developer.apple.com/ and go to Certificate, ID’s & Profiles .
Now select identifiers -> App ids and click + in uppper right corner to create a new App id.
Fill all the information required to create a new AppID.
Name:YOUR_APP_NAME app_id_prefix: TEAM_ID_PREFIX
Choose Explicit App ID and now enter a Unique Bundle ID. it can be com.YOURAPPNAME.com
Now see the app services section . And you will find out that InAppPurchase and gaemcenter are enabled by default.
Once all the above steps are done, you will have successfully created an app-id for your app.
Step 2- Now create an App in iTunes connect
Fill all the information about your app.
Platform: Name : YOUR_APP_NAME
PrimaryLanguage: LANGUAGE_OF_YOUR_APP
Bundle ID: YOUR_APP_BUNDLE_ID (You created in previous step i.e. 1-e)
SKU: A unique ID for your app that is not visible on the App Store.
Continue your Reading Here>> Necessary Steps to Add In-App Purchase Feature In Your iOS Application