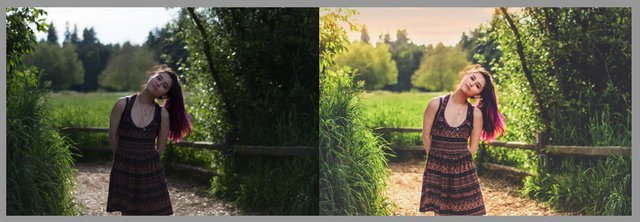
Photo retouch-Before-After Details
Hi
Am shourov From Bangladesh. I am working as a photographer for last few years.
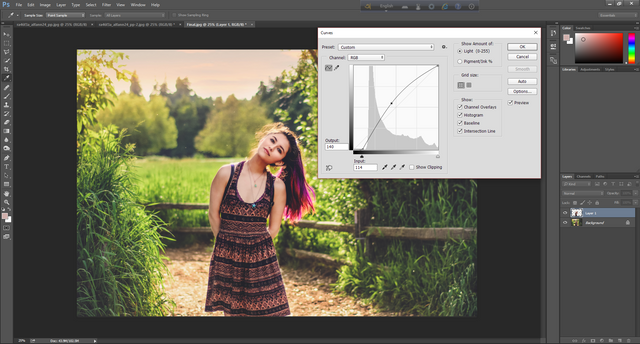
here is a step by step breakdown of a photo retouch .
NB:Am not the photographer of this photograph. I don't know the original author, Am just using this photographs as a demonstration of photo retouch.
This is a before after
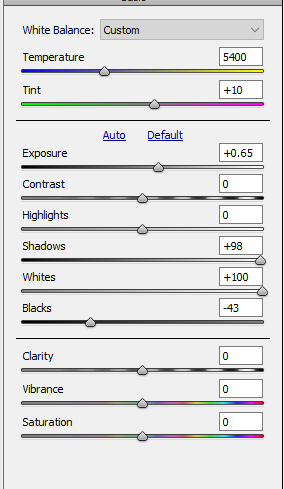
Raw conversion step 1
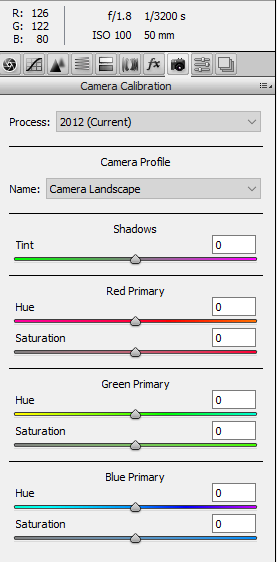
Raw conversion step 2
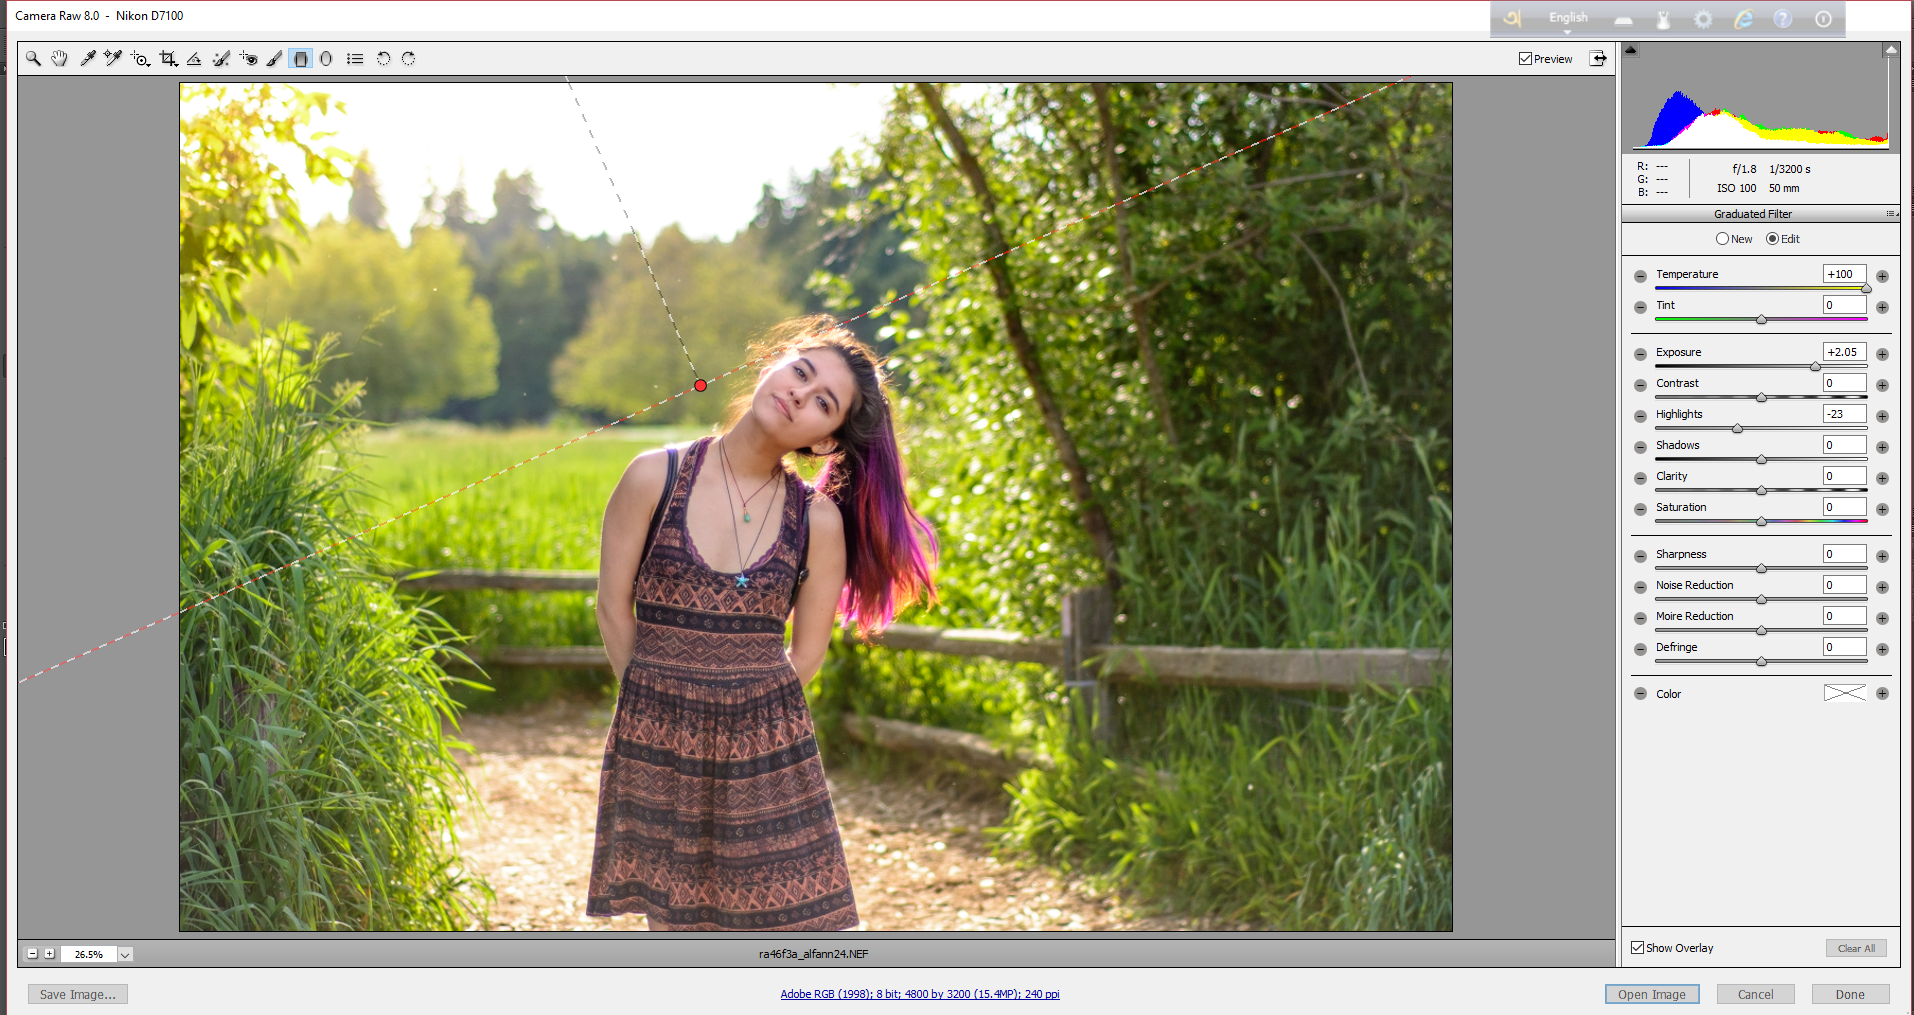
Raw conversion step 3
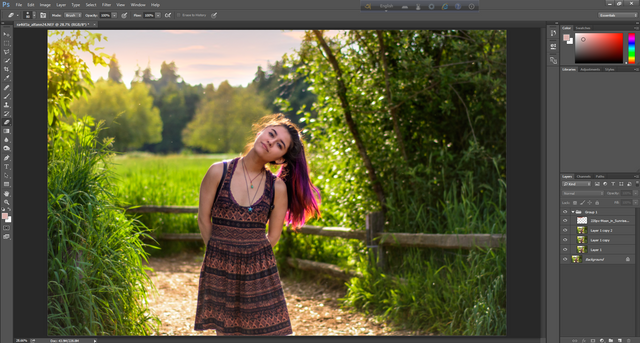
JPEG retouch
- Recover the burn skin area
2.Add a red sky overlay
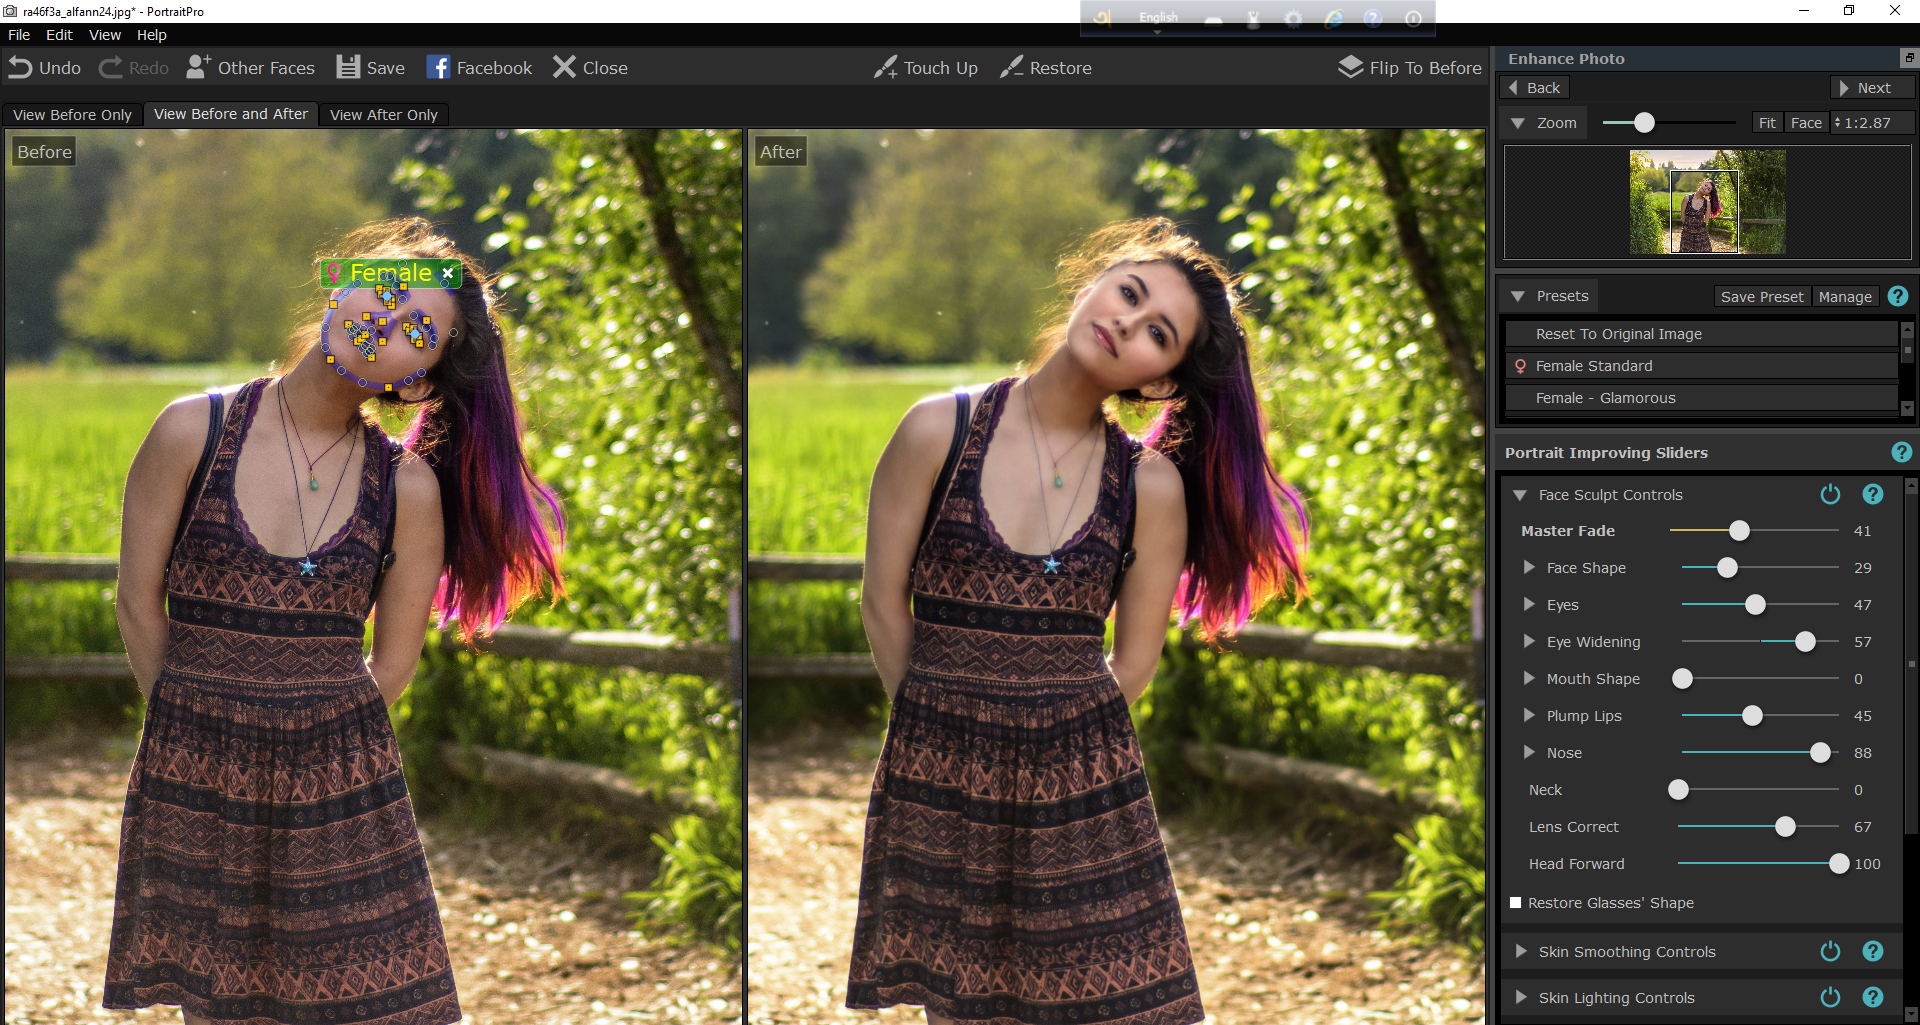
Portrait Pro retouch
_
1.Face sculpting
2.skin tone retouch
3.Skin smoothness control
4.Work on eye
5.Work on hair
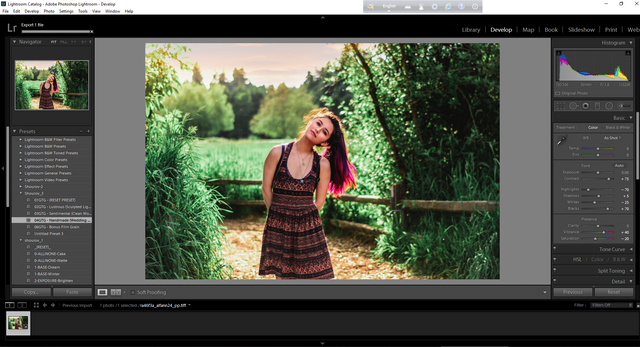
Lightroom colour process
1.Make 3 different colour tone
Blend 3 different image together in photoshop
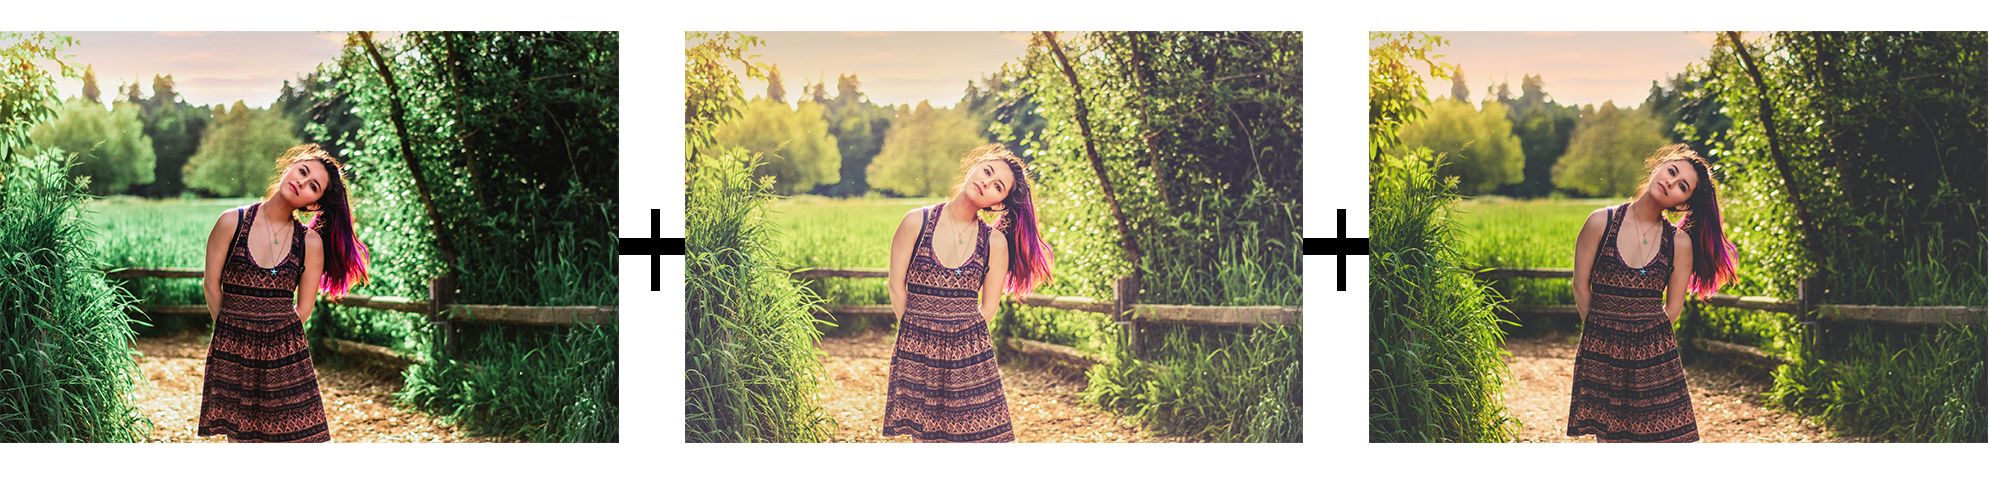
Make 2nd layer and increase subject brightness,base contrast
Hey!
Your post was amazing. Looking forward to seeing more of your content, Followed and Upvoted!
(Follow me and we can improve the community together at Steemit. I hold daily draws to help new users!)
Thanks a lot.am following you .Am a new user, support me if you can :)
Keep in touch
Great job Shourov. Want this type of work more from you. Please make a tutorial how to cut images in PS :)
Okyyy I will uplode it soon