A Bread Recipe so simple, you can make it yourself
Hello everyone and I hope you are all well after the New Year's celebrations. I usually make bread everyday for travelling surfers and locals a like in Lobitos, Peru. Yesterday I was in no state to do anything, but today I woke up early and went to the market in Talara (the nearest town). I am only baking about 5kgs or around 11 lbs of bread today.
I have had many people ask me for my bread recipe and when I told them how simple it was, they sometimes didn't believe me. I know my bread isn't the best of the best, but compared to what is on offer locally..... it is considered very good. So today I decided to share my simple bread recipes with all my fellow steemians.
The ingredients needed:
1kg (2.2lbs) of white flour
600 ml (2 ½ cups) of water
2 tablespoons of dry yeast
1 tablespoon of salt
1 small pinch of sugar (optional)*
Preparation time: 1hour
Downtime: 3-4 hours (longer the better)
Cooking time 20 minutes @ 420F or 220 Celsius
*If you really want to go roots, then cut out the pinch of sugar. I use it only to get the dry yeast going much more quickly.
Step 1: Prepare your yeast
In a bowl or jar , add: 600 ml (2 ½ cups) of room temperature water, 2 tablespoons of dry yeast and 1 small pinch of sugar. Mix well and let it work on its own for 20 to 30 minutes. Once you see it frothing due to the yeast being activated. Then it is ready for the next step.
Step 2: Prepare your dough.
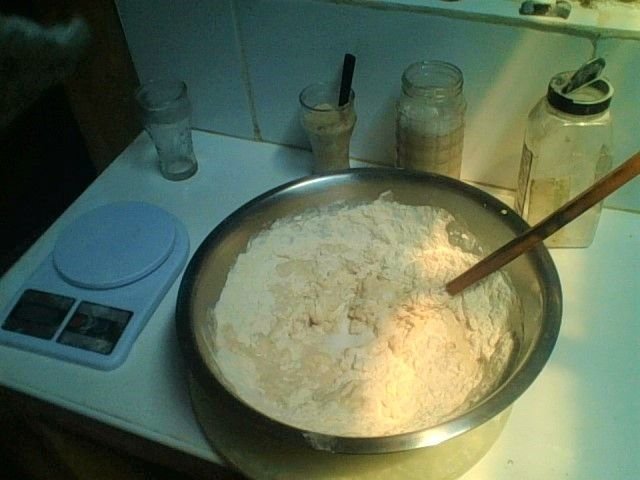
Find a large bowl or container, big enough to hold all the ingredients comfortably. Remember you are going to be kneading soon, so use something large enough to work your hand in. Add the white flour to the bowl and then add the yeast water as described in step 1. With a wooden spoon start to mix in the liquid to the flour. This will be quite sticky at first and this is normal. Once you can not see any more liquid in the bowl, then now is the time to add your one tablespoon of salt. I add the salt now in the process as it is less likely to kill off the freshly activated yeast.
Now you have added the salt, time to use your hand(s) to mix the dough. Do not fear the mess, at one point of kneading the texture of the dough will change and become less sticky and more elastic. Basically here you knead the dough, by folding it on itself. Basically think about how to trap air in the dough by folding it over itself. Also the process of stretching and folding of the dough makes the gluten in the flour to become stronger and release it's sugars.
I generally knead about less than 5 minutes in the bowl, then I splash the dough with a tiny bit of water. This will be absorbed by the dough and keep it from drying out. Cover your bowl with a humid tea towel too.
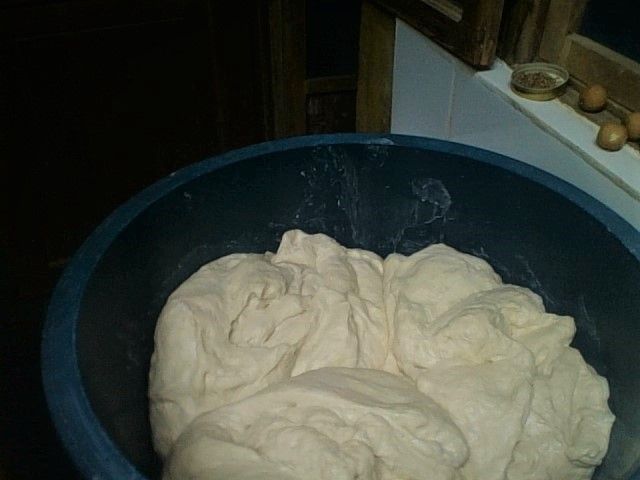
Every 30 minutes, you will have to knead your dough. You will notice that the mass of dough is bigger, becoming smoother and far more elastic. These are good signs. Knead and fold for a few more minutes, cover and let rise for another 30 minutes. Then repeat the whole process again and notice how the dough is changing. Even the smell is different. You can repeat this process as many times as you want. This just depends on your patience, but I will tend to let it rise and knead like 4 times (basically over 2 hours).
Step 3: Setting the pre-oven doughs on the tray
Ok, now your dough should be all inflated and ready for baking. Fold your dough one last time here, ideally you fold the edges in once and then take the dough out of the bowl and ready for cutting. You will need scales here, any will do, but cutting each piece to equal sizes is going to help baking times.
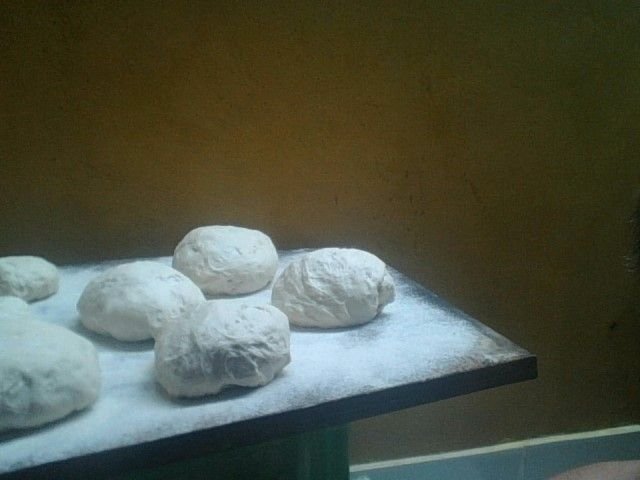
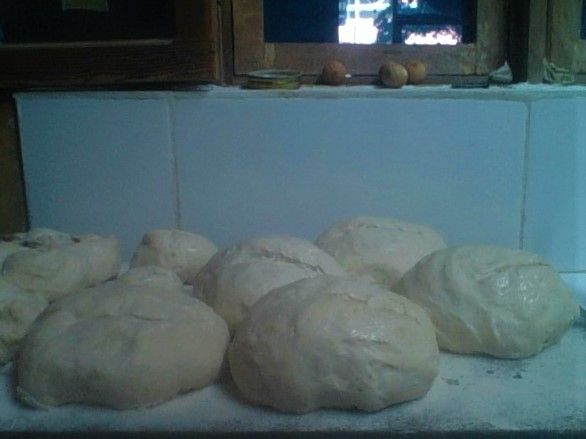
I usually cut pieces of 325g (11.5Oz) for my normal breads. So once you have weighed up the dough into smaller pieces, take one dough ball and flatten it a little. With one hand grab on edge of the dough, pull it out a little (see the elasticity) and fold it back towards the centre. Now rotate the dough a little and repeat the process all away around until you folded every free part. Flip over You should have a small rounded ball of dough (like in the photo below). Repeat this process with each 325g (11.5Oz) part of dough and set to the side.
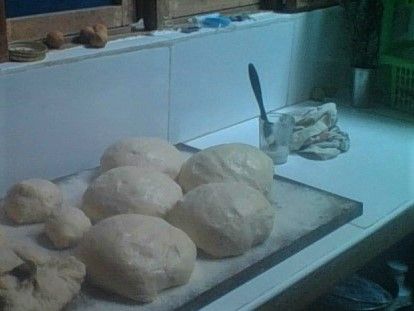
Get your baking tray, make sure it is clean and lightly dust it with flour. This will stop the dough sticking to the tray whilst baking. With the tray dusted with flour, place your dough balls on the tray. Make sure each dough ball is not touching each other, but there is at least 6cm or 2 inches of space between each. Once all the dough balls are set, put the tray away somewhere relatively warm and humid. I will not go into the nuances of temperatures and humidity on bread today, but it does make a vast difference. I tend to leave the dough balls to rise for 2 hours here in Peru and here it is quite warm. For me it is essential that the dough doubles and nearly triples in size. The reason I want this is that I want my bread to by super fluffy inside and not heavy.
Step 4: Baking your bread
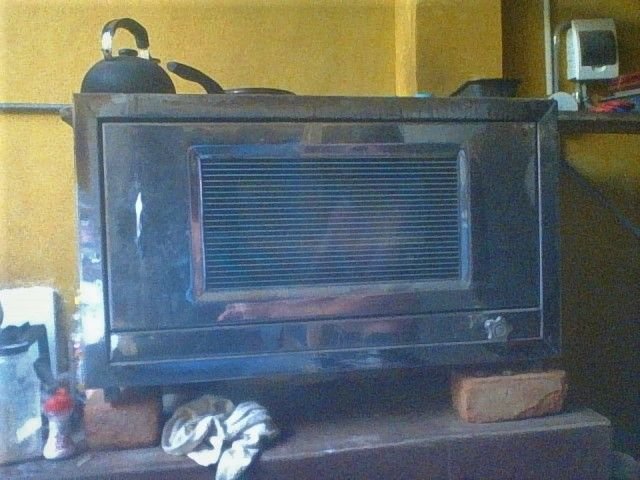
Ok here I must admit the type of oven you will use can make quite a big bit to the outcome of the bread. Generally the hotter the better at first. You really want to ramp up your oven to 400F or 220 Celsius, maybe even a little hotter at the beginning, but know your oven. I do this as I feel it really helps heat up the air trapped inside the dough quicker, giving the time to expand even more before the crust is formed.
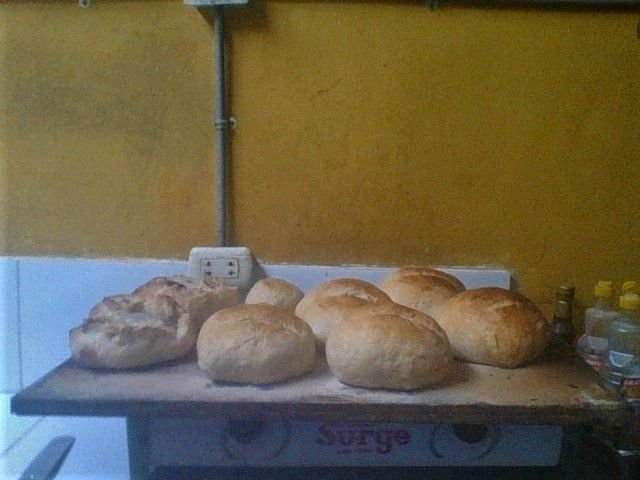
Just before you place the dough in the preheated ove, make sure to make a little cut on each dough ball. This cut will allow steam to escape and not inflate your dough ball too much. You must make a cut on the top as shown in the photo below.
You will bake for 20 minutes in total. So for the first ten minutes make sure your bread is baking at 420F or 220 Celsius, then drop it down to 400F or 200 Celsius for the last ten minutes. It is important to do this as not to burn your bread. Once it starts browning in the oven it goes real quick, leave it too long and it will become carbon before you know it. In the last 4 minutes, please keep checking the bread through the window. DO NOT OPEN the oven door at any point until you are ready to take the breads out. If you have conventional oven, opening the door will let out so much heat that the oven would need to reheat. This is not ideal for baking bread.
After 20 minutes baking, remove the tray from your oven. Careful breads will be piping hot!
Step 5: Cooling of the bread
This is quite important and I feel the bread's texture changes again during the cooling period. Excess humidity in the dough will have a last chance to evaporate off. Once you taken the baked breads out and let cool down for five minutes. Go back to your breads and flip them upside down. This will enable the last of the captured heat to escape from the bottom. Also reducing the chance of your bread getting a bit soggy from the last of the humidity not able to escape.
I tend to let my bread cool down at least 45 minutes here in Peru. At this point for me, is when the bread is optimal to eat, not too hot but still warm to touch and the smell of freshly baked bread: unbeatable!
Tips:
If your dough is slightly too sticky to touch, then wipe water all over your hands. This will make handling so much easier for you. If still too sticky, then you need to add flour to your dough.
If you like the crusty bread, then I would recommend placing an oven proof receptacle filled with boiled water in the oven whilst baking. The steam generated will enable the breads to form a nice crust.
For extra golden colour crust, then just before baking, lightly brush your bread dough shape on the tray with cow's milk. Not to much that is trickles off the bread. This will cause it to stick to the tray then.
If you liked my article of baking bread, please upvote, join my group and/or try out this recipe.
Follow me: @intrepidsurfer
.jpg)
.jpg)
.jpg)
.jpg)
.jpg)
Nice one @intrepidsurfer - Been meaning to make my own bread for a while now. This has given me the impetus! Question - Do you have any good sour dough recipes? ;)
hey @dylan007 bread is in our nature and we all recognize it. Tomorrow I am making bagels and that involves a sour dough starter. I will post all when I am finished.
Welcome! Really nice loaves.
You might be interested in what I'm doing at the moment: yeast water. You use fruit to ferment in the water and then use it to bake bread. I know it takes longer to make, but the outcome is mindblowing.
I'll be writing about it soon.
@breadcentric thank you for the tip. I tried to make some once but it was a bit of a disaster as I had nothing to gauge against. I bet you the bread flavor must be amazing! I see you are in London, just hope the winter isn't too bad in the big smoke. I have also followed you to get updates on your bread.
London is much better than my previous locations in terms of the air quality, thanks for asking :)
What I don't like about commercial yeast is the acidic aroma. Wild yeast is weaker, but the aroma is much more enjoyable.
oh cool, but how much more do I need to let the dough rest using wild yeast?
There isn't a simple answer to this question. It all depends on the maturity of the yeast and conditions around the dough.
Last time I baked I had quite a strong culture and a warm house. I made a levain that rested for twelve (up to twenty) hours and it had enough strength and activity in it to make a loaf in three hours proofing and then baking for 40 minutes.
You can give it another try, after all even if it doesn't work out, you already have something that works well for you :)
Welcome to Steemit! Feel free to follow me @promoteme to enroll into free post promotion.
Thank you for the recipe. I upvoted your post. Nice to meet you.
Thank you @innerstellar I have literally finished baking and inserted this post. I am letting the bread cool down as I am also making caramelized onion and chicken salad sandwiches. I will do a post on that too very soon. I love cooking . I will share my recipes and experiences here.
I will be trying your recipe @intrepidsurfer. i am following you hope you do the same. :)
It is too easy, just remember to be patient during the whole process. following you too @hopfarmnc
yummy
@gabesty it is so yummy and I advise you to give it a try at home