How I Edit My Photos Using Only Instagram Filters
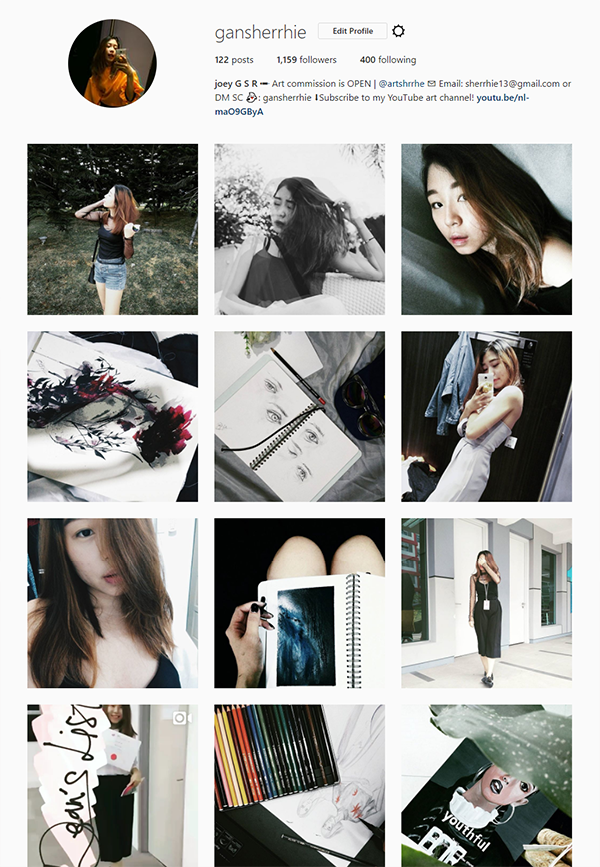
So I've been a proud mom of my own Instagram feed. Over the past few months I've been figuring out how to keep a decent-looking feed - until today. It never stops! I keep looking and looking at other people's feed for inspirations. Inspirations can definitely be found everywhere!
I remember the early days of Instagram. Not many cared for their feed as much as they do today - including me. Everyone was just using random filters... using collages... and more for every different photos - including me. Sometimes, even when I have the nicest shot (in my gallery) but if it doesn't look nice with the feed, it doesn't go in there. I also limit myself to post photos taken during the day / outdoor because photos taken during the dark don't really have the best lighting? Ah, since when did this stress-y little thingy happen and why??? I don't know about you but I get the satisfaction of it. I love how my feed has like lot's of grey-action going on with hints of colours.
But today, I'm sort of exploring a new look for my feed. You can check them out here at https://www.instagram.com/gansherrhie/
Disclaimer: I don't have the nicest feed out there but I thought of just sharing how I get my filter by just using Instagram's. :)
-- Back to the point!
This is a step-by-step tutorial on how I edit my Instagram photos to fit my feed's theme!
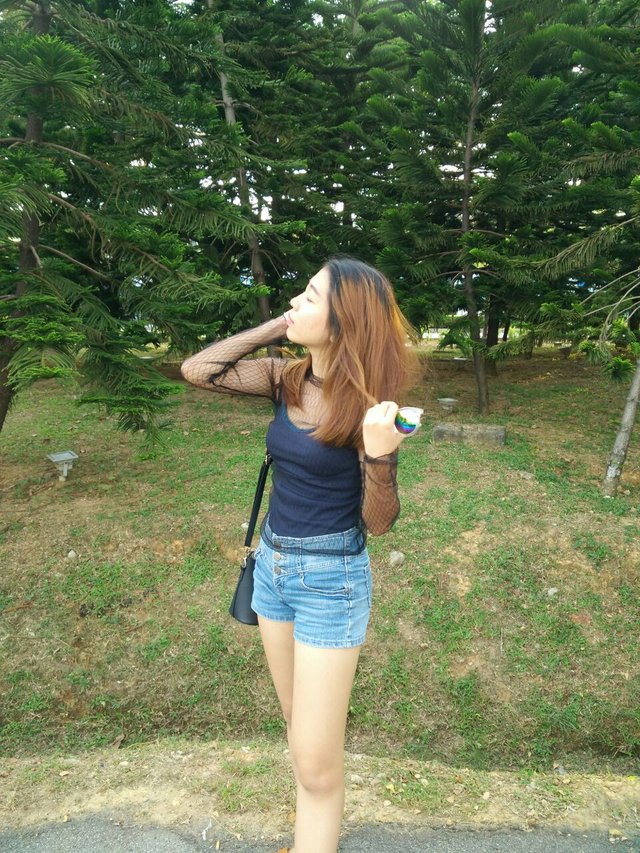
Here is the original photo taken by mom. I don't really use VSCO anymore ever since I discovered this filter by Instagram.
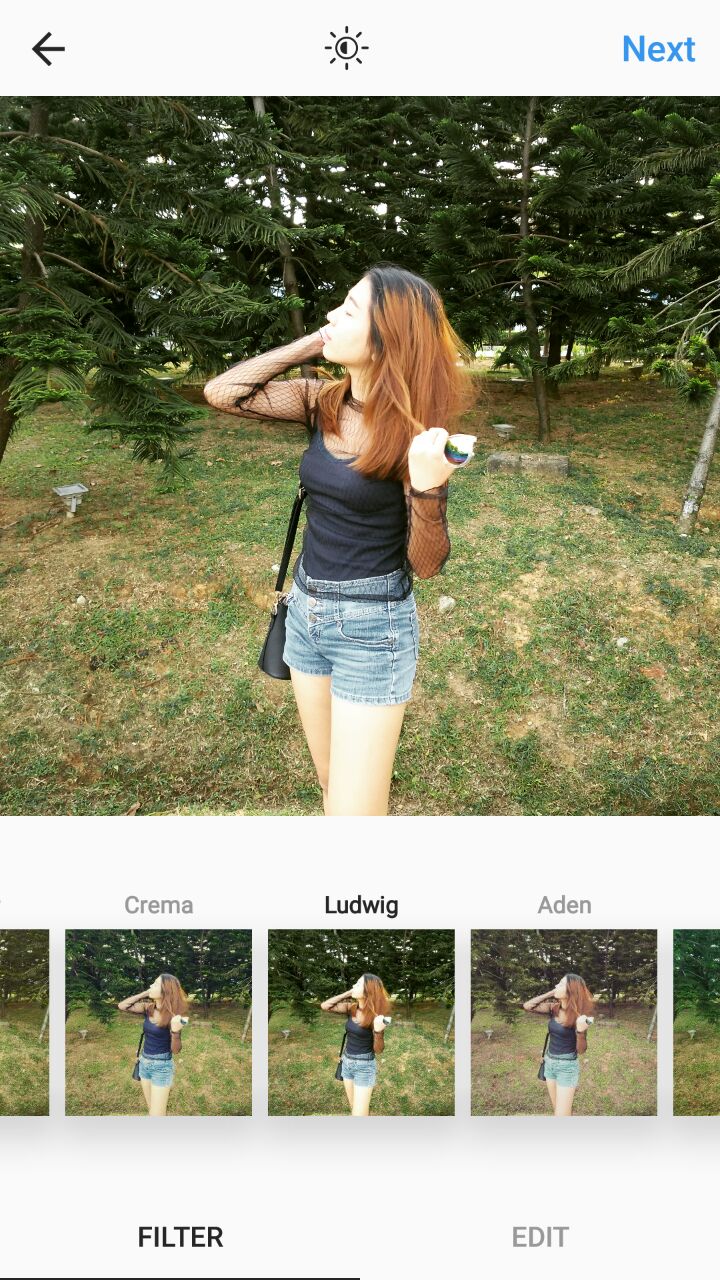
Step 1: Filter (Ludwig)
My always go-to filter! As you can see, it gives out a very warm tone to your picture once clicked.
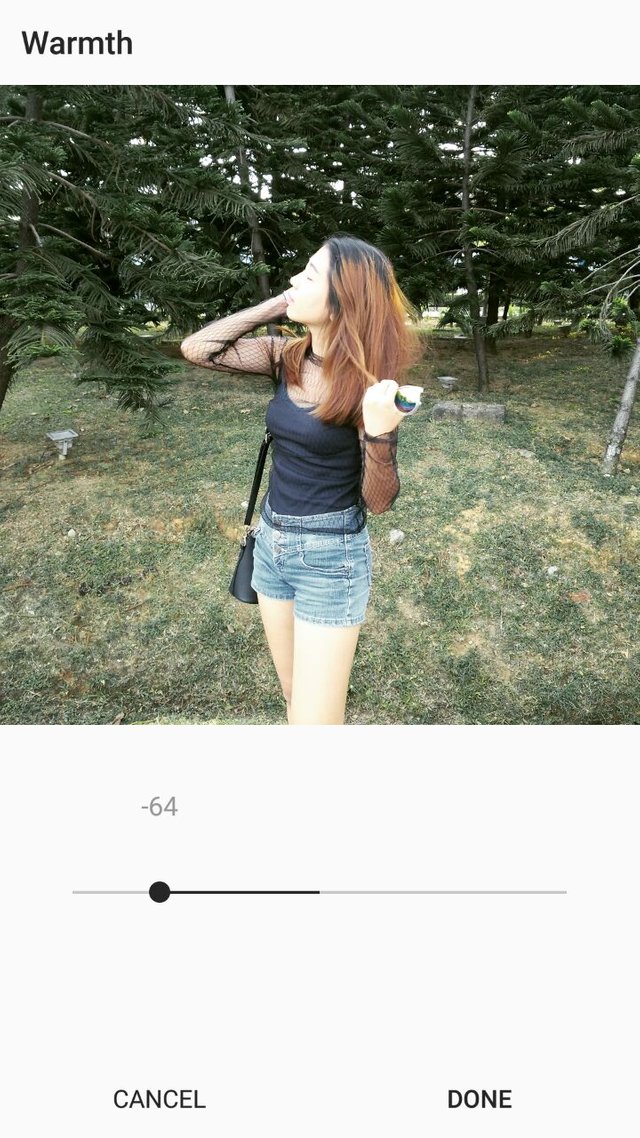
Step 2: Adjust warmth
Go to 'EDIT' and adjust the temperature. What I'd do to tone down the warmness of the image is to adjust it towards the cool tone (left side).
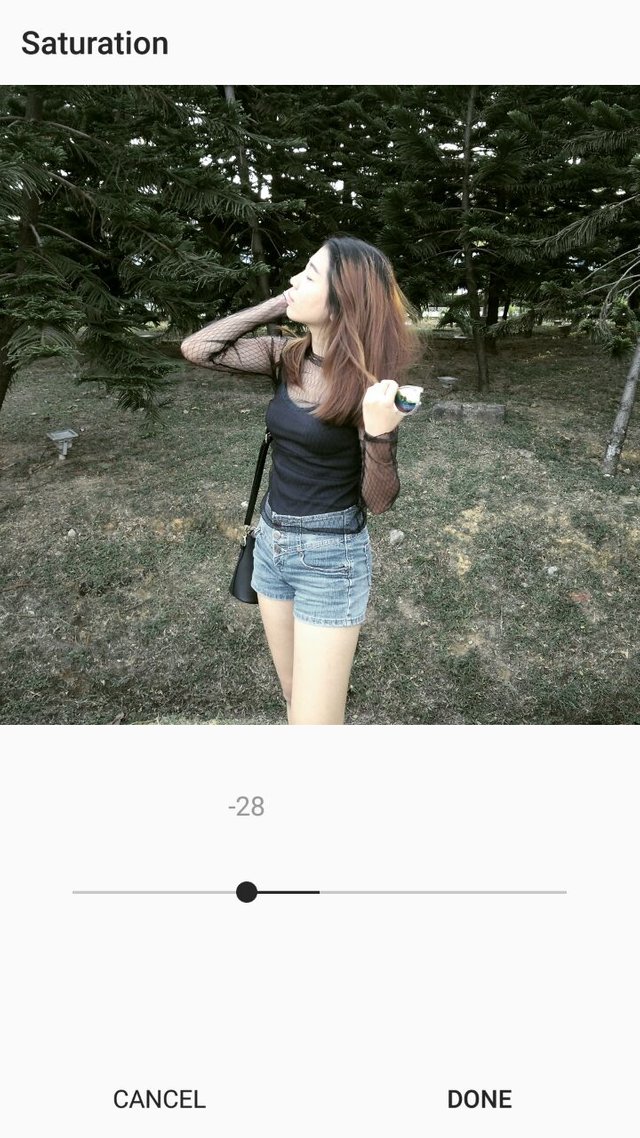
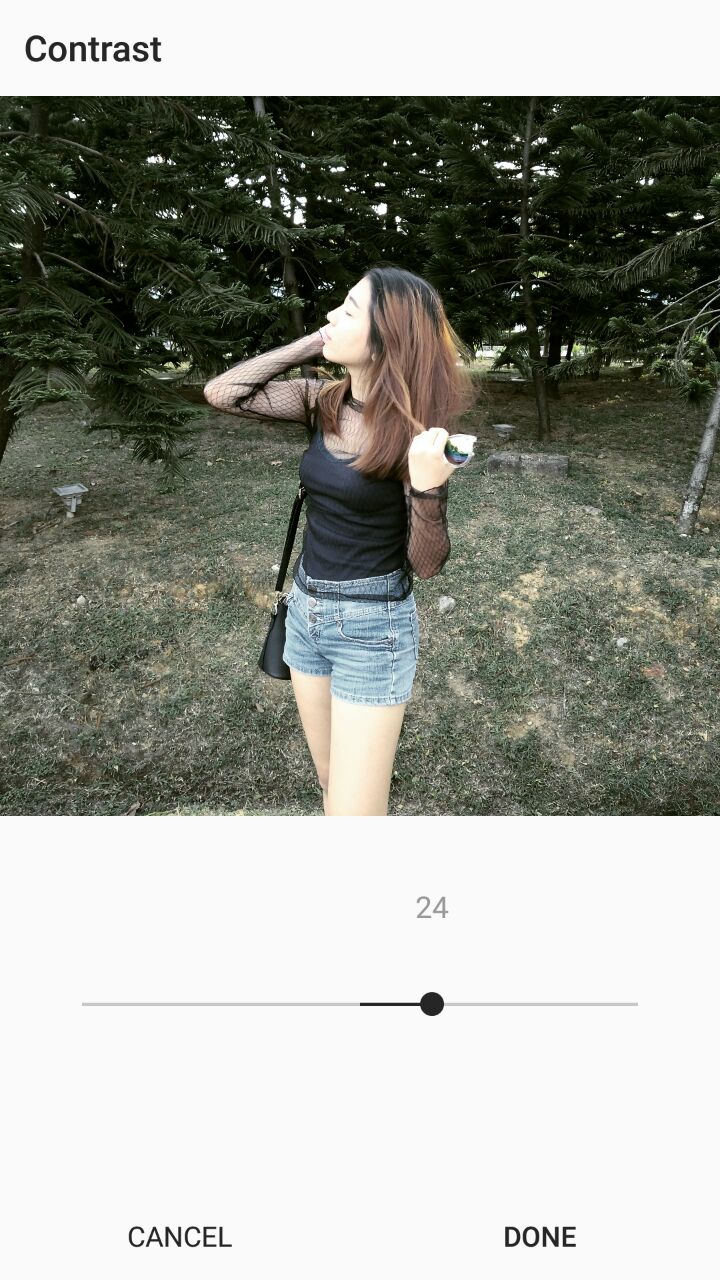
Later on, I play around with the brightness, saturation and contrast until I am satisfied with the final edit. Usually, I'd tone down the saturation and increase the contrast to add more value into the picture.
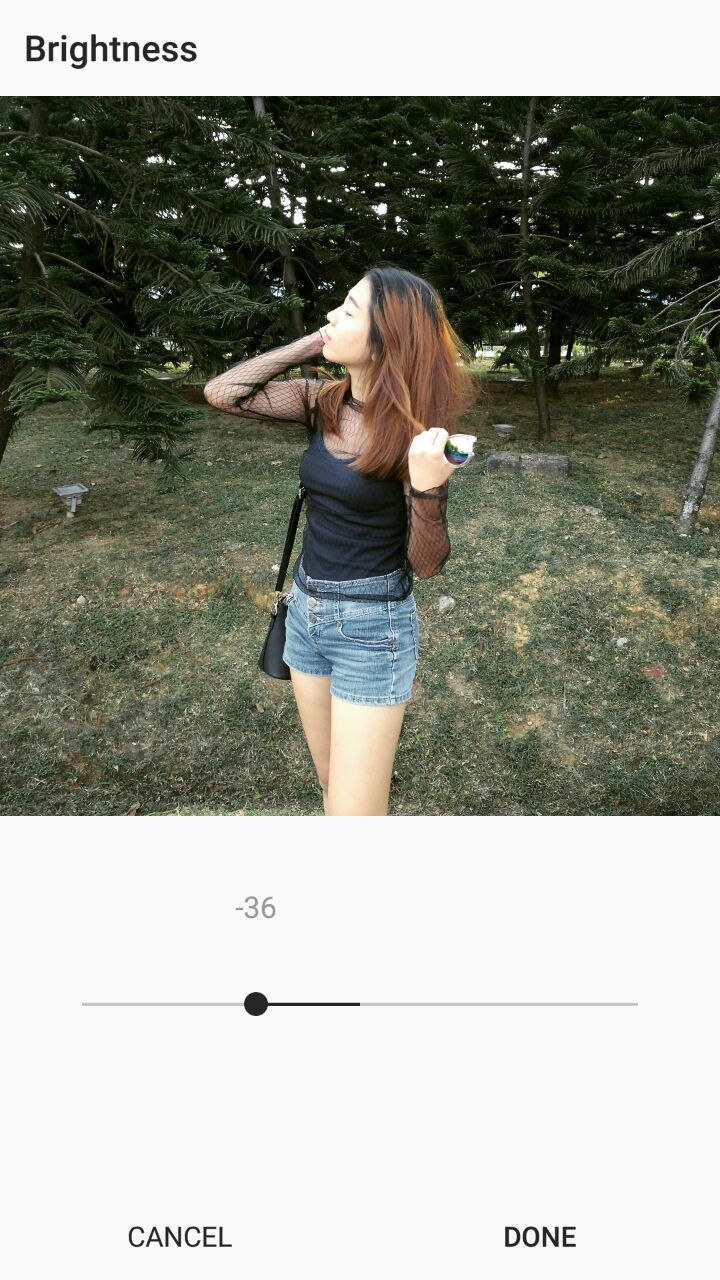
Step 3: Adjust brightness (if necessary)
For this picture, it's originally quite bright hence I lowered the brightness.
Step 4: Adjust saturation
Step 5: Adjust contrast
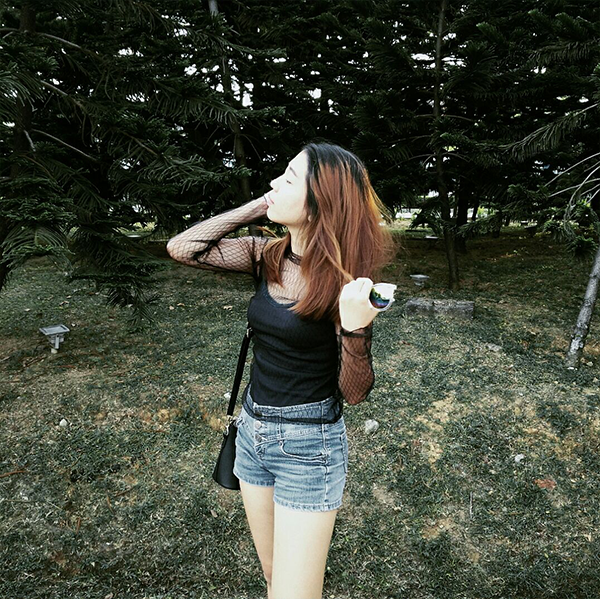
after a few attempts. The final edit!
So this is how I end up with this filter effect. But seriously though, there's no rules in editing your photos. Try as many filters as you want. There's so many free editing photos app in Playstore.
Nice edit.Hi!please follow me and vote me,comment me and I will follow you,vote you and comment you regular
Thanks and sure! ;)
Wow. Thanks for the guide. Really helpful 👍🏻