Growing Microgreens - Soiless Mix
I grow and sell a bunch of microgreens. In 2017 our microgreens sales totaled just over $11,000. Of that, nearly $2,000 of expenses were in our sterile potting mix. You may be asking yourself, "Why spend so much money on a potting mix when dirt is free?" Well, quite simply, quality and consistency. We found early on that too many things can go wrong with plain old dirt. Dirt has a tendency of harboring weeds and fungus, neither one of which is welcome in our microgreens. Also, with dirt, depending on the consistency, the amount of water needed may vary. If you're watering by hand then that's not a big problem, but if you rely on automated watering it becomes too easy to over water leading to fungus. After many trials and failures along the way, we finally came up with something that works great for us.
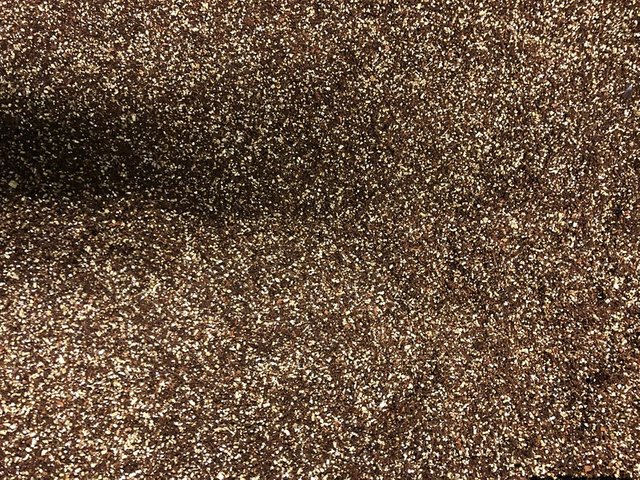
What makes up a good soilless mix?
A soilless mix needs to be light enough to allow root growth, yet heavy enough to hold the roots. It also needs a good balance of moisture holding ability along with enough aeration to not get too wet. Peat moss has traditionally been used as a base for many soilless mixes. Unfortunately peat moss is mined in bogs, and the process isn't all that sustainable. Instead we use coconut coir, which is a natural fibre extracted from the husk of coconuts. It's much easier to grow more coconuts than wait for sphagnum to decay into peat moss.
Step One: Preparing Coco Coir
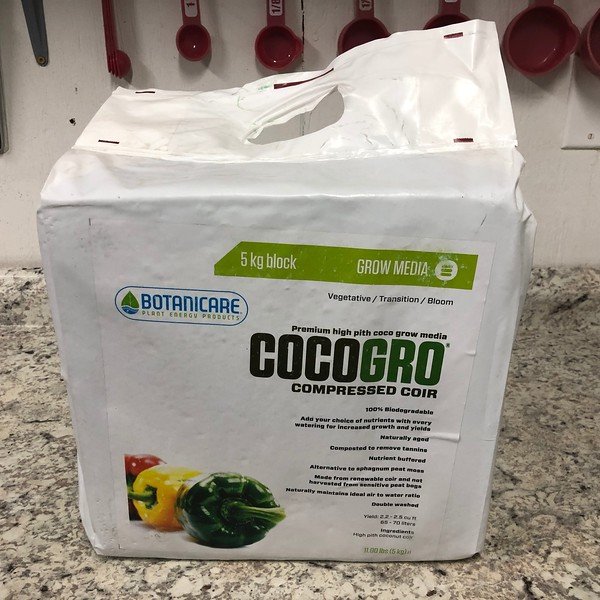
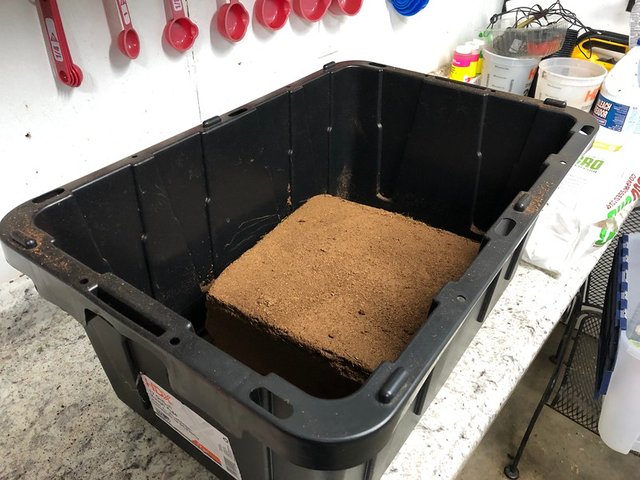
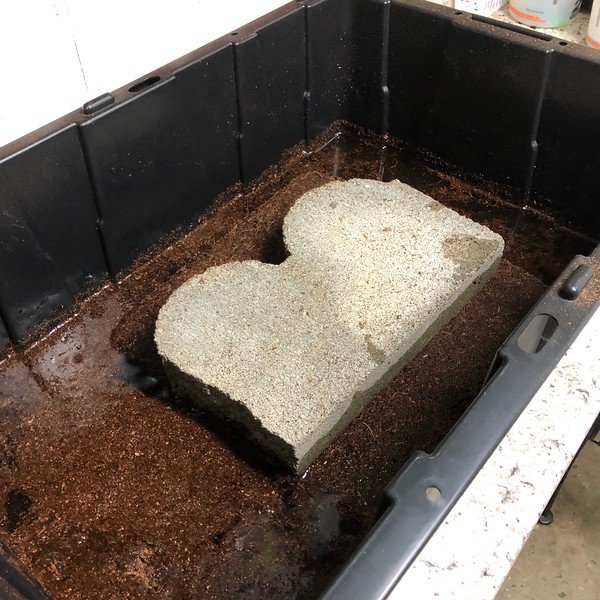
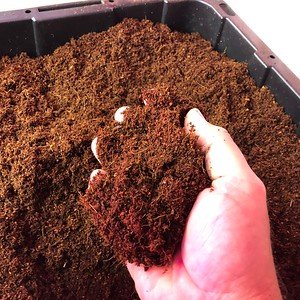
We purchase our coco coir in brick form, and stick with higher quality coir. The goal is to have composted (or pattially composted) coir, as the composting process removes many of the tannins. You also want something that has been well washed leaving the resulting coir with a neutral pH. The first step in preparing the soilless mix is to hydrate the coir brick. For that you need a container of appropriate size. You want something small enough where you can completely cover the coir brick with water, but large enough to allow the coir to expand. A 17 gallon Tough Tote available from Lowe's/Depot is perfect for this. Place the brick in the tote and add a little over 4 gallons of water. It's also a good idea to weight the coir down with a landscape block or something to keep it submerged so it can wick up the water. Let things sit for a full 24 hours. Don't be tempted to touch it before then. The coir expands in layers and if you seperate those layers early you'll end up with dry patches of coir.
 |
 |
 |
Step Two: Mixing with Vermiculite
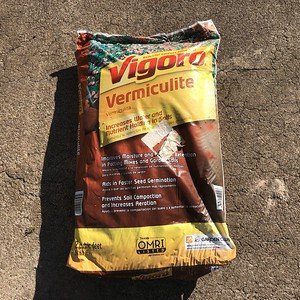
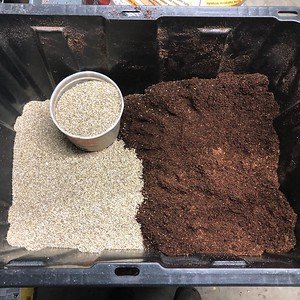
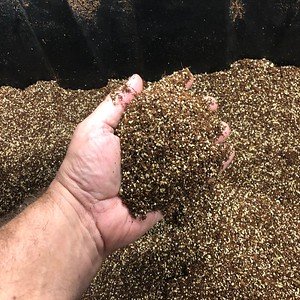
After letting the coir soak up the water for at least 24 hours, you can break the coir apart by hand eliminating as many clumps as possible. You should be left with a nice, smooth, fluffy mix of pure coco coir. At this point you'll want to transfer some to another container and mix in some fine vermiculite. If you want to use this mix as the base of an organic potting mix then it is okay to use coarse vermiculite or pearlite, but for microgreens stick with fine vermiculite. A good ratio is 60% coco coir and 40% vermiculite. I just use a small pail and scoop 6 coir into a larger tote, and 4 vermiculite. Then it is just a matter of mixing them together thouroughly by hand and breaking up any more remaining clumps along the way. When finished you should have a nice, fluffy, airy mix.
 |
 |
 |
 |
Step Three: Nutrients
Depending on how long you plan to grow your microgreens, you may not need any nutrients. We grow to true leaf stage which usually takes a full 16 days from seeding. At about day 12, when the true leaves first start appearing, the microgreens will begin to yellow without the presence of nutrients. For that reason we typically water daily with a weak hydroponic nutrient solution. We use Botanicare Pure Blend Pro Grow in a weak solution, 1/4 cup per 4 gallons of water. We don't use organic nutrients for the simple fact that we are starting with a sterile substrate and a two week growing period isn't enough time for the necessary organic biology to develop in the mix. Without the presence of soil organisms, any organic nutrients you add won't be used by the plants.
If you've found this post useful and want to see more like it in the future, let me know by saying so in the comments and giving an upvote. If you've read this far then I'd like to say thanks. Until next time . . .

You have a new follower! Keep it up
this is super useful - i saw another post where a grower was using coconut coir with burlap over it, to help with moisture retention. both of these methods can be interchanged, depending on what seed gets used, i would think.
what do you do with the mix after you harvest? does it get broken up and reused - and if so, how many times?
I feed the cuttings to my hens and they scratch it into my pasture. I did a post recently titled Nothing Goes to Waste with a photo.
i will go check it out - thank you!
Wow I love this, I never really thought outside of the box like this, using something other than soil. Thank you
Veey useful info. Thanks
I am keen grower of microgreens, but just on a home use scale.
Very useful to learn about the nutrients requirements.
Hey! glad I found your blog. I'm actually starting an indoor microgreens farm right now so this is very useful to me. Have you tried growing on coco mats without any soil? We are probably going to model our growing system after City-Hydro.com. Would love to hear your thoughts on this.
No, I haven’t tried coco mats yet. The mix coco/vermiculite mix has been working fine.