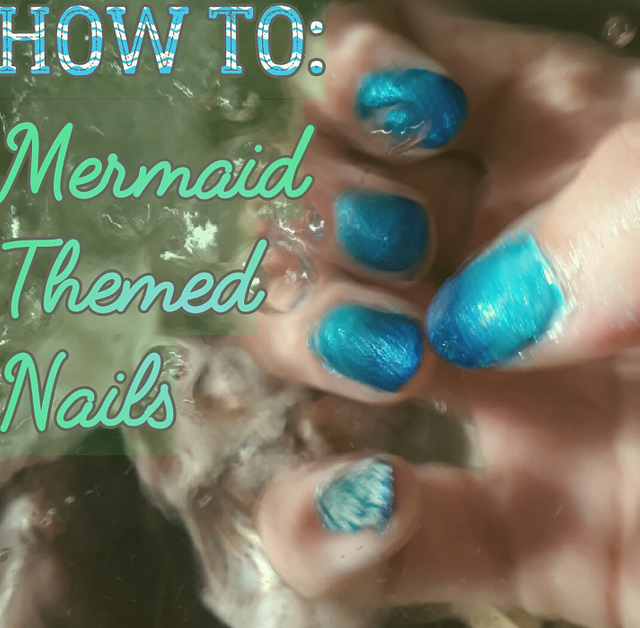
Mermaid-Blue Gradient Nails Tutorial
Hey Everyone!
I know it has been a while.. but I have been so busy. Work is so hectic and my cat children are being difficult teens and no one will believe I'm really a mermaid and and and..
C'est la vie.
I was doing my nails, and since I don't often wear nail polish I thought I might share it with you. It is a fairly easy tutorial, though the technique definitely needs practice. I did it for the first time today and well.. Let's hope we can all learn from my mistakes.
Let's begin:
Step 1:
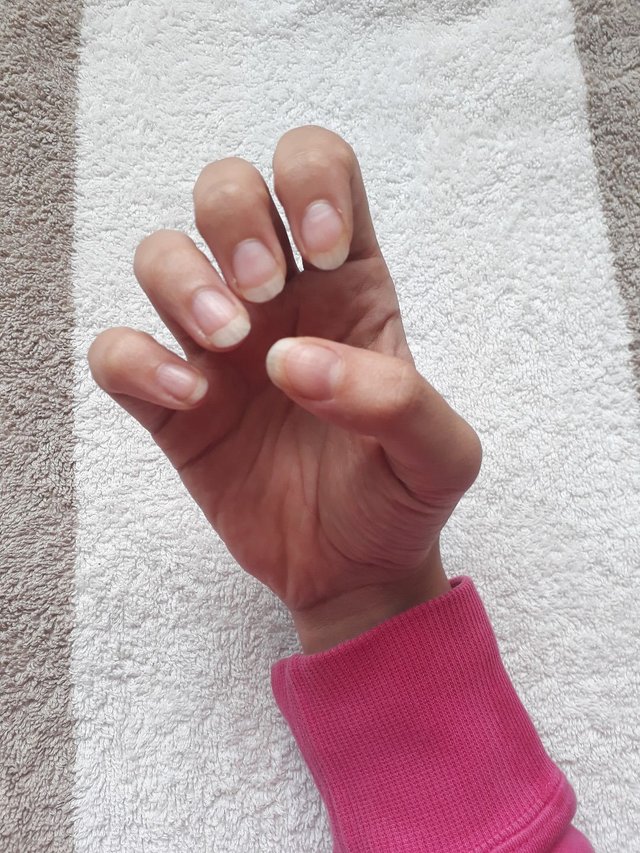
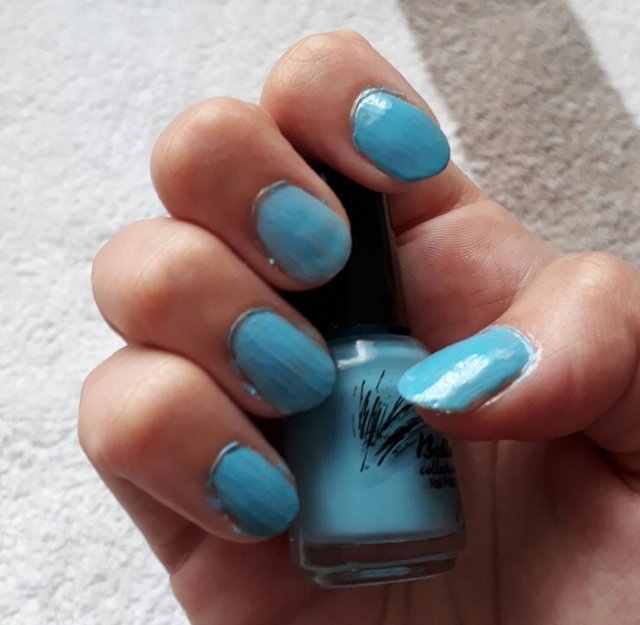
Look down at your hand and see the beautiful manicure already there because you are a mermaid.

Seriously guys. I really am a mermaid.
This is the internet.
But anyway, here is how to do it for you non-merpeople.
- Step 1: Clean your nails, either in the shower/bath, or soak them in a bowl of warm soapy water for a few minutes. This will also soften the cuticles so that you can push them back slightly.
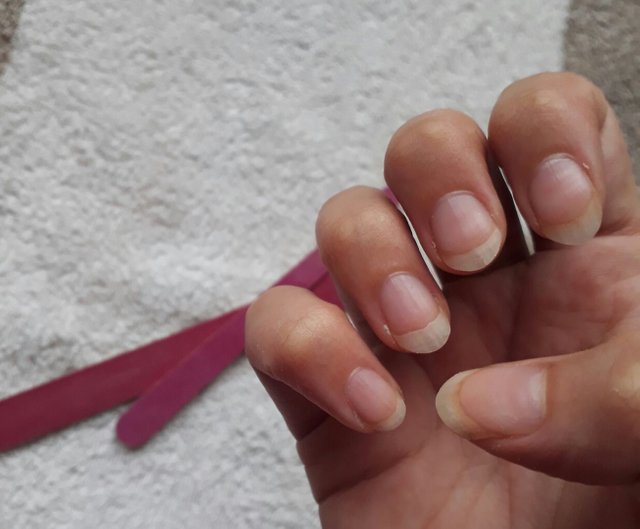
- Step 2: File the nails. You can file them into which ever shape suits your fingers best. I like almond shaped nails on me, but any shape will work. Remember to only file in one direction. Going back and forth cross hatches the tissue and makes the nails weak and prone to splitting.
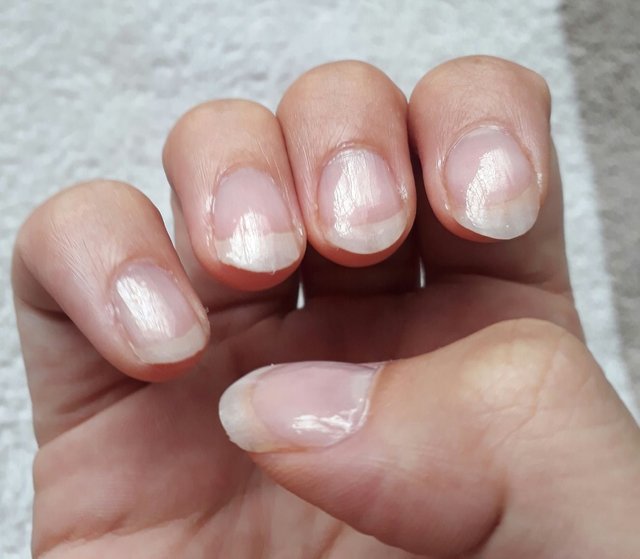
- Step 3: Apply a clear base coat to the nail. This will give the actual nail more protection against staining from the coloured polish.
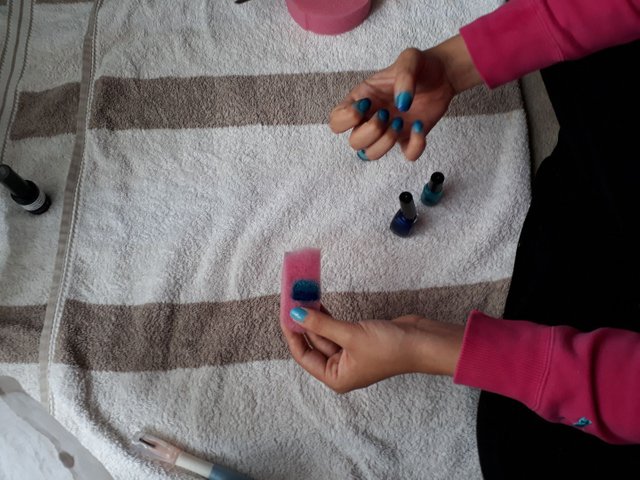
- Step 4: Apply a thin layer of the colour you will be using as a base. I'm using a simple light blue, but you can use any colour. Just keep the layer as thin as possible. It doesn't have to be perfect, luckily for me because I cannot paint my nails. At all.
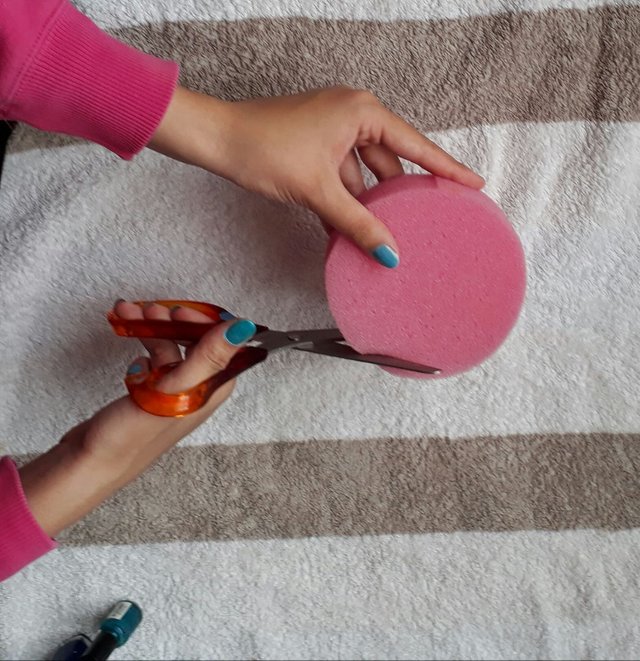
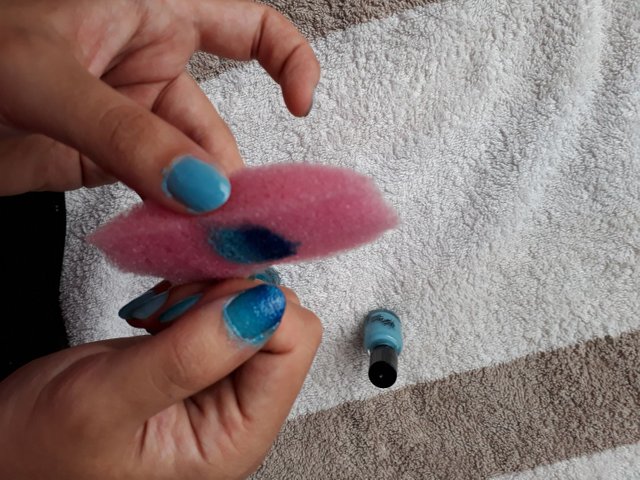
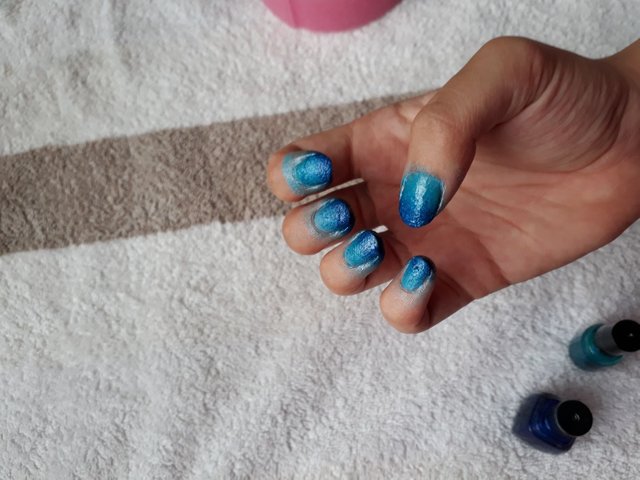
- Step 5: Allow the paint to dry fully, and then cut a small piece off of a sponge. the smaller the air cells in the sponge, the better the results will be. paint a stripe of the colour you want in the middle onto the sponge. I am using a glittery light blue. Then, slightly over-lapping the first stripe, paint another stripe above it. This will be on the tip of the nail.
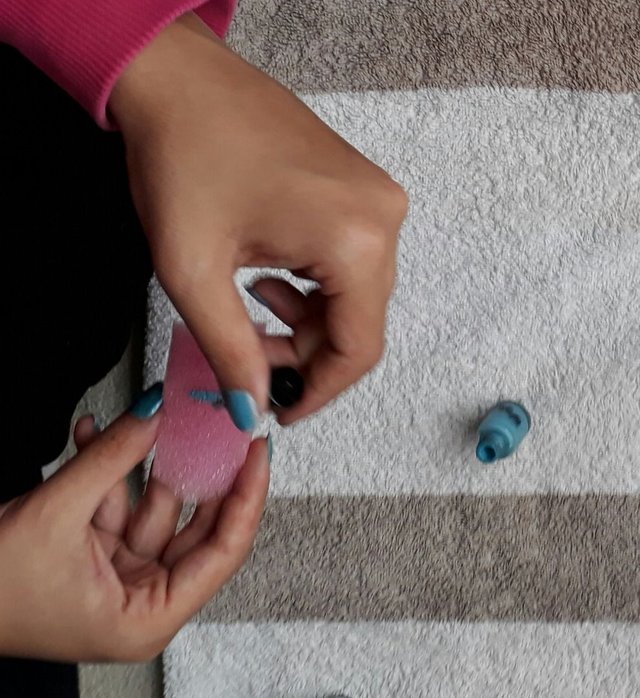
- Step 6: While paint on the sponge is still wet, dab the sponge onto the nail, creating the fading gradient effect. This can take some time and practice, as well as quite a few layers.
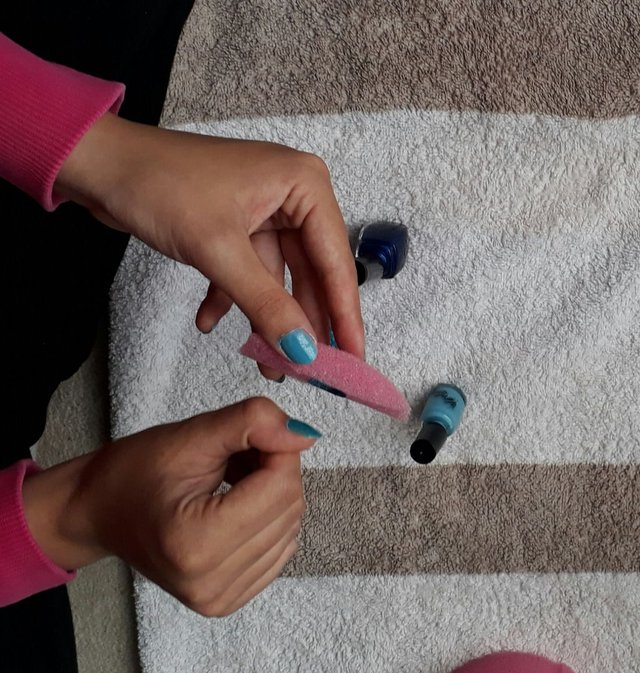
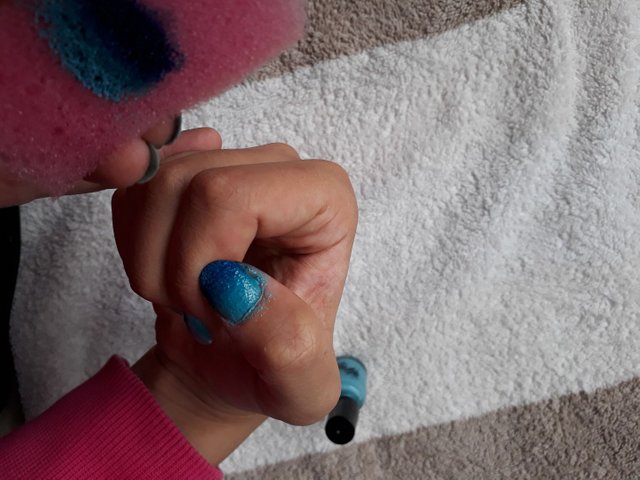
- Step 7: Repeat this with all the nails. If the effect is not bold enough, you can wait for the coat to dry and repeat the process.

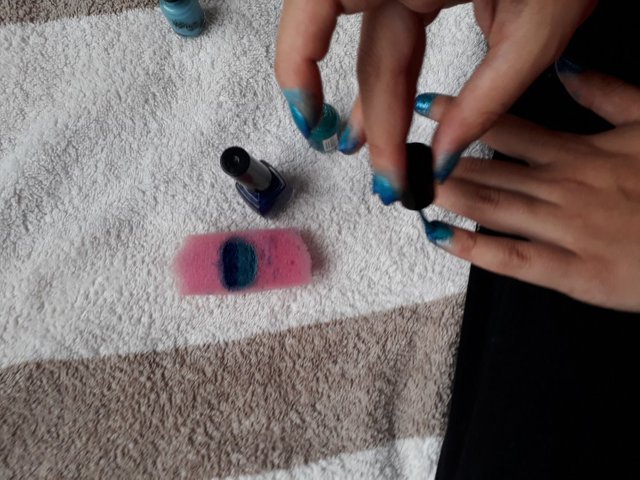
- Step 8: To enhance the top layer, you can add a thin layer of the paint to the edges of the nail. This will bring the colour out more.
Now, a smarter person would probably have applied a layer of liquid latex or Simply Peel on the cuticle and skin around the nail, to make clean up a lot easier. A smart person.
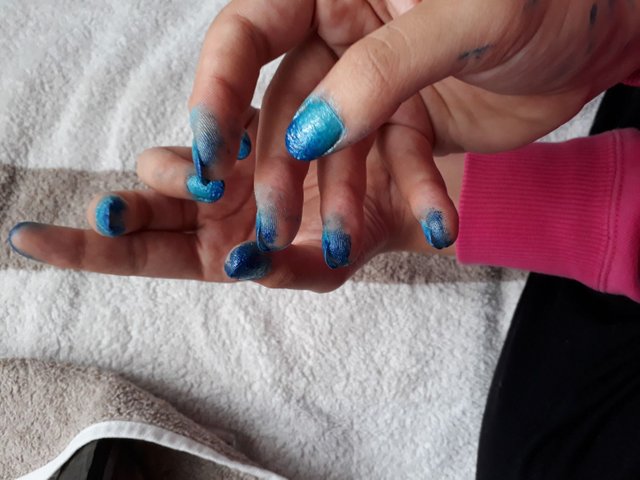
This is how it looks when you touch my ice cold soul.
...
For real though, how can someone this salty not be from under the sea?
After about an hour of cleaning the polish off of my fingers with nail varnish remover and Q-tips, I was ready to move on to the next step.
- Step 9: There were some spots on some of the nails where the polish didn't blend nicely, so to cover it up I took a toothpick and some white nail polish, and made wavy patterns. This is optional.
- Step 10: The sponge will have made the texture of the polish very rough, so add a layer of glossy clear top coat to the nail. If it is still not completely smooth, wait for the top coat to dry then add another layer. Once this is dry, you are done.
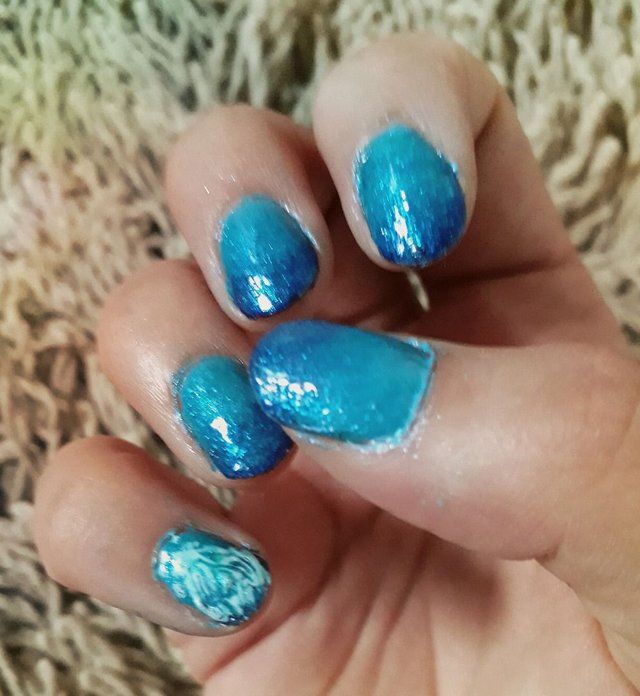
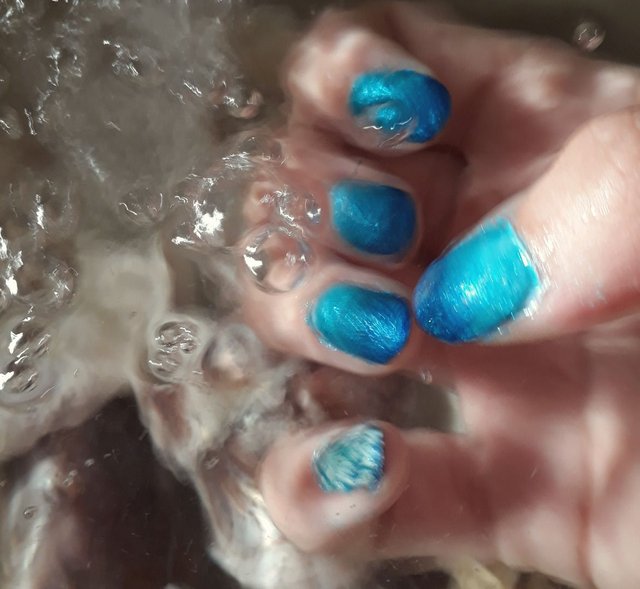
After a bit more clean up, (if you are as clumsy as me) you are done!
I hope you enjoyed this tutorial, and as always, if you have any questions or comments, leave them below and I'll be sure to reply.
Have a lovely day!

Upped and followed! I checked you up a bit and I think we've got a lot of it in common @yogidream.scapes
ahh yeah, we do have a lot in common! Really like your page! followed ;)
Thank You dear @yogidream.scapes