How to make a crochet miniature bag?? (Alodia's Crochet Corner Photo Tutorial)
Hello my fellow #steemians! Hoping for you to have a wonderful day! Alodia's Crochet Corner is here again and another share for this day! Yahoooo!! This Wednesday I created a hashtag #colorfulwednesday because what I am going to share is the crochet miniature bag in different colors.

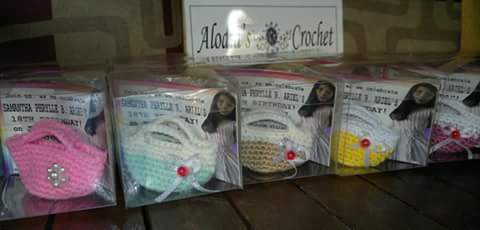
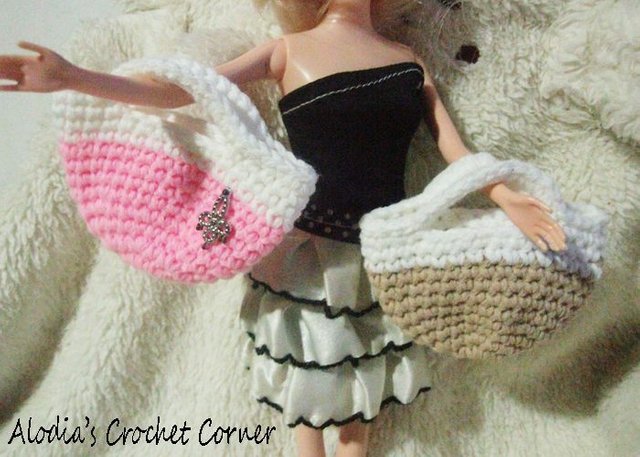
This bag is so cute, that you can make it as a keychain or even a souvenirs. You just need to be more artistic and creative but I think simple as that is already attractive ;)
But before anything else I would like to share first the colorful souvenirs that I did in the past few months.

This was the first ever souvenir I made. A crochet mini dress! My client ordered 50 pieces of those colorful dress for a christening for their cutie cute daughter. Because it was my first time making a souvenir, I felt the excitement of making those mini dress. The fact that I slept for almost 1am already.
I got a very good feedback from my client that they also endorse me from their friends.
| 
|
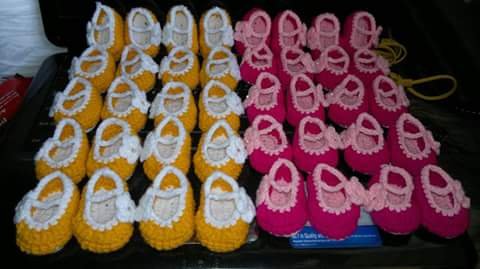
This crochet mini shoes is a souvenir for christening. I shipped this from Gensan to Ilo-Ilo. I remembered the word "struggle is real", because I got so stressed! The problem was that, I need to pack this souvenirs into box, so it will not be damaged, and I need to pay the shipping cost doubled as I did not expect it would happen because it was also the first time that I shipped an items like that! And another problem was that, the event is almost 3 days ahead! I got so nervous that the souvenirs won't arrived on time.
I can't blame my client that time, because I can't reach her in more than a week because she just lost her father that time so I also understand why our transactions got delayed. Luckily she also understand that there was a possibility that the souvenirs can't received on time..
But you know, haha!! On the day they were preparing the souvenirs got delivered! Aha soooo blessed that day.. Thanks God!
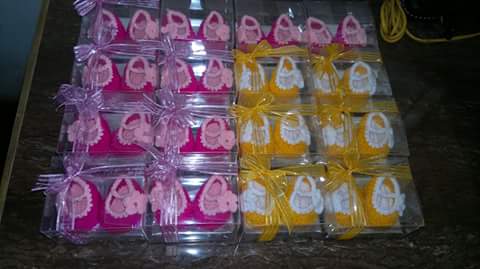
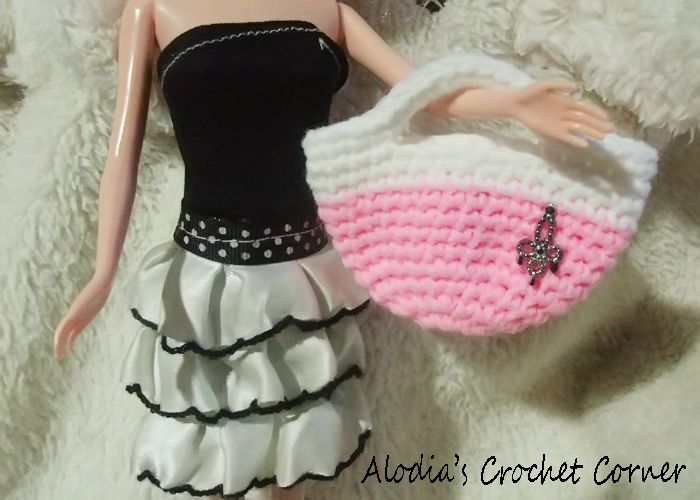
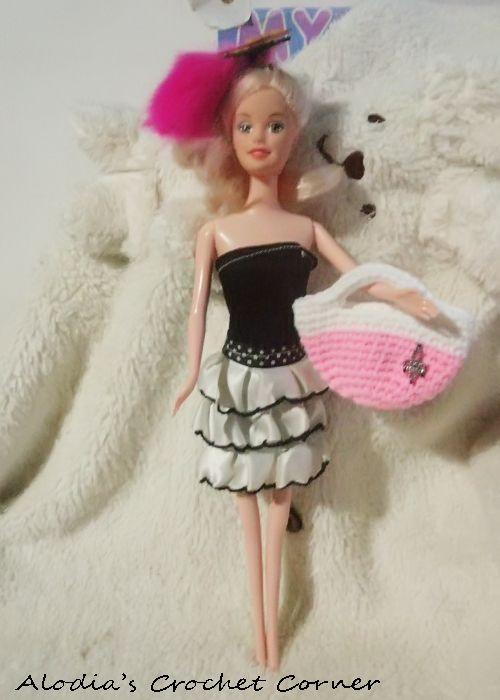
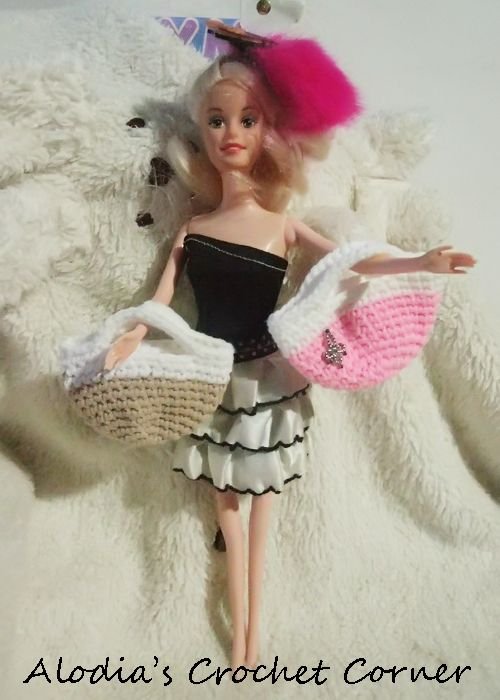
And lastly, the crochet miniature bag, the one that I will share how to make this.
This crochet miniature bag was ordered by an ofw who works in Middle East. She ordered those mini bag for the 18th birthday of her daughter. She ordered 30 pieces of mini bags and 30 pieces mini dress also. I just sell this souvenirs for only 40 pesos each. And I think it was fine for me. Hehe.
What you saw are the best seller souvenirs I made. I still accept made to order items, but I always remind my clients that I need atleast a month to make those souvenirs, because I have a priority order to make. Hehe.

So this time, let's make the tutorial for our crochet miniature bag. This is not actually my design, there is a video tutorial for this in youtube made by MARY JANE HANDMADE, but what I am going to show you is the progress how I made this. It was really a photo tutorial.
Materials I used are still my acrylic yarn and my favorite metal hook 3.00mm.
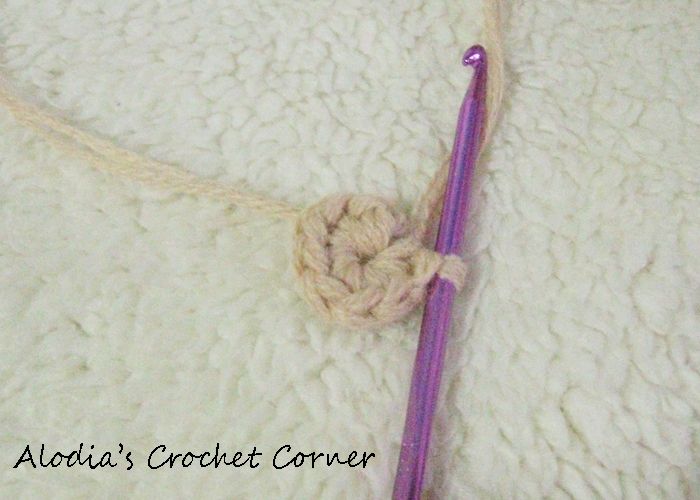
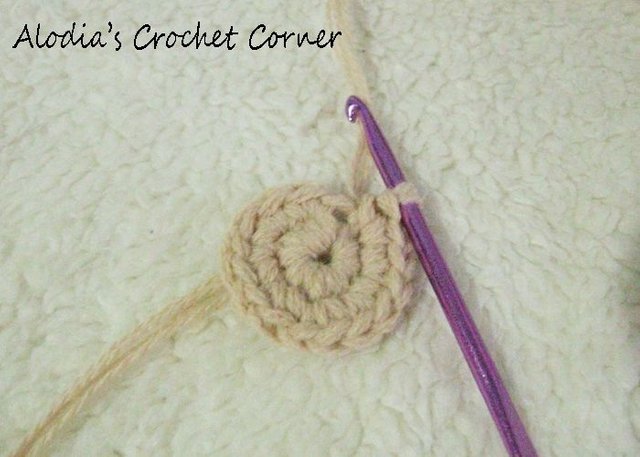
Row 1: single crochet 8 times on the magic ring.
do not slip stitch because we are making a spiral round.
Row 2: single crochet on the first stitch,(put a stitch marker on your first stitch made)
single crochet again on the same stitch.
Then single crochet 2 times on the next 7 stitches
(So you have 16 stitches in total)
| 
|
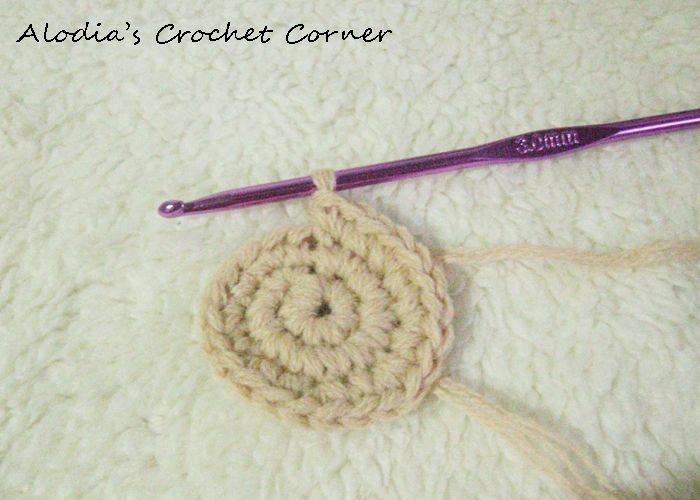
Row 3: single crochet on the first stitch,(put a stitch marker on your first stitch made)
then single crochet 2 times on the next stitch
**** single crochet 1 in the next stitch
single crochet 2 times on the next stitch****
(Repeat asterisk 7 times)
(24 stitches made)
Row 4: single crochet on the first stitch,(put a stitch marker on your first stitch made)
then single crochet all the way round until you reach your marker
(24 stitches made)
| 
|
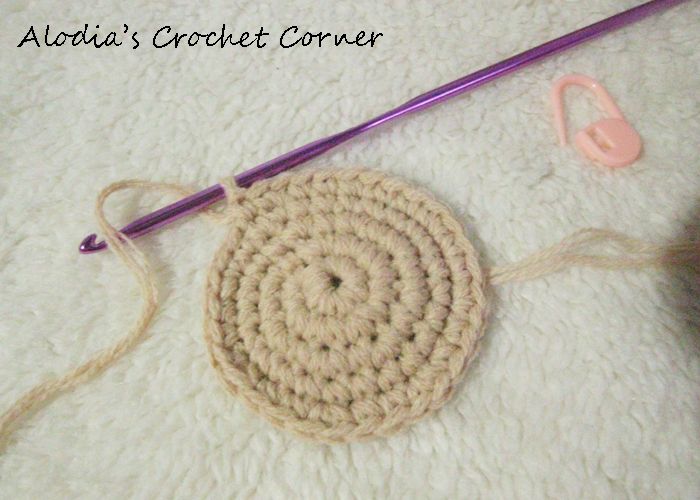
Row 5: single crochet on the first stitch,(put a stitch marker on your first stitch made)
single crochet in the next stitch, then single crochet 2 times on the next stitch
**** single crochet 1 in the nex2 stitches
single crochet 2 times on the next stitch****
(Repeat asterisk 7 times)
(32 stitches made)
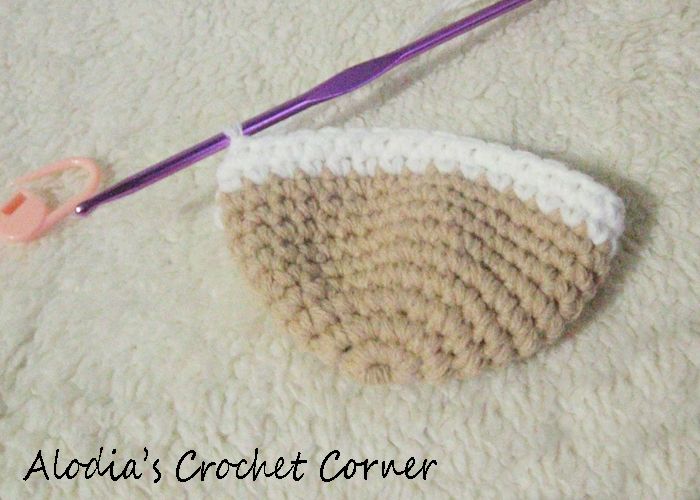
Row 6-9: single crochet on the next stitches (32 stitches made)
| 
|
Row 10-11: as you can see, I changed the color of my yarn in to white, the instructions is still the same on the row 6 made.
(Still you made 32 stitches)
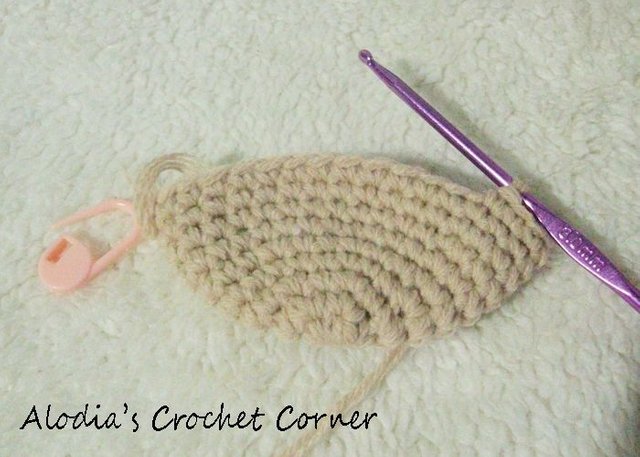
Row 12: single crochet in the next 5 stitches,
chain 10, then skip 6 stitches
single crochet on the next 10 stitches
chain 10 again, then skip 6 stitches,
then lastly on the next 5 stitches make a single crochet
| 
|
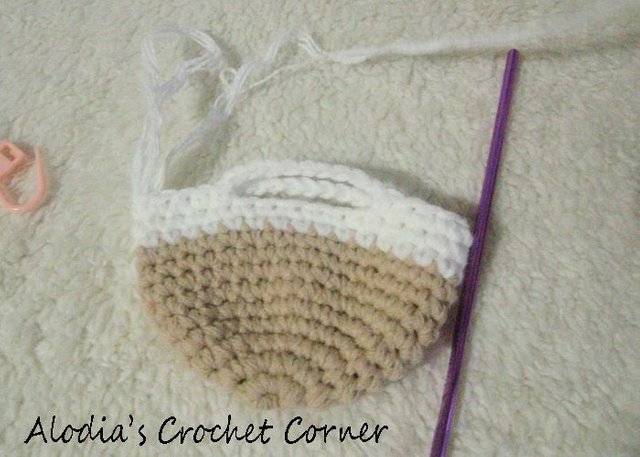
Row 13: slip stitch on the next 5 stitches,
then when you reach the handle of the bag, make 12 single crochet on the whole
after that slip stitch on the next 10 stitches
again make 12 single crochet on the handle of the bag
and final, slip stitch on the next 5 stitches.
Cut the yarn and fasten off. You can add more design if you would like, it's depend upon your creativity.
| 
|
| 
|
And yehey! Another succesful tutorial done by Alodia's Crochet Corner (@xorexman). Aha!
I hope you will like my photo tutorial fro this #colorfulwednesday everyone. Hehehe.. Tomorrow is another day, and I am already thinking what to share for tomorrow, thank you so much #steemians!

@surpassinggoogle has been a wonderful person and please support him as a witness by voting him at https://steemit.com/~witnesses and type in "steemgigs" at the first search box.
If you want to give him witness voting decisions on your behalf, visit https://steemit.com/~witnesses again and type in "surpassinggoogle" in the second box as a proxy.


Thank for sharing. I really appreciate it @xorexman ✯◡✯
hi thank you ;)
Thanks for using #artzone tag! Artzone can give just one upvote per day!
your work is so creative, elaborate and detailed... good stuff!
thanks @jznsamuel for the appreciation ;)
Great tutorial @xorexman
thank you :-)