How To Make DIY Vape Juice, EASY!

image credit to Disney.
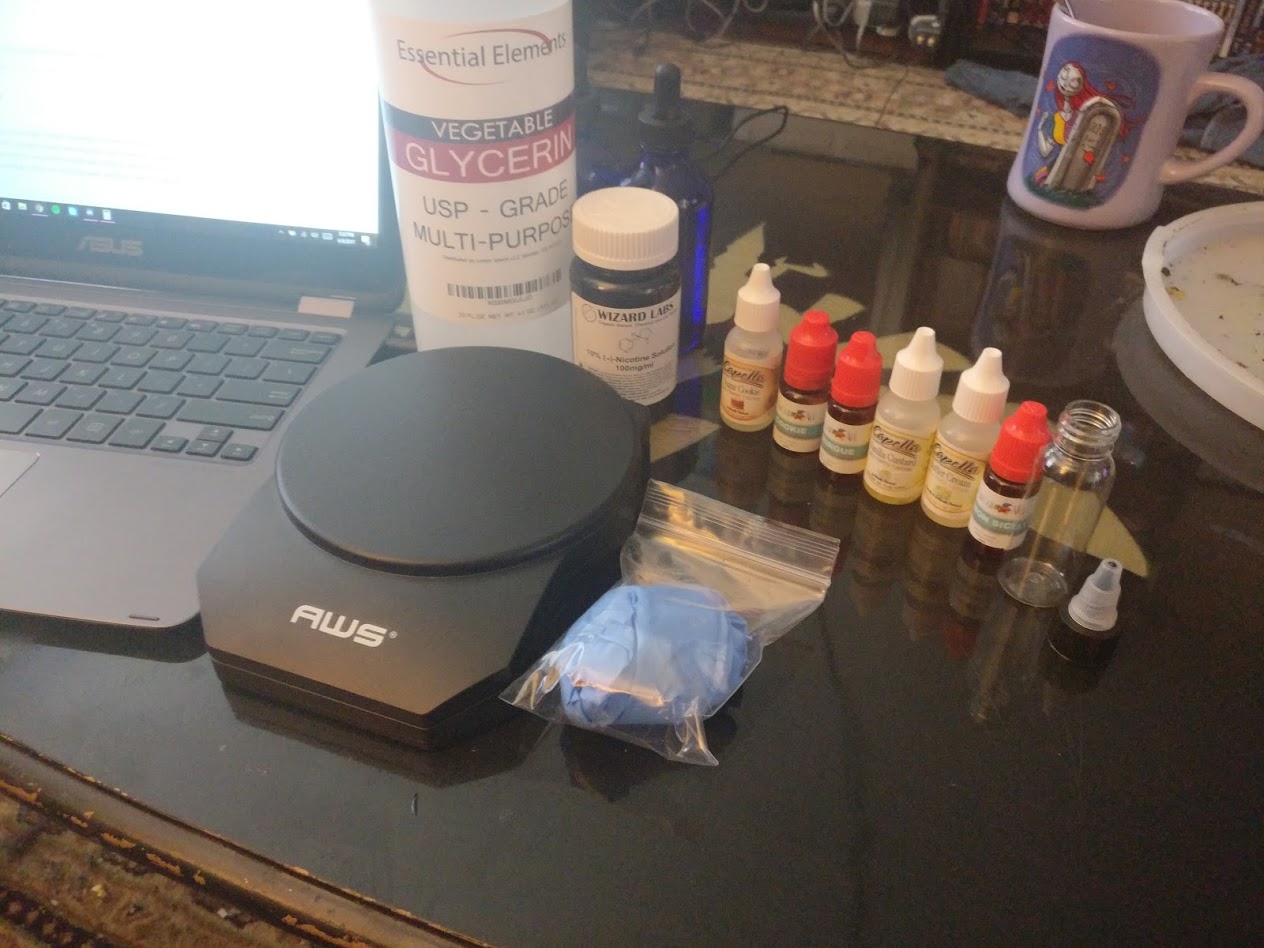
First we need to talk about supplies, where to get them, and how to mix safely. My suggested places to buy are just that, only suggestions. Amazon works great for me because I have prime, it might be easier for you to order everything you can from WizardLabs, it's up to you.
Nicotine - This is completely optional in mixing e-liquid, but most of us are vaping because we smoked cigarettes in the past and addiction is a pain in the backside, so I still consider it number one. It's also the only real product that you'll need to be careful with, high concentrations of liquid nicotine can be harmful to your skin. You should always use latex or nitrile gloves when handling nicotine in concentrations higher than 18 milligram per milliliter, and even then, you should rinse it off as soon as possible if your body and skin aren't used to it, it can give you a nasty nicotine buzz that leads to headaches and sweating, etc. We don't want that, we want nice, smooth clouds! I'll be using 100mg/ml for this demonstration, as it's the best value to buy as a consumer. You can order nicotine in a few different variations, it can be suspended in VG or PG, or a combination of both. I'll explain them in a moment. My preferred location to order nicotine is Wizard Labs
Digital Scale - A lot of people suggest using pipettes and mixing in ml amounts, this can result in inconsistent mixes in comparison, and you're wasting money buying unnecessary materials the longer you keep mixing your own liquid, I wish I had known how to mix by weight before I bought a bag of hundreds of pipettes that now sit dormant in a cupboard. Mixing by weight is faster, easier, and more consistent. There's zero reason not to use a digital scale, and you might even have one already for various other purposes. The scale I use is on Amazon.
Vegetable Glycerin (VG) - VG is a base used in e-liquids, it's very thick and syrupy, it makes your mixes nice and smooth, produces plentiful vapor, and has a natural sweetness to it that can potentially add to your mixes. I usually buy a good amount of this at a time, as you use far more VG or PG than you do actual nicotine or flavorings. I typically order my VG from Amazon.
That being said, you can buy it almost anywhere, just look for the USP grading and you're good to go, even Walgreens and CVS here in America sell VG, as it's also used in lots of other things like skin care products and a lot of the food we eat.Propylene Glycol (PG) - PG is the base that most early e-liquids were being made with, it's very thin and watery in consistency, it provides a "throat hit" which many compare to that kick in the throat you get from a hard drag off a cigarette, flavorings also mix into PG faster than they do VG, so you need to let your liquids mix a shorter amount of time on average, it especially can help more complex mixes with 5+ flavorings in them. I personally do not use PG in my mixes, but it has its merit and everyone has their own preferences, very often your favorite e-liquid will have the PG/VG ratio listed on the bottle or available on a website, note that this does include flavorings, you can use this to determine how much of either you'll want to purchase. As with VG, I order my PG when I need it from Amazon.
Gloves - This possibly should be higher up, but I'm too lazy to reorganize everything in this list and not everyone uses high concentrations of nicotine, if you've followed the post thus far, you understand why gloves are important when handling this substance. Go to a convenience or wellness store and get a box of them, they're pretty cheap usually. Latex or Nitrile, totally preference.
Flavorings - This is where the fun really begins, there are hundreds of different types of flavors that you can add to your base liquid to shape and create a delicious flavor that you can vape all day. This is the beauty of DIY besides the cost savings, that you get to make your liquid the way YOU want to. Imagine buying a bottle of premium liquid only to find yourself thinking "I wish it had a little more/less strawberry and more/less cheesecake in it." You can do that now, to any degree you'd like. Flavorings are cheap, you can by in large quantities if it's a favorite, and they're a hell of a lot of fun to test and try different combinations of. Most flavorings are extracted into PG, but some VG based flavorings do exist for those that want a Max VG blend as an outcome. My favorite places to buy flavorings are Wizard Labs and eCigExpress. Flavoring concentrates also exist, where the flavorings are mixed in pre-set amounts for your mix, you just add PG/VG/Nicotine and you're good to go. I haven't tried many of these, because I like tweaking my mixes more than I like pre-packaged flavorings, this could save you some time though if you're only looking to cut costs and vape one flavor for a while. These are my flavorings shelves, where I store an organize my personal stash, they're supposed to be used for nail polish, but whatever, they're the perfect size!

Bottles - This is again up to personal preference, and how much you want to mix at a time. I like to buy 120ml bottles to store my Nicotine and VG in, I suggest you do the same, so you don't have to portion out of larger bottles and make a mess. I mix using 30ml bottles, as this is the standard size for most premium liquids, and I like to make new mixes on an almost daily basis. You can buy 60ml bottles for your mixes, or 120ml+, it's all up to you. What shape and how they operate via dropper tops or screw tops, what material they're made out of, pick something you like. I usually order bottles from WizardLabs or Amazon, the ones featured in this post are Amazon and Wizard Labs
Okay, now that you've gathered up all your supplies, know more about what e-liquid is made of, and are ready to start mixing, let's get to it!
Step 1: Find a recipe on the internet to start, my favorite place to get ideas is All The Flavors The mix I'll be showing today is a Lemon Cookie Custard by the author named heatbbx. I've been vaping the past three hours and I really enjoy it, it's a very lemony and smooth flavor, you get a lot of lemon on the inhale, it's sharp, sweet and refreshing, and the exhale is more of a rounded out lemon cookie with some custard elements to it. Totally recommend it, but remember that everyone's tastes are different, browse the website and pick something that appeals to you! Here's the link to what we're working with today. Recipe
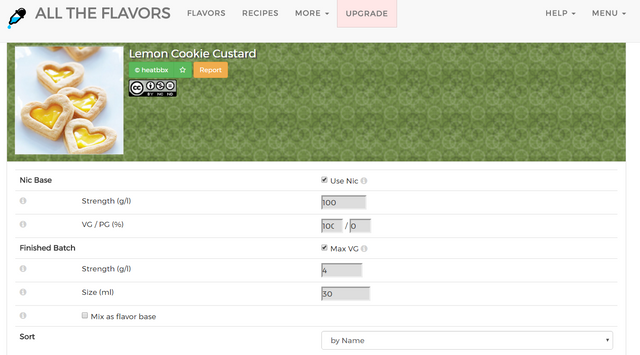
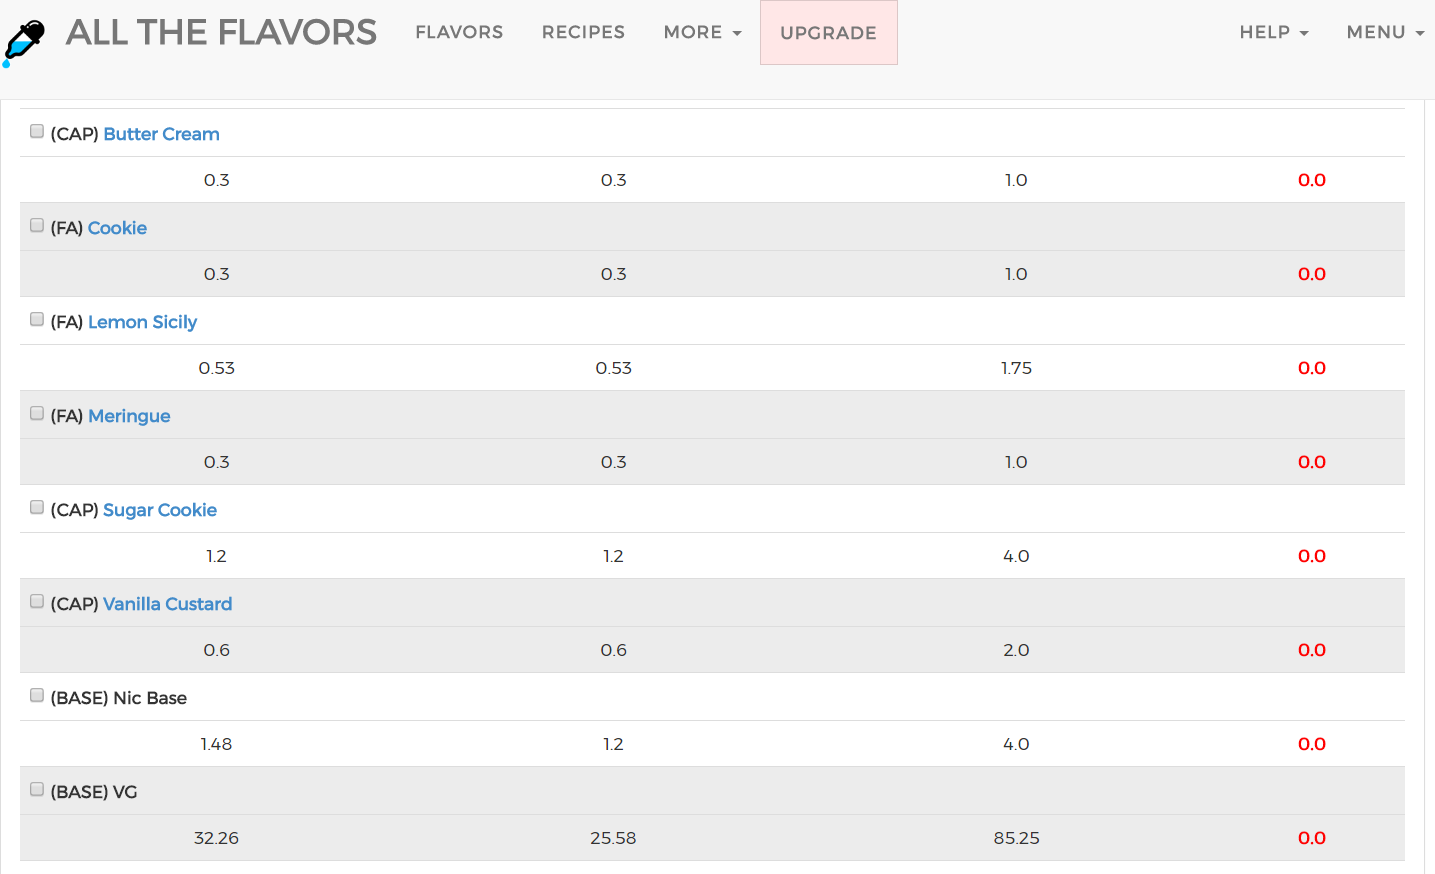
Step 2: So how do we figure out what parts of Nicotine/VG/PG/Flavorings we need for our mix? On the page for the mix you're given percentages for everything, but that doesn't tell you how much these components weigh. AllTheFlavors is amazing for this. Once you find a mix you think sounds appealing, click on the "mix" button above the percentage values for the flavorings. This will bring up a form to fill out including the size of bottle the mix is being made into, your desired PG/VG ratio, desired nicotine strength, and weight in grams of the parts on the left side. Here's an example using the recipe I mentioned above.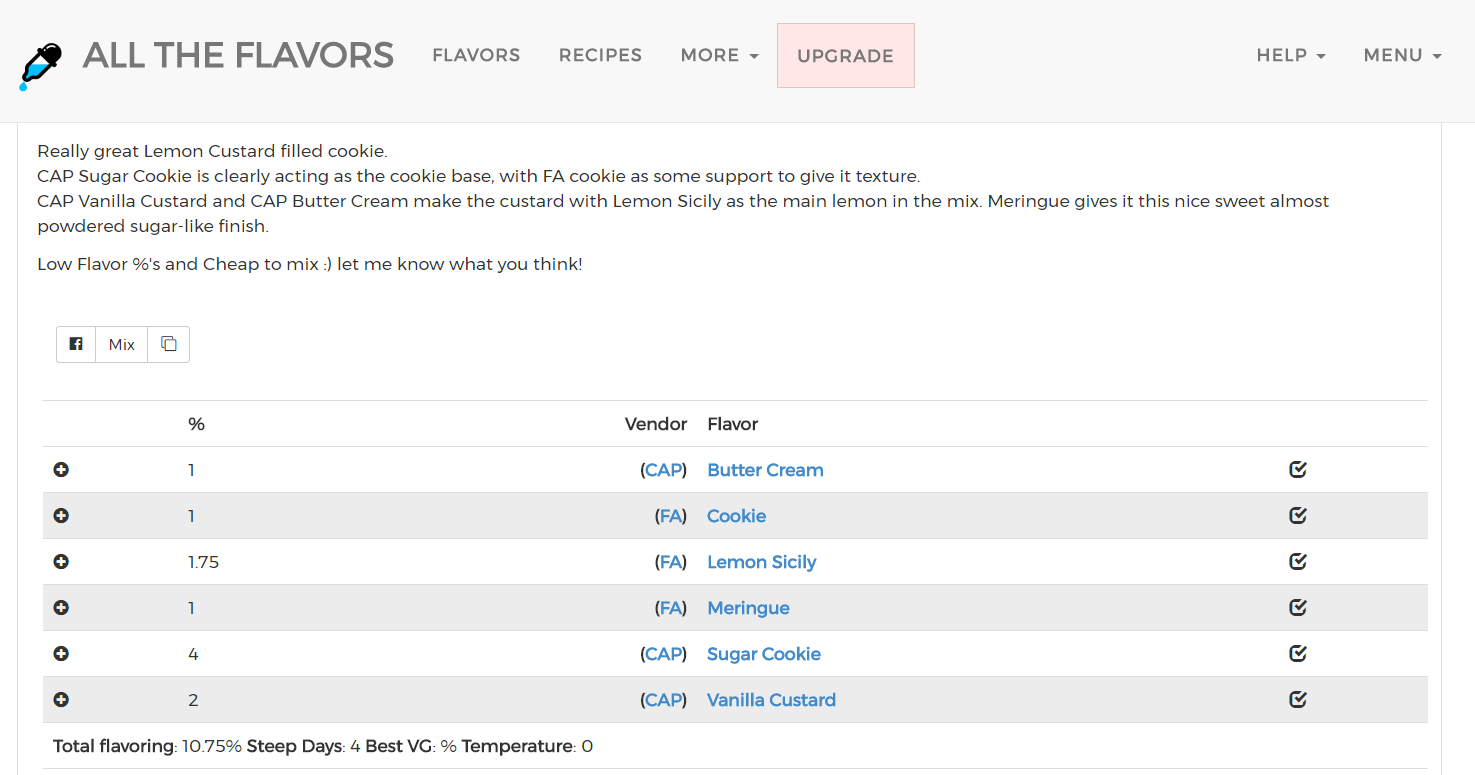
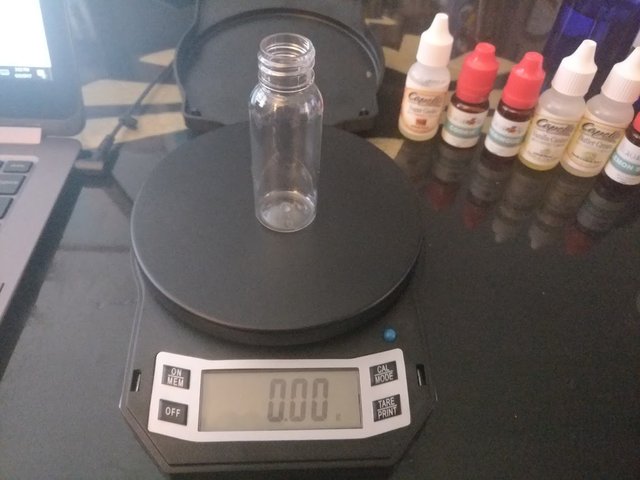
Step 3: Clean your mixing surface of dust and other objects that could find their way inside your liquid, you're inhaling this into your lungs, don't mix it in your bathtub or your dirty ass garage please! Open up your scale, place your empty bottle on top of it, and press the ON button, this will make it so the scale doesn't take into account the weight of the bottle and screw up your mix, the other option to place the bottle on after your scale is on, and press TARE before beginning. Your scale should come with instructions on how to calibrate the measurements for accuracy, please do this before adding liquids to the bottle!
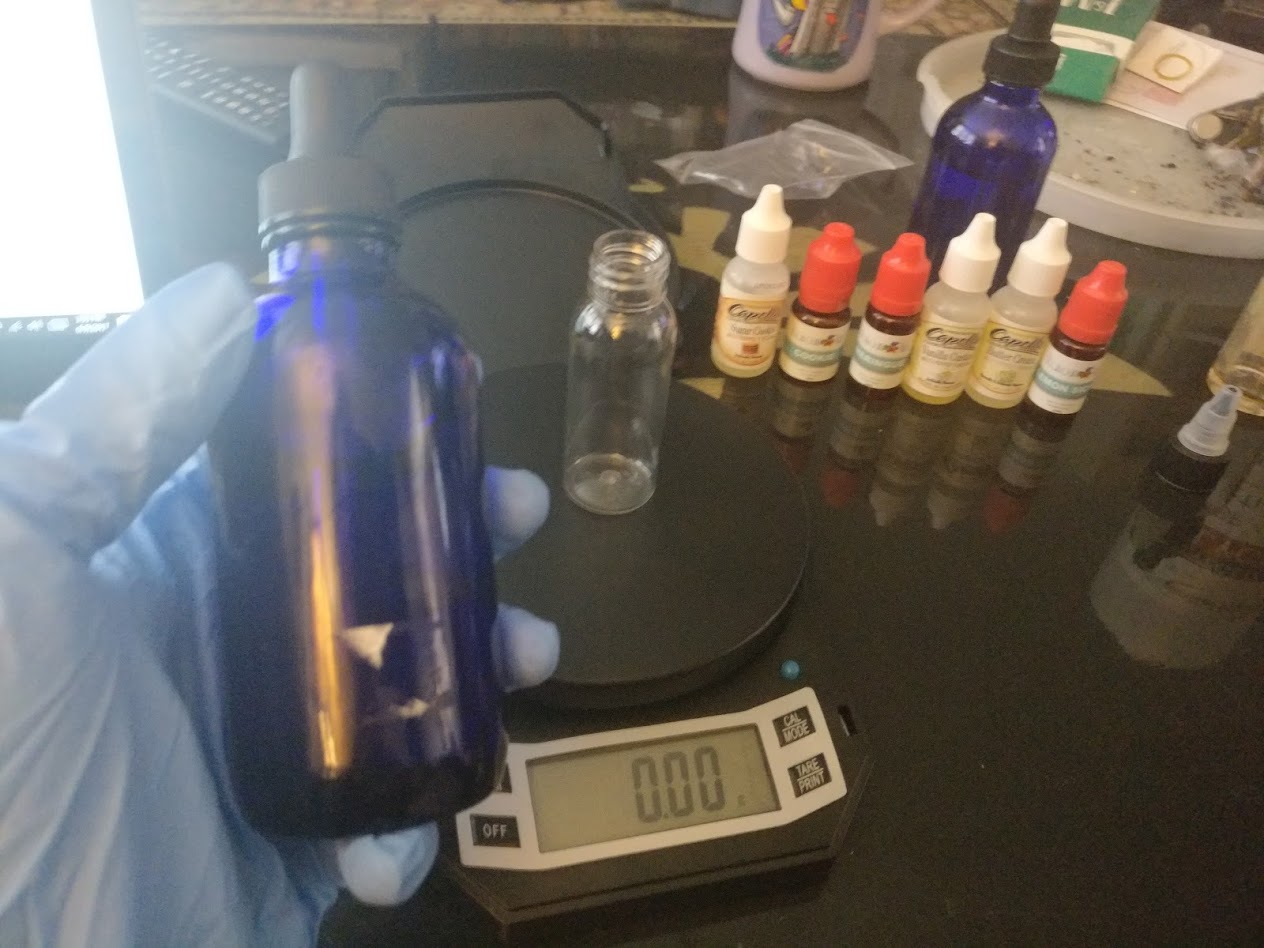
Step 4: Grab your gloves and your nicotine if you're using it, and add in the desired amount for your mix. Our mix calls for 1.48g of 100mg/ml nicotine, I put in 1.44 and stopped there because 4mg mixes are higher than my usual 3mg, so I took something not quite but mostly 4mg. Like I mentioned before, very easy to irritate skin and give you an uncomfortable few hours if it spills on you, I do this first to get the smallest amount of liquid into the bottle and to get the only thing I can't spill taken care of. You can mix these parts any way you wish.

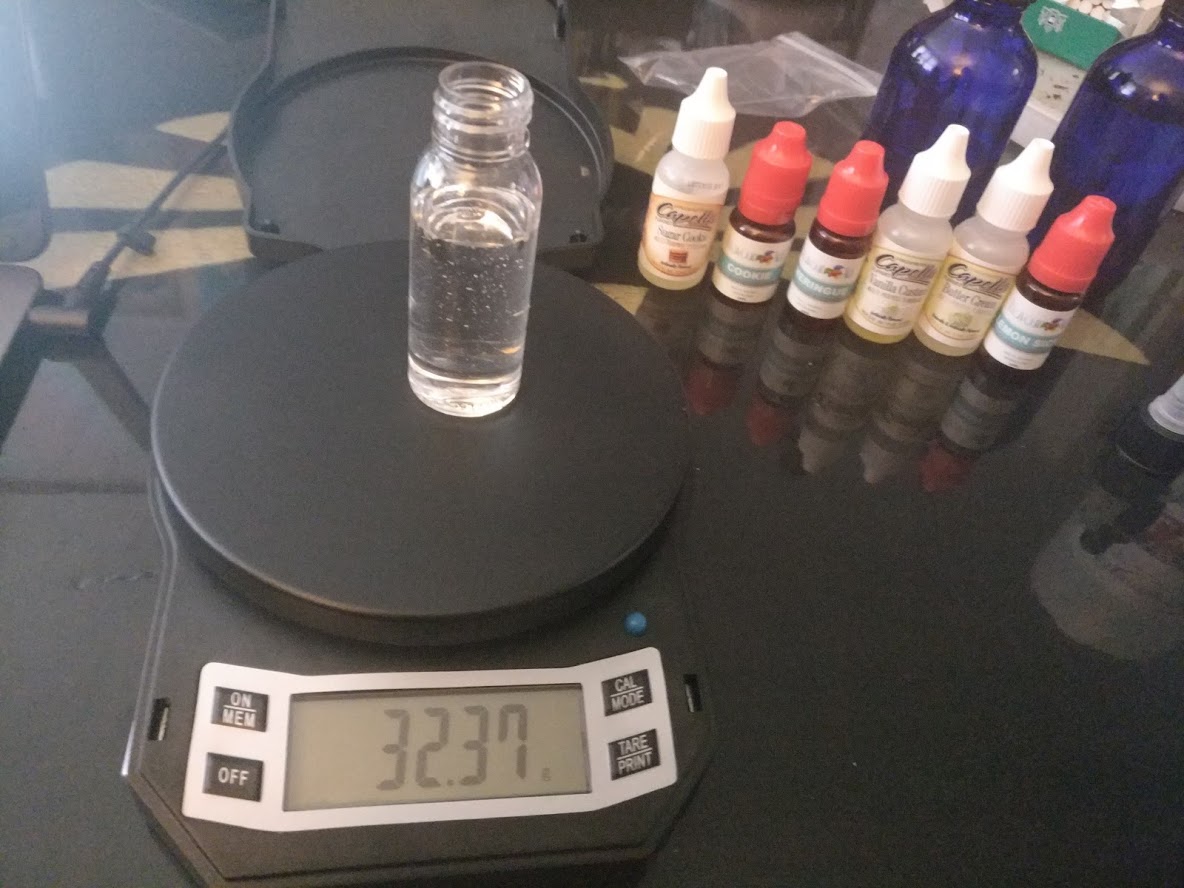
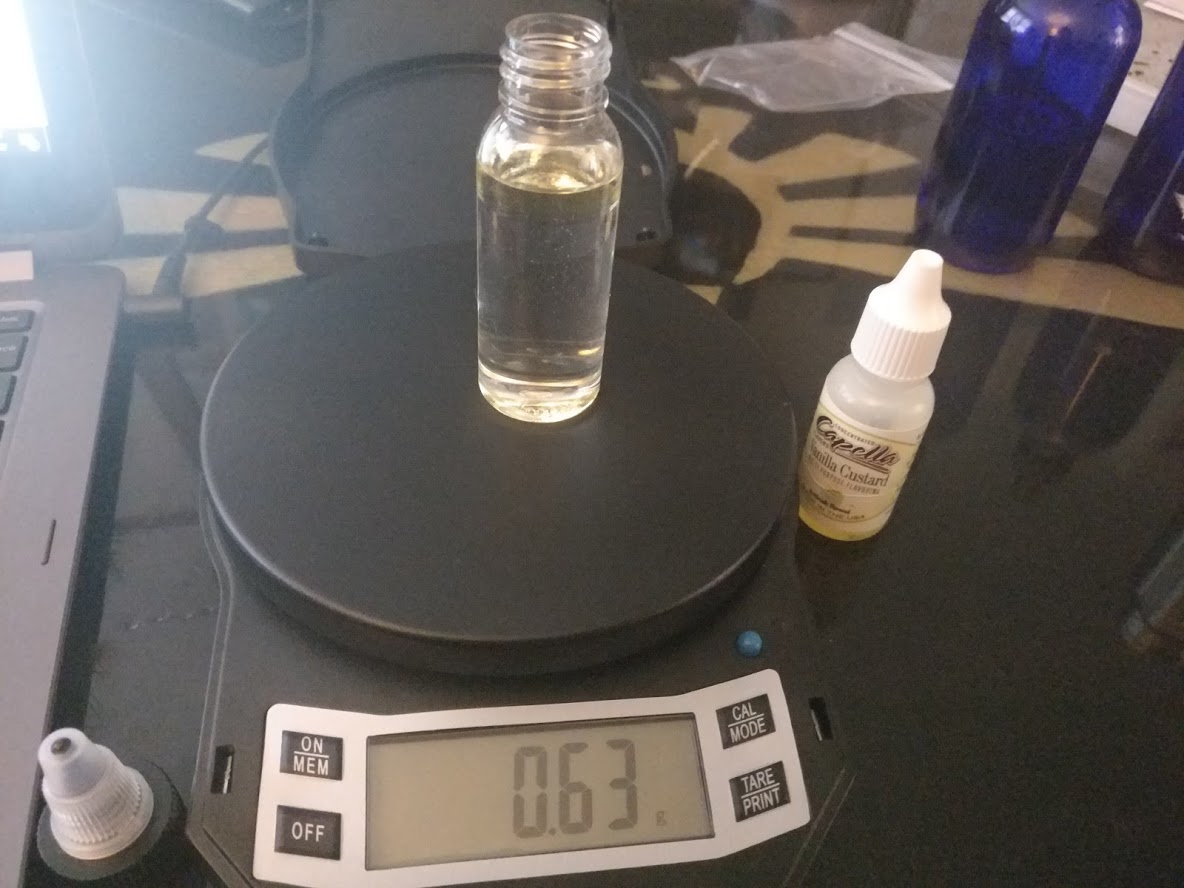
Step 5: Add in your VG/PG base of your choice, I choose to only use VG for my base, as I don't mind waiting for my flavorings to mix a little longer than usual, I'm not a fan of the throat hit from PG, and I love the vapor production all mostly VG mixes. For this mix we're supposed to use 32.26g of VG. I went a tiny bit over on a lot of these, and that's okay, it's still likely more accurate than using a pipette for these purposes, this is much faster and economic as well.
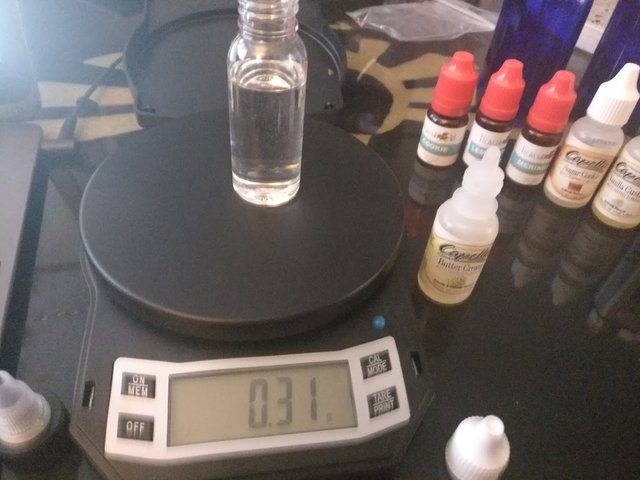
Step 6: Begin adding in your flavorings, you can have various mixes from a simple single flavoring making up the entire mix, to upwards of 10+ sometimes, it's all about what you like and want to make. This mix uses six different flavorings at varying percentages. Just as above, follow the mixing guidelines given in the recipe, and you'll be golden. After you've added your flavorings on top of your base liquids, you might notice some separation start forming in it like in the second picture in this step, that's perfectly normal, and so is that color, flavoring extracts can either be clear as VG, or extremely dark for flavors like chocolate, this is only part of the extraction process and not anything to be of concern, we're fixing that in the next step.
Step 7: This last step brings everything together and mixes the flavorings into the bases, and it's very simple. Put the cap on your bottle, grasp it firmly in your hand, and shake it like mad. The end result will look something like the picture below, the little bubbles will go away over time, and it's just air in the bottle mixing into it while being shaken. There's other solutions that require less effort, like using an UltraSonic Jewelry cleaner, but at the end of the day, you'll get the same results from shaking for a good 3-5 minutes. After that...YOU'RE DONE! Fill your tank up with liquid, or drip some onto your rebuildable dripping atomizer, and enjoy!

I hope you all enjoyed this DIY tutorial, I put a lot of work into this and it's taken me hours to put together, I hope someone finds it useful and can start their DIY mixing journey with confidence and zest because of it. I have a huge passion for smoking cessation and vaping is hands down the easiest solution for many, many people. I want to help bring that to them in a less intimidating and digestible format, while saving you even more money in the process. I personally smoked a pack a day from 13-19 years old, and it took a huge toll on my health in that short amount of time, I don't want that for anyone, and I wish I could have gotten my late grandmother to start vaping five or ten years ago, should it have been a widely available product, maybe she would still be with us today. Do your lungs, and your loved ones a favor, stop smoking, start living.
Your local crypto slut - <3

I do not vape, but this is some high quality posting. Cheers.
Thank you very much, I'm trying to improve my content a lot lately and I think this should be my new standard!
its hard to stay on top of your game when you set high standards on steemit, but I think it definitely starts paying off much larger after awhile.
I agree, I'm committed to the platform and almost made 100 followers in three weeks, I'm on my way!
I started vaping 5.5 yrs ago and started mixing my own liquids 2 weeks after I started.
Funny thing is, here in Europe it is quite common to mix your own liquid other than in America, where people often buy ready to vape liquids.
Good article--I can vouch for it cause I been mixing my own juices for about 3 years now--brings cost of vaping down to next to nothing and after a while it becomes second nature--other good places for recipes is vapinpingunderground and http://e-liquid-recipes.com/.
Cheers vaporizer. 🍻