How to Recover Files from a Broken/Inaccessible/Corrupted Hard Disk with Debian!
Recover Most Hard Disks whose boot sector is corrupted, files inaccessible, that are locked, and more using Debian!
First, you need Debian (or almost any linux distro) - I like Debian, which you can get at https://debian.org - Go there, and download the "Live ISO", this allows you to install the OS onto a Flash Drive or CD/DVD so that instead of installing it to a hard disk, you can run it directly from the Flash Drive/CD and never touch your hard disk (which you are trying to preserve. You can also install this to a spare Hard Disk if you would rather. This will require another working PC to accomplish if your PC is broken or not able to start due to hard drive failures.
The page for Live CD/USB Images looks like this:

A favorite tool of mine is YUMI, which allows you to burn the ISO / Live CD to flash drives. You can download that (a Windows tool) here: https://www.pendrivelinux.com/yumi-multiboot-usb-creator/
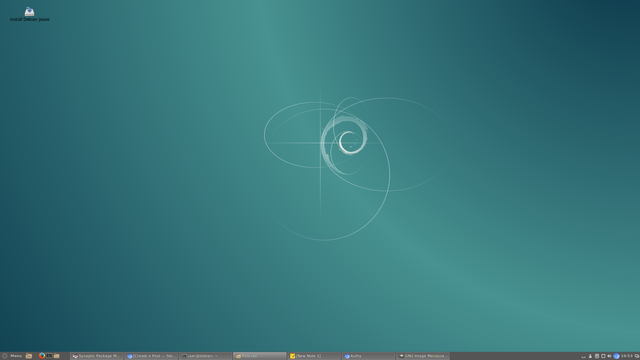
The next step after burning your Live USB stick is to put it into the PC that has the questionable hard drive in it, and rebooting. When you reboot you will get a YUMI (if you used YUMI) boot loader, asking you if you'd like to boot your Linux Live OS. Press Enter, and you will load into a Debian Desktop Environment - that looks similar to this:

Now, open a Terminal window - you can find this in Menu -> Administration -> Terminal or use the small Terminal Icon shortcut to the right of Menu in the taskbar.
The next step is to make a mount point for your corrupted hard disk. To do this simply make a folder anywhere you'd like, I chose /media/restore, and you can make the directory by using this syntax in the terminal window:
mkdir /media/MYRESTOREDIR
Next, you need to find out the name of the Hard Disk you want to mount. To do this, simply type the following code:
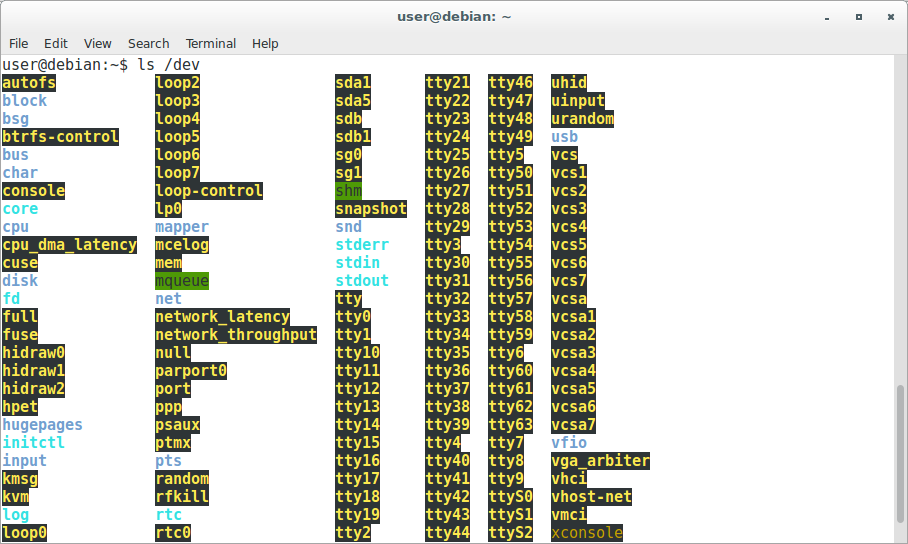
ls /dev
If you did it right, it should show text similar to this:

What we are looking for in this list of objects is "SDA## or SDB###" or any SD-A/B/C/D-#/#/#" format. Your hard disk is one of these, and you may need to mount more than one to determine it. When recovering a hard disk, I chose to only plug the questionable disk into the PC instead of multiple so I do not have to investigate many manually until I find the right one.
Finally, we mount the disk as Read Only - this allows us to extract from the hard disk without having to have much access to the disk (which is usually impossible if corrupted or locked/shut down improperly).
We mount as read-only very simply, we type the following into the terminal:
sudo mount -o ro /dev/sda# /media/restore
Where /dev/sda# is the sdABC123 number you determined in the last step, and /media/restore is the folder you created as a mount point.
When done, you should now go to the folder icon / file explorer. Under "Devices" Tab to the left, you should see your newly mounted device! You can also browse from the root directory "/" to the mount point you created, or access it manually by typing into the terminal cd /my/mount/point and then typing ls to browse the directory.
The only step left is either backing it up to another USB/CD/DVD or uploading it to an online storage!
Please upvote if you liked my guide, and follow me on Twitter @ https://twitter.com/TechniumUnltd
and definitely check out my YouTube Video Guides @ https://youtube.com/channel/UCV9f3s1DECrHgcXaYsN2xxA