How To Make a Profitable Online Shop In Less Than 2 Hours - Part 1

OK, so I want to make this as short as possible, because this is just the principle of how to do it, not every little detail, which you are better off finding on something like YouTube for a more detailed explanation.
1) Domain Name
The first thing you need is a domain name.
Your domain name should be something that stands out, is easy to remember and easy to type. The shorter the better.
Your domain name is also very important for search engine optimisation (SEO). If you get your most important keyword in your domain name, it will really help you get to the top of the search engines.
Example. If you are a shop that sells fish, your domain could be something like www.allfish.shop.
There are different types of domain names. I won't go into too much detail, but the 2 most important to choose from are, industry-specific or geo-specific.
Geo-specific domains used to be very important for search engines to determine whether or not to show you as a search result in a geo-specific region. If you are a shop in the UK, Google wouldn't want to show you as a result in the USA if you had a .co.uk domain extension.
However. Google is a little more clever now. If you set your location in Google Search Console (which you will do in later steps), having a geo-specific domain name isn't required anymore.
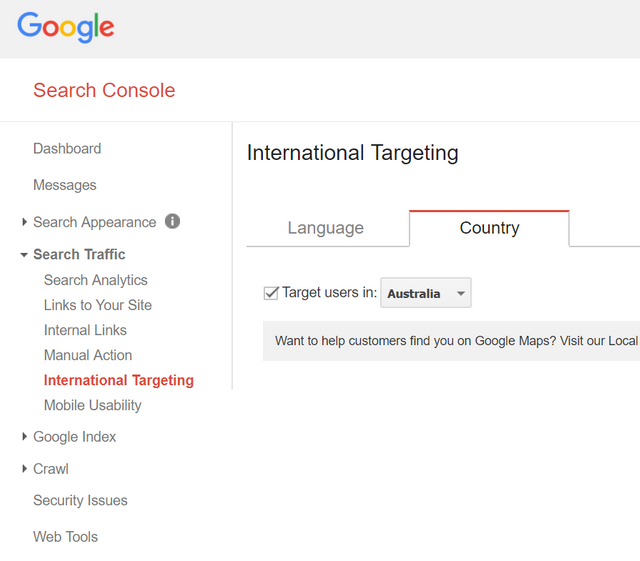
For this reason, an industry-specific domain name is probably best, such as .shop, but it's then important to let your visitors know where you are based if location is important to you. So have an obvious country flag in your header.
Be careful where you get a domain name from. The big companies mass sell to everyone so have little time to spend on you because they have too many customers and their services are often too overloaded slowing everything down.
Look for a medium sized professional domain seller who has an easy to understand and clean user interface (UI).
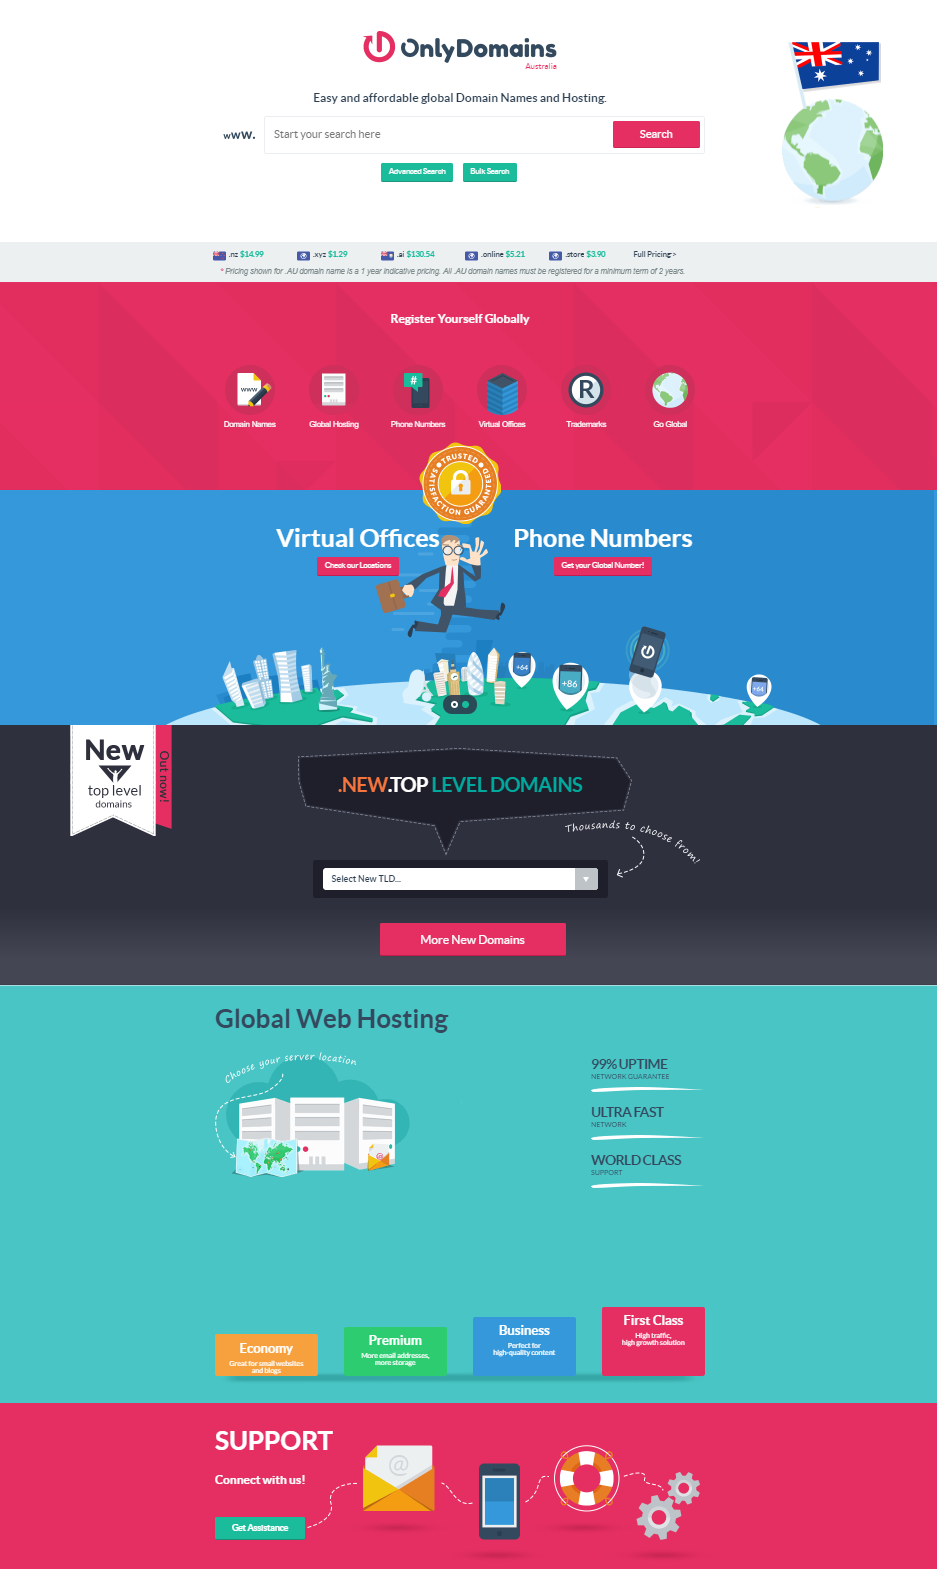
I use OnlyDomains. I find them really helpful, the UI is such a pleasure to use and they have a great set of new Top Level Domains (TLD ) to choose from.
Tip: Keep your domain name company separate from your hosting company. Your hosting company will probably change at some point if you find a much better deal or if they get too popular and start becoming a victim of their own success. If you change your hosting company, you don't want to have to keep dragging all your domains with you, because domains are a pain to move.
2) Server
Now you need a good hosting server.
This area is so important. If you choose the wrong company to host your website on, you'll find that not only will you get very stressed, you'll also lose a lot of customers.
A server must have the following.
- Scalability: When you grow, your server must be able to grow with you.
- Speed: Slow sites are one of the most common reasons a visitors bounce (close tab or move to another site).
- Resources: If your server doesn't have the resources you might need in the future, you maybe forced to move later on.
- Good Customer Service: You'll soon find out how important this is.
There are 3 main types of hosting options. Shared hosting, a managed virtual private server (VPS) or a dedicated server.
- Shared Hosting
The cheapest option is a shared server. I highly recommend not using this option for anything business related. Shared servers are very slow and you often share the same IP as spammers and malware distributors. As a result, your IP maybe banned, Google will not want to display you in results and your emails will end up in everyone's junk-mail box or flat out get refused. Not to mention visitors bouncing because of your slow speed.
- Managed VPS
The next option is a managed VPS. VPS's are the best choice for most people, especially when starting out. They offer you everything you need for a business site, they are usually quite fast, have less people on the IP address and often have the option to have a dedicated IP. Having a dedicated IP means you are guaranteed to have a safe IP that doesn't get banned because of other people's abuse. I use this option.
I used to use an unmanaged VPS, but found a managed one to be far less time consuming, with enough flexibility to do what I need. An unmanaged VPS is maybe a little too complex for most people. So unless you're a server geek, I don't recommend it. Stick to the managed VPS.
VPS's are usually very scalable with a wealth of options and are the sweet spot between cost and what you get.
- Dedicated Servers
Dedicated servers are a very good option if you don't mind spending out on them. They are very similar to unmanaged VPS's, but with on your own dedicated hardware. No shared resources and the ability to do what you want with them
For most people, this is not a good option at first, not unless, like above, you are a server geek. If your business grows, you can easily migrate to one of these at a later date and get someone to manage it for you.
Who To Host With?
I spent the best part of a year testing out many of the top hosting providers, from Heart Internet to Blue hosts. I was actually quite shocked to find some of the ones with the best reviews were actually very poor. I can only imagine, they have paid for reviews or many people don't actually understand what constitutes a good hosting provider.
After months of testing, I eventually decided to go with SiteGround and bought a managed VPS plan.

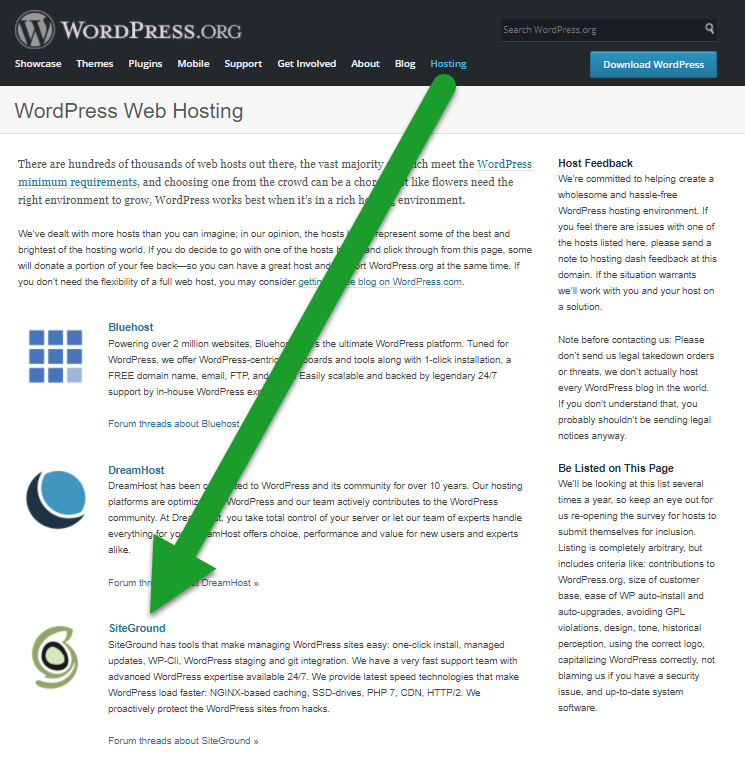
SiteGround was way above any of their competition. And now it seems WordPress agrees with me, with SiteGround now being one of their 3 recommended hosting providers.
In my experience, SiteGround is massively better than the other 2. At the time I tested BlueHost, they were no good at all. Many people have asked WordPress to remove them from the list. Maybe they have improved since, but I would not take the risk.
SiteGround is not only great value, they also have amazing customer service. They are a dream to host with.
3) Build A WordPress Site
Now you have your domain name and your server hosting platform, you need a site.
Sites aren't what they used to be - static simple HTML. They are now online applications. You can have an old fashioned static HTML site if you want, but it will be very difficult to run a business on and you'll miss out on all the amazing features you can have with an online app like the WordPress CMS.
Gone are the days when applications like WordPress were hard to set up. Now with server auto-install features, this can all be done for you automatically and instantly.
To get your amazing WordPress site set up, all you need to do is the following on a SiteGround managed VPS.
WHM
Go to your "My Accounts" section and click the WHM button.

In WHM, type “create” into the search area shown in the image and then select "Create a New Account".

In this area enter your domain name a strong password and your email address. Most of the default options should get kept as they are.
You can ignore the package area.
Now press CREATE.

You now have a website account to put your website on.
cPanel
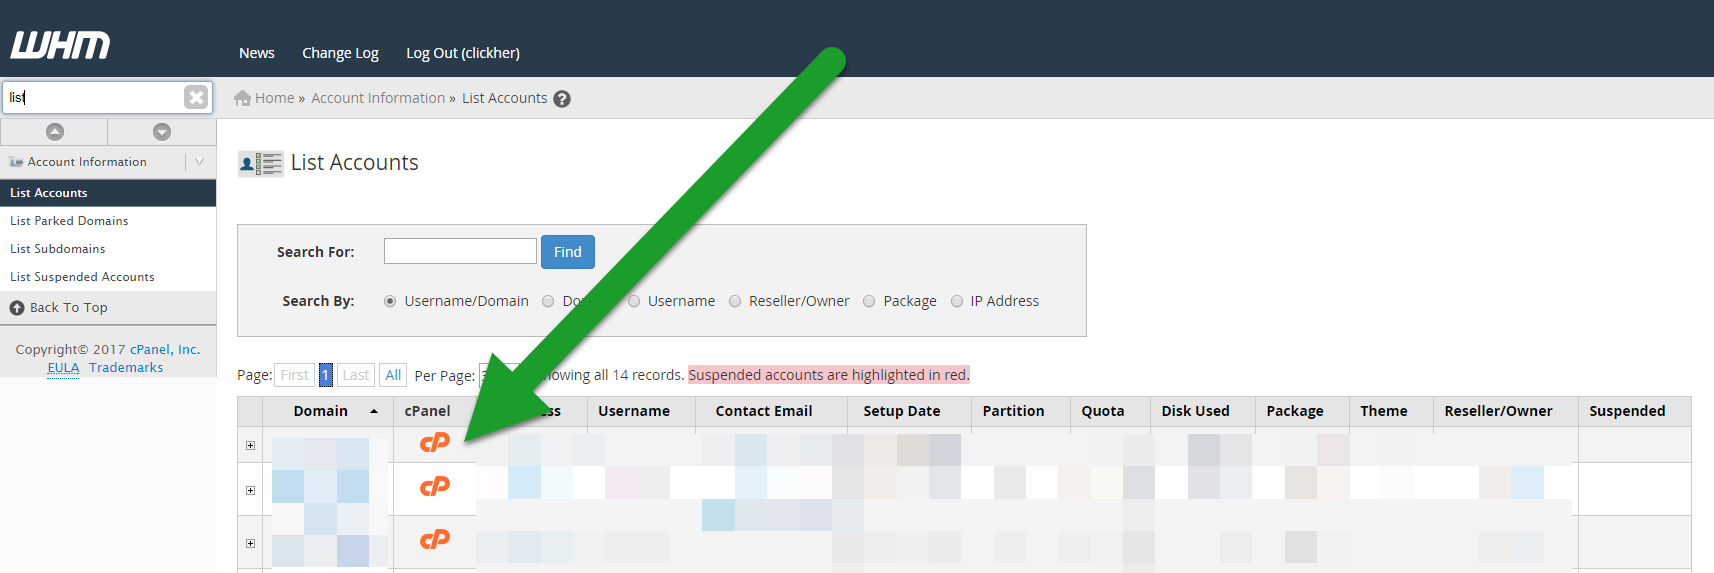
Now go back to your search area and type "list" and click on "List Accounts".
You will now see your newly created account and an orange "cP" logo. This is your cPanel link. Click on it to open cPanel where we will now install WordPress.
There will be lots of exciting things to look at in cPanel, but you don't need to worry about most of them for now.
Go to the search area and type "Soft" and click on the Softaculous icon.

In Softaculous, click the WordPress icon.

In the WordPress options, you'll probably want to keep the default options. But change the Site Name and Site Description to something that's meaningful. Also Make your Admin Username something that's memorable and use a strong password.

I highly recommend using LastPass to save all your passwords. This is such an amazing and useful password manager and it's FREE. It's much better than all the others, including Google's own built in browser password manager.
Your New WordPress Site
Now you have a brand new and fully working WordPress application website.
To login go to your login address which will look like this... www.myurl.com/login
If that doesn't work, try www.myurl.com/wp-login.php
The default WordPress installation is boring and needs to be set up for you.
END OF PART ONE
In PART TWO, I will show you how to turn this into an amazing professional shop.
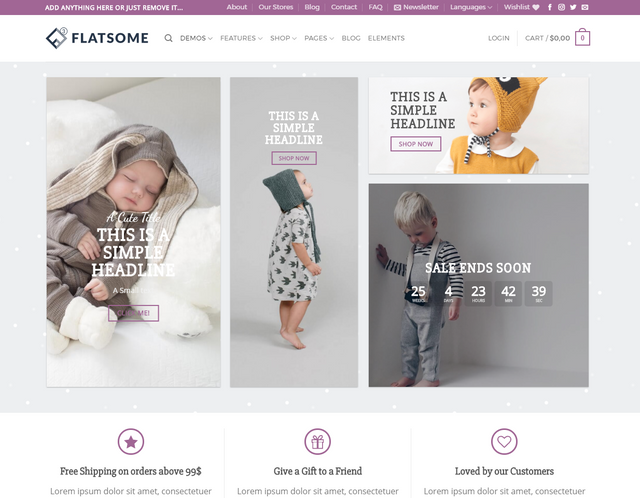
We will delete the pointless old themes included with WordPress, set it up to super-charge your site and install a world-class theme that will make you look like big time shop like the one shown in the image below.
Like, Share & Bookmark
If you like this tutorial, please upvote me and resteem.
If you really liked it, you could send me a BitCoin tip here :)

1QCwbmTs7NK8mBvBPydEjtWG6tqbDNpVqS
Bookmark this blog so you can find part 2, which will be linked here.
*Let me know if there are any spelling mistakes/typos and I will correct. Thanks in advance.
Great guide! Thanks @smurphed