How to pull your image to the side - simple explanation!
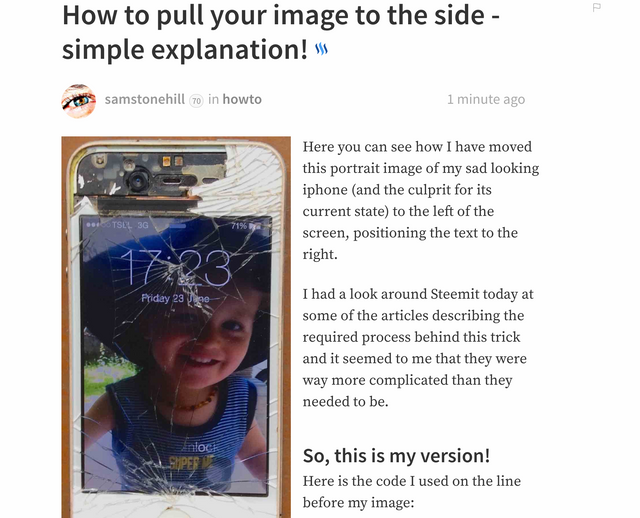
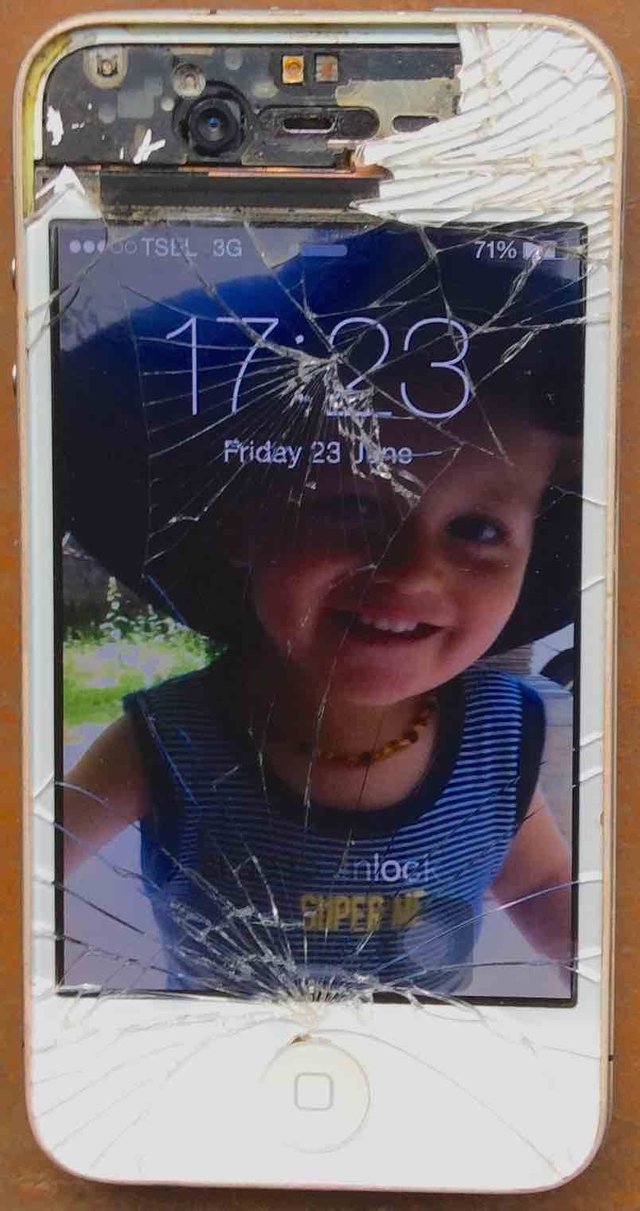
Here you can see how I have moved this portrait image of my sad looking iphone (and the culprit for its current state) to the left of the screen, positioning the text to the right.
I had a look around Steemit today at some of the articles describing the required process behind this trick and it seemed to me that they were way more complicated than they needed to be.
So, this is my version!
Here is the code I used on the line before my image:
div class=pull-left
You must also add < and > either side of this code.
I can't show you that here without hiding the text.
I also added the following code on the line after the image:
/div (again with < > either side)
Here you can see all of it together as a screenshot from the editor box of this post
To pull the image to the right, simply replace the world left with right.
And that's it!
Why is it important to learn this?
There can be no question that the way in which you present your article affects your growth on this platform.
Dazzle people with your markdown skills and get more followers & upvotes!


I literally put this in a post 12 days ago haha. I'm not sure why more people don't use it. At least for me it makes the post more visually appealing!!
I know about this but I don't used it as much in my actual content because I think it's useful only for smaller size image. With bigger image and looking on the phone, this formatting does not matter because the text wraps down anyway.
Have to admit, I also dont use it all that much! But there will come a day :)
I used it mainly for me list of recent post. :-)
haha! That's often how it goes on Steemit. We think of things as a collective. The more people who openly share these tricks the better :)
Ive been searching for this tutorial for days now luckily I found how to do it. Maybe you should do a tutorial next on how to put Steemit logo on the title of post. And if you know how to make a photo comment. Thank you for this though. Really helpful for the new comers like me.
Thanks for the comment. Yes, this would be a useful too for people. Though I guess photoshop is the simplest way. Not sure which free progs offer this function.
Thx Sam, great infos to set up a nice post...
Thx for sharing =)
Pleasure bro. Looking forward to seeing you & teaching you more ;)
Great tutorial , very usefull for a noob like me .
My pleasure to provide it for you :)
very helpful, gonna use that soon, see you tomorrow!
Thank you for this article, it was really helpful. :)
Many thanks. Appreciate the comment :)
Nice info and tricks for beginner like me..
thanks :)
Today I have learnt something new, thanks
Pleasure :)
Perfect. thanks for the tip!
Pleasure :)
This post has been ranked within the top 50 most undervalued posts in the second half of Jul 09. We estimate that this post is undervalued by $25.33 as compared to a scenario in which every voter had an equal say.
See the full rankings and details in The Daily Tribune: Jul 09 - Part II. You can also read about some of our methodology, data analysis and technical details in our initial post.
If you are the author and would prefer not to receive these comments, simply reply "Stop" to this comment.