Build a BrushBot - Geek Dad Projects
Photoblog by @runrudy
I am a Geek Dad and we run a pretty creative household. We do a lot of projects and building of things. My goal with my daughters is to teach them to be "makers" of things instead of consumer of things. It is really important to me that they don't take anything for granted or become followers vs. thinkers.
If they see a toy at the store, a lot of times we think about how we can reverse engineer that toy and make it ourselves at home. It's always fun tinkering and creating these projects with them. They usually get much more use out of these creations vs. store bought items. One of the projects that we like to do is build robots.
I thought this could be a fun tutorial for other Steemit parents or any robot enthusiast interested.
Here are the materials needed and step by step directions to make your own robot at home with your kids.
No robotics experience necessary!
Materials:
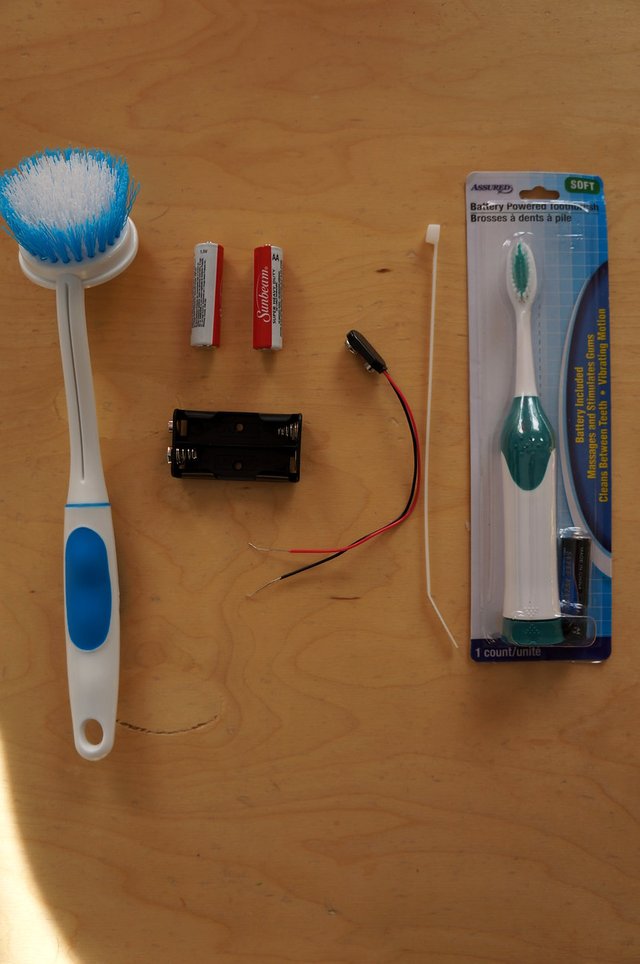
Scrub brush (~3 inch diameter) - Dollar Store
Batteries - Dollar Store
Electric Toothbrush (one that the brush head vibrates) - Dollar Store
Zip tie - Dollar Store
Double Sided Tape - Dollar Store
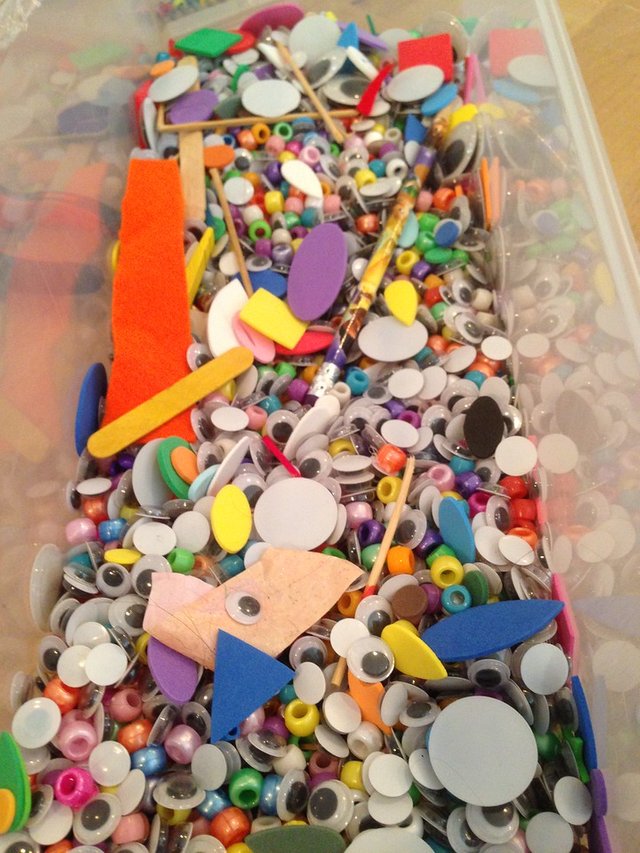
Craft Decorations - Craft Store
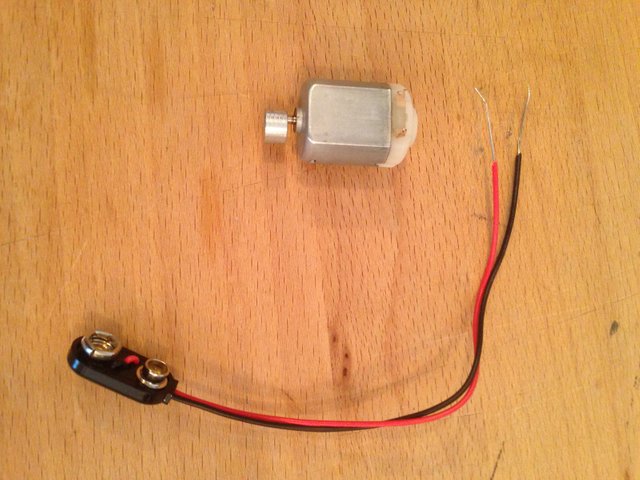
9 Volt T Snap electric wire - Local Electronics Shop
AA battery pack with 9V connector - Local Electronics Shop
Tools:
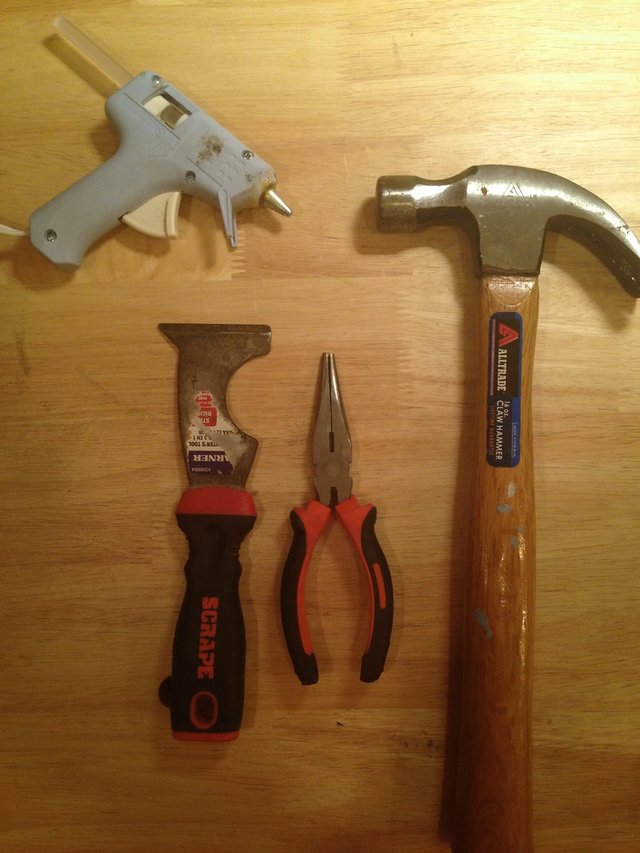
Paint Scraper/Carpenters tool
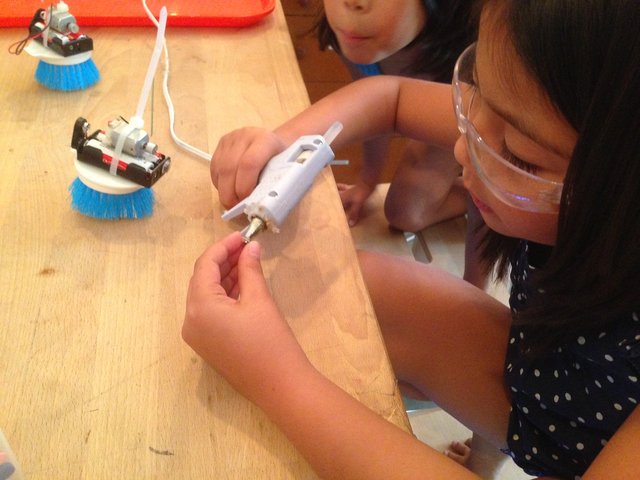
Hot Glue Gun
Needle nose Pliers
Hammer
If you already have tools, batteries, the glue gun, a zip tie and some decorations
Approximate cost for one robot ~ $5.00 USD
Time to build: 30 minutes to 1 hour
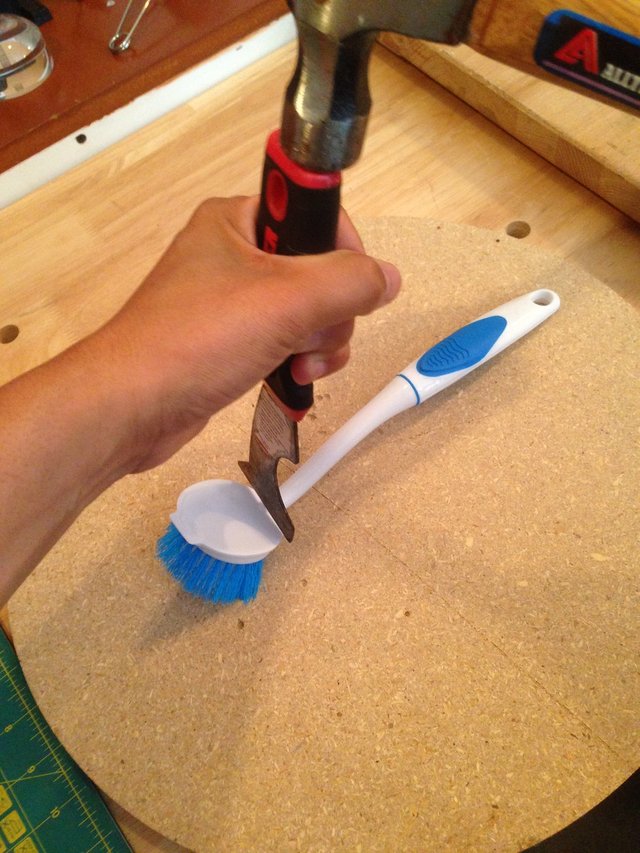
Step 1:
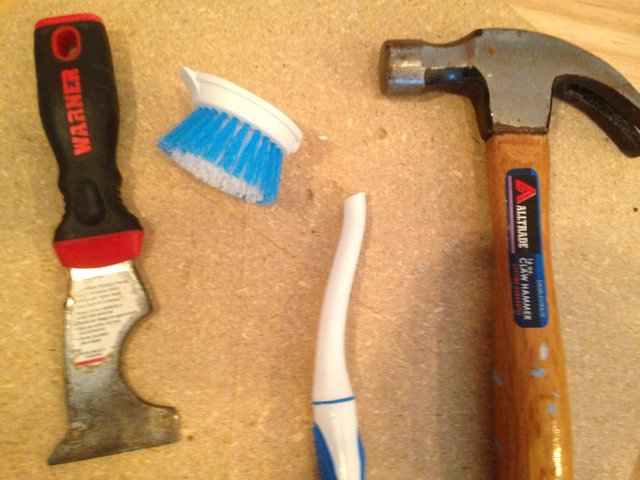
You need to remove the brush from the handle. I use a hammer and a very strong rigid carpenters tool and chop it off.
Step 2:
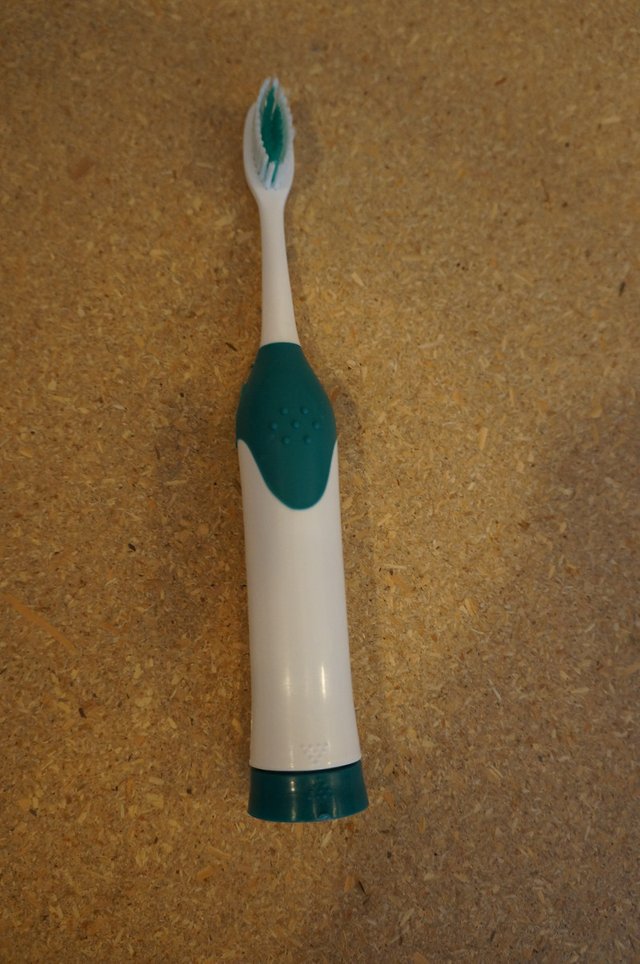
Your electric toothbrush has a 1.5V electric motor inside of it.
You are going to extract that motor from the toothbrush body.
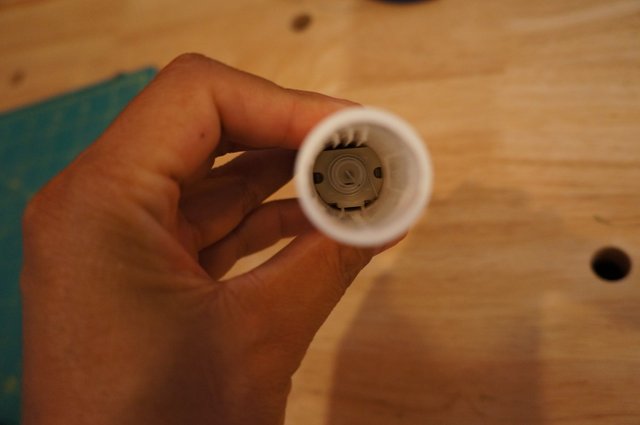
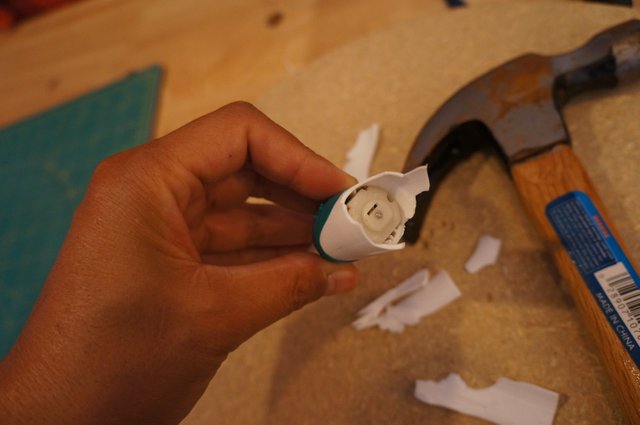
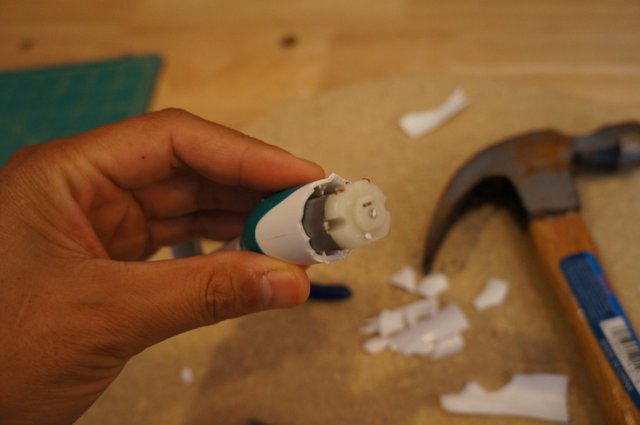
The motor resides up high on the base, just below the brush head. There are two ways to get it.
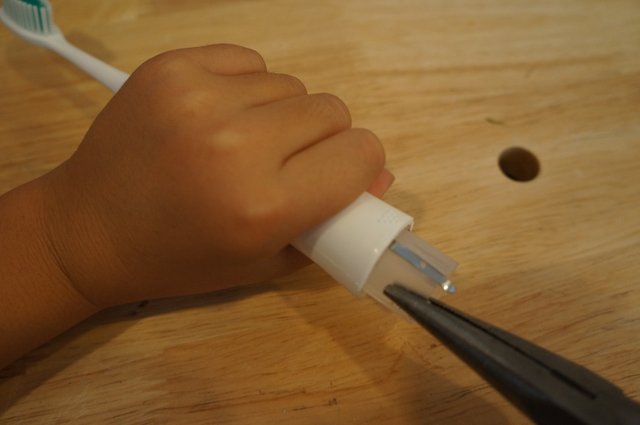
The first way is to open up the battery compartment and use needle nose pliers to extract the motor.
You have to be as gentle as possible as there are small connectors and parts that can break. (Shown later).
If you can get it out carefully with pliers, you are done.
If you cannot get it out and sometimes it is stuck up in there. You will need to remove by force.
I use a hammer and just crack the bottom of the base piece by piece to get it out.
If you got these at the dollar store. I recommend buying two or three for backups. If you get it right the first time you have some extra robot motors or a new electric toothbrush for yourself.
Step 3:
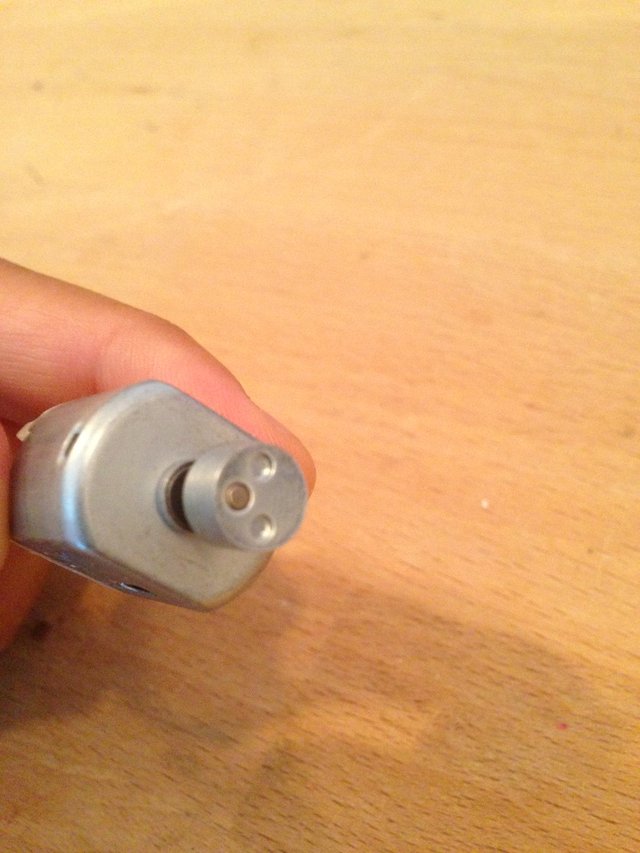
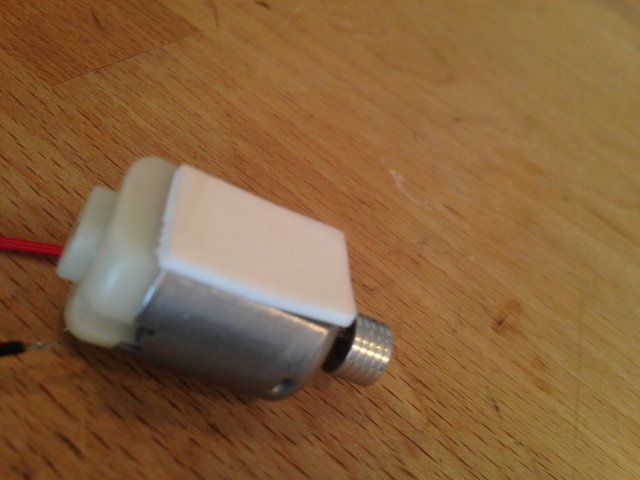
Observe and discuss the motor. If you look at the small circle end bit that is off center.
When the motor is powered on, it will spin quickly and the off balanced bit causes it to vibrate.
That is what will drive your robot.
Step 4:
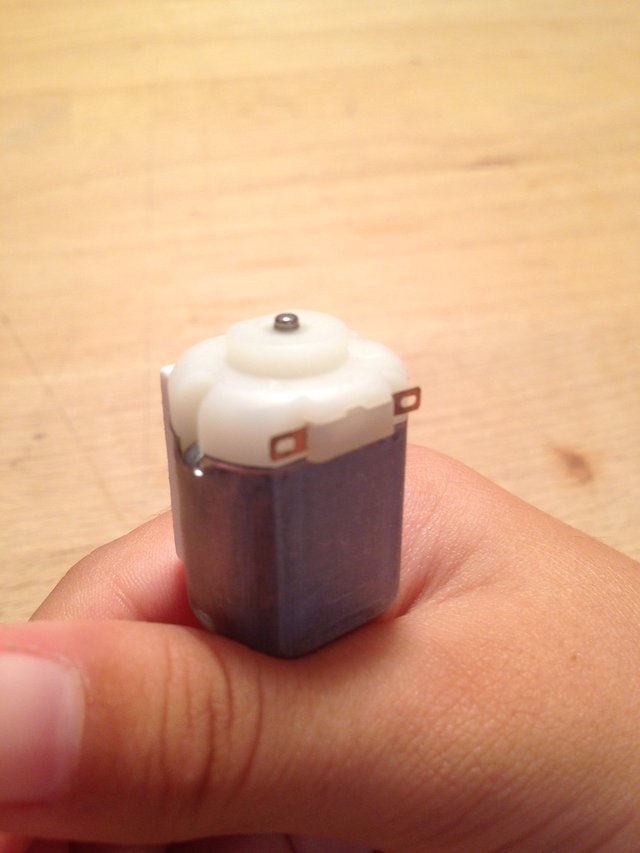
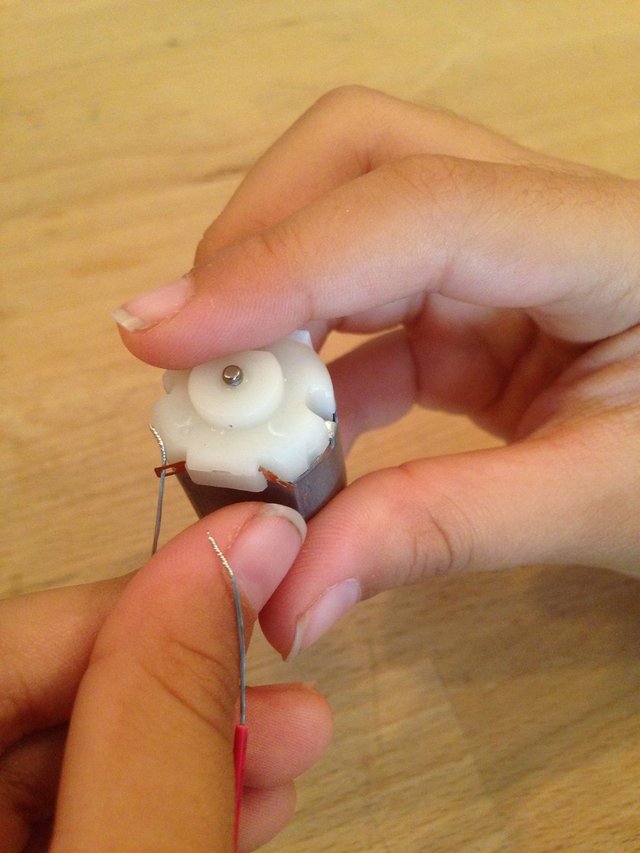
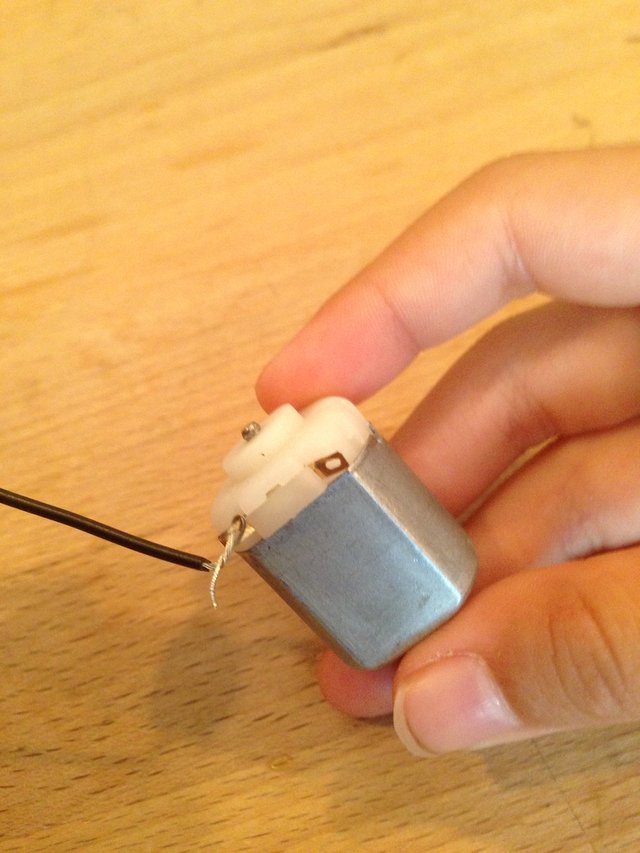
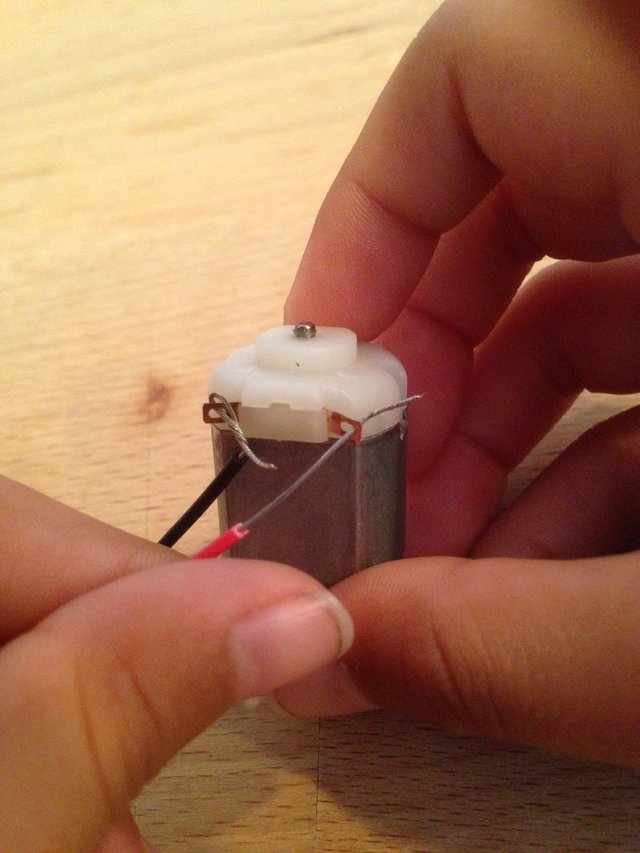
If you look closely, there are two copper loop holes on the motor.
Those two metal copper loops are terminals where your electrical wires will connect.
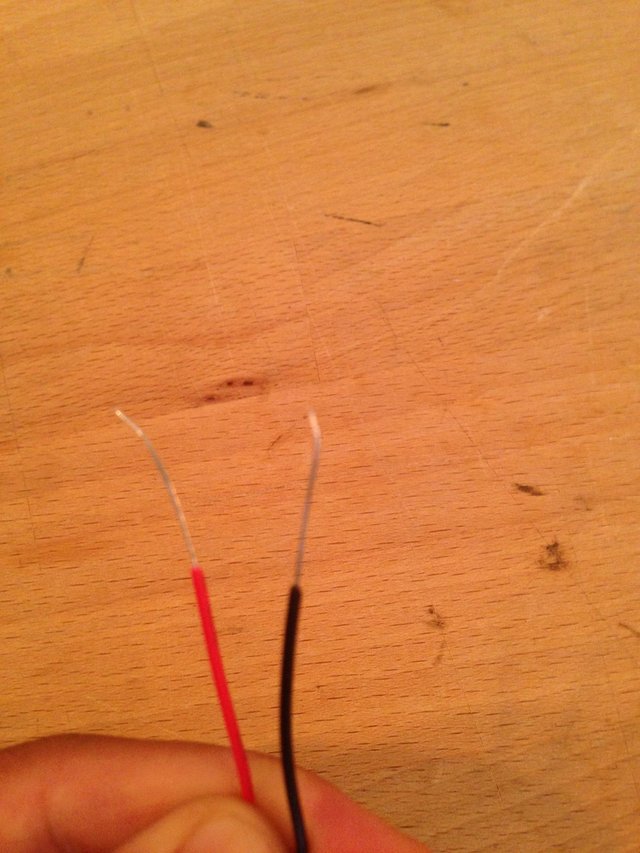
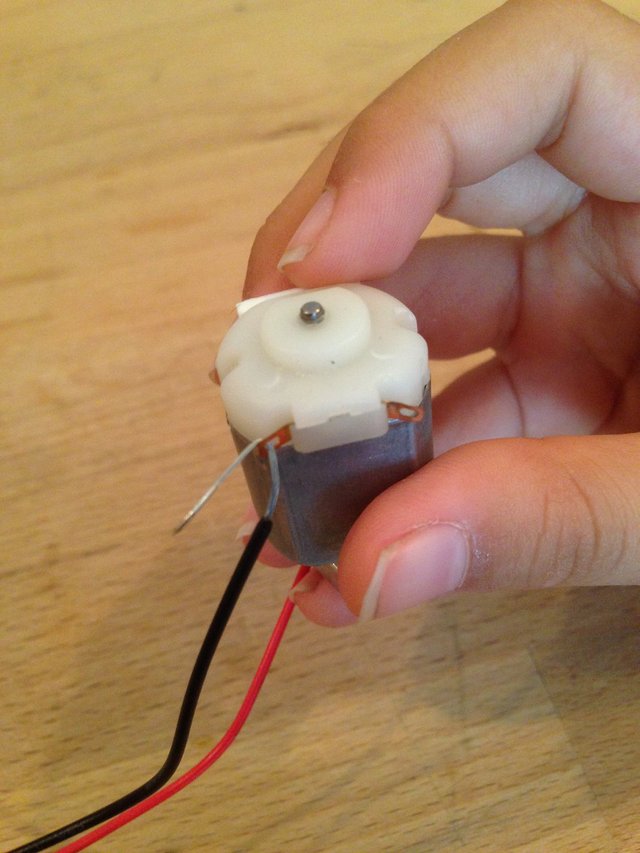
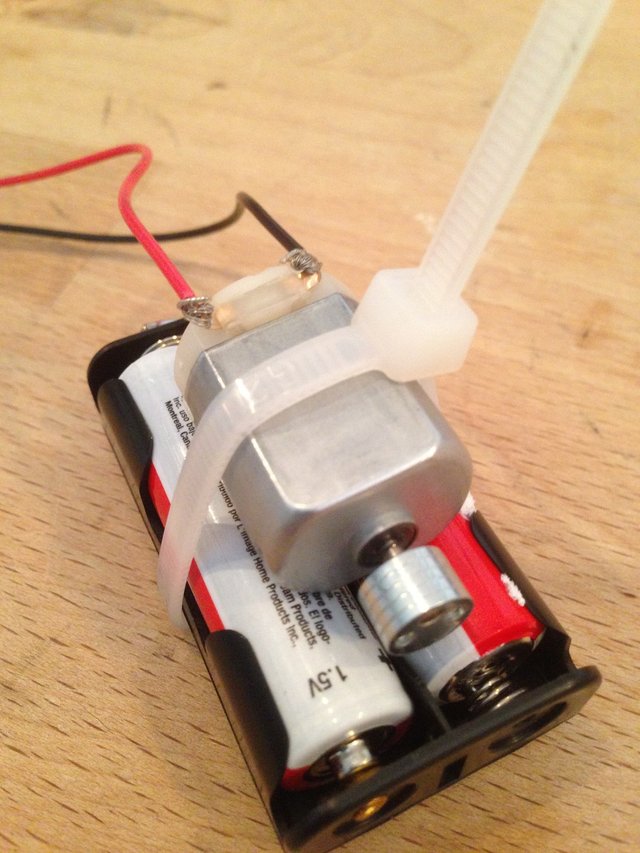
Take your 9 Volt T Snap electric wire and thread each end of the stripped, electric wire through each copper hole in the motor.
It doesn't matter which color wire goes into which hole.
Once in twist each wire individually so that it will not fall out of the hole. Make sure that each metal wire is not touching each other. This would create a short circuit and the motor will not power on.
Repeat for the next wire and terminal.
Step 5:
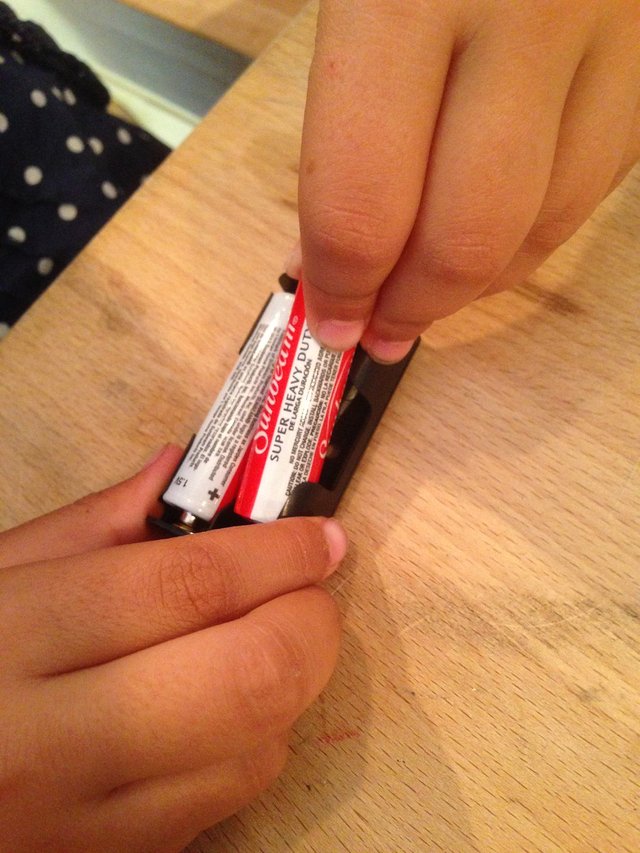
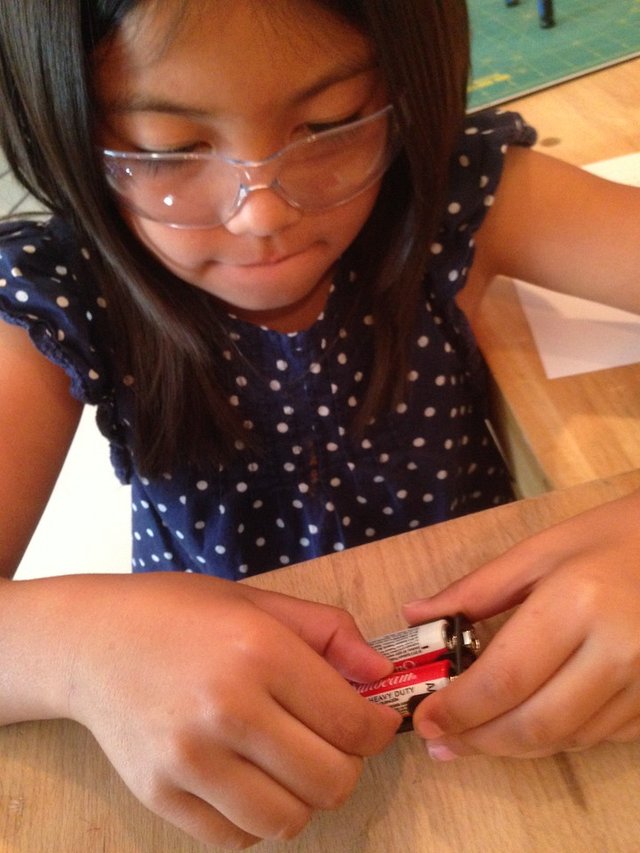
Add your AA batteries to the battery pack.
Step 6:
Add some double sided sticky tape to motor, to the opposite side of the wires and terminals.
Step 7:
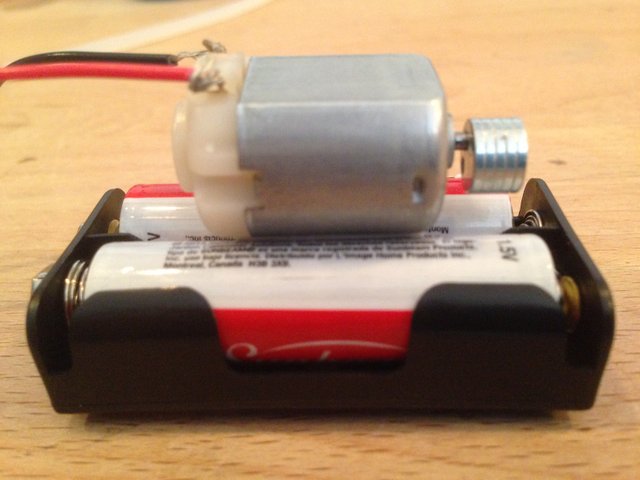
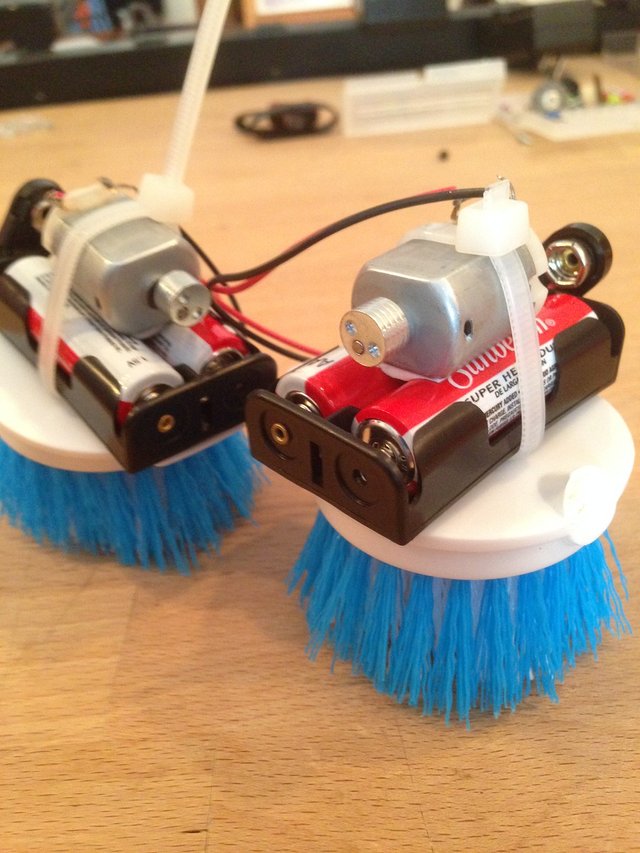
Stick the motor with tape, right in the center on top of the battery pack. Make sure that it is level and the spinning element has clearance to spin and is not touching or bumping into the batteries below.
Step 8:
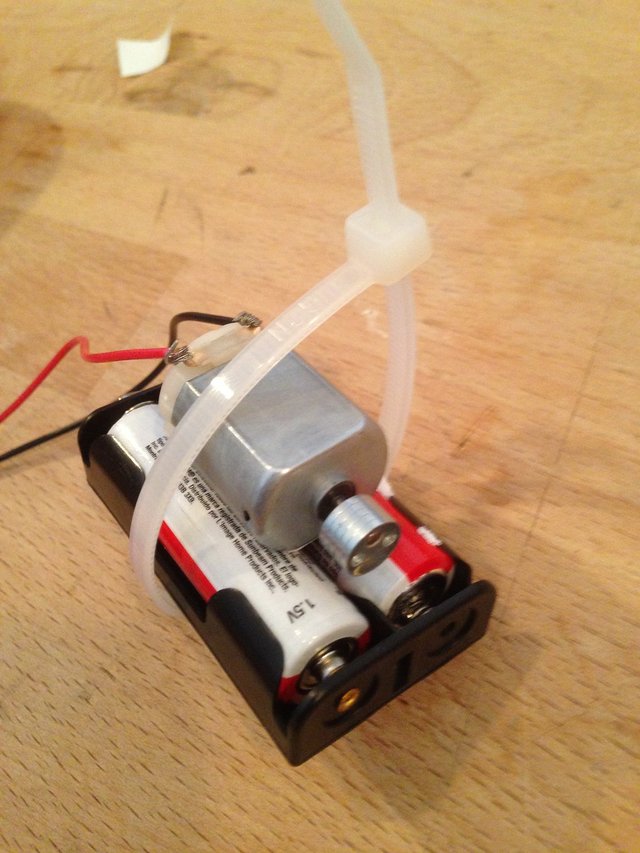
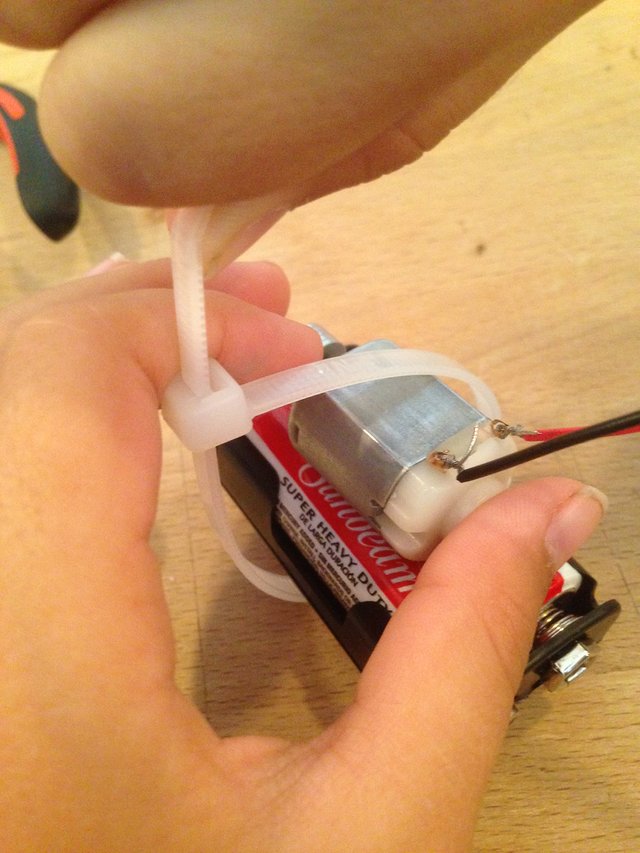
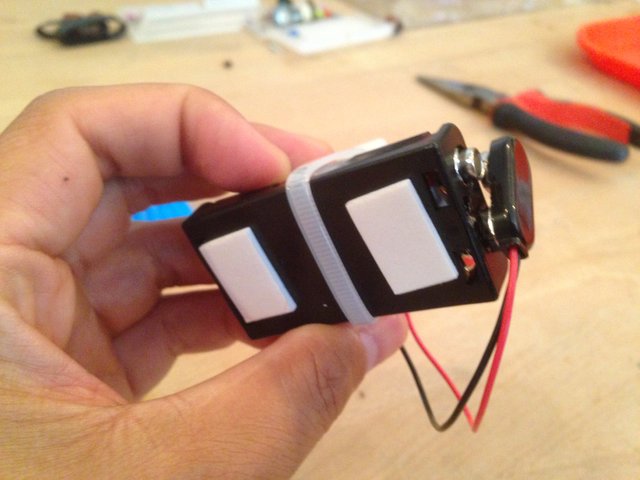
Zip tie the motor and battery pack together to safely secure the two.
At this point, the question usually comes up: How do we change the batteries after if the motor is on top?
You really don't. We made a lot of these with students in school workshops and summer camps. This was the most cost effective and easiest way to make them with the kids. It fully secures the motor to the battery pack to ensure better vibration which made it faster and a funner robot.
Downside is that you can't change the batteries easily without dismantling the robot. Hey, it's DIY. Yet, if you use fresh batteries they seemed to last quite long. Several weeks depending on use. I will show you how to make the on/off switch to help conserve battery life.
Step 9:
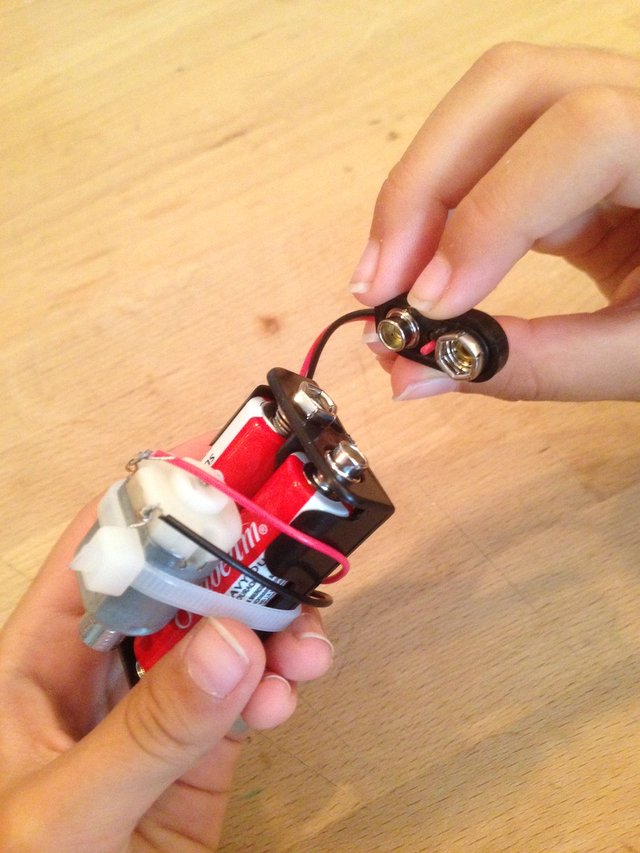
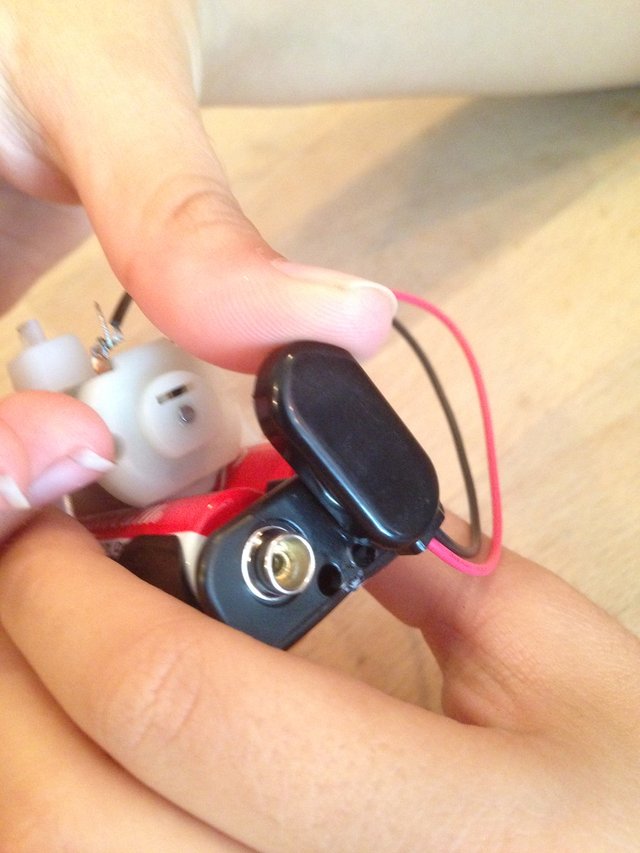
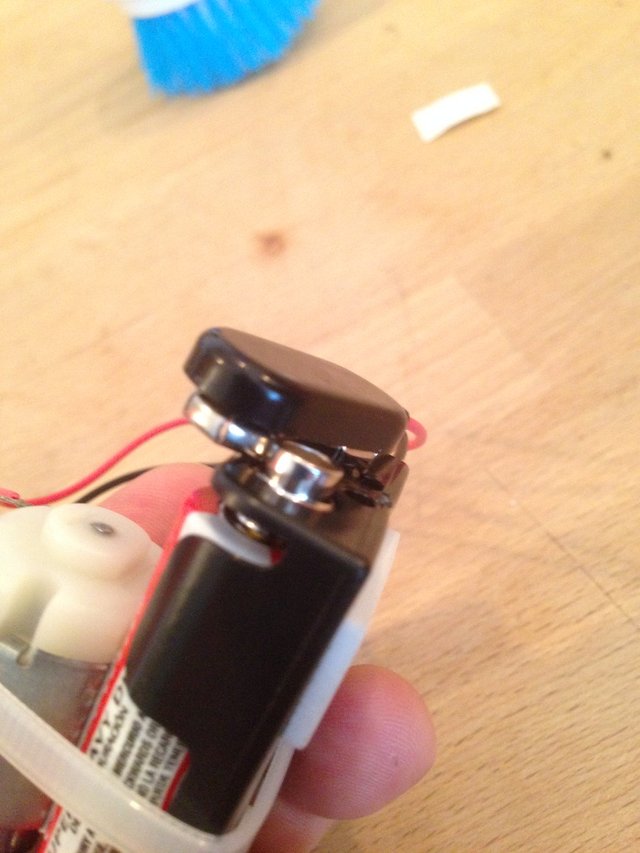
To create the on/off switch. Just attach 9V wire snap to only one prong on the battery pack.
Once one side is attached only. Just slowly push down the other connector to complete the circuit and the motor should turn on and start spinning.
Step 10:
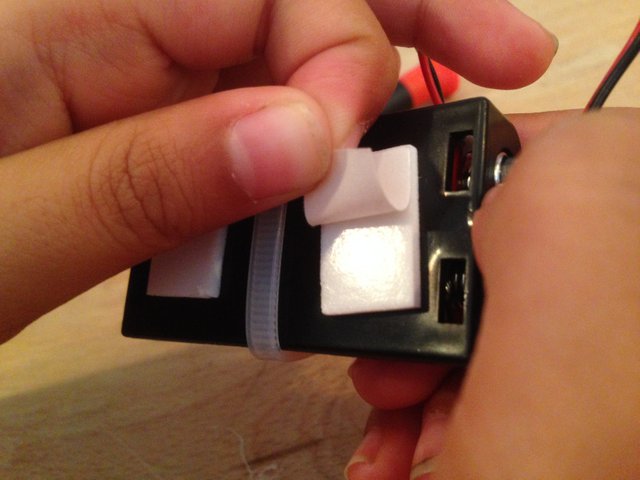
Place two piece of double sided sticky tape on the flat side of the battery pack.
Step 11:
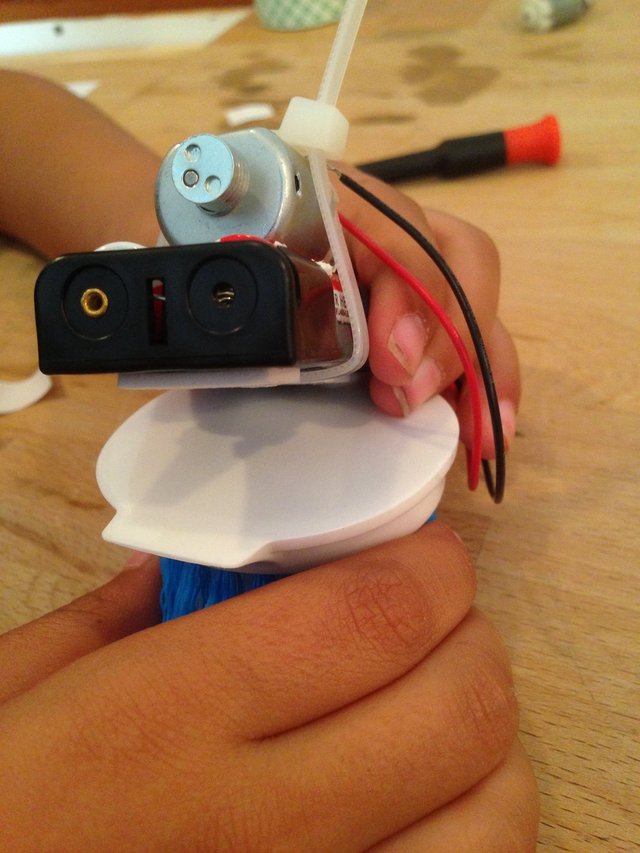
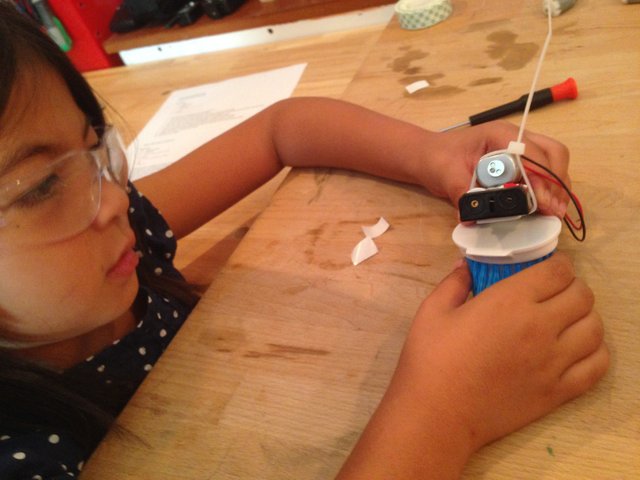
Adhere the battery pack to the scrub.
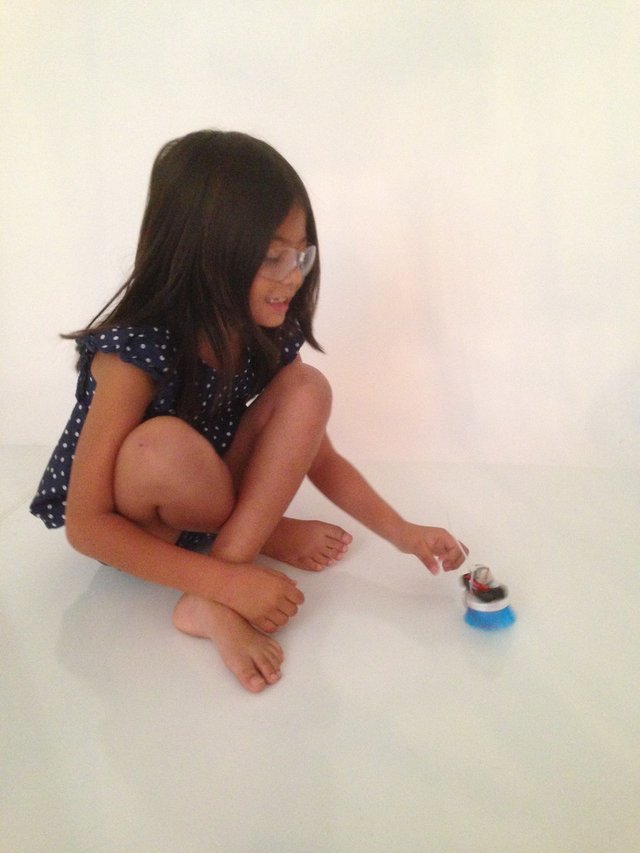
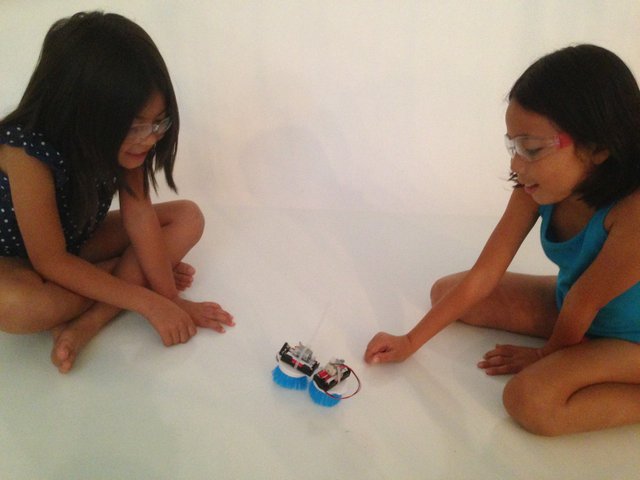
Flip the switch and test out your brand new DIY robot!
The vibration energy from the motor/battery pack, transfers to the brush bristles which makes the brush robot move around freely.
Optional Step:
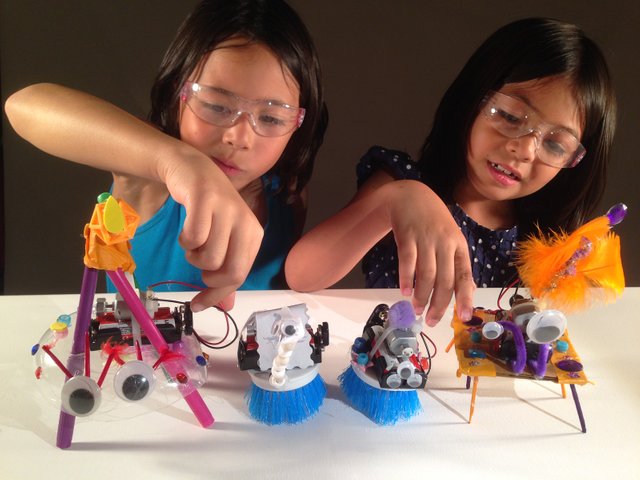
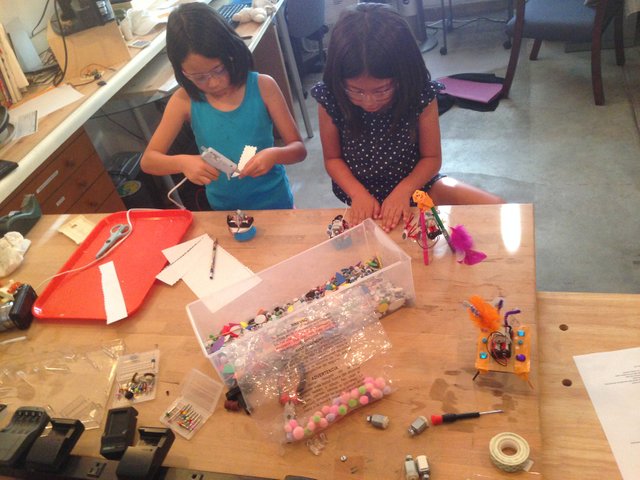
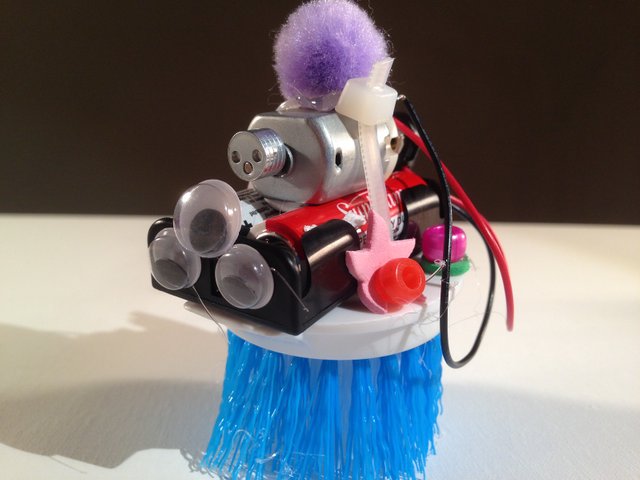
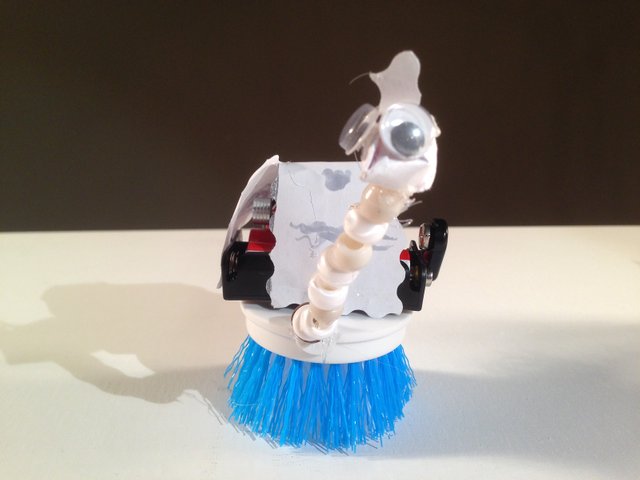
Give your robot some personality by decorating it.
You can get creative and take this to many more levels and variations.
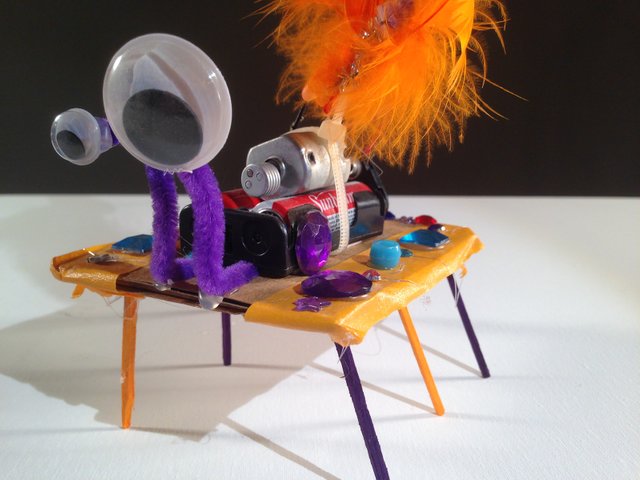
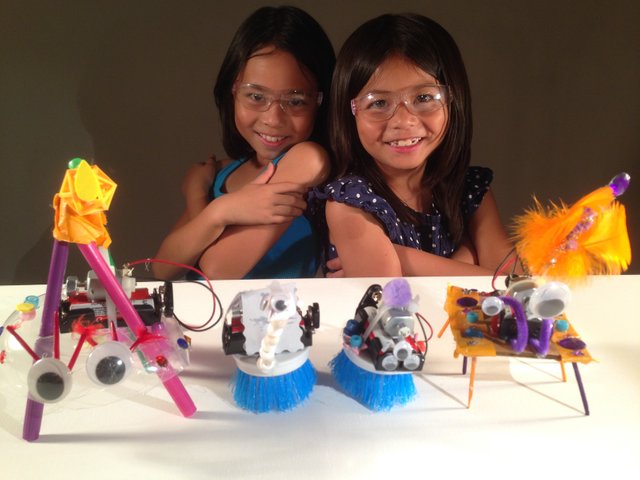
This was a BugBot variation that had a cardboard body and toothpicks as legs.
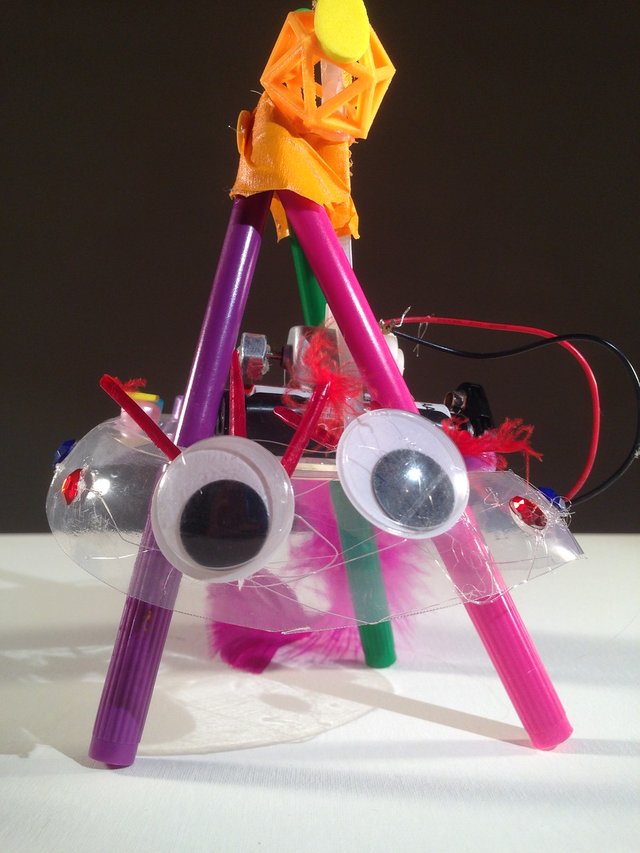
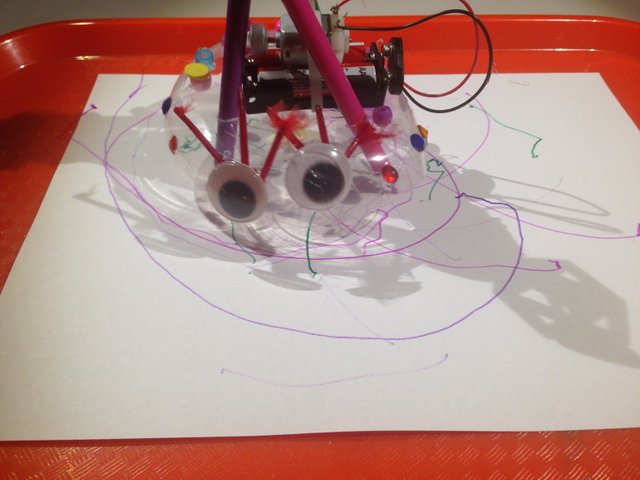
This variation we used a small Tupperware bowl for the body and got some colored pen markers for legs.
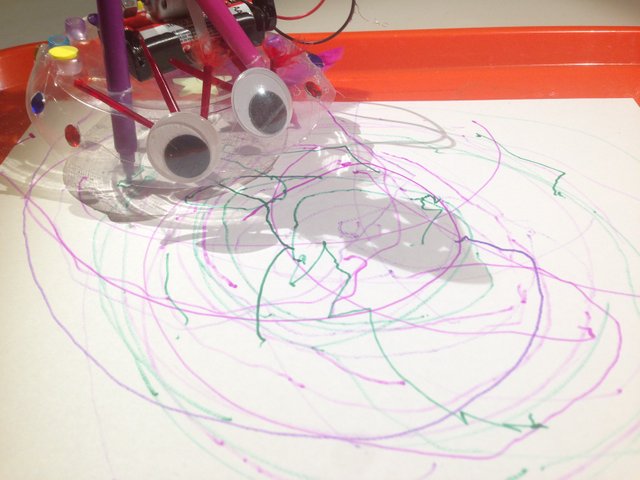
As it vibrates and moves around, it also draws. It is a ScribbleBot.
Here is a video I filmed during one of our field trips. You can see the brushbots and the kid's creations in action.
If you have any questions. Just comment below and I am here to help.
If you liked this and want to see more Geek Dad projects from me:
Follow / Upvote / ReSteem to support my work.
Thank you in advance,
Rudy
All images © 2016 Rudy Gonzales. All rights reserved.

This is exactly the type of post Steemit needs right now. Resteemed sir!
Just thought it would be a fun project for parents. I am happy to share and glad you liked it to resteem. Thank you @mctiller!
Great post and project. I used to build bots with my kids when they were little, everything from kits from: http://www.goldmine-elec-products.com/products.asp?dept=1340
to bots from scratch using schematics we'd find on the internet.
Good parent/children projects and it puts them ahead of the curve when they get involved in electronics later in school. Upvoting and Resteeming.
Thanks for the great comment and resource link @bluehorseshoe!
If I ever have kids, this is how I want to raise them. Your philosophy of teaching kids to be creative makers rather than consumers resonates so deeply with me. Critical thinking skills are what is lacking in today's world. You bring hope to the next generation by raising kids this way! I wish my vote could count more :)
Thank you @shieha. I am glad you feel the same. We do a lot of stuff that I did when I was growing up in the 80's (minus the video games). A lot of imagination and play. We think the world is moving way too fast and we want them to enjoy being a kid as long as they can. Thank you for the very nice comment. I will tell my wife. Cheers.
You're welcome :)
Great post! Great idea! I would love to see more tutorials like this!
Hey @boxcarblue. Cool, thank you. I thought this might be a one off but I do have another project that I can share soon. Thanks for the feedback.
That's great! The kids look really happy :)
Thanks @steemokto. They have a good disposition. Little things make them happy. Have a great weekend!