How to Create an Awesome Steemit Thumbnail With Pixlr.com

This is a tutorial to help you create a nice looking Steemit thumbnail using a free program if you don't have Photoshop.
The above picture is a video if you click on it and it is a video tutorial showing how to use Pixlr and below is a written tutorial with lots of screenshots to help you along.

PICKING A PICTURE AND MAKING IT THE RIGHT SIZE FOR A THUMBNAIL
Step 1: Find a picture or background you would like to use as a base for thumbnail (your own, or from Pixabay or another copyright free source) and save to your computer
Step 2: Go To Pixlr.com
Step 3: Click on Web Apps (top left)

Step 4: Click on Install Chrome Extension

Step 5: You will get a little symbol on your toolbar, click on that...

Step 6: Then click Editor (next to Pixlr logo)

Step 7: Select open image from computer (you might have photo or background that you want to use for your thumbnail)
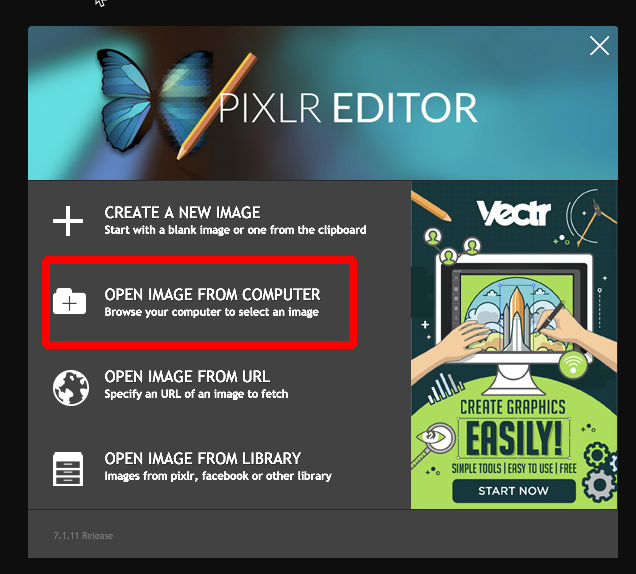
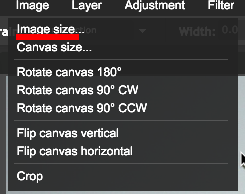
Step 8: (a) Select Image: image size
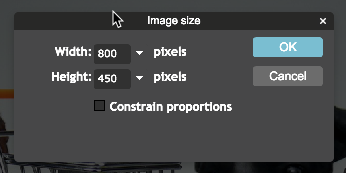
(b) Type in width: 800 Height: 450 (untick Constrain Proportions) Have a play around with cropping if the picture looks too distorted

CREATING THE BORDER
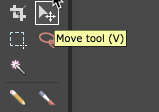
Step 9: Select the drawing tool (rectangle with circle in corner)

Step 10: Make border size 35 and untick fill shape, select the color palette on left toolbar not the one on the top line
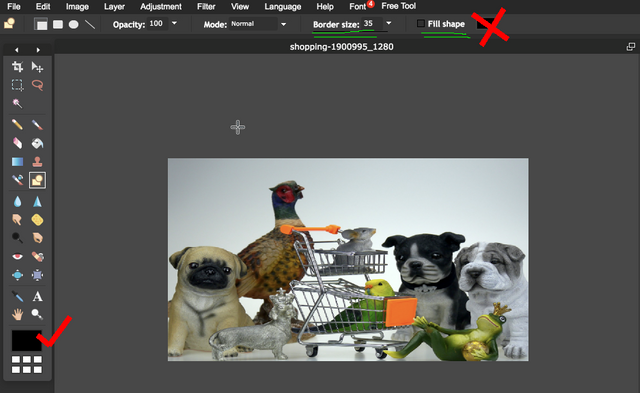
Step 11: Select the color palette on left toolbar not the one on the top line and select what colour you would like to use, make sure it shows in the colour palette.
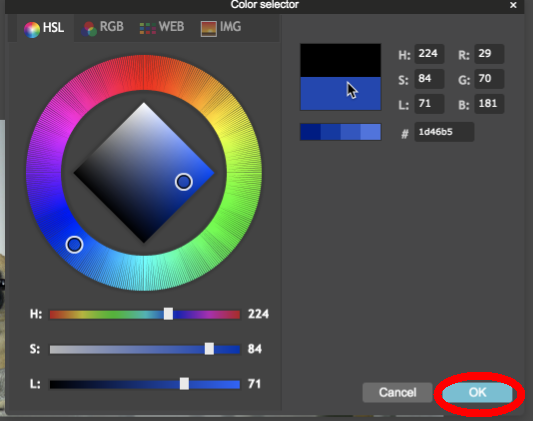
Step 12: (a) Put the curser on the top left corner and drag the curser...
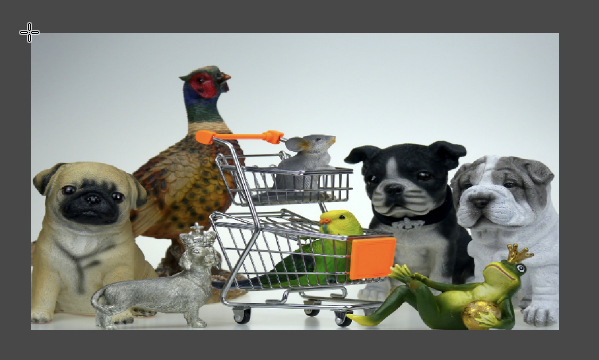
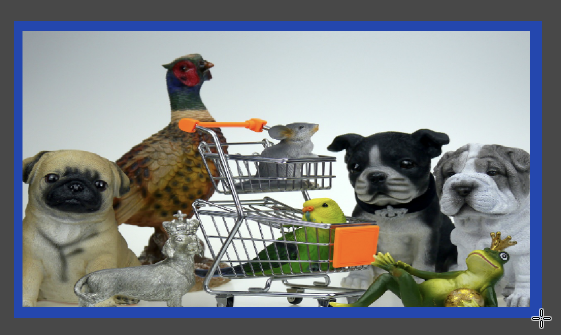
(b) so it selects the whole rectangle and your border is created.

CREATE THE TEXT ON THE THUMBNAIL
Step 13: (a) Select the Type Tool (the capital A)

(b) pick your preferred font and size. I like Arial Black and size 75, as they will show up on the Steemit feed nicely.
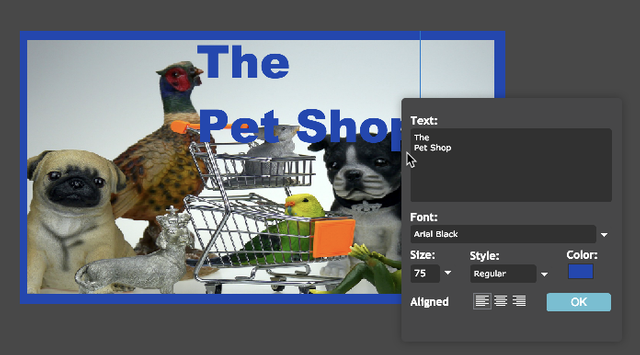
Step 14: As you can see it doesn’t look great on two lines as spacing between sentences is too wide.
Step 15: If you need the words to go on separate lines, a way around this is to create seperate layers for each line of text. There may be a way to lessen spacing between sentences, but I have not found it yet.
Step 16: So go to layer: add layer

Step 17: Select text tool and write in your next line, position it on the thumbnail where you would like it
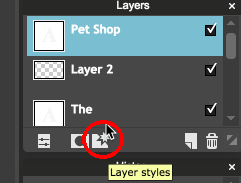
Step 18: (a) Then to add some pizazz to the lettering, on each text layer you have created, select layer styles
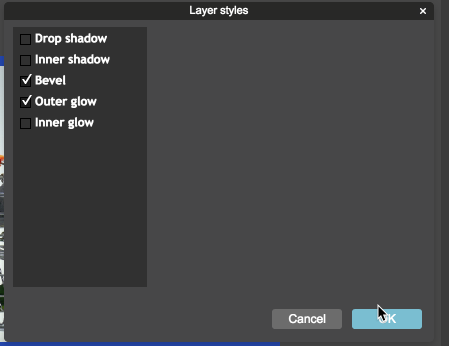
(b) I tick Bevel and outer glow, but you can experiment here and see what looks good.

FINISHED PRODUCT
Step 19: And voila a finished Thumbnail.


Free daily crypto: Swift Coins
My STEEM Success Strategy (not free):Post 2 Profit

▶️ DTube
▶️ IPFS
Thanks i didnt knew that Pixlr.com existed until now, i really gonna use that one, i think it wil be useful for my youtube videos as well, i been looking for somthing like this, its always nice with useful tips, so thanks once again.
Pixlr is a nifty little free tool thats for sure
Very nice tutorial! I do something similar but with PicMonkey. I need to give Pixlr a try though. Looks like it has a few more features than PM.
I think PicMonkey was mentioned in one of the interviews I did. It is good to have choices at your fingertips.
This is a very informative post. I was struggling a bit to design a thumbnail because I don't have photoshop. This post is a game changer for me. I designed my second post's thumbnail by following you step by step. It was very easy to do. Great post.
Great, I am glad it helped. I will post it in the Mastermind shortly too. Remind me
Hello @hopehuggs
I appreciate the effort and time you used to make this post..
I'm sure it took you over 4hrs to compose.
I'll definitely give it a try sometime.. But until then am just going to bookmark it :)
Would also love to know how you make your dividers (Perfect separators) ... I've been admiring them secretly for a while now...it is beautiful and it makes your work unique.
I hope you'll share :)
Thanks You.
It did take quite a while. I am going to attempt a separators tutorial today actually. The one I use is designed by @valorforfreedom and I use it as I am a member of the Berserkers.
Okay! This is good news to me!
I'll be looking out for it.... Thank u very you very much :))
This is really an amazing tutorial, I really learnt something new, I guest I gonna start using it soon in my posts.
Thanks @hopehuggs
Quite useful this. I usually use Canva. Thanks for the tip.
Yes, Canva is really cool too.
Very nice. I resteemed this so i have it for later
Thank you, glad it was helpful
Nice tutorial :)
Thanks
Oh... Beautiful
I'll have to try this when i out on my laptop!!!
Thanks for the tutorial...
It is an awesome tool, only takes five minutes too
Good post, I am a photographer, it passes for my blog and sees my content, I hope that it should be of your taste :D greetings
Thanks.