HOW TO CREATE A LIGHT DISPLAY USING A SEVEN SEGMENT DISPLAY!! EXPLAINED WITH IMAGES AND A VIDEO.
Light can be displayed in different forms, be it numerical or alphabetical form and you may want to wonder how it is being done.
Science has become developed in terms of light display, presenting it in different kinds of colours.
To display light,you will be needing an LED (Light-Emitting Diode), display segment which can be A Seven Segment Display ,Nine Segment Display, Fourteen Segment Display or Sixteen Segment Display.
But I will be working with the Seven Segment Display
In this tutorial, I will be Showing you how to work with a seven segment display, well explained with steps,images and at the end of the tutorial i also took my time to make A VIDEO of it,which i dropped at the end of the post.
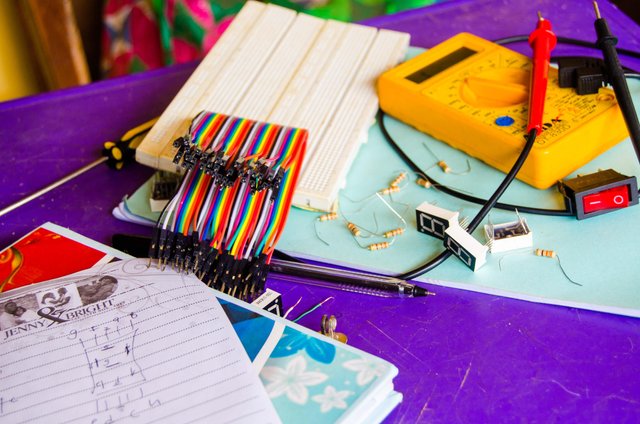
DURING WORK
STEP 1
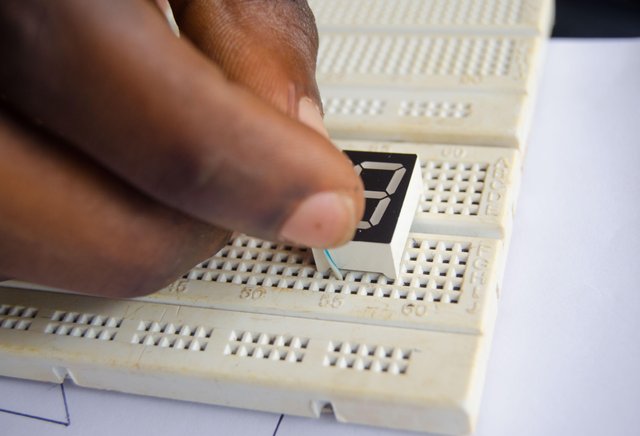
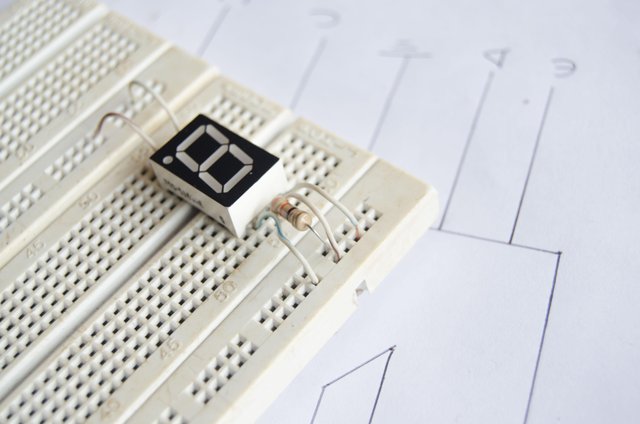
To start working on your seven segment display,you will be needing a breadboard.
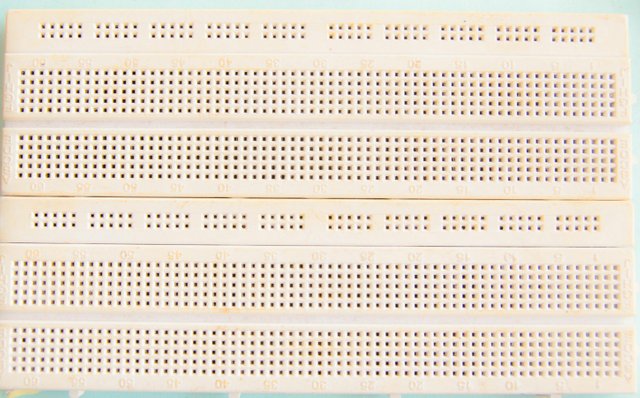
A breadboard is an electronic board in which your electronic components are being mounted on but when using the breadboard, you do not need to make soldering on it, unlike the veroboard in which electronics component are being soldered on.
When using a breadboard, you can make detachments which do not result to permanent circuit.
NOTE: One part of the breadboard are connected vertically while the other part are connected horizontally.
STEP 2
To make connection between your breadboard and your seven segment, all you need is a jumper wire.
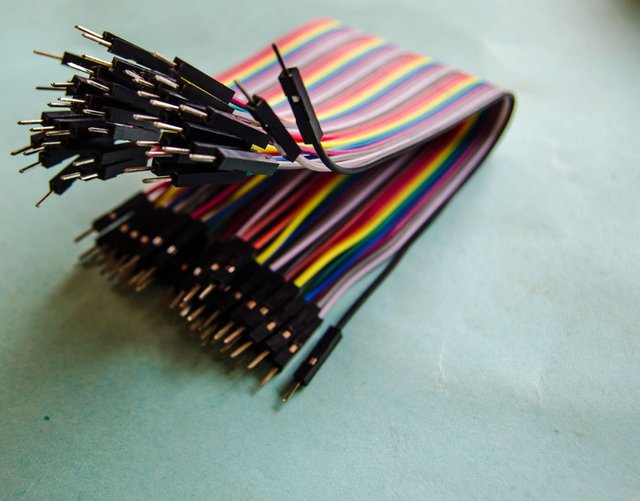
Which enables you to make connection from one point to another on the breadboard.
But for this tutorial, I will be making use of a network cable, cut to smaller size in order to beautify the connections
STEP 3
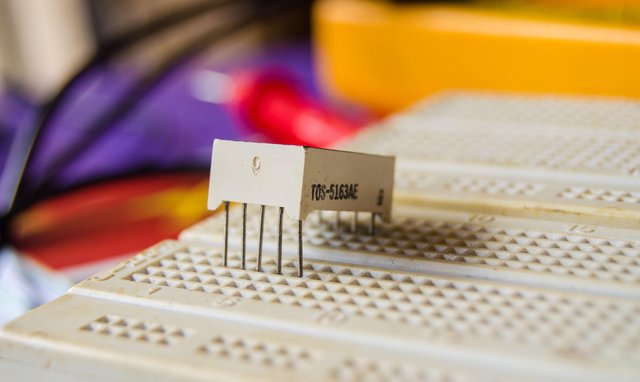
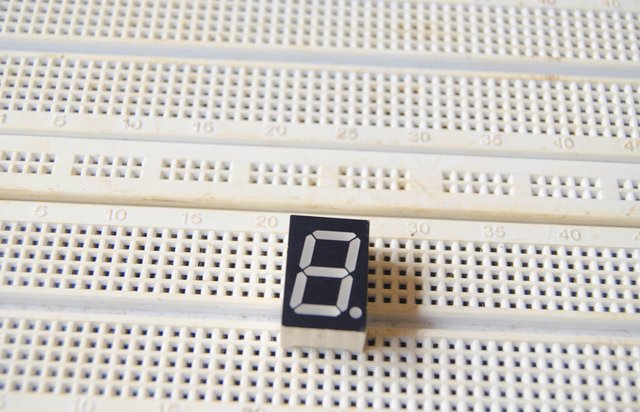
The Seven Segment.
A seven segment can be in two forms, the common cathode and common anode but in this tutorial I will be making use of the common cathode.
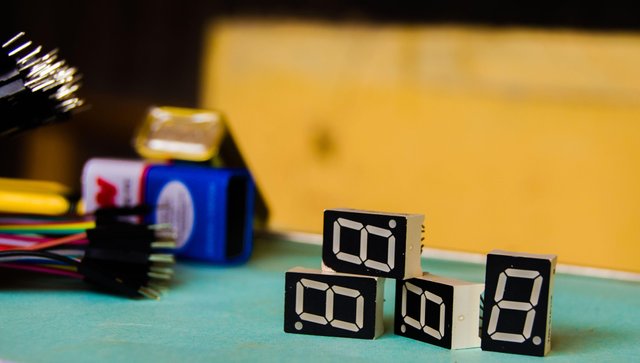
The word common cathode implies that all the negative pin of the LED inside the segment are connected/grounded together, making it eight pins in total.
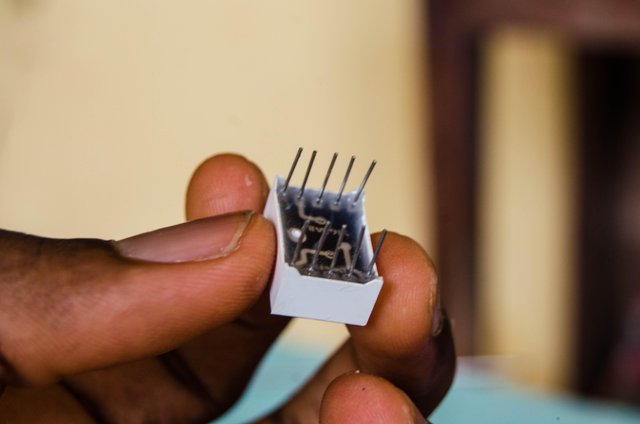
Ideally the seven segment is made up of 8 pins making some persons refer to it as 8 segment, the extra pin makes up the doted point on the segment, this doted part is used for making decimals


STEP 4
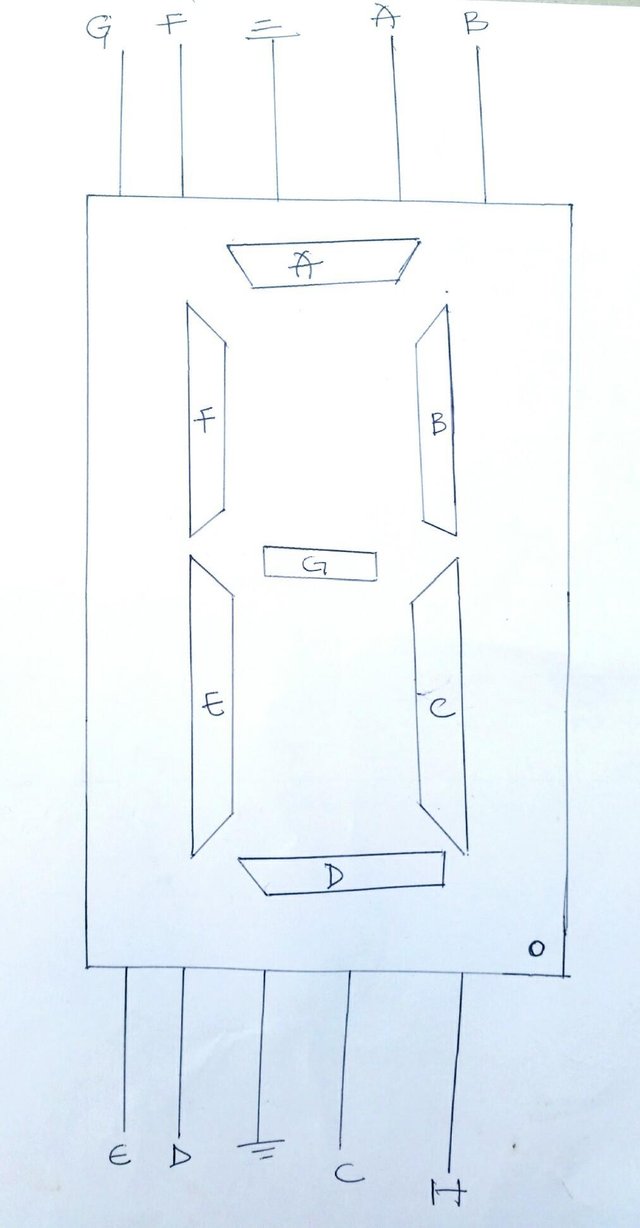
To get the pin that represents each segment, you need a multimeter.
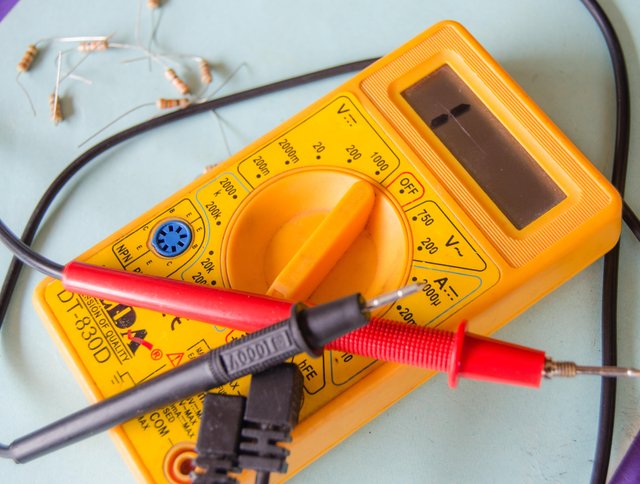
But first you set your multimeter to continuity and since we are using a common cathode,you will place the negative prong of the multimeter at the center pin and the positive prong of the multimeter on any of the pins and by that it will light up any segment in which the pin touches.
That is how we got the diagram below.
STEP 5
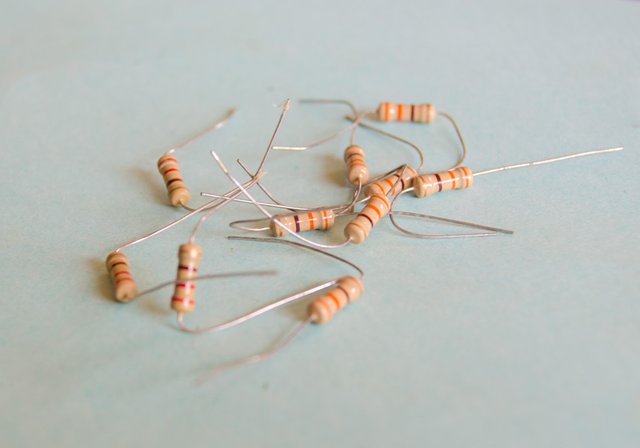
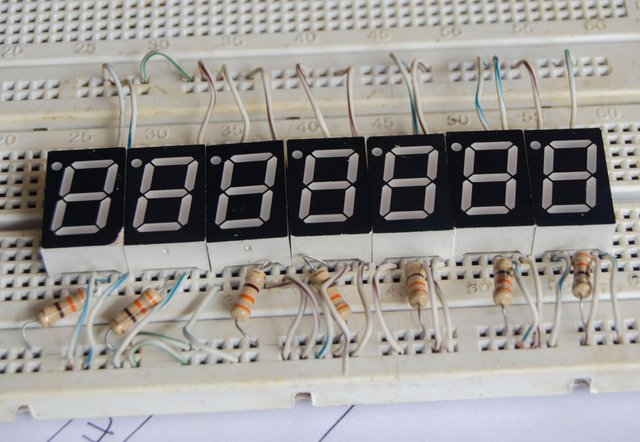
Make use of the resistors,in order to limit the amount of current that goes into the segment and by that preventing the seven segment for getting damaged, so I will be using a calculated resistor of 330 ohms.
STEP 6
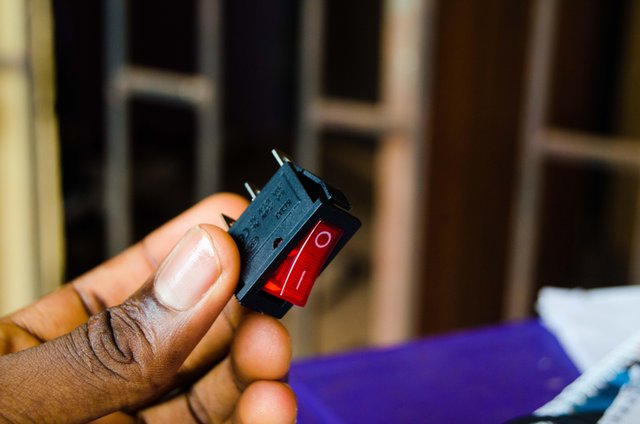
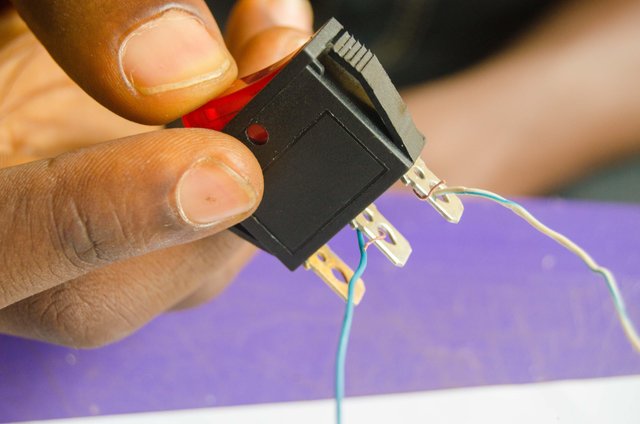
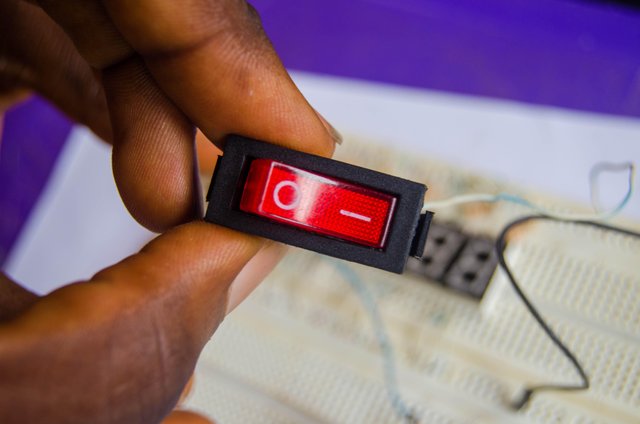
The switch, which is used to put OFF/ON the seven segment.
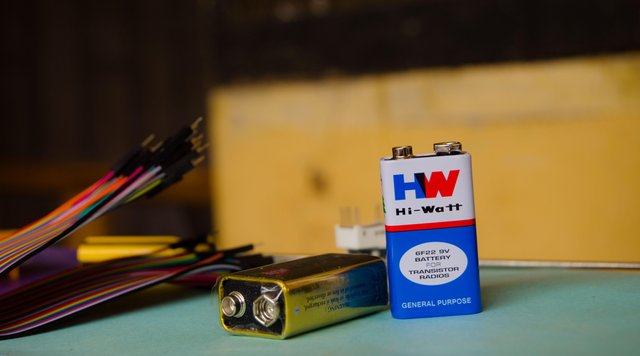
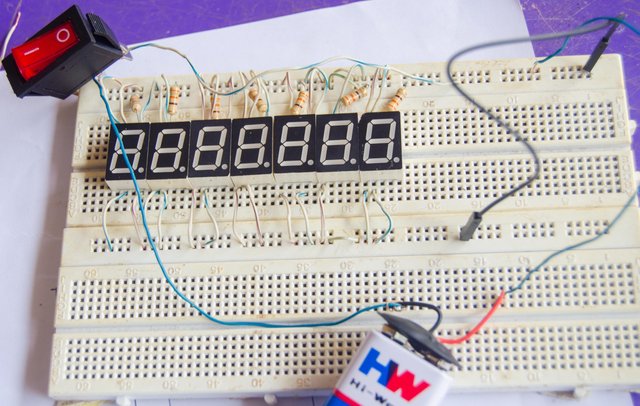
And also I will be using a 9 volt battery which will be used to power up the circuit.
STEP 7
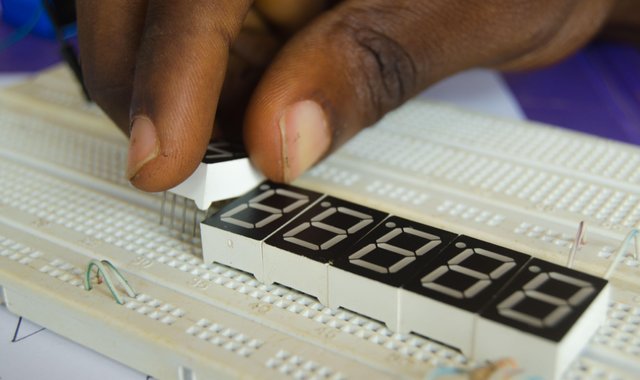
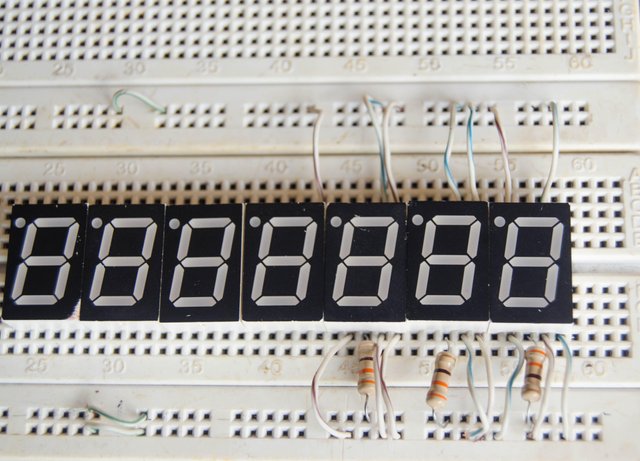
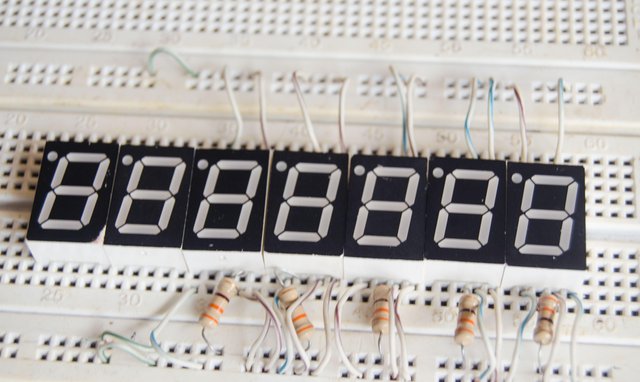
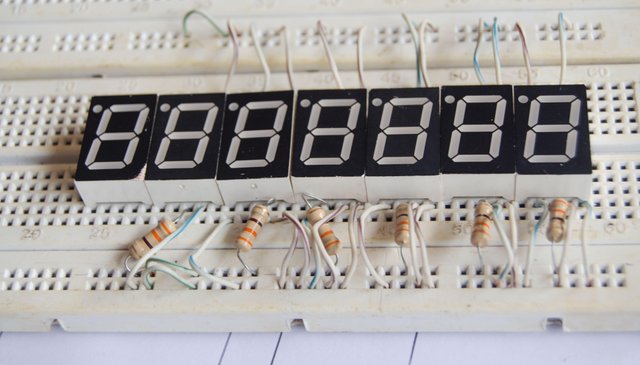
Place your seven segment on your breadboard as shown below.
STEP 8
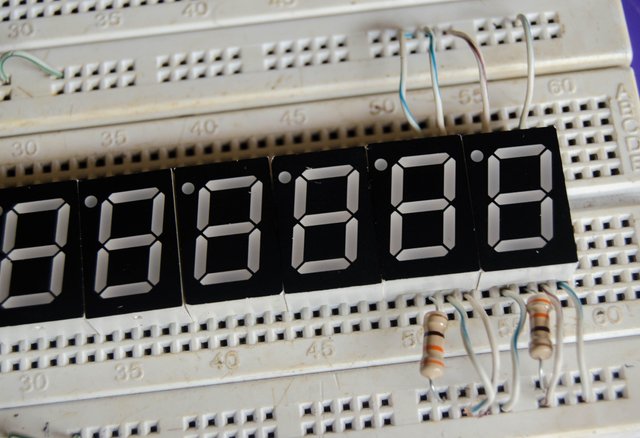
Now I will be using the seven segment to write some alphabet S t E E n I t
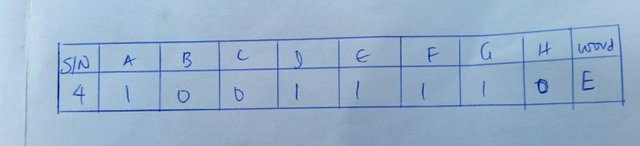
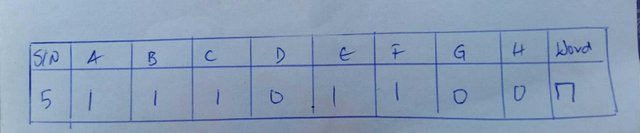
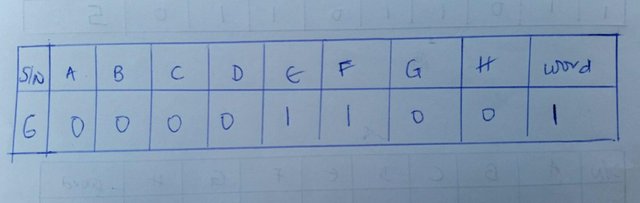
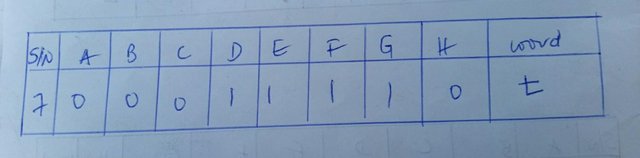
BELOW ARE THE TRUTH TABLE OF IT
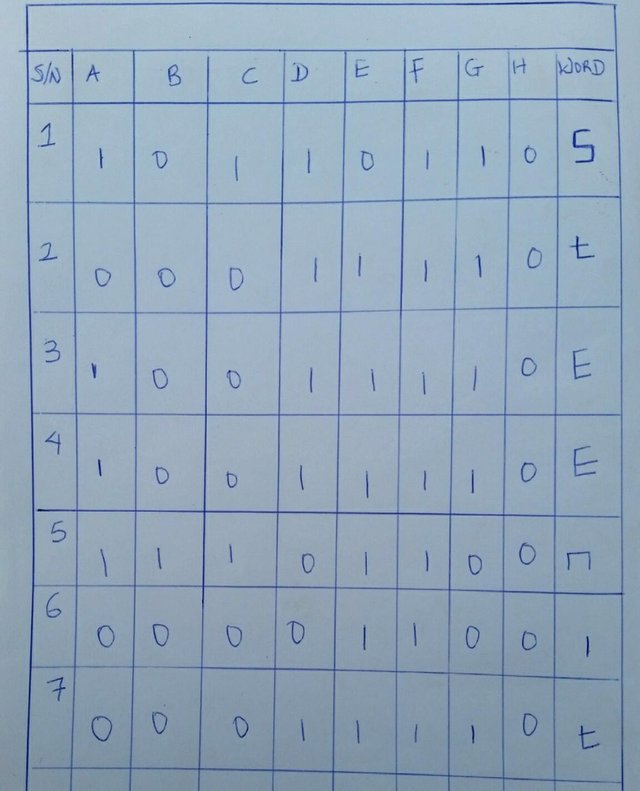
Using the truth table of column S.
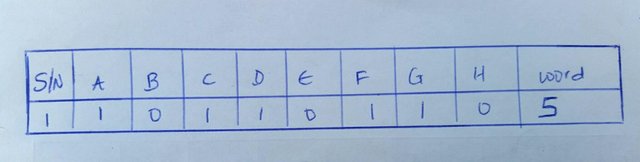
Which implies that you will connect only all "1" and no connection for "0".
Using the truth table of column t, making connection of all "1" and no connection for "0".
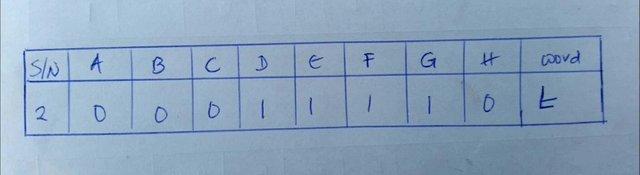
Using the truth table of column E, making connection of all "1" and no connection for "0".
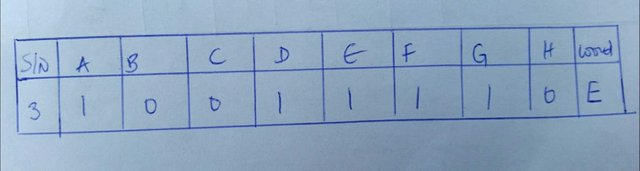
Using the truth table of column E, making connection of all "1" and no connection for "0".
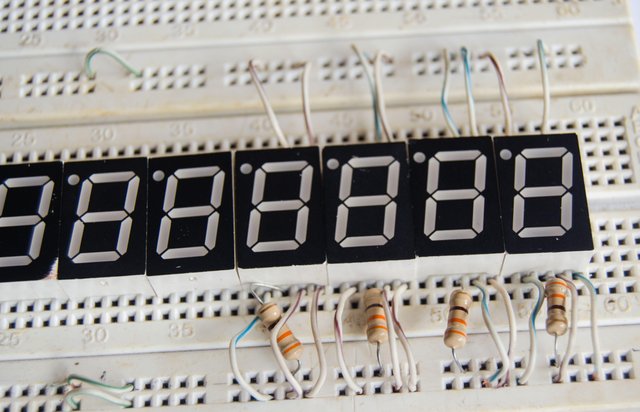
For the n column, I wanted to write the letter M but there are some exceptions when using a seven segment, you can write the letter M perfectly using the sixteen segment display.
Using the truth table of column n, making connection of all "1" and no connection for "0".
Using the truth table of column i, making connection of all "1" and no connection for "0".
Using the truth table of column t, making connection of all "1" and no connection for "0".
STEP 9
Connect the switch to the positive terminal of the 9 volt battery as shown below.
STEP 10
Loop the part you choose as your power to the other side on the breadboard, to enable current to flow through.
THEN YOU ARE GOOD TO GO

HERE IS THE VIDEO WHERE I EXPLAINED THE VARIOUS COMPONENTS USED
I hope each steps were pellucid enough!!!
This is a very well informative post. Thanks for teaching us this @hboi
Hello @dorth I'm happy you came by.
Thanks
Congratulations @hboi, this post is the most rewarded post (based on pending payouts) in the last 12 hours written by a Newbie account holder (accounts that hold between 0.01 and 0.1 Mega Vests). The total number of posts by newbie account holders during this period was 3509 and the total pending payments to posts in this category was $1338.67. To see the full list of highest paid posts across all accounts categories, click here.
If you do not wish to receive these messages in future, please reply stop to this comment.
i really appreciate, thanks @bitgeek
Upvoted! Thanks for the elaborate explanation about connections on the breadboard. For a novice like me, I found the video especially helpful. You just gained a follow from me. Please show me some love. I'm new here
Thanks @asaj
I actually took time to do the video also because i knew it was gonna be helpful
Thank you so much @steemiteducation
I just followed and upvoted
Great post and the pictures and videos made it better. Nice one @hboi looking forward to seeing more from you.
yeah sure
Wow great post! And very detailed instructions.
Thanks for sharing! :D
aww.
You are welcome buddy.
thanks for passing by
Well explained concepts....i have followed you already.....am looking forward to learning from your posts.
thanks for following @seanmalex
just stay back and enjoy
Nice and well arranged tutorial, I just Upvoted and followed your blog now
i really appreciate that @uchefrancis
I am wowed... This is a well detailed post .kudos
Now I wish I know where I can get the items used. Plus I don't know anything about the truth table😢
@smiles563 you can chat me up on telegram so that we can talk more @hboi
Very creative.
Thanks