Worms, Worms & More Worms Part 2 of Mini-Worm Farming🐛
This is a continuation of "My Journey into Mini-Worm Farming." In the first part I told a story from my childhood memories about my Uncle Zeke the "worm farmer" being my inspiration for this endeavor.
In this part I discuss the simplest way to get started with raising worms, like I said before it's not fancy or complicated. Its not as big of a operation as Uncle Zeke's worm farm, but it works. I suppose one could get complex with it, but why is the question.
First Things First
First rule of thumb is to start small, you don't need a lot of stuff or money to get started. If you plan on separating the worm castings from the worms that's a bit more complicated. I have no such lofty goals so I'm not going to discuss the topic other then in passing.
Decide where you are going to procure the worms and do some research on which worms do well in the area you live. You can order them easily online and they survive shipping quite well. I have Italian worms. Red wrigglers, European and even plain ol Earthworms you dug up in the yard. Red wrigglers are very popular amongst homesteaders.
Tip: Be sure you consider where you are going to place the worms carefully and have the container with bedding completed prior to your worms arrival. They hate the heat, direct sunlight and rain. They will bake or drown if you leave them out in the open!
What you need to begin
A container for the worms, I use a large blue crate with a lid that attaches securely. Don't forget to punch holes in the top (don't overdo it), but not to large or they might escape. Putting holes in the bottom is asking for trouble-ants and worm escapes!
The worms you purchased or dug up in the yard
Dirt (regular dirt, not potting soil)
Compost (cool not hot)
Leaf debri
Bedding Preparation
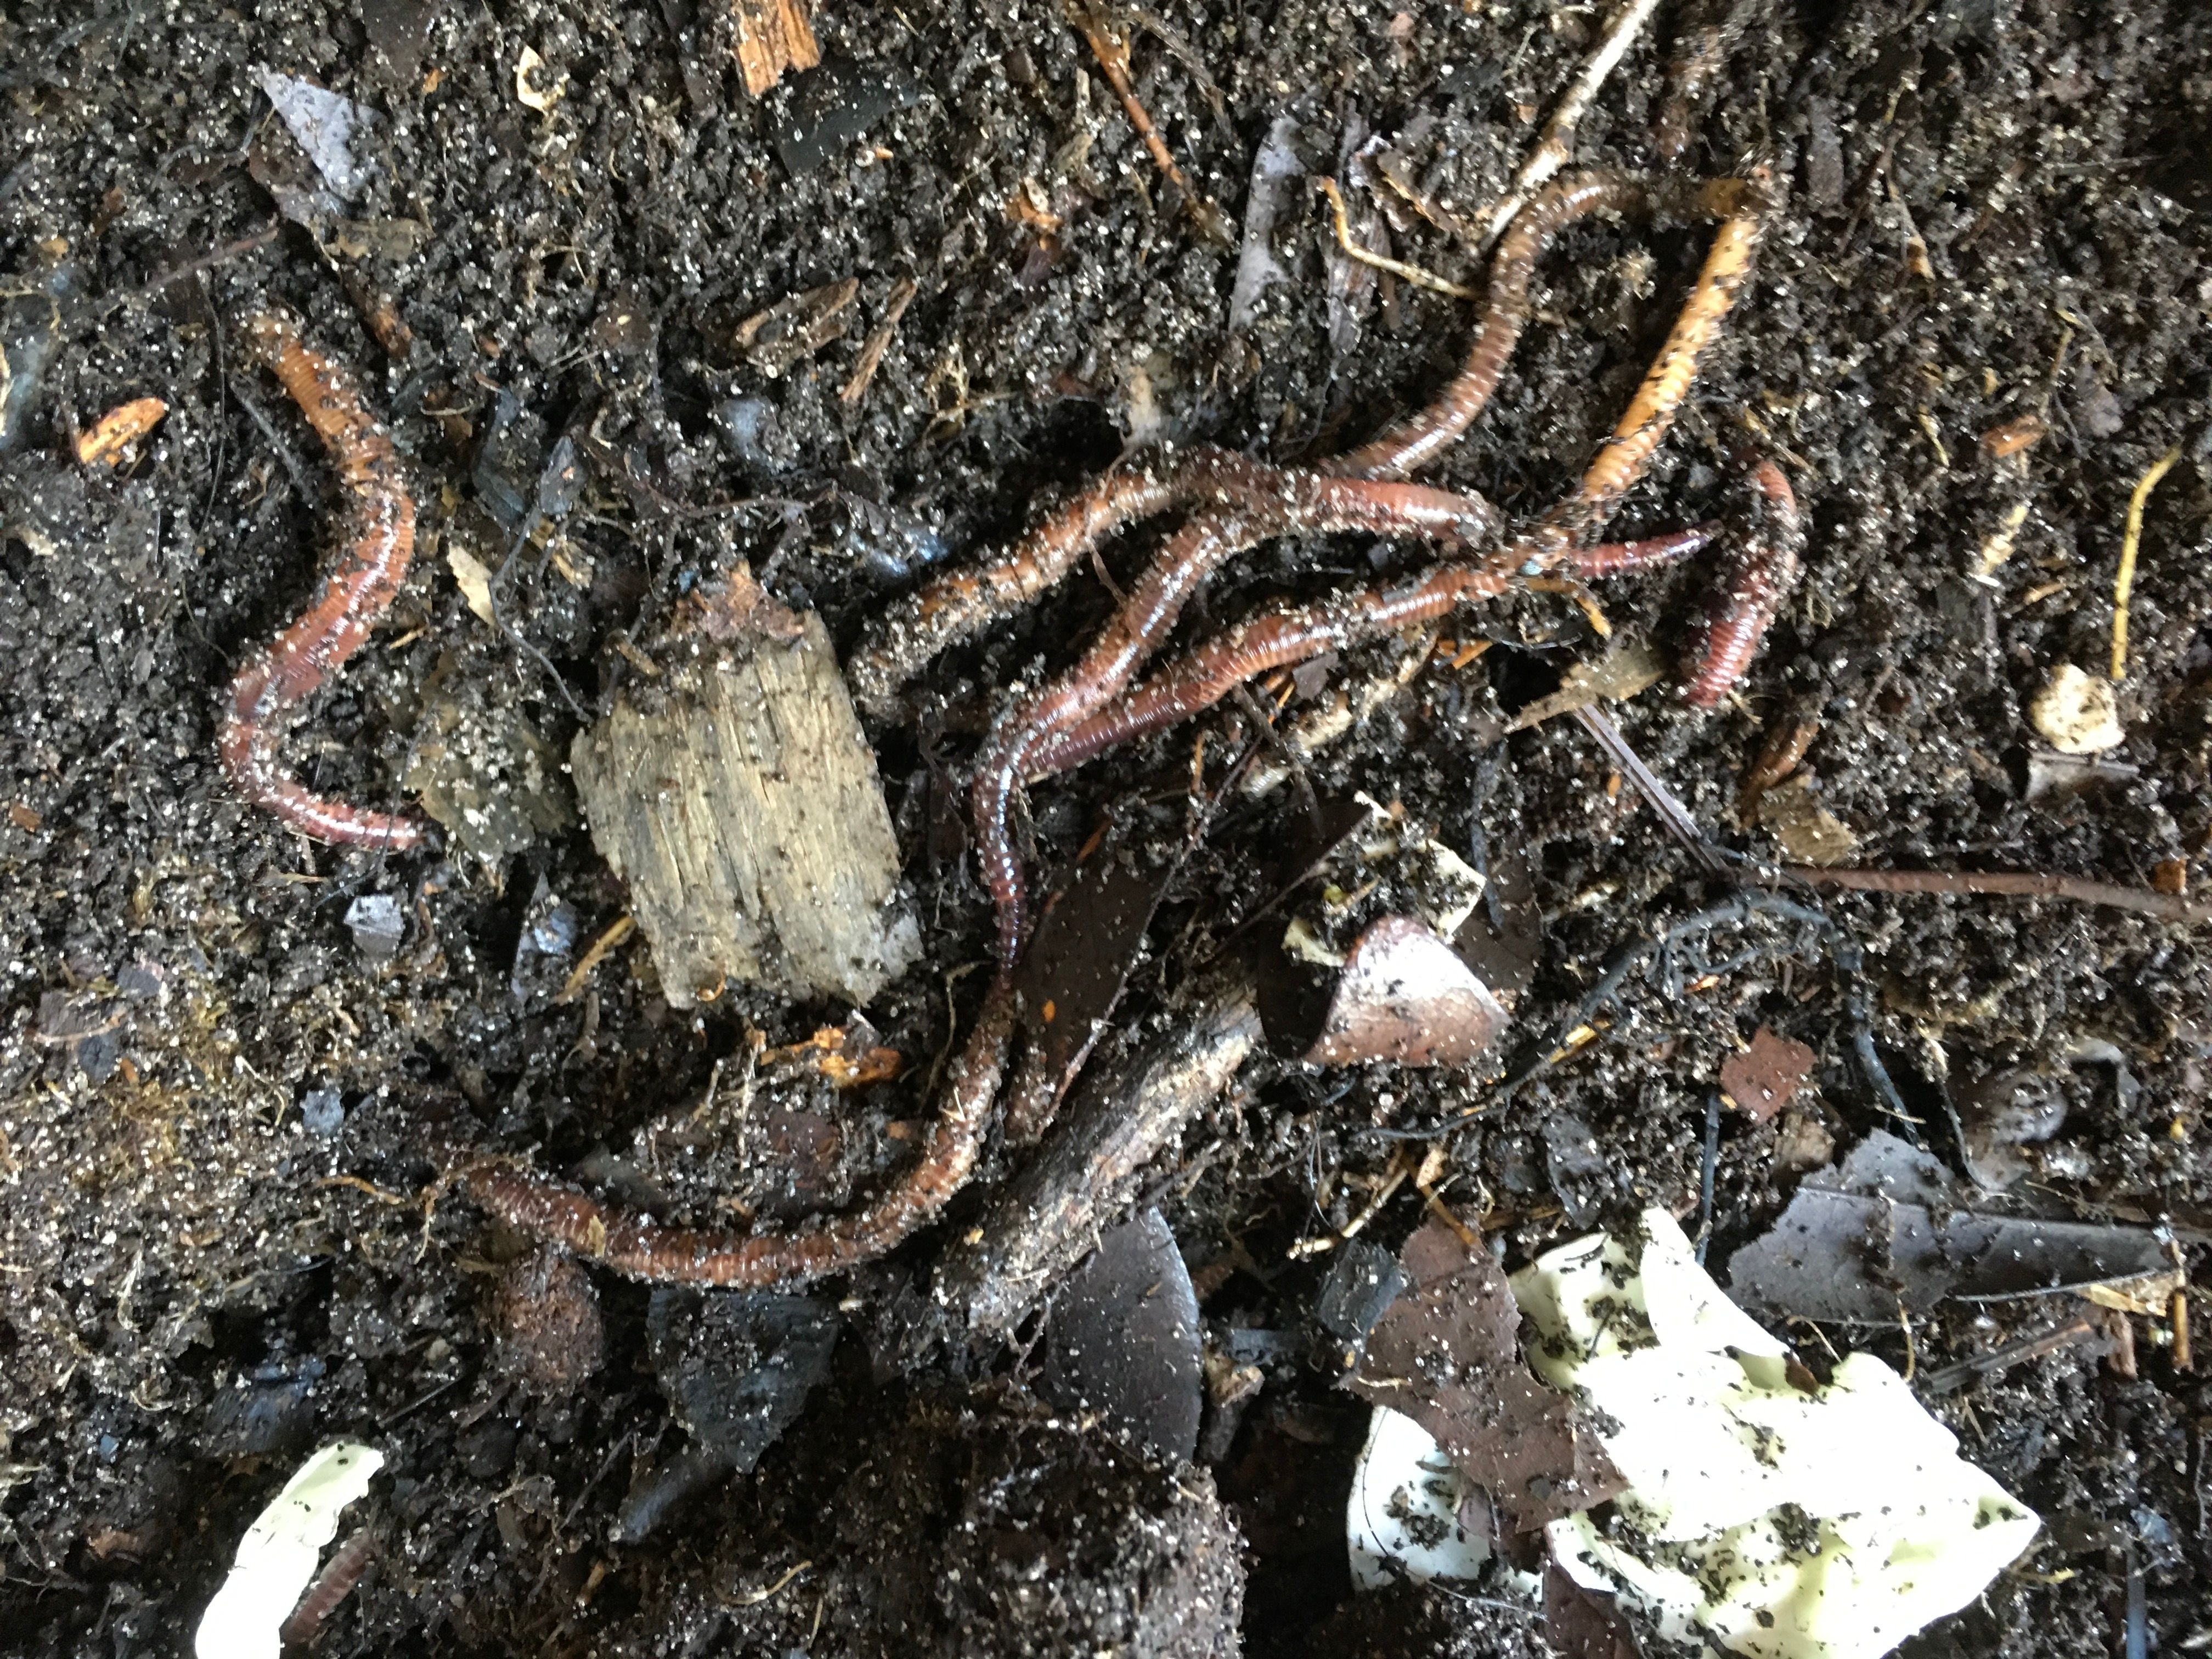
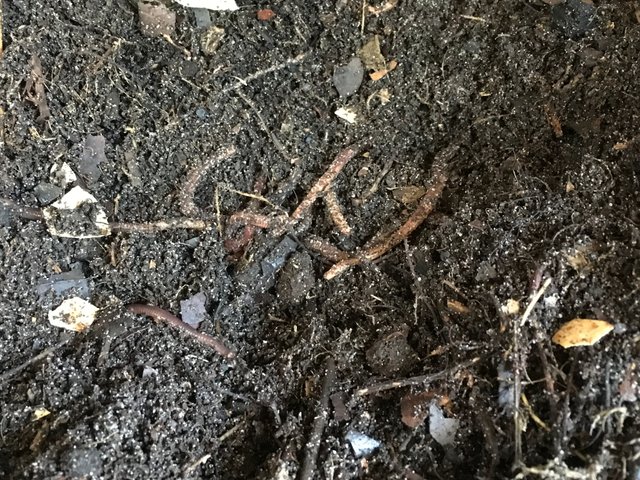
I do my initial worm bedding in layers. In your large container or tub put the dirt in first, it should be free of sticks and other hard debris like rocks. This layer should be the largest portion- use your own judgement about the amount.
Compost or leaf matter mixed with "cool" not hot manure. Cool in this case means not fresh! Never use fresh manure and absolutely never ever dog or cat poo! Chicken or horse manure works best, aged cow patties are not optimal. Layer the composted material next in a lessor amount then the dirt. Place your leaf matter on top of that layer along with a little dirt or sand (do not use sterilized construction sand). If you don't have sand don't worry with it. I live in a area that has sandy soil.
Your container should be half full with bedding, I don't fill it to the top. I add more as needed as the worms mature and have baby worms. Once you are ready dump the worms and the dirt they came in into your container. They will quickly burrow down to the bottom.
Tip: Add used coffee grounds from your morning coffee to the worm bed for the first 3 months, not daily but once a week. This is the secret ingredient.
Feeding the Worms
I do not feed daily or weekly, every other week or monthly works well for me.
Tip: Keep them moist not wet. Never just pour water on them, instead used moistened bleach free coffee filters or ink free paper products. Just lay them on top of the bedding.
No meats, garlic, potatoes, onions or nasty stuff like dead things! Cabbage, lettuce, egg shells, veggie scraps are good for the worms.
Pieces of torn moistened cardboard without inks and do not use cardboard boxes that were used to transport toxic products-like pesticides etc.
Manure from horses or chickens that is no longer hot from 4 months on should be added. Coffee grounds after the 3rd month is no longer required, just take my word on this one.
Important!!!
Don't let the dirt get too moist or turn muddy. The bedding should be rich with a little moisture- never dry or wet.
Do not let it rain into the container where the worms are housed, they do drown. I know this from experience!
Adding moist papers or coffee filters helps when bedding seems a little dry
Worms do not do well in heat, place them where it will be cool not in the sunlight. Mine are under a shaded porch pushed up close to the house which is not ideal but I live in the deep south. Basements, storm cellars and other unground spaces are ideal.
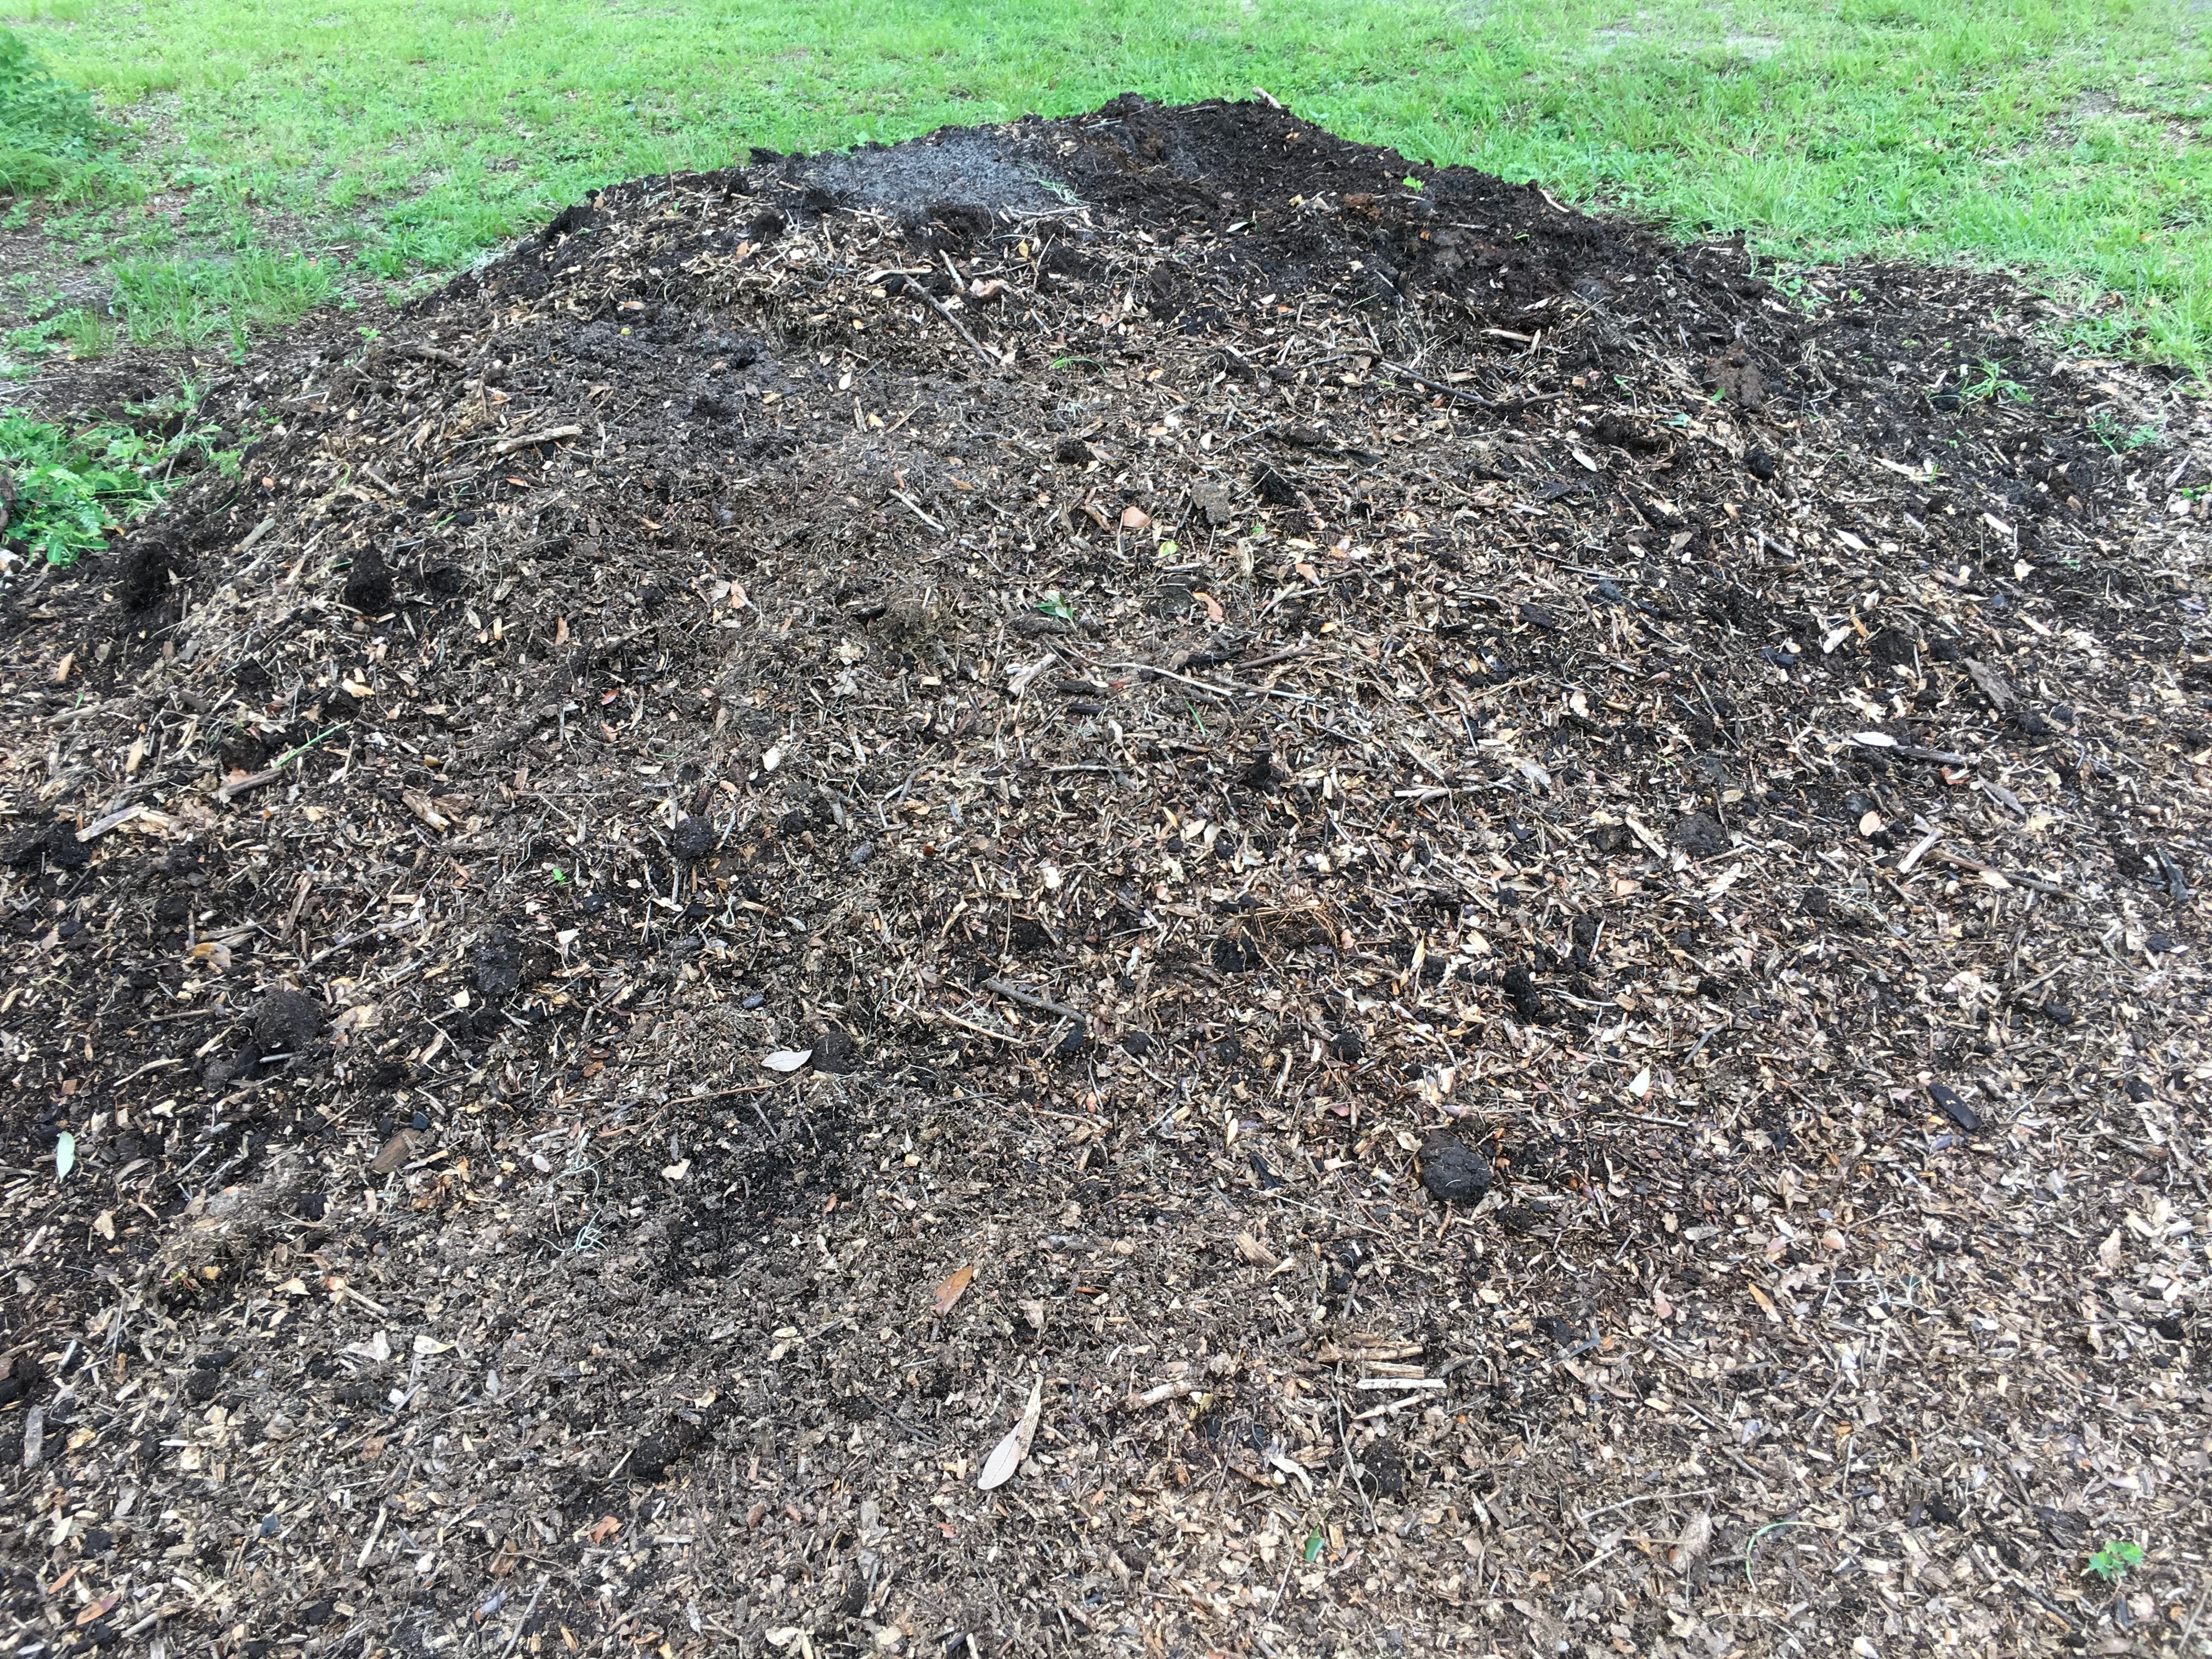
My compost pile, the chickens love to hunt for bugs on the pile
Turning and Maintaining
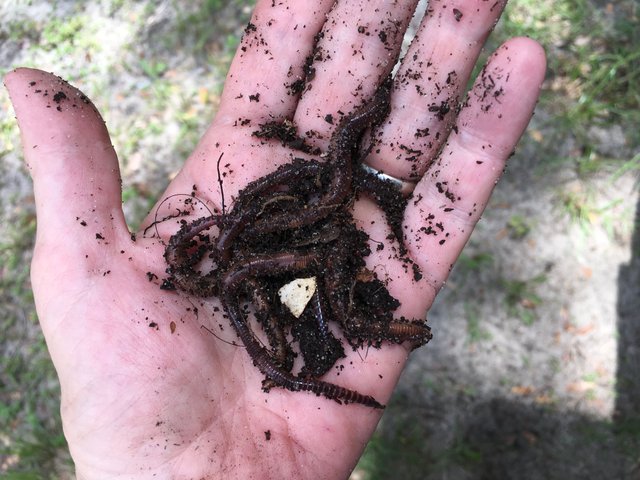
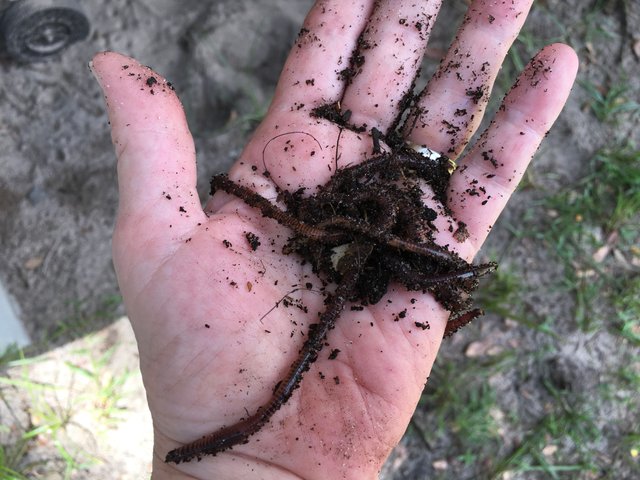
I like to stir them up monthly by gently pulling the dirt up from the bottom to the top of the bedding, yes you will have worms in your hand(s). The bottom is rich and likely more moist then the middle. This is the good stuff, sometimes there is "worm tea" down in the corners. While turning the worms don't squeeze them just leave your palms open and keep doing this until you have turned the dirt sufficiently. The worms will start burrowing back down to the bottom immediately. Put some leaf matter on the top and feed them. Moisten with wet paper laid on top if necessary.
When to Separate
You will know when there are too many worms they will have be crawling up the sides and congregating at the top of container. Try not to let it get to this point by noticing how many worms you have when you turn them.
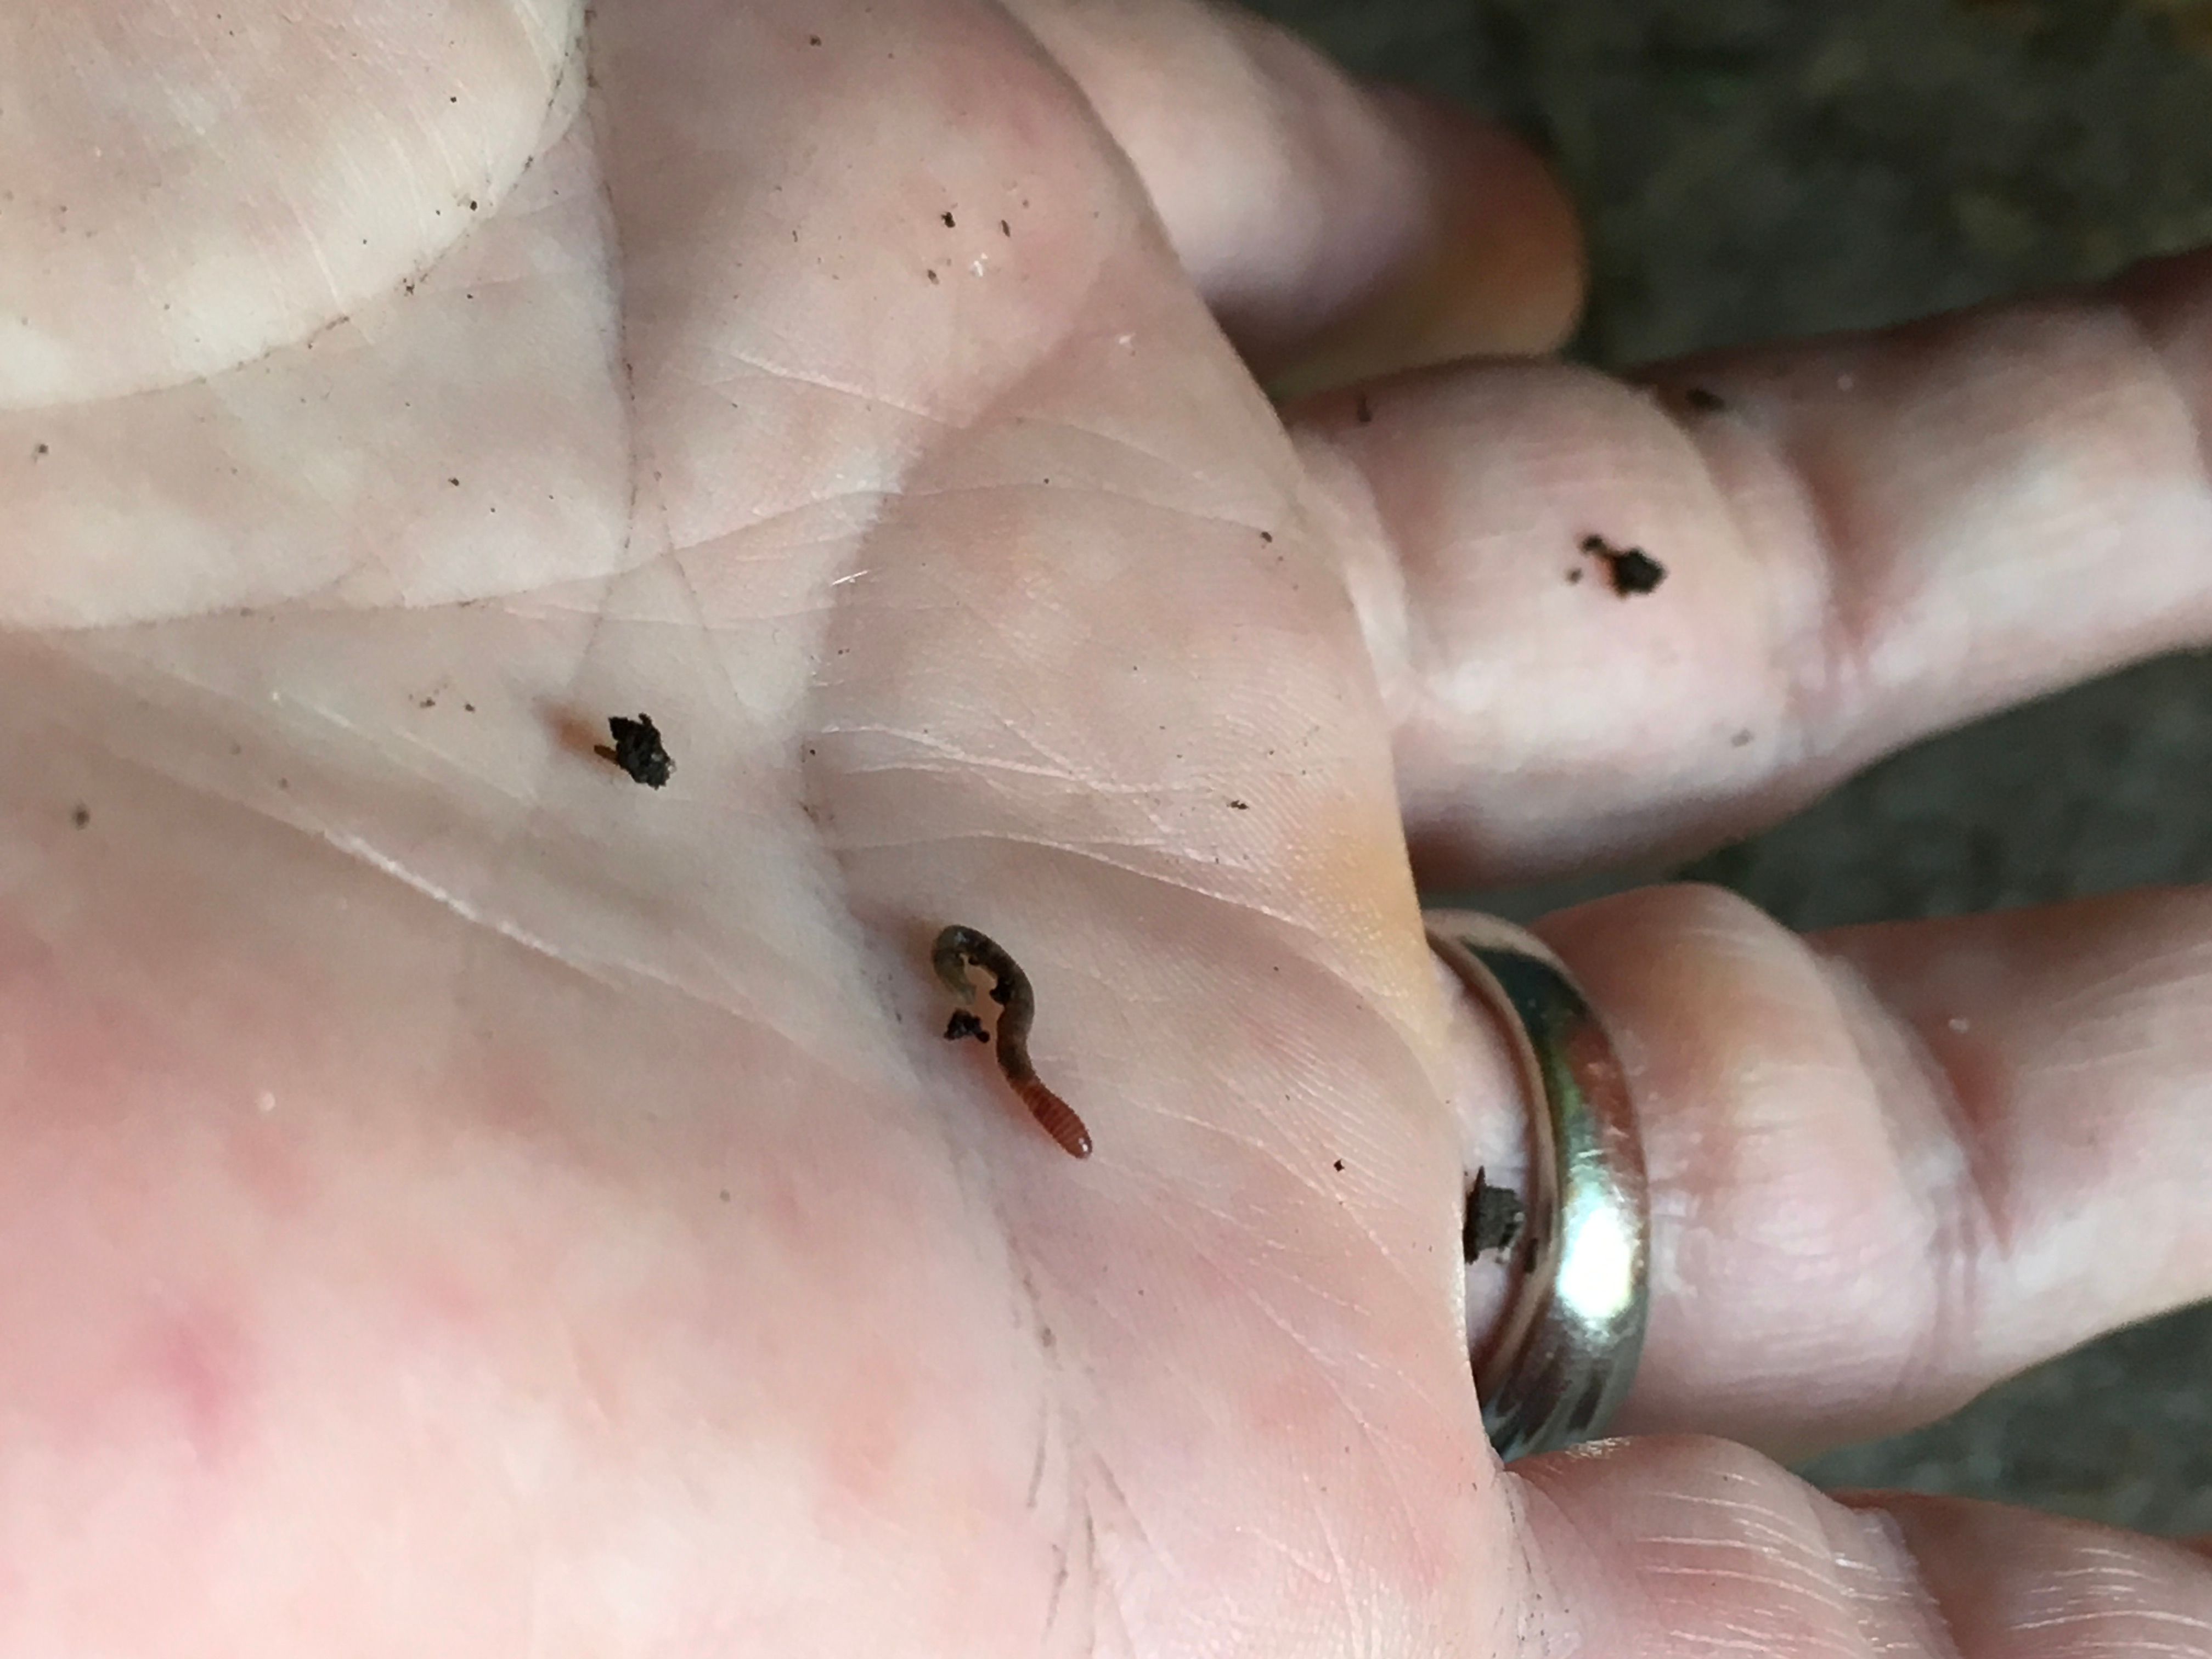
I have and do lots of tiny baby worms, it might be wise to start a second container to house the growing worm farm. Just remove some of the worms, you don't have to be particular, just enough ease the overcrowding and allow future growth. Have as many containers of worms as you desire.
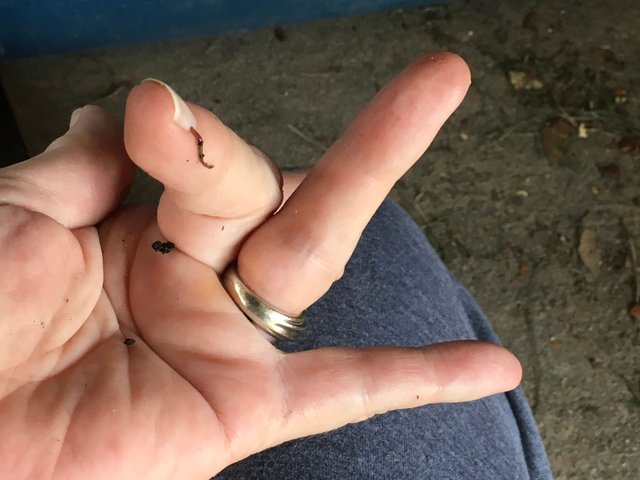
See the baby worm
When you feel you have enough worms going and growing take some out throw then in your garden. Conditioning your garden soil with your worms is best done in raised beds or container gardening. The worms will of course go where they want in an open plot type garden, it is their fate. If the soil is good they will likely stick around.

It sounds like a lot, but worms are pretty self sufficient after the initial setup phase. Just feed them, turn them, don't let them dry out, and check for overcrowding. Definitely easier then raising children or chickens for that matter.
Good luck in your worm farming endeavor.🐓
Congratulations! This post has been upvoted from the communal account, @minnowsupport, by gnashster from the Minnow Support Project. It's a witness project run by aggroed, ausbitbank, teamsteem, theprophet0, and someguy123. The goal is to help Steemit grow by supporting Minnows and creating a social network. Please find us in the Peace, Abundance, and Liberty Network (PALnet) Discord Channel. It's a completely public and open space to all members of the Steemit community who voluntarily choose to be there.
If you like what we're doing please upvote this comment so we can continue to build the community account that's supporting all members.
I upvoted your post through the Minnow Support Project - I think this is a great post and deserves more visibility. I also put in a small bid for an upvote through @lovejuice which should come through shortly. You should definitely check out @minnowsupport - it is a great community with the goal of helping minnows / Steem newbies. It only costs .002 steem / steem dollars to register your account with them and once you have paid that negligible fee (which verifies you do have control over the Steemit account you say you do) you can use the Minnow Support Projects upvote robots twice a day (once every 12 hours) for free to upvote posts - your own or others. I highly recommend it as a great way to meet new people and gain more exposure for your posts! Good luck - Gnashster
Thank you so much, it's appreciated and will definately check it out. Us minnows need all the help we can get🐓
Thank-you! Upvoted🐓
Not every prepper wakes up in the morning thinking about worm farming....But they should! What a great topic to learn for survivalists, homesteaders, and preppers. This is definitely self-reliance content.
Upvoting and Resteeming for our followers. We'll have our friends get this out on Facebook as well.
Be sure to use the #preppers hashtag so that we can easily discover your posts
Glad you liked it and thanks for the support, it's appreciated. Yes, preppers should think about "growing worms", I started out prepping before I became a homesteader. Thanks for providing the hashtag🐓
We had a worm farm for a few years. We have a 8,x4' heated, fiberglass worm bin with an 80 gallon worm tea container underneath. We would get up to 300 pounds in there at a time. Worms are awesome for everything on a homestead. They create great soil, and you can feed them to the chickens, go fishing with them. Pretty cool when you can literally turn crap into an unbelievable (and expensive) soil amendment. Check us out @myhomesteaded and follow us. Have a good day.
You had a much bigger worm endeavor going and sounds like you did all the right things. True about Turing crapola into expensive dirt😉 I threw one of my worms at a Chicken of mine, it acted like it wasn't sure what it was, pecked at it as if trying to decide then ate it. They are young birds, probably hadn't seen a earthworm. Following you and thanks for stopping by🐓
We did have a big worm endeavor. We got our numbers up, around 500 pounds of worms. I was selling them at $10-20 per pound, using the castings for my gardens, and using and selling the worm tea. I ended up getting a very physically demanding job and neglected the worms, and ended up losing them all. I do plan on starting it back up again in the near future. Thanks for following, and I am now following you as well. Have a great day.
Uncle Zeke would be proud. Interesting post! :) I love to see an abundance of worms in the garden.
I miss Uncle Zeke and Aunt Wayne, they were salt of the earth kind of people. I hope he is proud and knows he was loved. Thank-you🐓
And more worm goodness! haha

Here's your banner friend,
I hope you like it. I tried to incorporate your chicken theme :)
here's the direct link
https://postimg.org/image/wc9q60hx1/
Oh..I do LOVE it❣️
Thank you so much it looks great, you captured all the elements and style I was hoping for... you even the worked girls in there😉🐓
I had to sneak in your girls in there! haha
Thank you for telling us about worms, although now I know more about worms than I would actually like to know... :D
LOL! I figured some would feel it was TMI, the hardcore among us love this kind of stuff😉🐓
This post has received a 4.29 % upvote from @lovejuice thanks to: @carlgnash. They have officially sprayed their dank amps all over your post rewards. GOOD TIMES! Vote for Aggroed!
Thanks for the upvote @lovejuice and @carlgnash, it's appreciated greatly. Already had voted for @aggroed😃🐓
This is a great post, thanks for breaking it down in such detail. I love worms! When I get some land I definitely plan on having a big old compost operation and I think now I will need to farm me some worms too! Upvoted and followed, Khalessi
Thank you for reading and your gracious comments. I love worms too and wish you luck when you begin your worm farm.🐓
We keep our worms in an old aluminum truck bed toolbox outside the kitchen door. Glad to see other people are raising wrigglers!
That's great you are already into the worm farming. Thanks for stopping by🐓
What a terrific post! I learned a lot from it and enjoyed the way you shared your knowledge and experience, like the coffee grounds and moist paper tricks. Worm on!
Worming our way up the steemit ladder. The first thing we learned is never to leave them out in the rain. They can't swim! So sad....
Hope you are taking some time to regenerate your mind, body and soul. Your Friend! Ellie Mae. 🐓🐓
Worming our way - good one! I remember when it rained hard, the earthworms used to all come out on the sidewalks from the gardens where we used to live outside of Montreal. It never occurred to me they couldn't cope with the water. It's so rare that I even see an earthworm in our garden in Johannesburg more. You sure know your worms!
Thank you for the wise words on regenerating. One of the wonderful benefits to doing what I do is I get to work with close friends, so that helps!
Thanks for re-stemming this post. See you soon. 🐓🐓EMae.
😊😊