Candle Crafting with Joy! Wax, that is...
This will be the first of the actual 'how to' on Candle Crafting. I'm using my wax of choice, which is known as 'Joy Wax', probably because it's a joy to work with, when compared to the others, like Soy Wax. It's what we call 'stupid easy'!
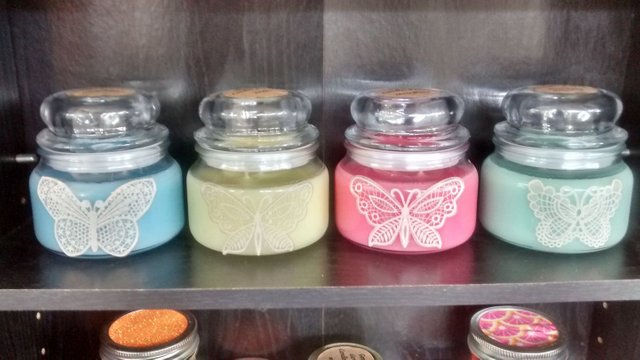
I've got a stock of candles already made, on hand, that I made up during the holidays. Candles, once poured and set, don't grow stale. Their colors may change, but the fragrance stays nice and strong. So, while I've done clearance on my holiday fragrance lines, the fresh fragrances, summer scents, and happy hippie are still good to sell. My on hand stock of them is light at the moment. Candle purchases slow down between Christmas and Valentines Day. So I only make more to replace what's gone, stock up for a craft show or when someone orders something I'm currently out of...that's the case today.
A co-worker of one of my girls placed an order for two of the Black Raspberry Vanilla done in the Apothecary Flats. So, here we go. This information is not what is, normally, done...I'm not one to go by the books. This is an easier, kinder form of candle crafting. ;)
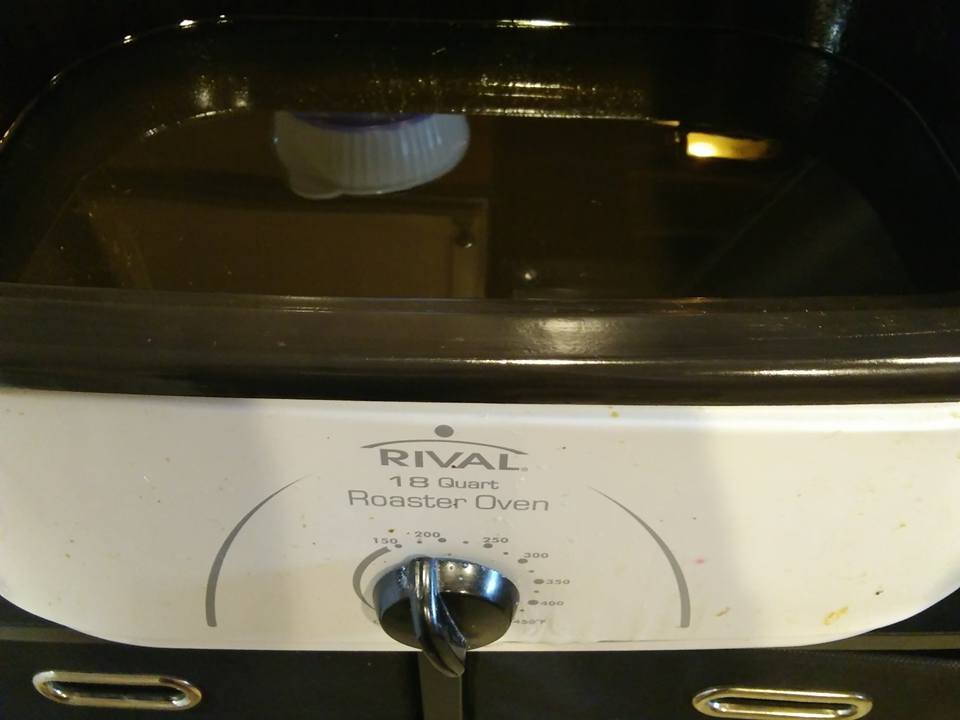
Rather than take out multiple pour pots every time I want to do candles, weighing out the required amount of wax and melting that, double boiler style, as would normally be the procedure, I use the bulk method. During the peak season, I placed two whole 10# slabs into my 18 quart roaster. I refill as needed, but it's still okay, for today, at about half full. I melt the pot of wax at a temperature of 175. This guarantees that I never overheat the wax, and allows me to use what I need, let it cool, put it away as is, and just start again when it's time to make more. When the entire body of wax has melted, I turn the heat down to 160, the perfect temperature for adding the rest of our 'ingredients'. No other additives are EVER put into this master pot, no Vybar, nothing!!! Only the pure wax.
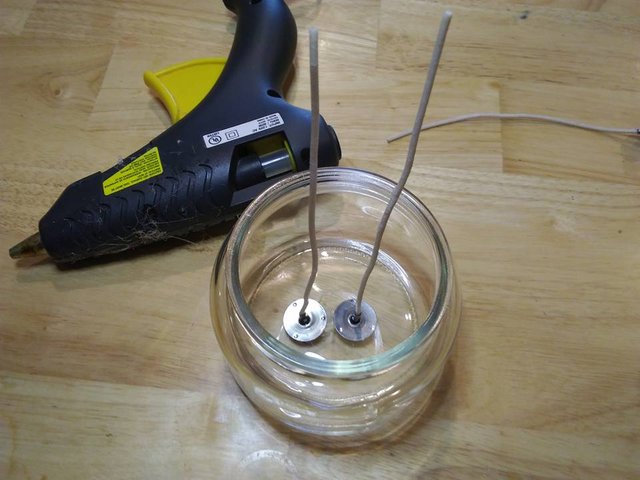
To the candles! I use double wicks in this size, which is an 12 oz. apothecary jar. I prefer the zinc core safety wicking for the candles I make. The wick size depends on the size of your container and whether you're doing a single wick or multiple. These are the 41 series. The coreless variety of wicking tends to flop over, and if you get a deep melt pool from extended candle burning, it's likely to drown itself, and there goes that! I elect to use a cored wick for safety and liability reasons. Use a hot glue gun to secure the wicks to the container, centering as best you can. They'll occasionally, want to lean over...I use two clothespins attached to each other to prop up the wicks. These wicks seem to be behaving.
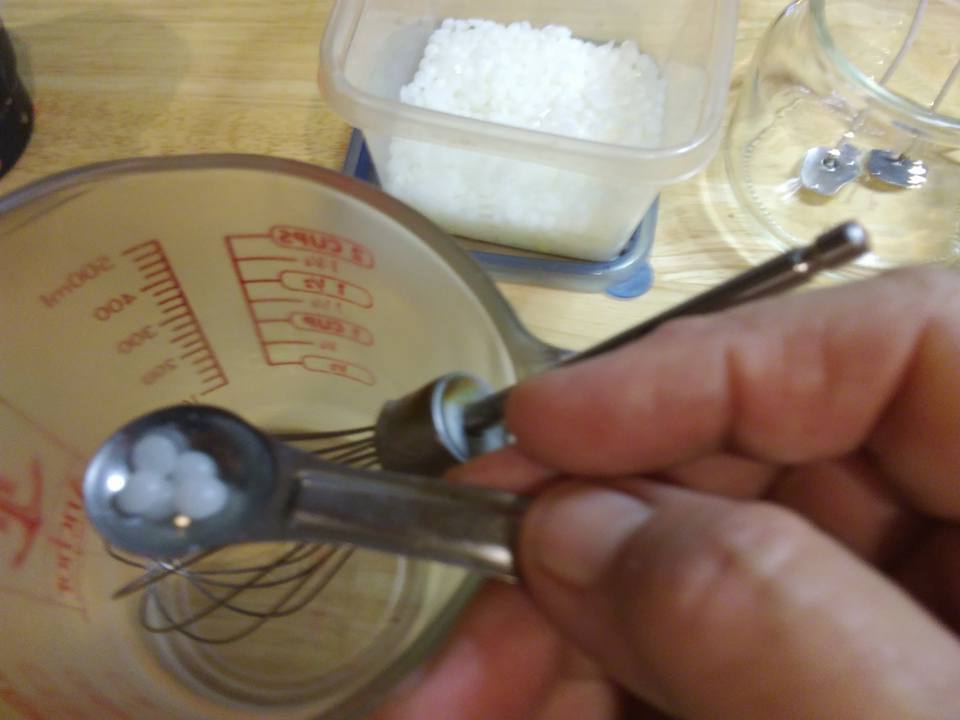
This stuff is pure magic. It's called Vybar 260, and is an additive that allows me to add even more fragrance, without worrying that it will come out of suspension, leaving puddles or streaks of fragrance oil visible in the finished candle. The prescribed amount is a quarter teaspoon per pound of wax.
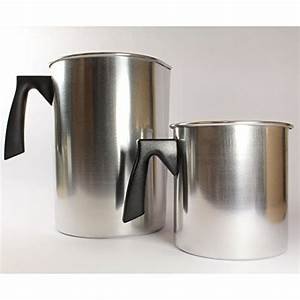
Let me mention, here, that the weight of wax does not equal its volume...it takes about 20 ounces, by weight, of wax to fill 16 ounces of volume. Well, that's just a pain in the tuckuss! You pretty much HAVE to weigh it, if using pour pots...
web image
They're bulky, inconvenient and you can't measure by volume. I've determined that it takes just over 8 fluid ounces to fill these apothecary glasses just over the 'shoulder'. You'll always want to stop your pour where the glass begins to narrow so you'll have a complete melt pool, all the way across the candle's surface. This determines your candle's memory. It will always burn all the way across, if allowed to do so it's very first time burning. If you only do a small pool, say 2 inches of the 4 inch total, it will forever and always only do a 2 inch burn, and you'll waste all that wax around the walls.
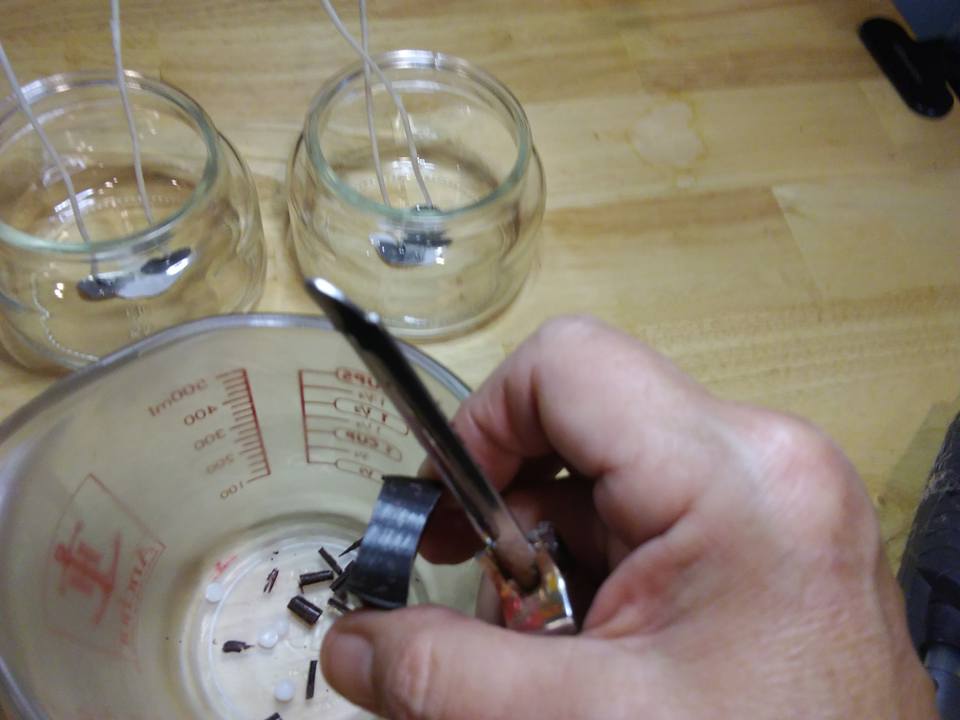
Next for our colorant. You should NEVER use crayons to color your candle wax..It will clog your wick, eventually...ruining the burn. I like the block color rather than liquid...cos I'm clumsy and the liquid makes a mess. It's also more costly.
I see Black Raspberry Vanilla as a sophisticated pink...so I add three full shaves of cranberry colorant and a thin sliver of black colorant, to take the pingy bright edge off.
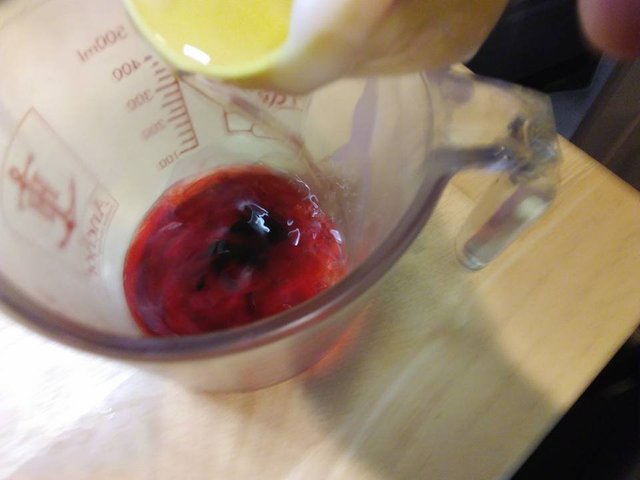
You'll notice that I'm using a clear Pyrex measuring cup...that's because I know that my candles hold 8 ounces each of liquid, melted wax. I use a second measuring cup to add what I need to the Pyrex cup. When the wax is up to the 16 ounce mark, I 'm good!
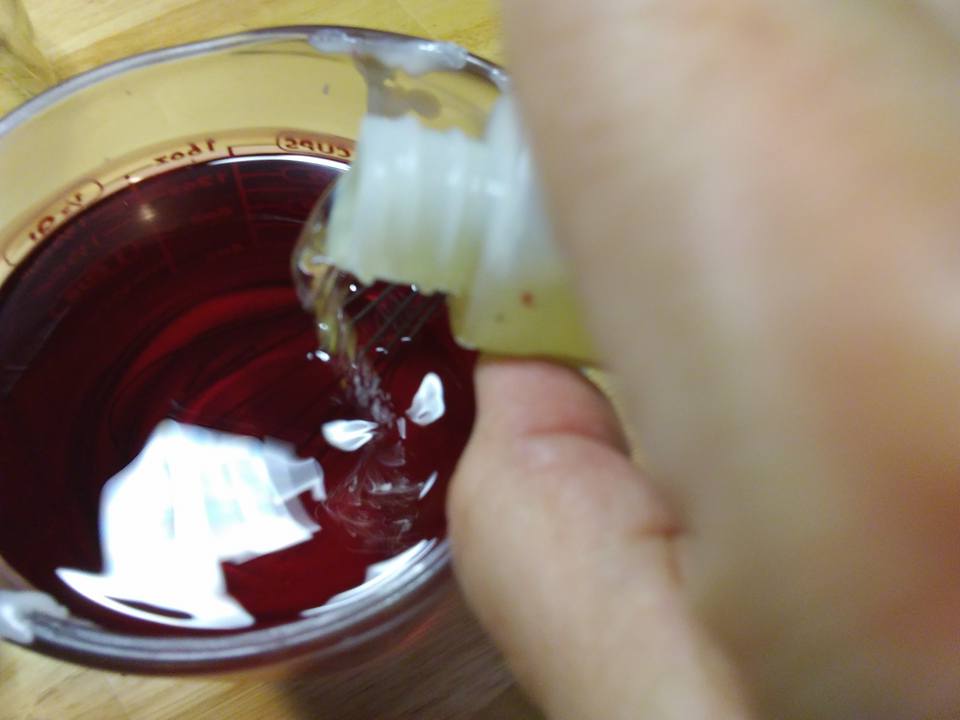
At the candle holding 12% fragrance oil, I can, safely, add 1.5 ounces of fragrance to the pound plus of wax. I use a plastic one ounce bottle to make it simple. I've got several of these, for a variety of fragrances. They can be cleaned of residual fragrance with alcohol.
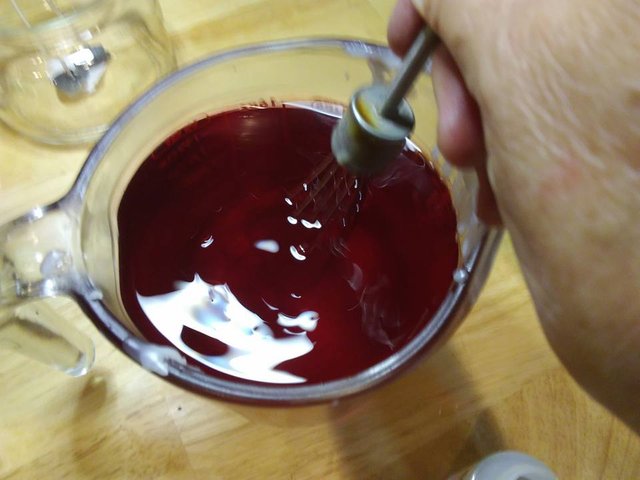
Whisk vigorously for at least a full minute to thoroughly incorporate the fragrance into the wax.
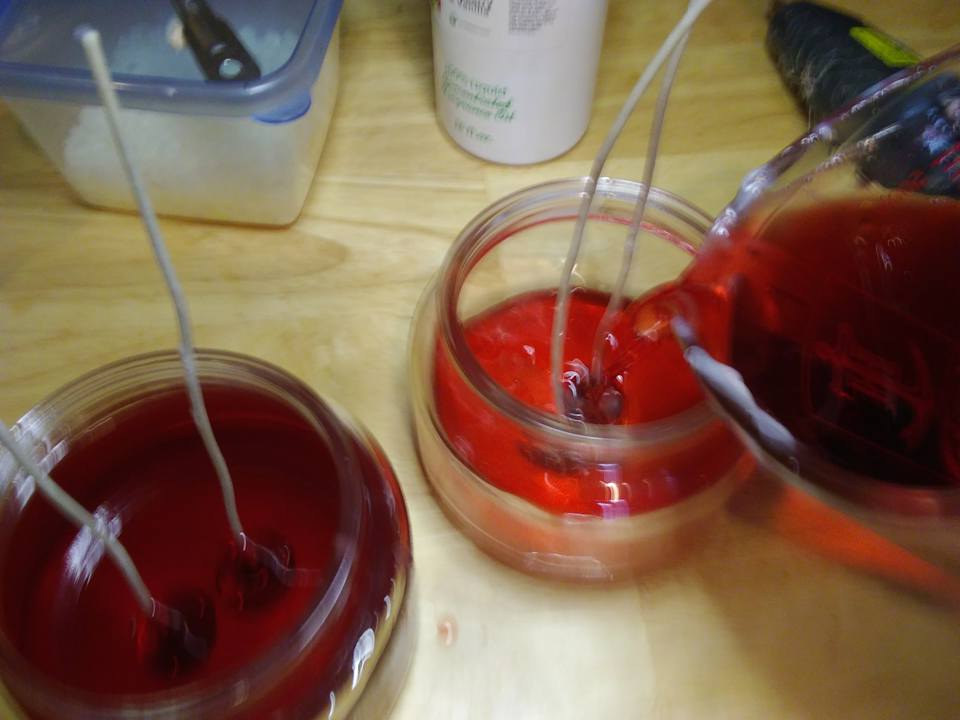
And, pour...gently. Just go to slightly above the shoulder, the place where the candle glass begins to taper inward.
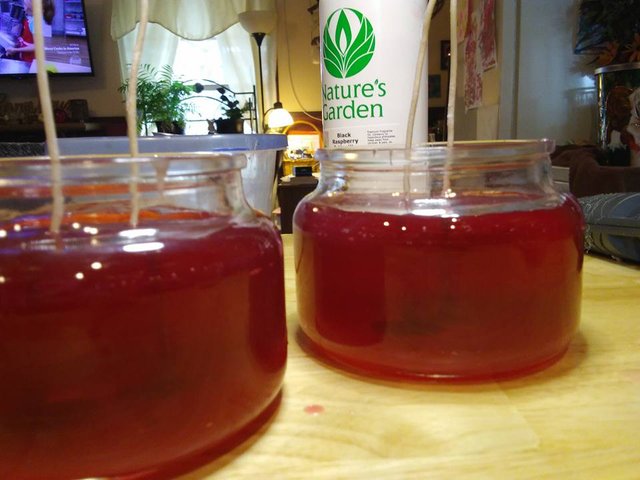
Straighten up the wicks and let them be while they set up. The time it takes will depend on the ambient temperature in your craft area, as well as humidity. Joy wax isn't affected by the weather, some others will give you problems in damp weather...Soy is one of those. Picky, like meringue!
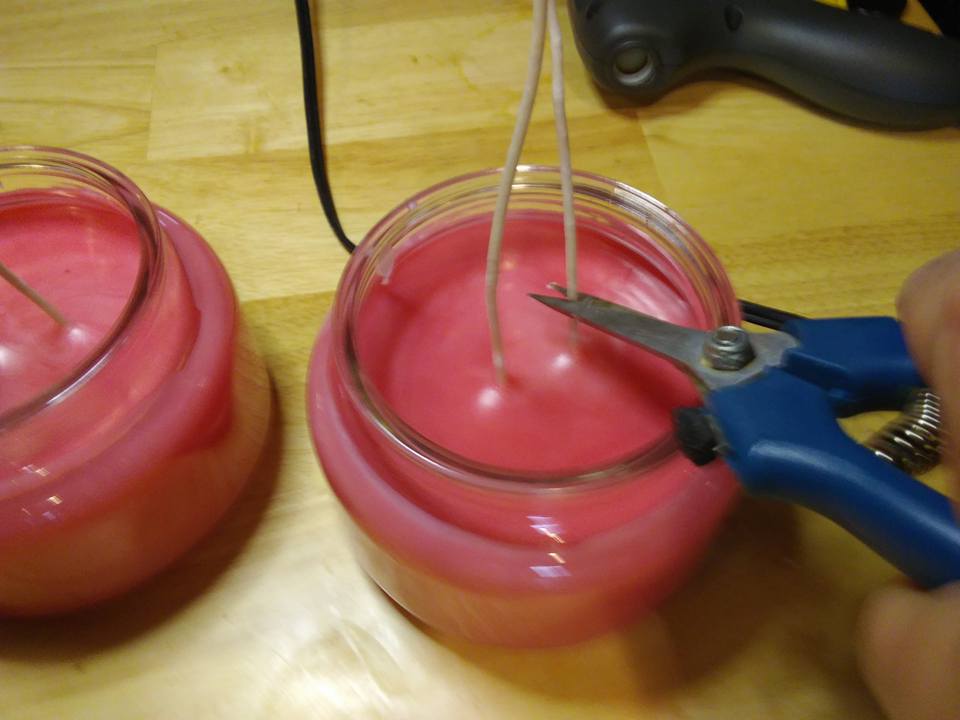
These took about an hour to set. Not too shabby! Trim the wicks to a half inch using metal clippers or a dedicated set of toenail clippers. See how smooth they came out!! Absolutely no second pour is necessary!!!
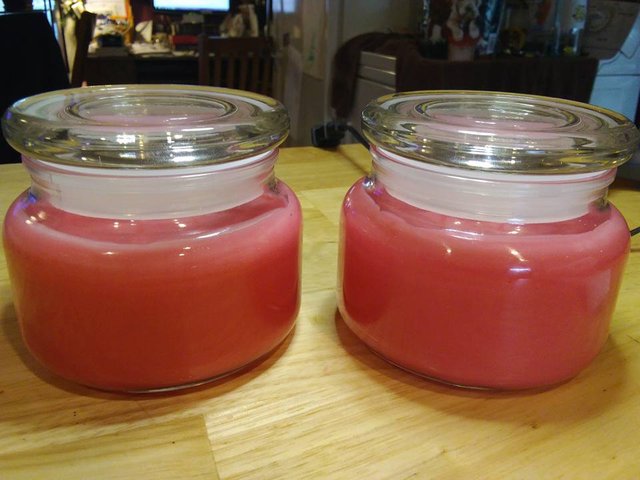
And these two are ready to go to their new home!!! Smooth and pretty, and no cure time is required with Joy wax!!
Another huge plus! I absolutely love it! All they might need would be a cute bow to dress them up! I place my labeling in the lid for aesthetic reasons...I love the simplicity of the clear glass without it being obscured with labels.
My main candle supplier, Natures Garden Candle Supply, actually sells trial kits for both Soy Candles and Joy Candles, which run about $30 each, if you're on the fence about which to use. This gives the new Candle Crafter a chance to try out the methods, to make their own informed decisions. I'll list their link just in case anyone is interested in testing the difference for themselves. I'll share with you, next time, the process for Soy Candles.
For now, my Steemian friends, I'm signing off! Time to clean up my candle mess and reclaim the kitchen! Everyone keep on Steeming on!
For parts 1 and 2 of the Candle Crafting Series, visit the links below
https://steemit.com/candles/@mamajeani/candle-crafting-the-psychology-of-fragrance
https://steemit.com/candles/@mamajeani/candle-crafting-to-soy-or-not-to-soy
Natures Garden Candle Supply
http://www.naturesgardencandles.com
Follow me on Facebook
http://www.facebook.com/geminigardenscandles
Etsy Store
http://www.etsy.com/shop/geminigardenscandles
Congratulations. This post is featured in today's Muxxybot Curation Post.https://steemit.com/curation/@muxxybot/muxxybot-curation-52
Awesome! Thanks
Please reply to this comment if you accept or decline.
You make this skill look so easy; which makes me more determined to learn how to make candles.
Wow! That's awesome! I'm happy sharing what I've picked up along my path. :)
I just need to know if you accept now.
Oh, yes, ma'am
https://steemit.com/curation/@muxxybot/muxxybot-curation-52
Oh! Another candle maker in the form of a Steemian! Hooray!! 😄 I've been wanting to do a search for others, but haven't yet. Ran across a couple of soap makers so far by chance. It is very nice to meet you @mamajeani!! You're method is different from mine. Interesting though. I like the idea of using a crockpot! Great for bulk needs:)
The double broiler method is the way i taught myself cause it is the "safer" way to do it. I feel it takes forever to heat the water to a boil, them heat the wax next! Right now, my candle supplies have been packed away from moving and Little's have entered my life preventijg me from getting back at it. Safety reasons:) when I do I'll need to change my cooking methods and see how much better it works out for me! What are some tips or advice you may have melting wax over "direct" heat?
I'm glad I found you and hope to make a great friend outta you! Keep on with the great work 😉
Hello! Wonderful to meet you, too. I honestly don't recommend heating over direct heat, due to the possibility of scorching the wax. That's why I went with the roaster. It does take forever the double boiler way, which is why I quickly discarded it, back in 2000. The roaster I use has a removeable sleeve ...with the heating elements being inside the walls of the roaster, itself, there's an air space between the sleeve and the wall, so it's a gentler heat. And, with the temperature control at your fingertips, you can't scorch your wax.
I find this method a lot safer, with my granddaughter, Sophie, around, as I can keep an eye on her and not stress about what the wax is doing. ;) And if you get the roaster around the holidays, it's usually on sale for about $25! That's 2 pour pots! Good luck, and let me know how it goes! Following you
Going to your blog just now and we joined virtually at the same time and we live in the same state! How neat is that 😃
What a coincidence!
The double broiler is probably the longest part of the whole process... Having to keep water in it when it gets low is a pain! Which only makes it take longer. Because of that I should be charging $100 per candle for my time 😂 Actually, that would be the only reason I would quit making candles....
How long does it take to melt down the 10# slabs in the roaster?
Running how I do it through my head and comparing it to yours makes me want to revamp the whole thing, hahahah! I'll see if my grandmother has an old roaster she doesn't use anymore to give it a shot when I get my kitchen set back up :) I've been wanting a way to be able to control the heat and didn't want to buy some exspensive equipement. Thank you for the awesome insight! You have been at this much longer than I and figured out some great tricks:)
Not that this matters, but I get my supplies, most of them, at the same place.
When I was doing soy, the cooling off time between steps was what drove me nuts...I can't imagine trying to do soy with pour pots! What percentage block wax are you using, if you don't mind my asking?
It takes a couple of hours...allowing time to blog ;)
I loathe soy wax with a passion. Mainly cause of the same reason as yours, but, also, because its too soft for wax melts or votives/pillar candles. I tried palm wax and fell in love with it. It can be used for all types of candles just fine! I have some soy wax left over and don't know what to do with it lol I stay away from any paraffin mixed wax. Someday I plan to make fragrance oil obsolete whenever I can get EO's to work right.
I've not used the palm wax...how do you find the scent throw to be?? I was curious about having to add the fo's at such a high temp, since it's recommended pour temp is 200. Especially ones like Elf Sweat or Mulberry, where the flash point is 135 and 145...is there anything left to smell. It has a beautiful finish in the container, though. Kind of icy looking :)
Oh I just love it! I use 10% fragrance and it comes out wonderful!! I think it puts off scent stronger than the soy in general. It holds it better too. With soy I felt like the scent would deplete if it sat unused for awhile, even for a short term, or not have a hot throw or a very weak one. So far with palm it has been the opposite. I'll burn candles that are a couple years old and it still smells great! I don't add vybar or anything like that to the palm cause it does wonderful on its own. The color it produces is very vibrant compared to soy. The crystals are the cherry on top. Its an artist, haha!! Its great I can pour the wax in any mold or container and it doesn't get soft or loose its shape being exposed to hot weather. A close family friend and my number one candle fan loves the palm candles over the soy and can't stop talking about how wonderful the scent is while burning. Even when it sits unused. He loves gazing at the crystals too. He has kept some as collections and can't get himself to burn them :)
Elf Sweat is one I've used before in soy. I don't think I've use it in palm yet, but I haven't had any problem with fragrances fading while mixing it at the high tempts.
I get at least 95 percent of my supplies from Natures Garden, and they have good pricing on their hexagon glass. I started with them in 1999. They were only about 2 years old, and the owner had started out making, and moved up to supplying. I'd love to make that leap as far as selling supplies to local crafters. My other glass and some colorants come from suppliers in Texas...Southwest Candle and Lone Star...both have great pricing, and I can get stuff next day for no extra cost, as they're within 60 miles. That's always a plus!
I recently attempted to make a candle from left-over wax from burnt-down candles and ended up spilling most of the wax in the oven. 😭
Oh, that sux! Next time, just gently heat a skillet with a half inch of water, with your container candle sitting in it. It'll gently melt the wax, and you can pour it into mini muffin cups to make tarts for your wax burner. Sorry I couldn't tell you this before you messed up your oven!
Ah well, next time...
You make this sound so easy and simple. Know me, I would find a way to mess it up the first 10 times. lol
You can do it!
I've been thinking about making candles, and youve given me the best intro I've read. Thank you!
Thank you. It's a fun sideline!
Great information! You really do make it sound so simple! :)
Thanks...it's a fun hobby job!