Mealworm Madness #5
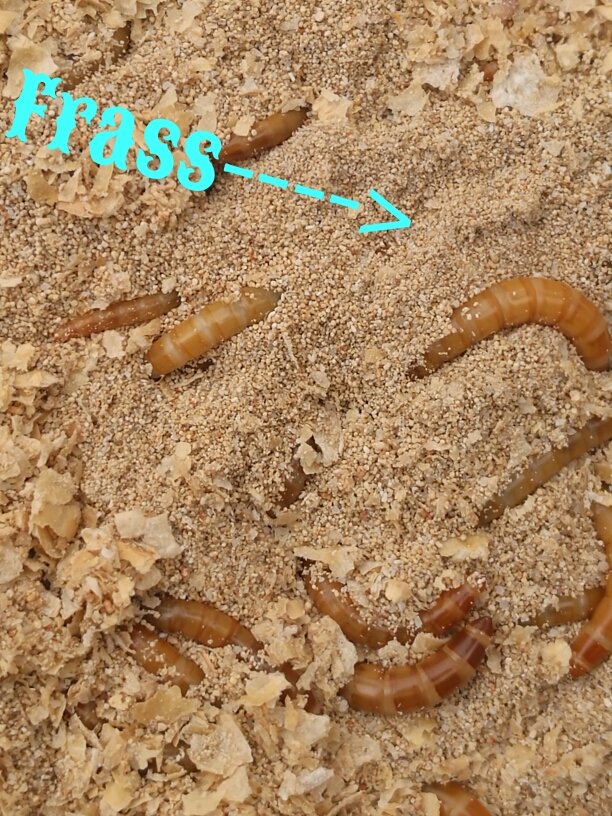
As you can see from the pic above, it's time to clean out the Mealworm Palace. The fine powdery stuff in the pic is called 'frass' and it's what we call the leftovers after insects (in this case Mealworms) have eaten. It also includes other waste materials that we won't go into here.
You might like to check out the post I wrote on building a Mealworm Palace and this other on the lifecycle of a Mealworm so you know what to expect in each tray.
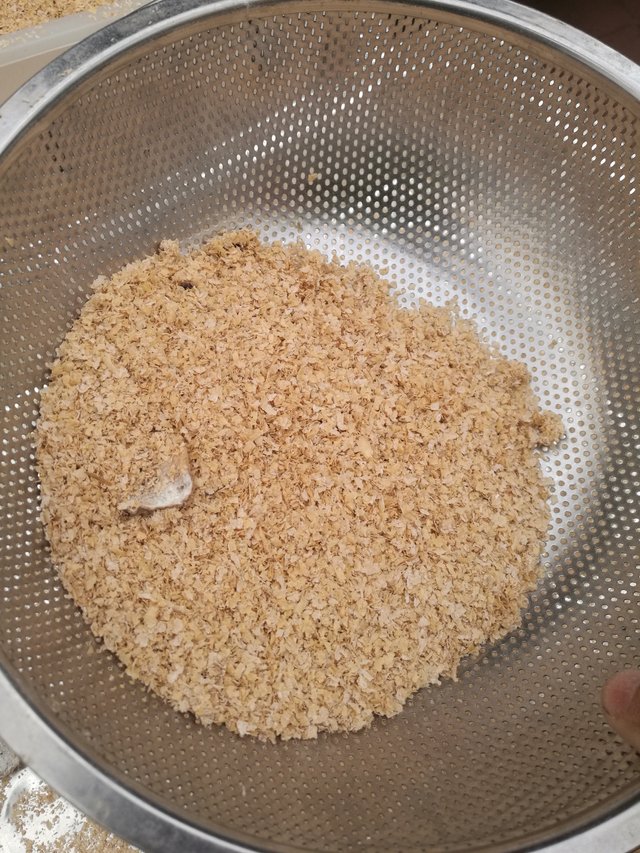
Being a fine powder and, by volume, denser than bran, frass work its way to the bottom of the trays through the actions of Mealworms constantly moving and stirring the bed. That makes it fairly easy to separate with any reasonable sieve. The frass will fall through, leaving the bran in the seive.
To clean the trays, work in an open area (it can be a dusty job). Then you take scoops full of lived-in bran and shake them through the sieve. This will help you to separate out the bigger Mealworms and remove dry, shriveled vegetable leftovers, dead Mealworms, foreign critters and the dry husks from molting.
These dry, papery husks are lighter than the bran and accumulate on top of it. I tend to blow them off into the garden - it's easier than picking them off by hand. You'll have a few left, but as molting is an ongoing process, there will always be some around anyway. You've just got to rid the trays of excess.
You'll also find cotton, fluffy egg masses. Mealworm eggs like to stick together in clumps that also stick together into egg masses. As you find these, gently remove them and put them into the larvae trays where they can hatch.
There'll be the occasional beetle too. Somehow, there's always a couple who make it out of their tray and into another. Put them back in their appropriate tray with a stern warning. Something like 'Next time I find you out of your tray it's off to the chooks for you'! Or something like that.
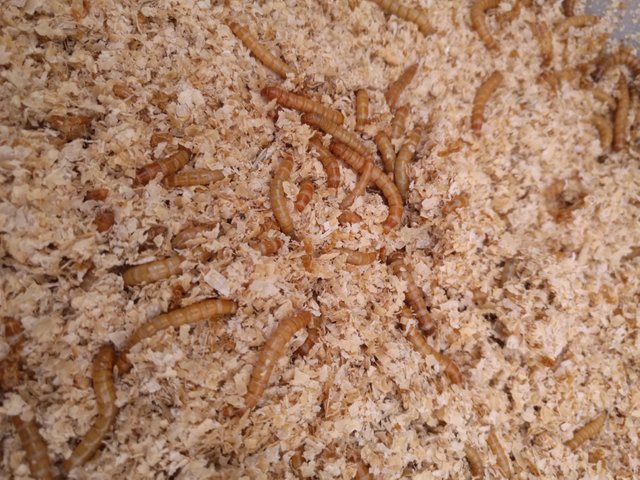
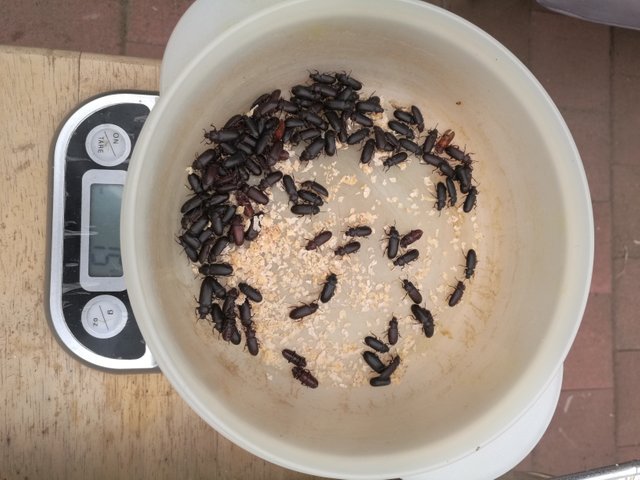
You can clean the beetle tray (the top tray in the Mealworm Palace) in the same way. You'll probably find a few Mealworms and some fluffy egg masses that didn't work their way through the mesh and into the tray below. Gently move them to the appropriate tray.
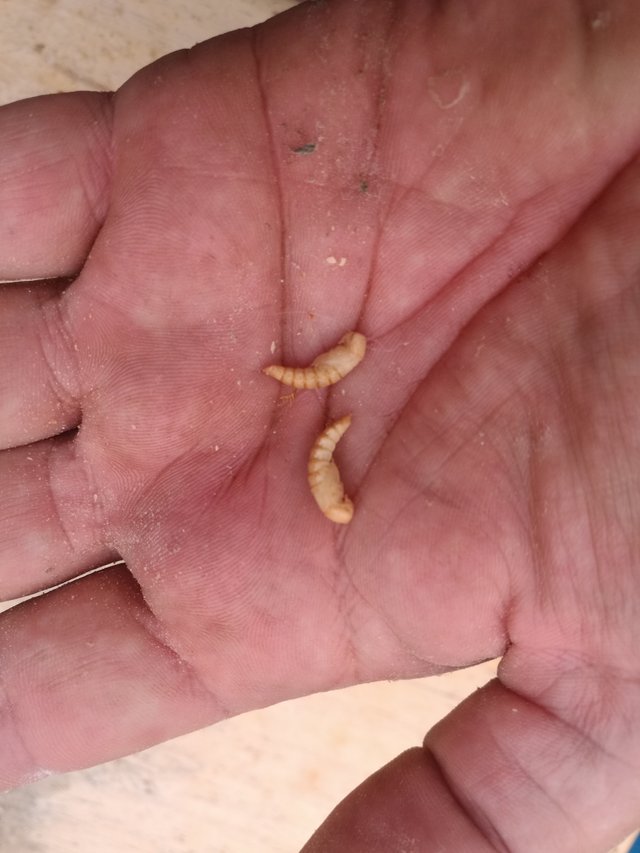
If you're Palace has been running for a while, you may find some alien looking pupae in the bran. Gently remove these and place them into the bottom tray where they can pupate in peace and hatch into beetles, ready to repeat the cycle.
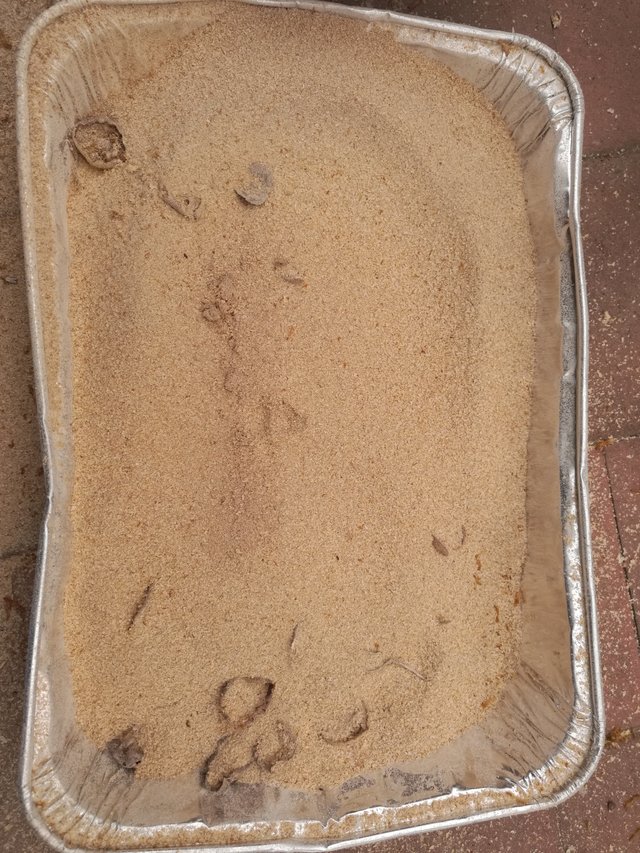
At the end of it all you will end up with a pile of frass, discarded beetle bits, husks and dry vegetable pieces. This pile is still of interest to us as it will contain eggs and tiny, just hatched, Mealworms that are too small for us to see easily. If you haven't seen it, take a look at the video in the first Mealworm Madness video in this series. That will show you what I mean.
If you don't have enough Mealworms, you can put this frass pile into another container with some fresh vegetable pieces and put it somewhere quiet. The eggs will hatch and the Mealworms will grow into a size where you can pick them out and put them into the other larvae trays.
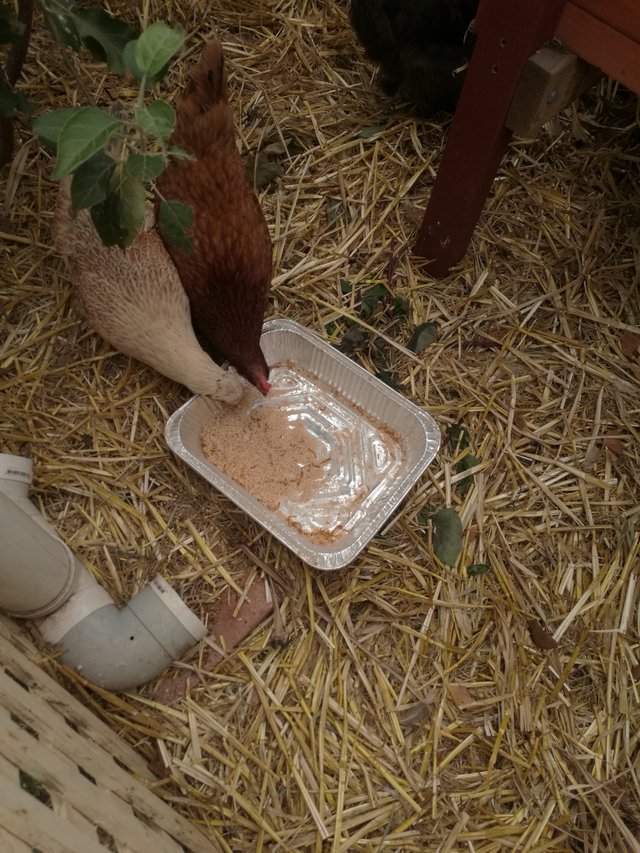
If you have enough, or, like us, a surplus of Mealworms, feed them the frass pile to your chickens. They will really enjoy picking out the Mealworms that were too small for us to deal with. They will love you for it!

This is #originalwork. The pics were taken by yours truly.
Check out how our garden grows on our blog, Ligaya.
We have a YouTube channel and a Patreon page that you might like to visit.
We're also members of the Homesteadersonline community. Click the image for the invite link to join us

Earn with @minnowbooster. Click the pic to sign up -


The frass is really good for your gardens and will produce better then what the chickens will get out of it. If you want larger production just sift and rotate weekly. I only spend a little over an hour a week on my mealworms that produce over 100k worms a week for my chickens and close to 100 lbs of frass for my garden and to sell. If you use a 1/30th screen for you frass you won't lose the eggs and you can reuse all the smaller wheat bran that gets mistaken for frass in a larger sifter. On a larger scale it will save you a lot of cost on wheat bran. Overall a really good article for beginner mealworms to help people get started. As your system grows and you want to expand I run a mealworm group on facebook geared more toward low maintenance commercial growing of mealworms if you ever want to expand your system to grow a larger amount for chicken farms or even to sell for a small side business.
Thanks! It sounds like you have it well set up. I have been playing with mesh sizes so will take your advice on 1/30.
I would love the link to your FB page. I still have a lot to learn.
We all still learn new stuff every day and that goes for even the largest of the operations. Sometimes we learn stuff from new people that are still trying to figure it out and come up with some great ideas. It is all just to share information so you can take from it what you can and improve your setup however it works best for you.
https://www.facebook.com/groups/2001176683489358/
Thanks. I sent a join request.
Thanks for this! I have been considering raising these myself!
Thanks. I think you could learn a bit too from the comment above.
Your Post Has Been Featured on @Resteemable!
Feature any Steemit post using resteemit.com!
How It Works:
1. Take Any Steemit URL
2. Erase
https://3. Type
reGet Featured Instantly & Featured Posts are voted every 2.4hrs
Join the Curation Team Here | Vote Resteemable for Witness
Excellent! I really want to learn how to grow mealworms. They are a part of my plan to get off bought feed permanently.
Good on you. You might like to read @liberyworms comments above for extra info.