How we built our greenhouse on a budget!
Our greenhouse or high tunnel was a tough decision to build. I am so glad we did though! We had wanted one to increase our growing period, to have room to start more seedlings and to try growing some things that are more heat loving than our zone 5b plants. Trouble is, they are expensive!
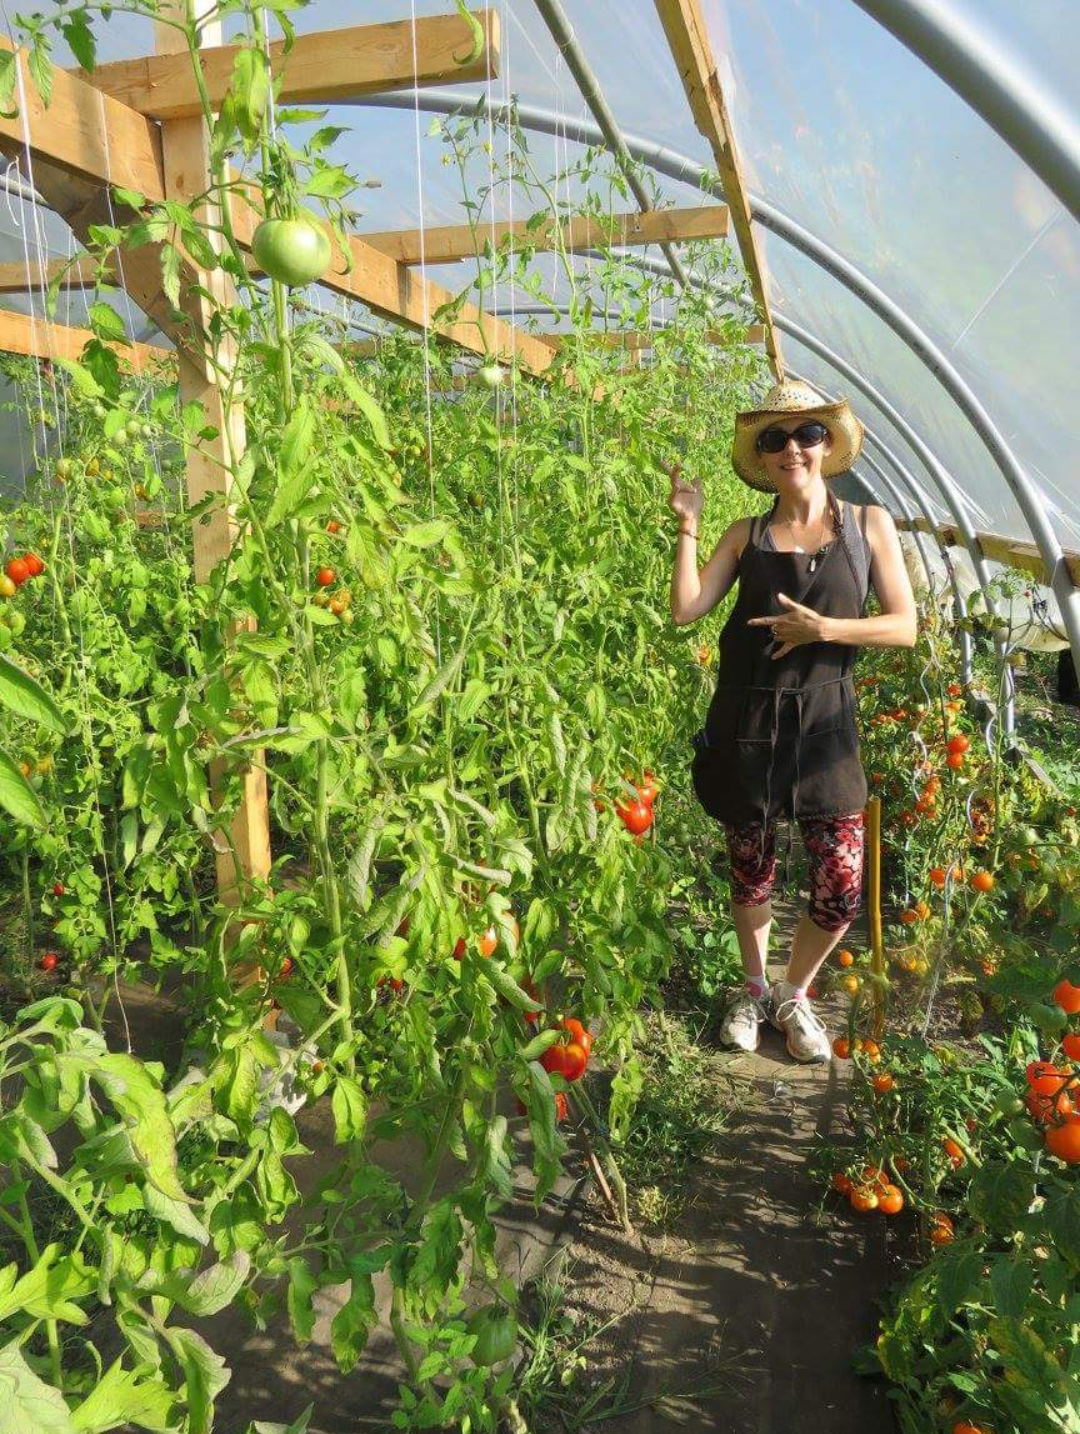
me with my tomato plants in our greenhouse!
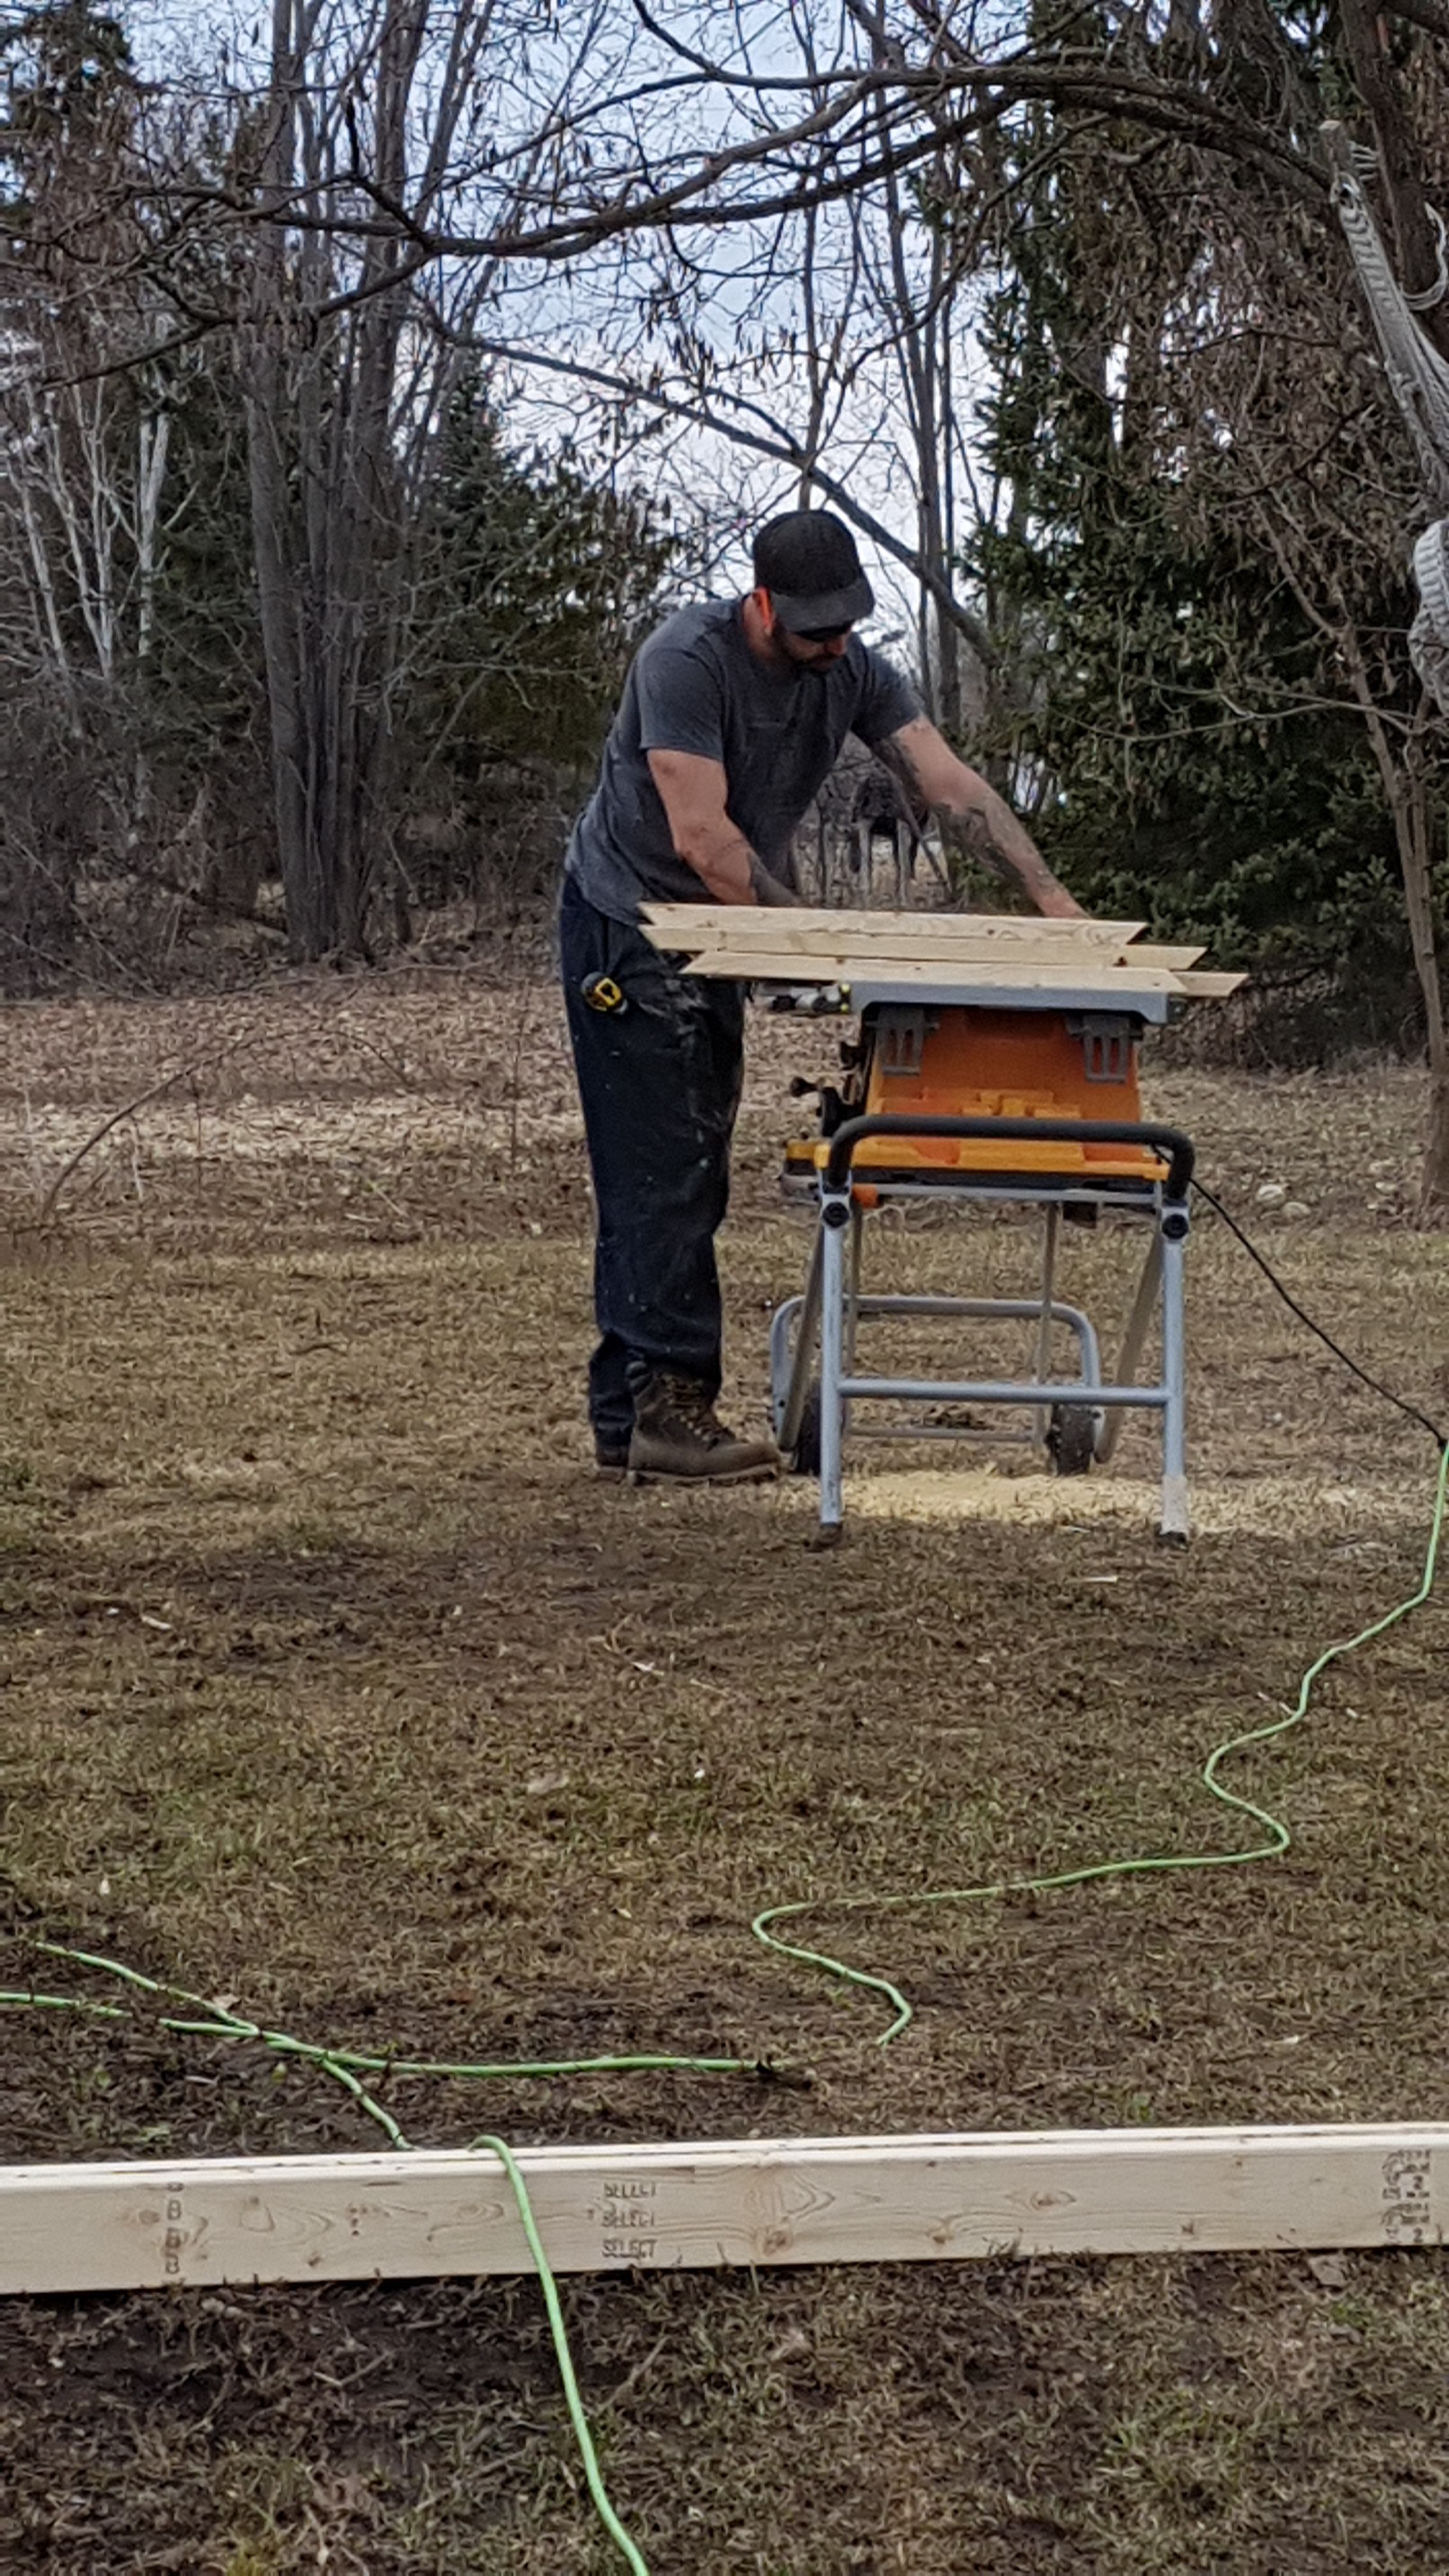
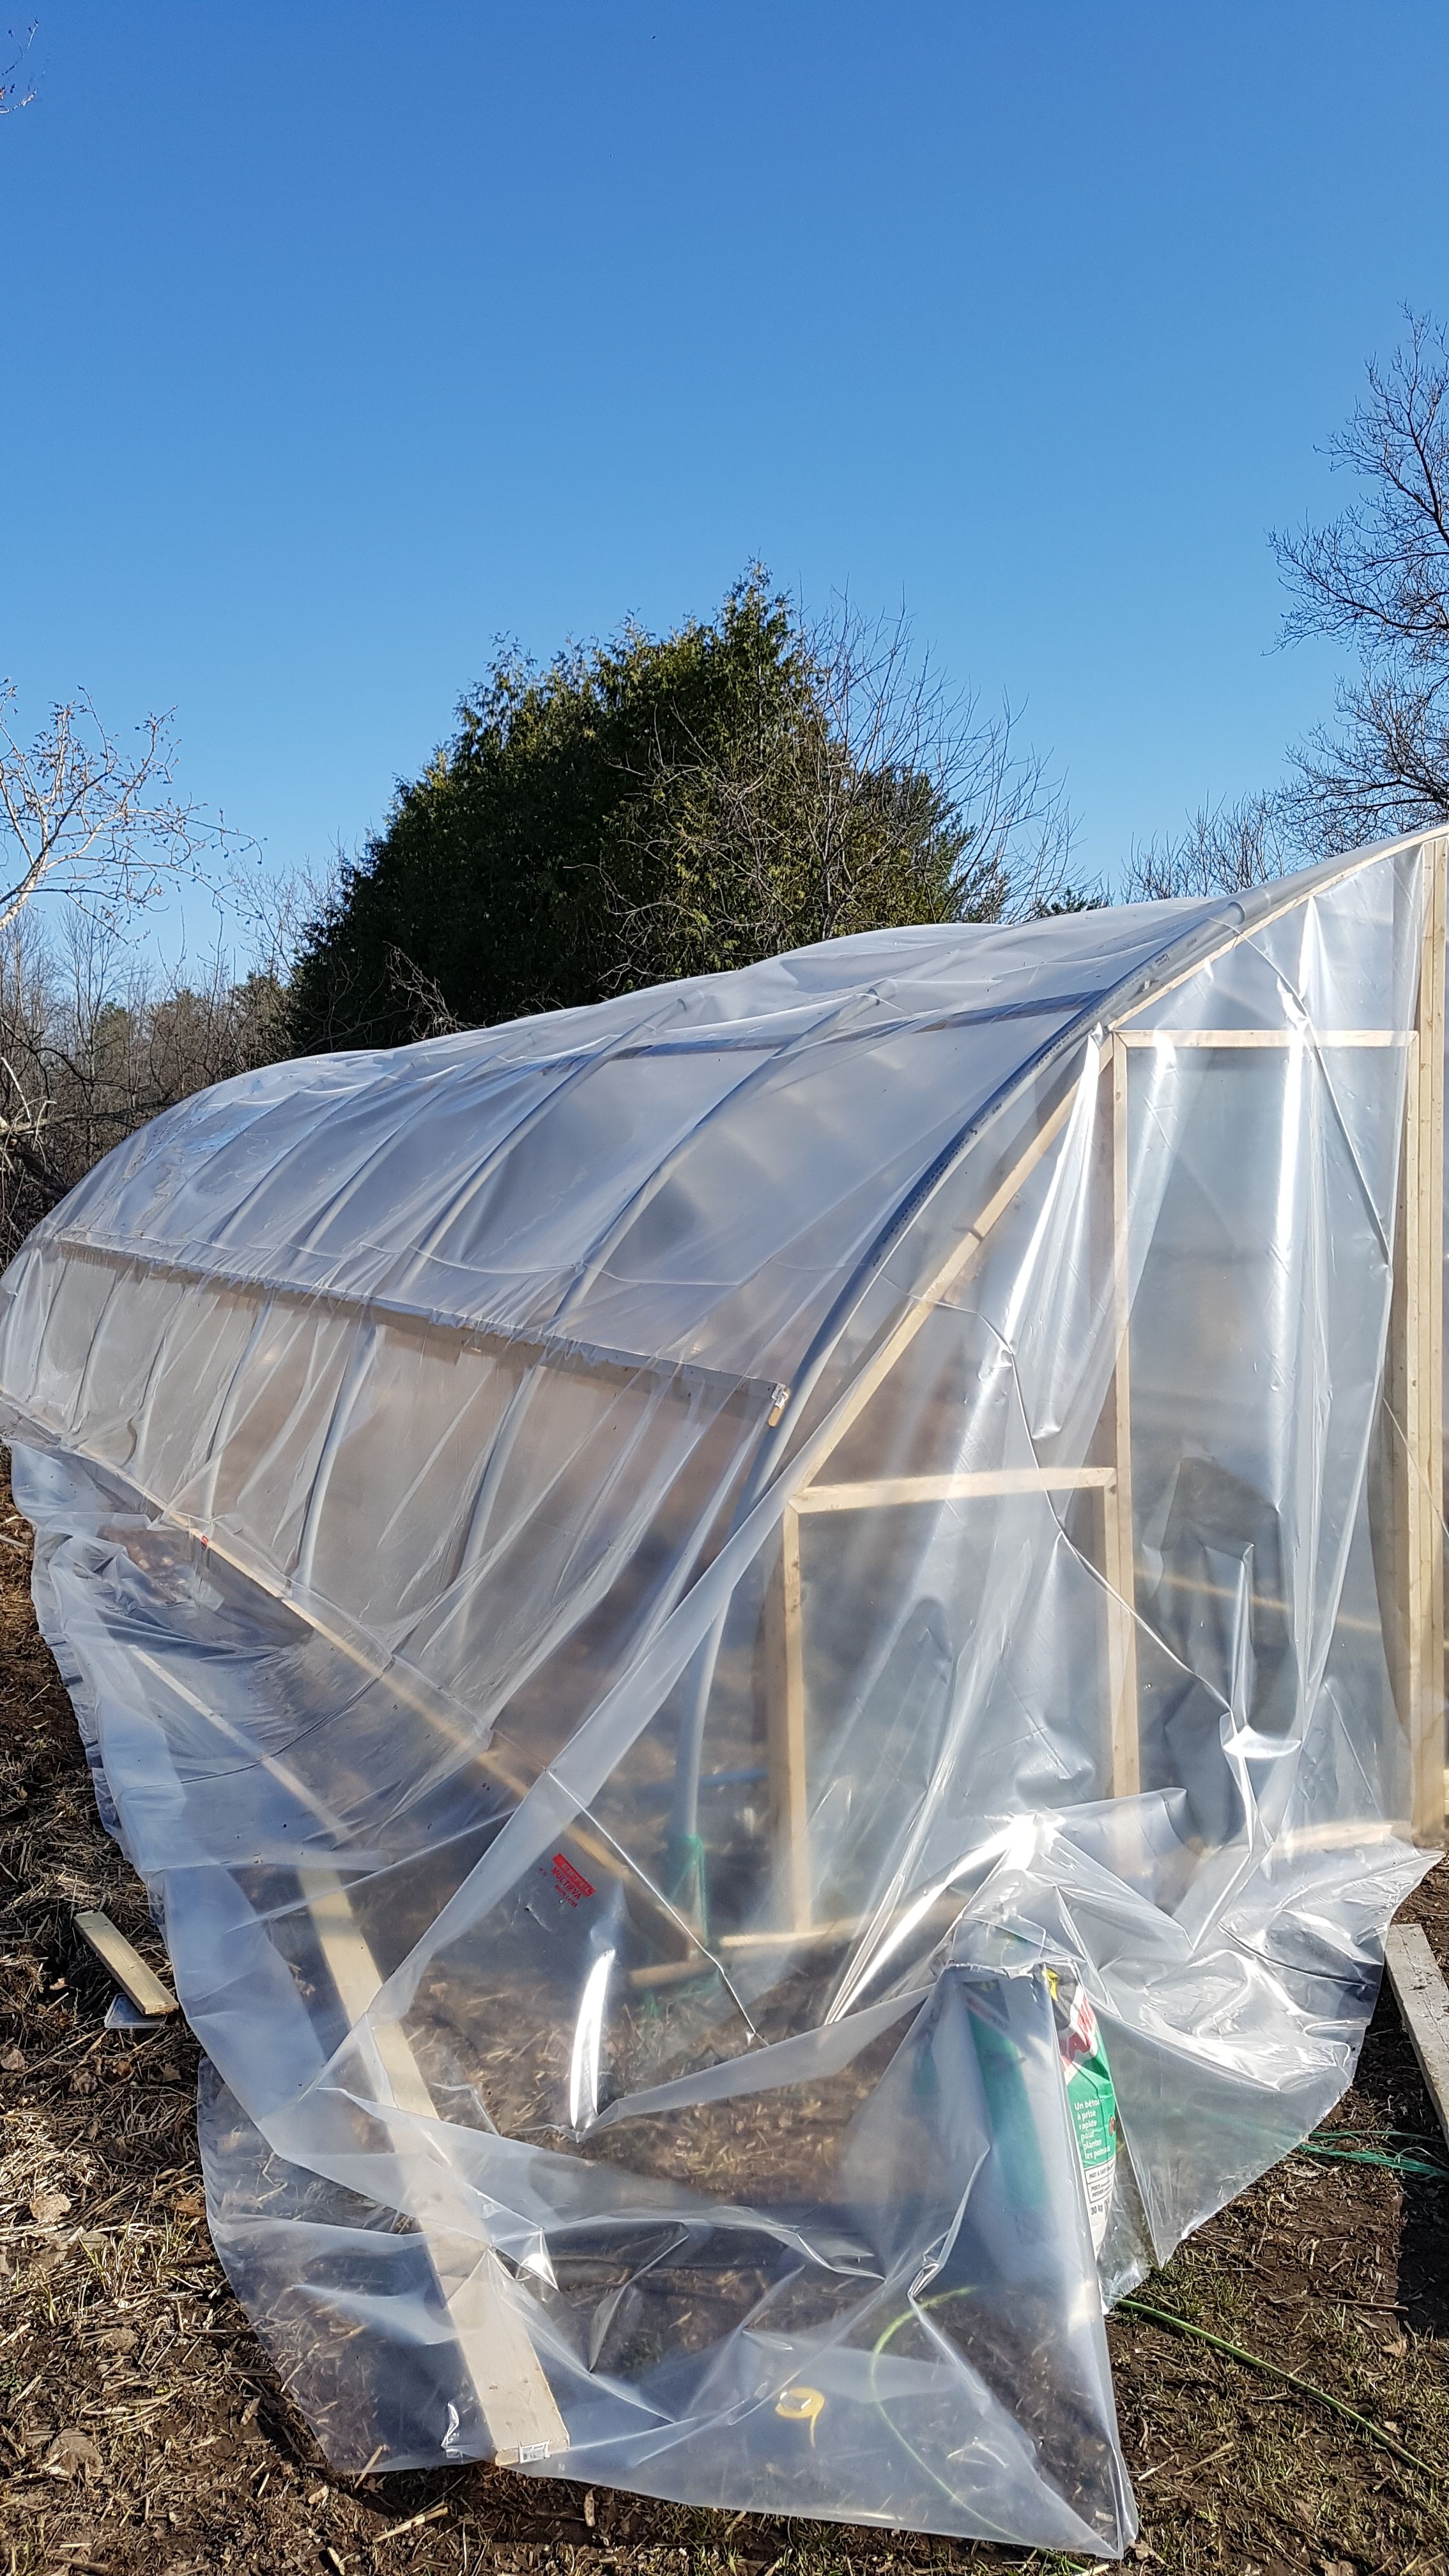
We collected things for two years around here.....some things came from right here on our property that were found/salvaged from previous tenants and abandoned. Some stuff was from barter/trades. Our wood for the interior trellis was purchased as a discount bundle and we got a 70% discount on it. The PVC pipes we had to watch for a sale on, and only saved the equivalent of the tax on the purchase but better than nothing. The only item paid for full price was our greenhouse plastic. We did not skimp on it as we have brutal winters here, so we opted for a 7mm-4 season-bee friendly plastic and so far so good. It is covered in snow as we speak!
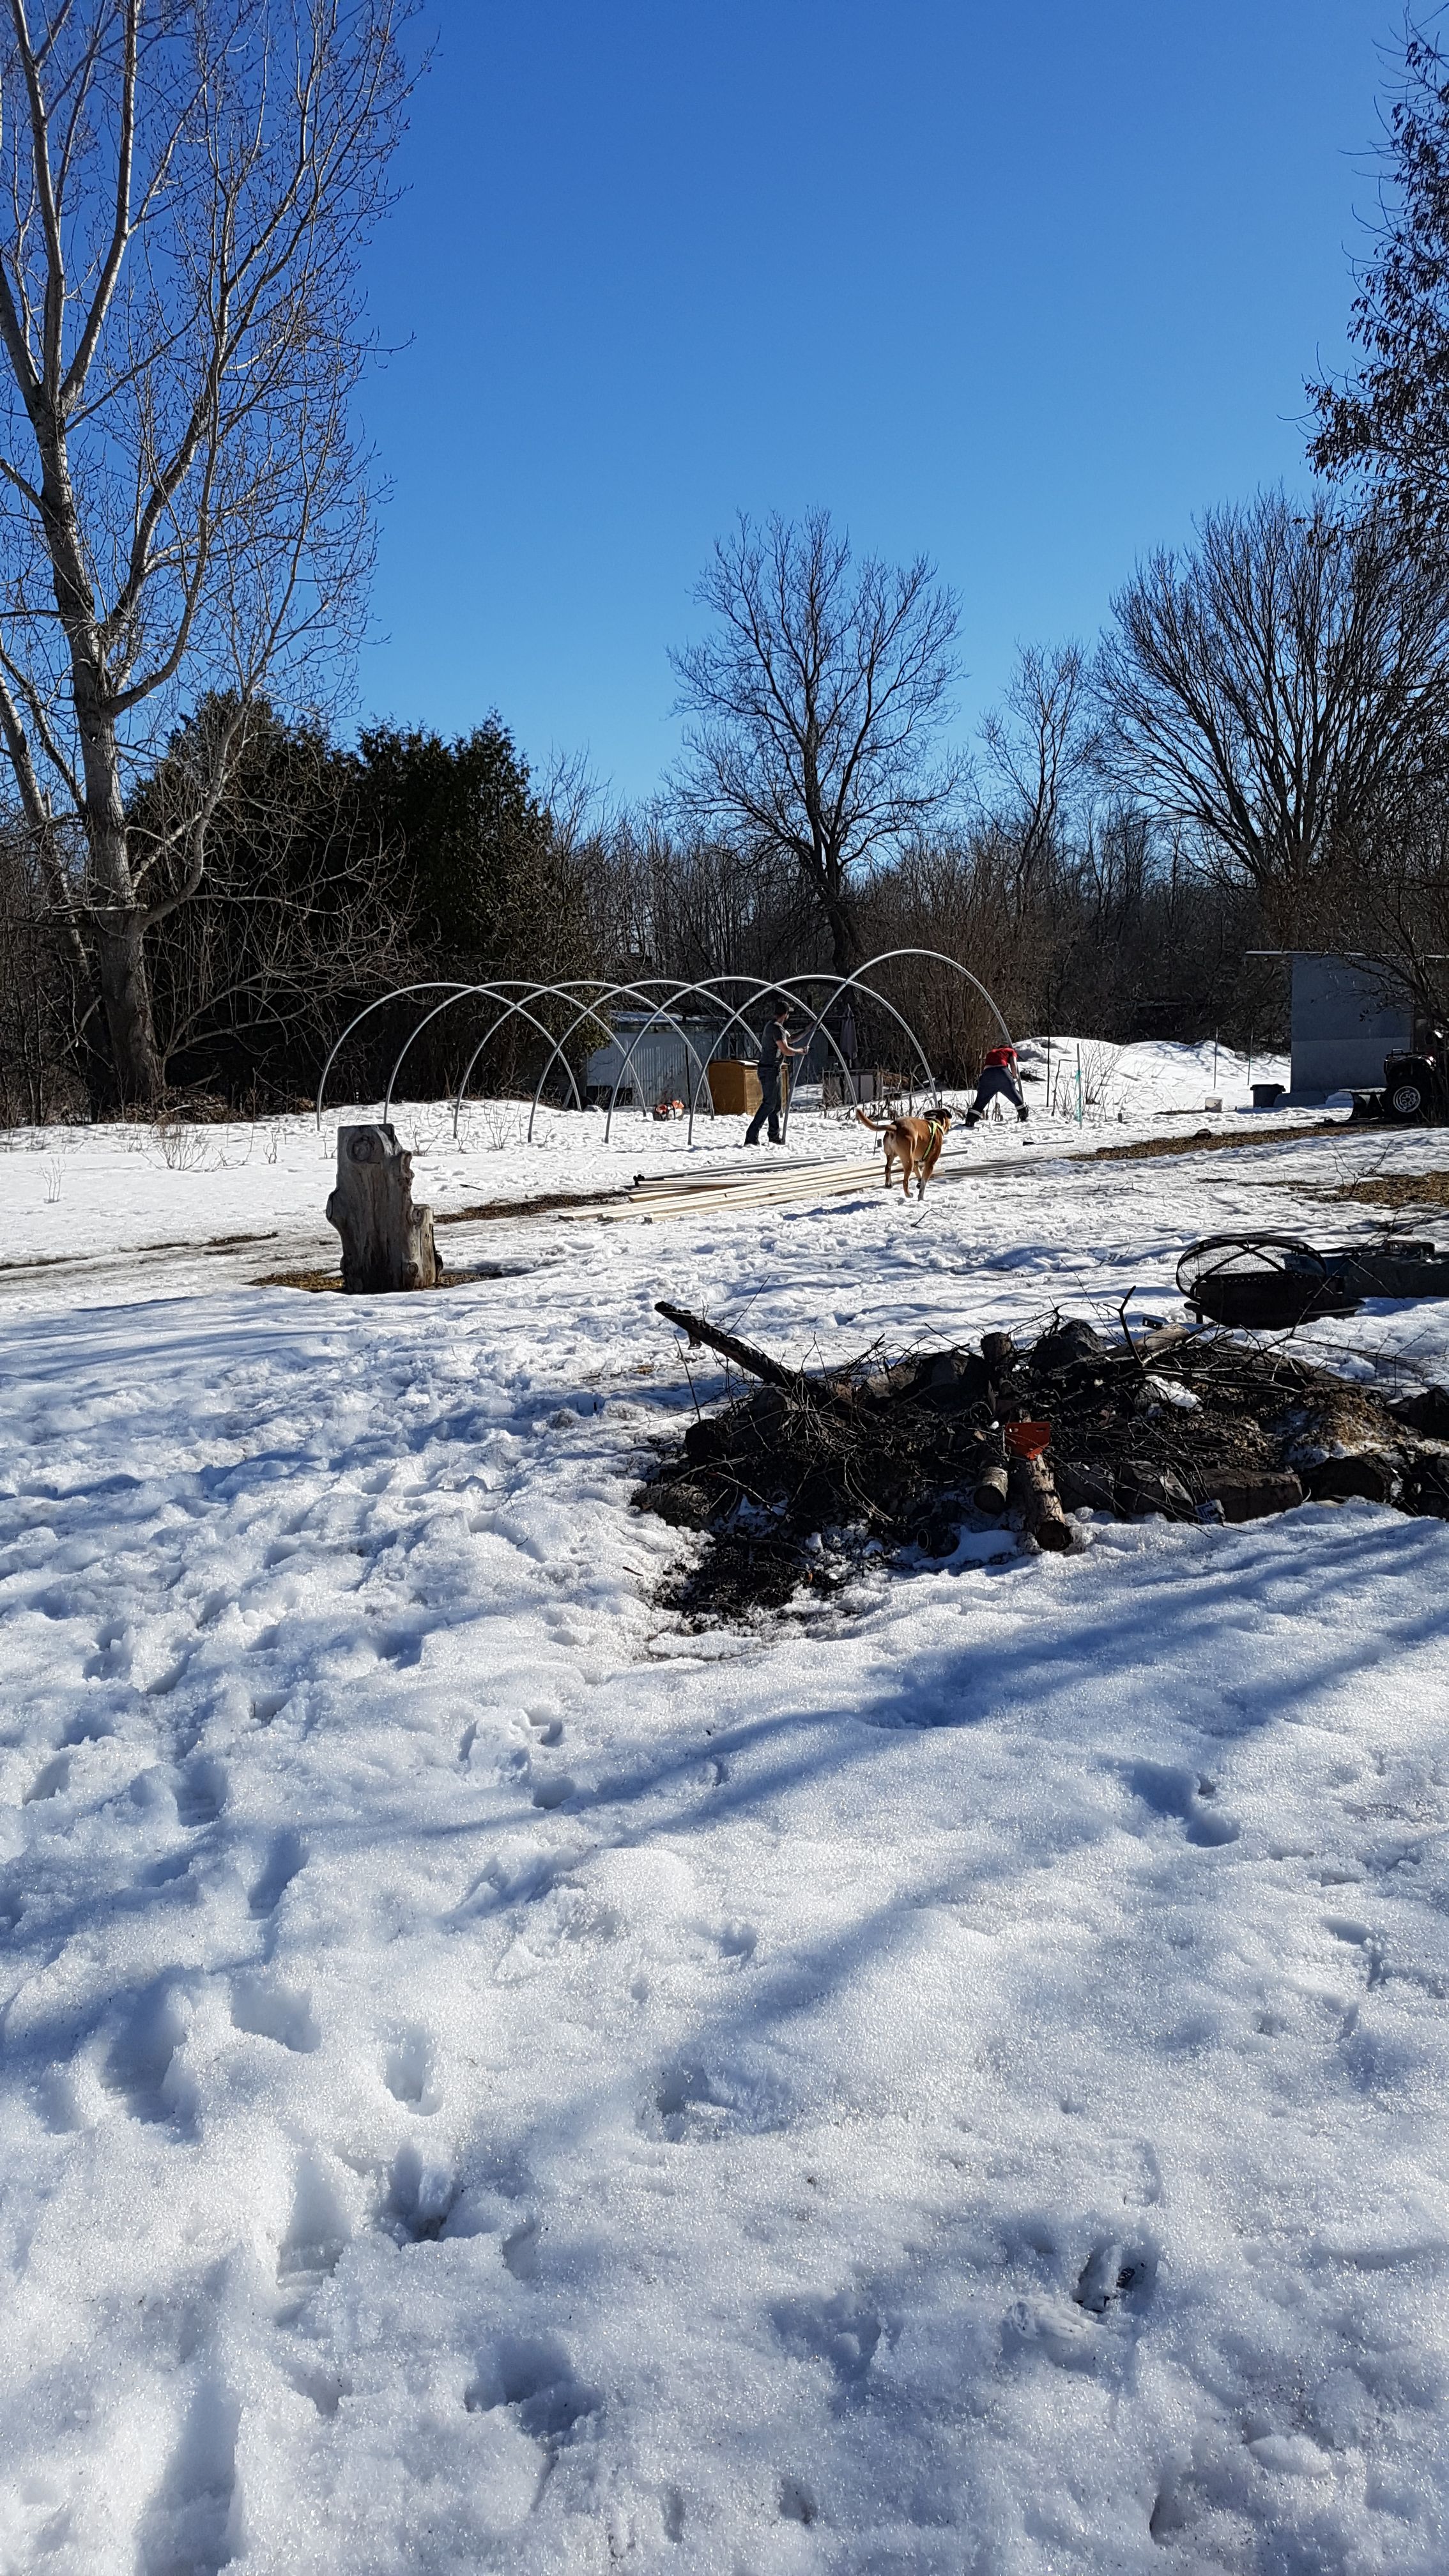
First we measured width. We make ours 19' x 39'. This was the biggest size we could legally build without paying for a permit. Anything bigger than 20' x 40' and you have to ask permission from the city.
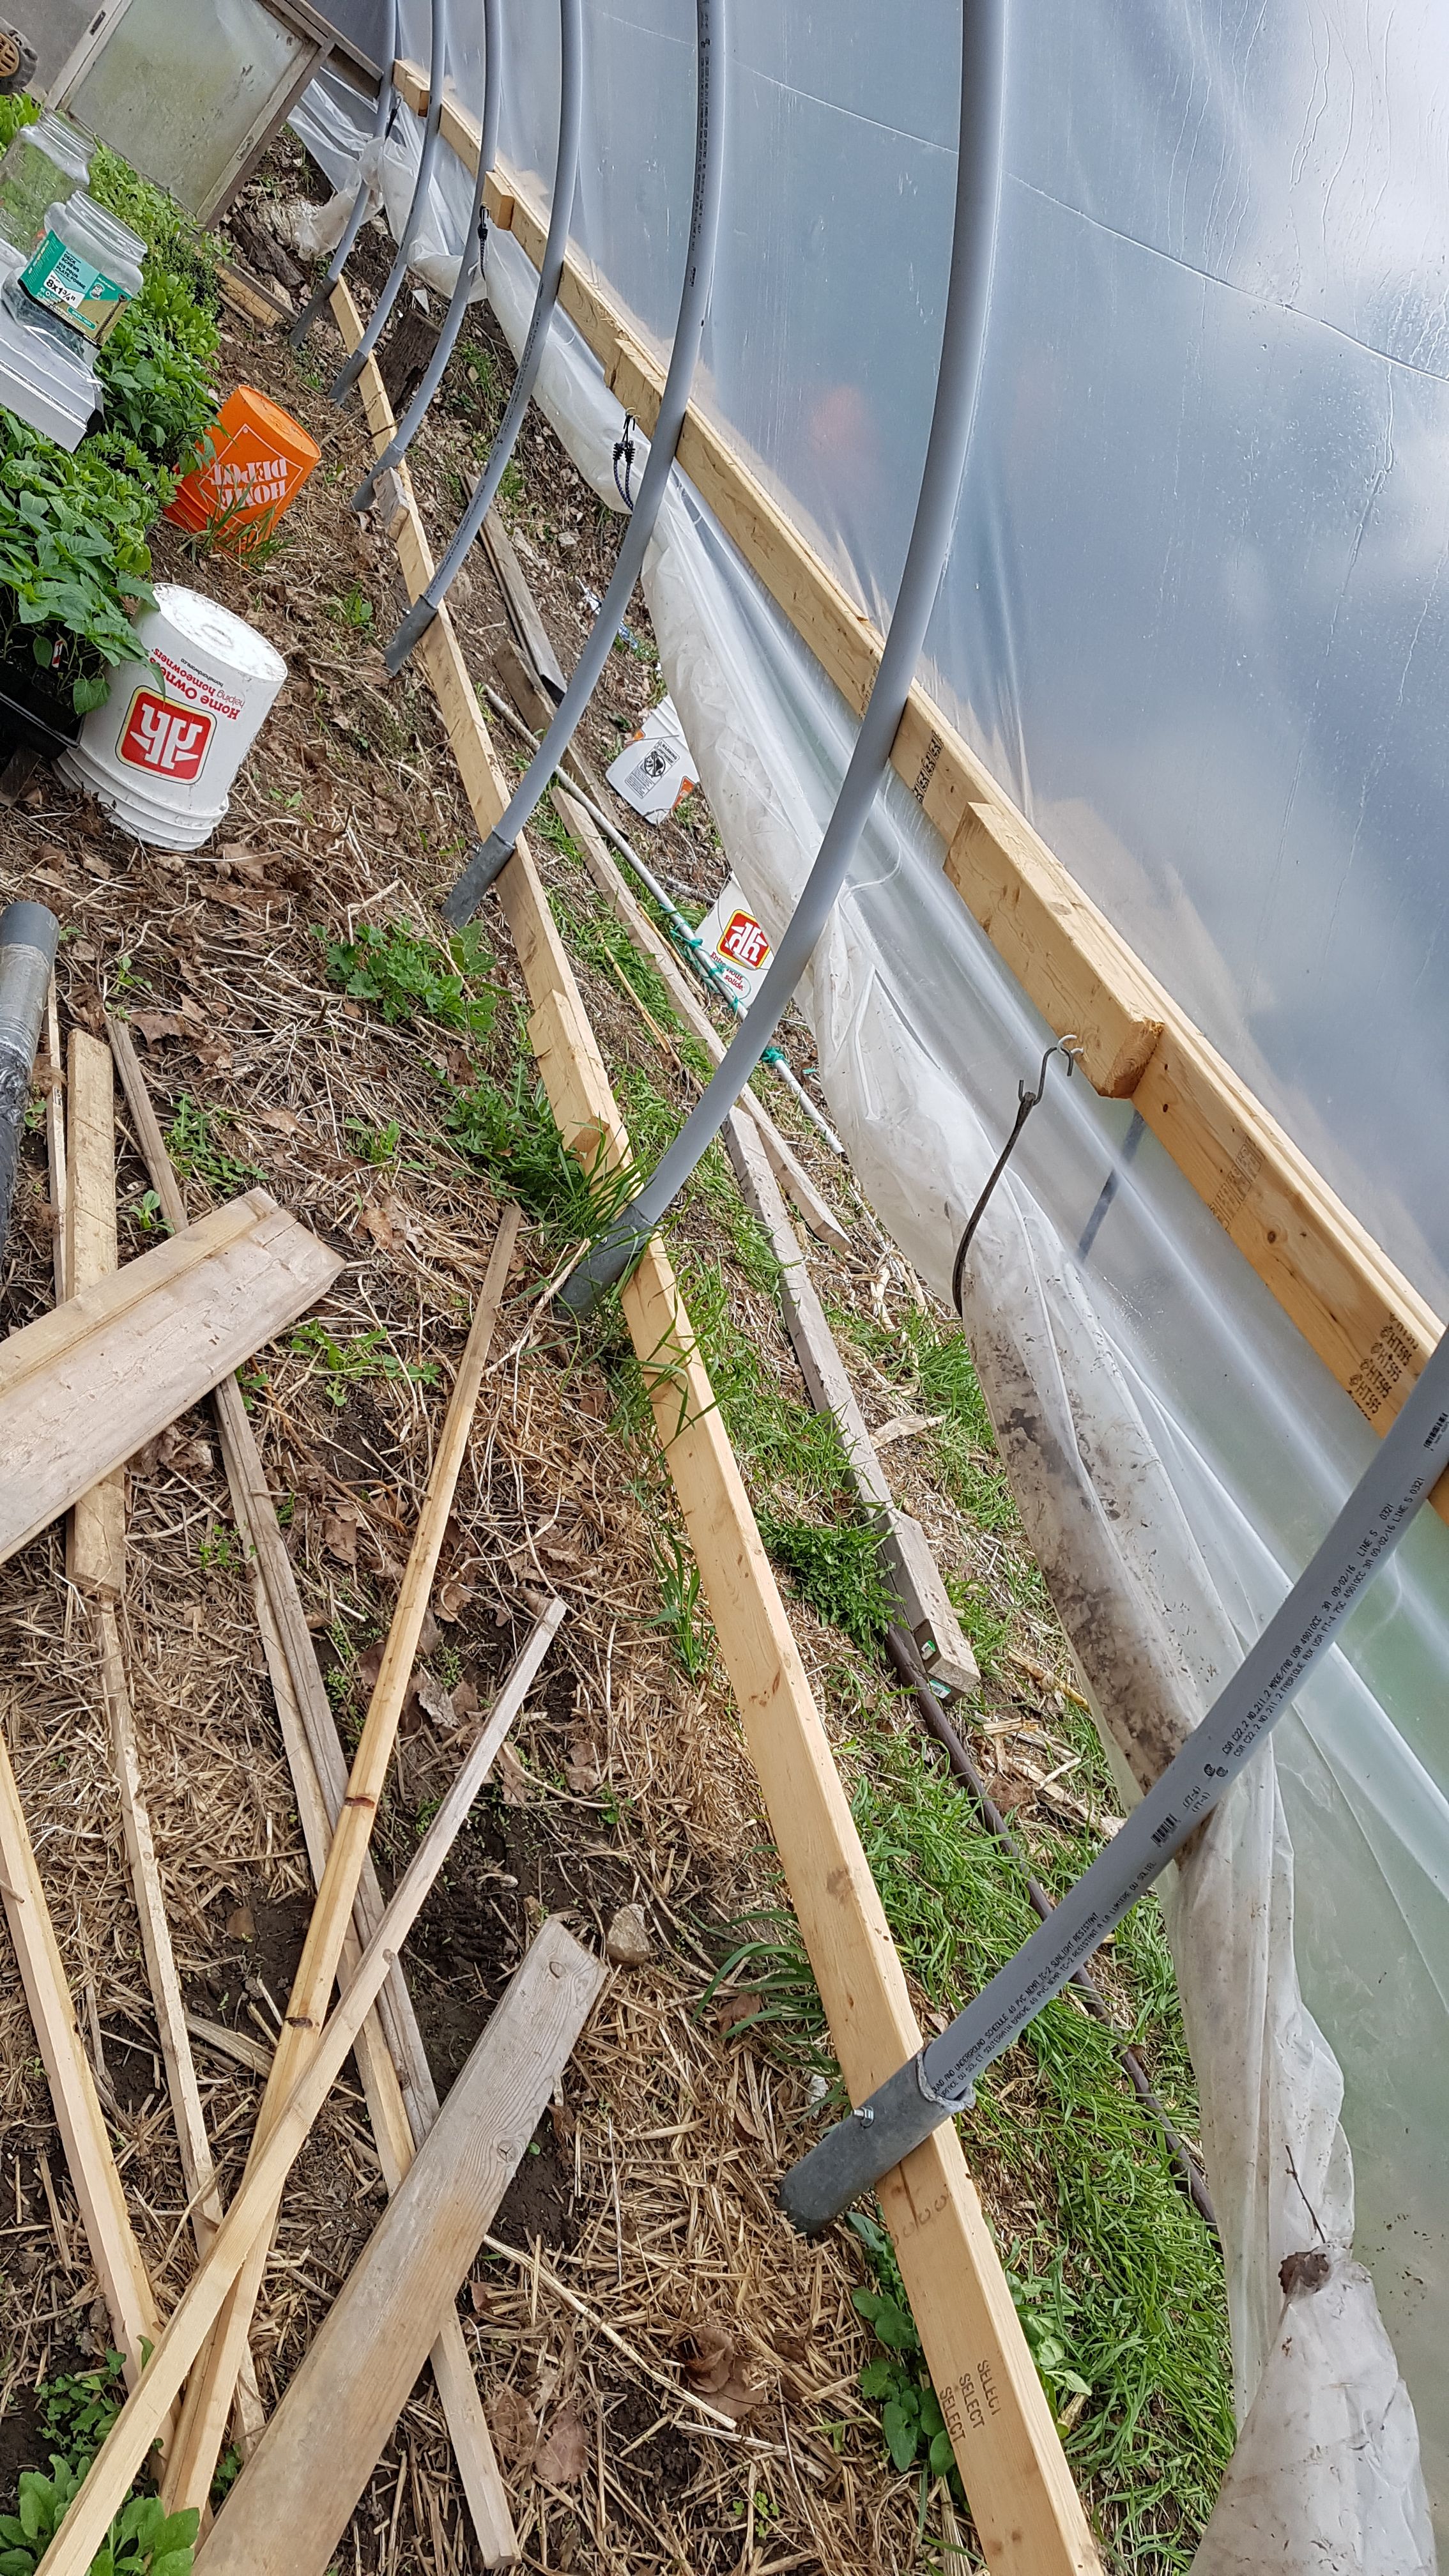
We bartered 10 3" x 12' long galvanized steel pipes from our off grid neighbour for some windows and beer.
They were cut into 3 1/2 foot lengths.
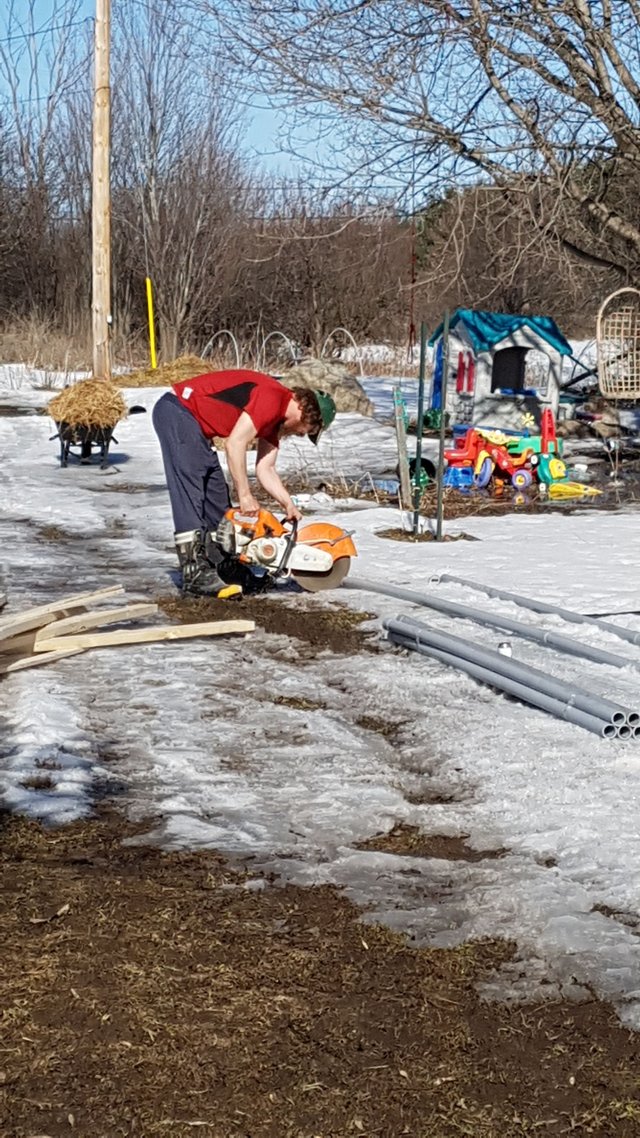
Then they were driven 2 1/2 feet into the ground and 5' apart.
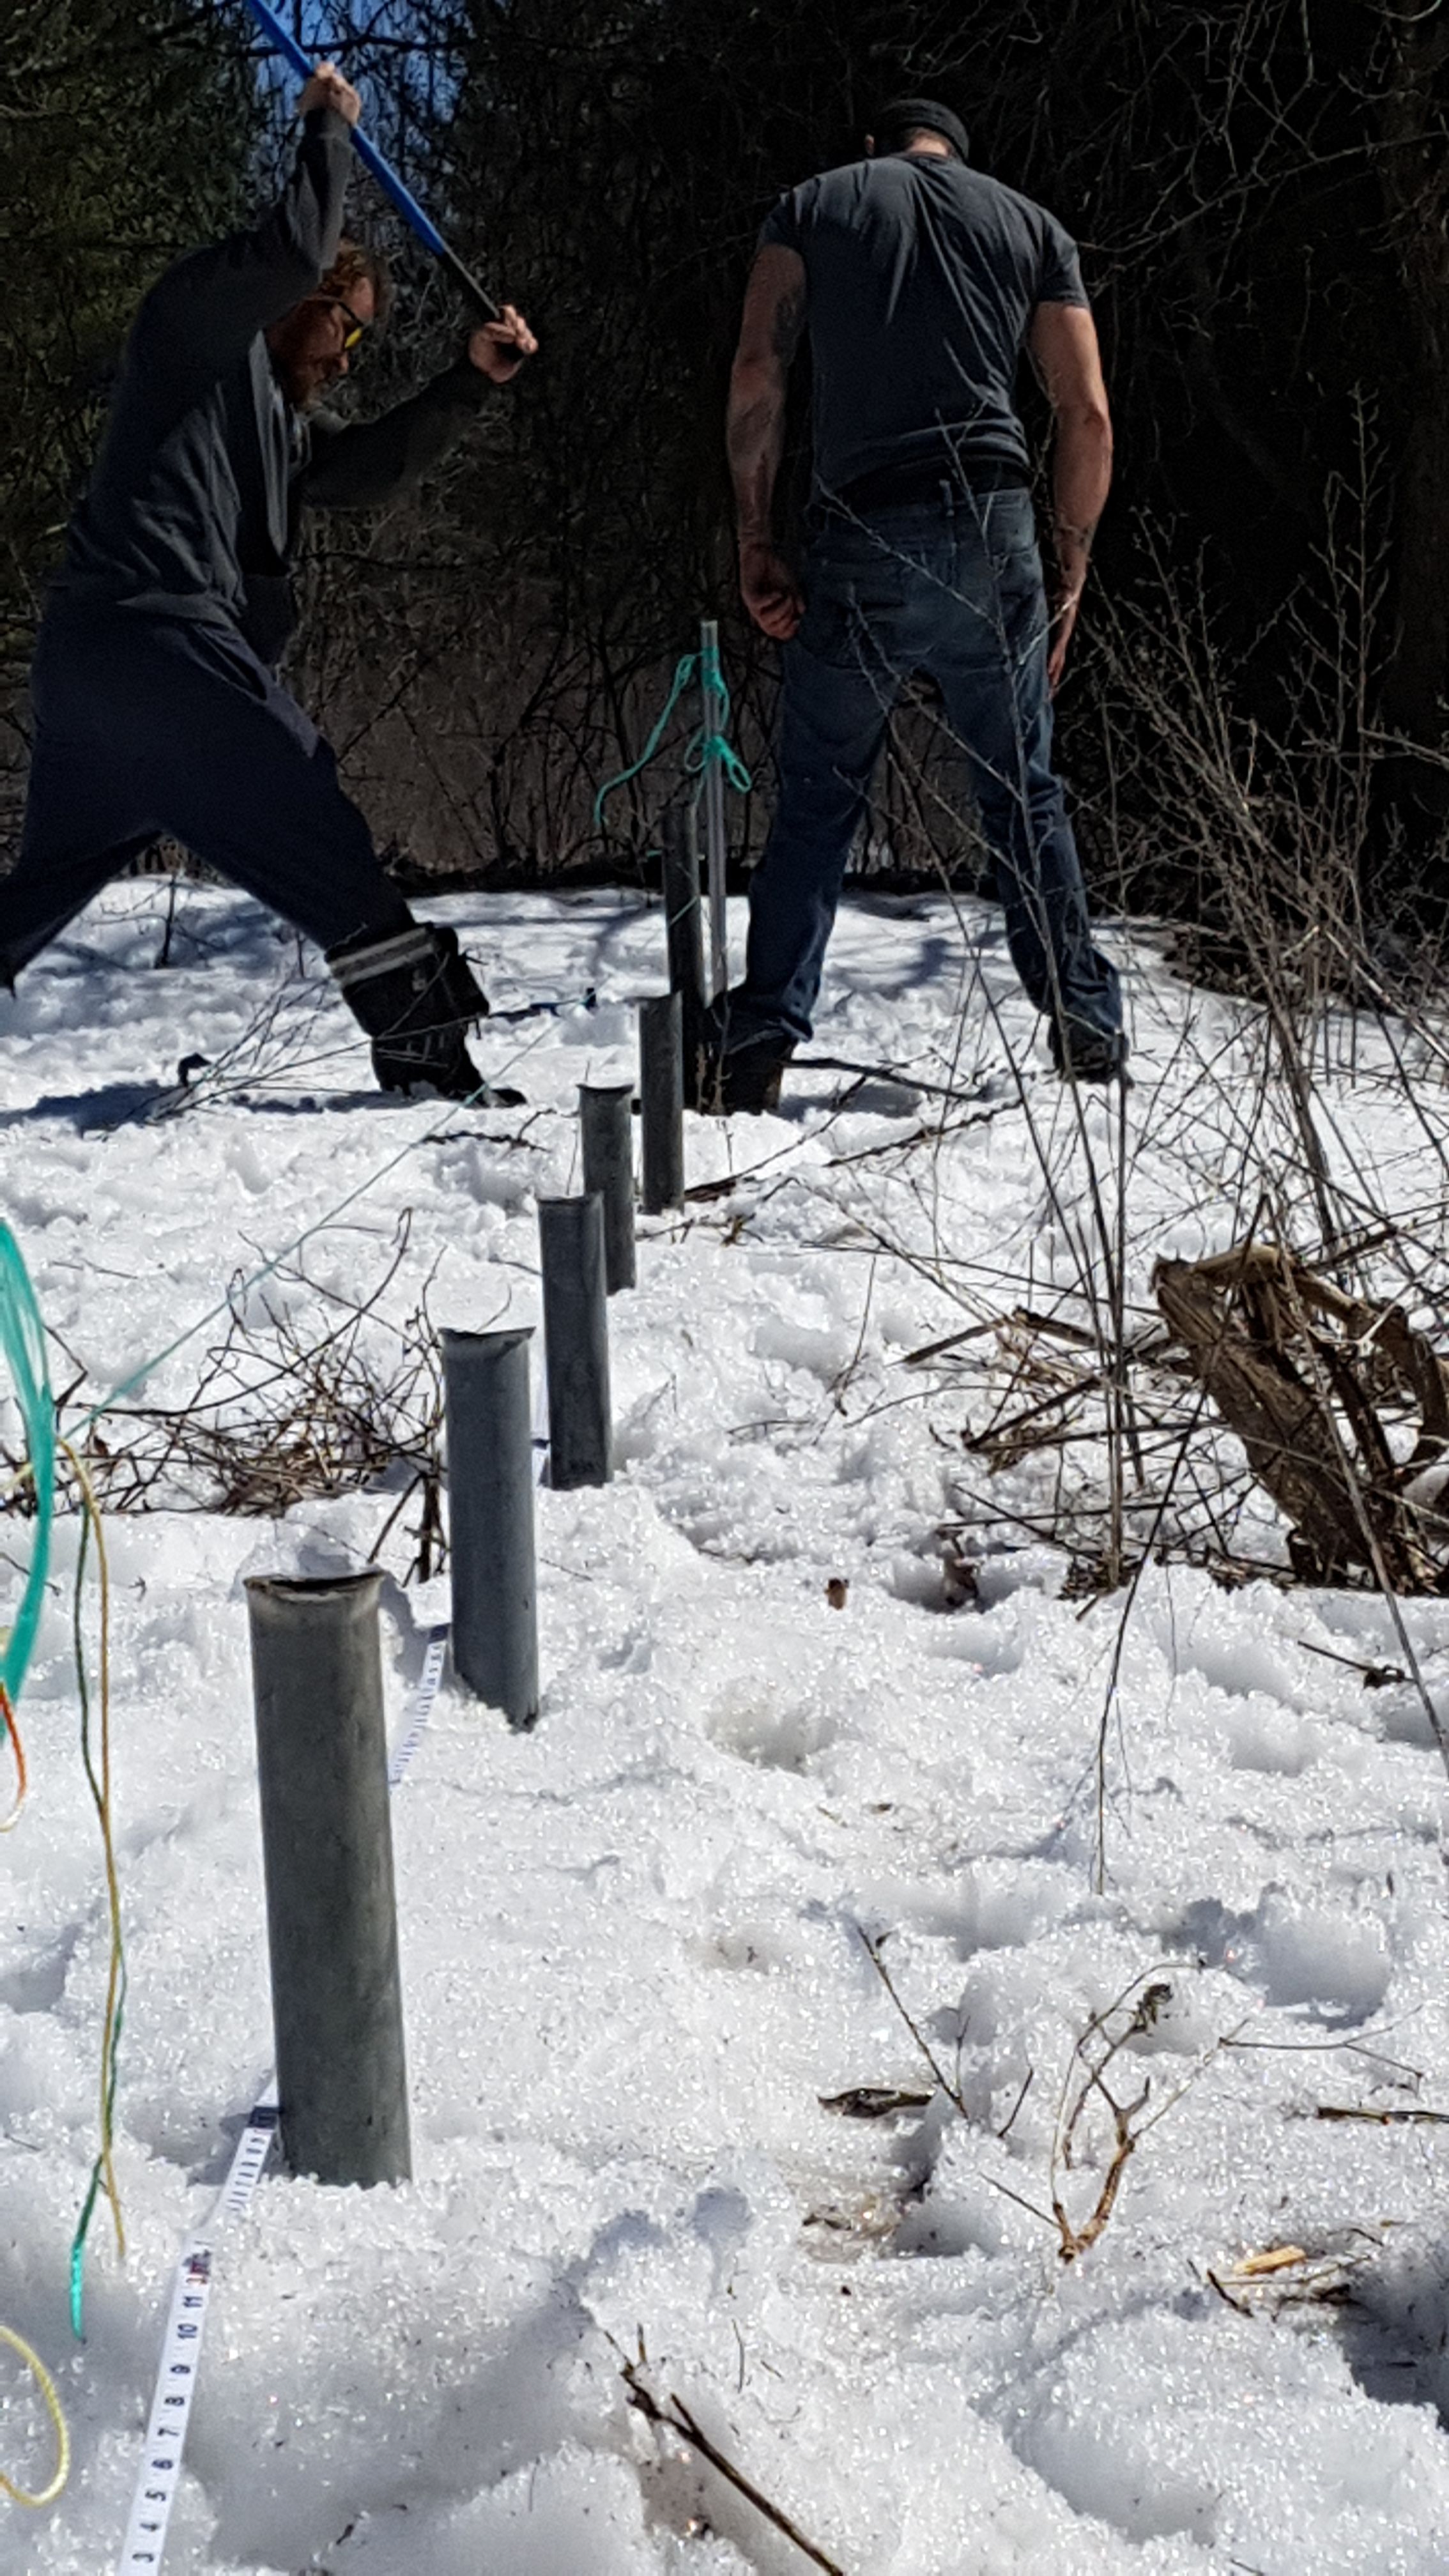
Anything spaced further than 6' will put too much weight on the plastic if you have winter months.
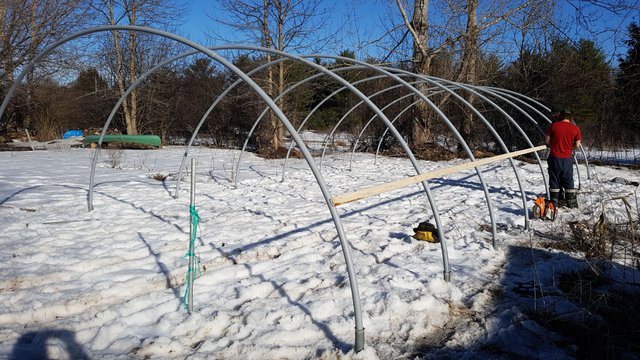
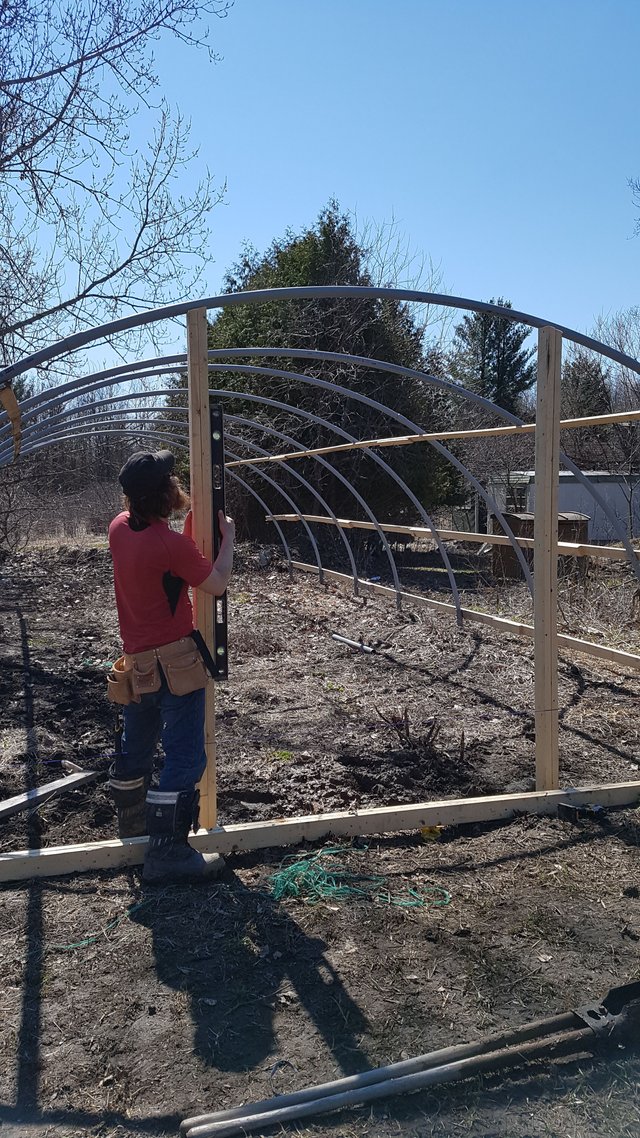
We used 12' lenths 1 1/2" diameter electrical schedule 80 PVC pipes. Each arch is 3 pipes glued together with PVC cement.
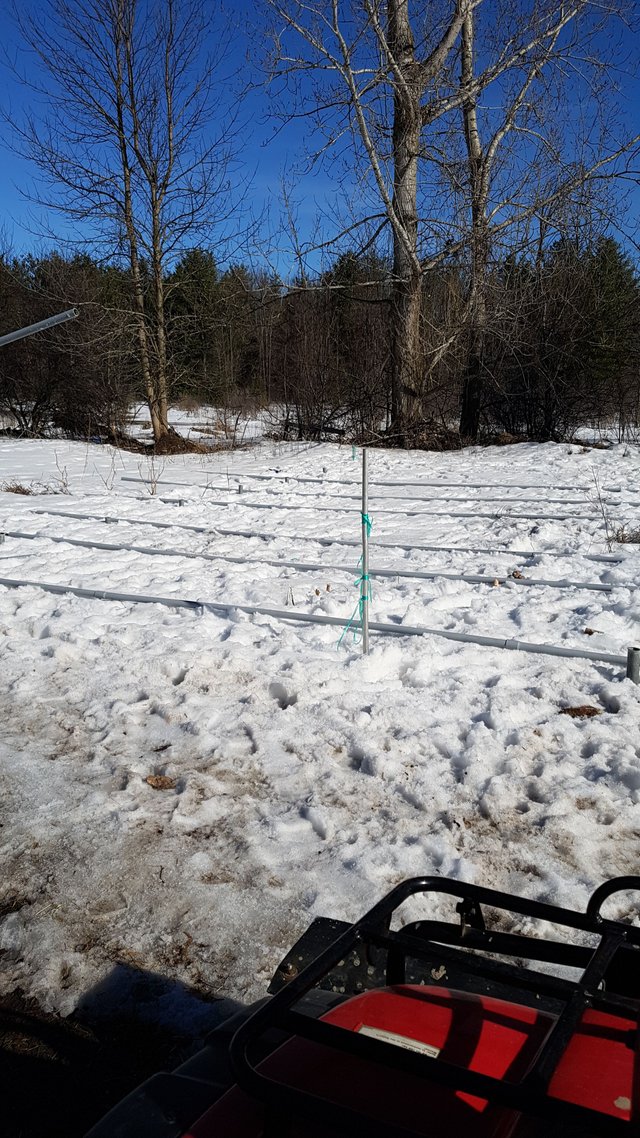
At desired width (ours spaced 19' apart) insert PVC pipe 8"-12" into your steel pipe creating your arch.
Once the arches were set and inserted into the steel pipes, we drilled holes to insert a 4 1/2" bolt at 5/16 diameter through the steel sleeve and PVC pipe to secure greenhouse to the ground in wind storms.
Down the entire length of the outside of the greenhouse about 4' up we ran strapping, and 4' above that a length of strapping along the inside. The lower length is for strength and to attach the plastic to, and the upper length is for support and attach the interior trellis to.
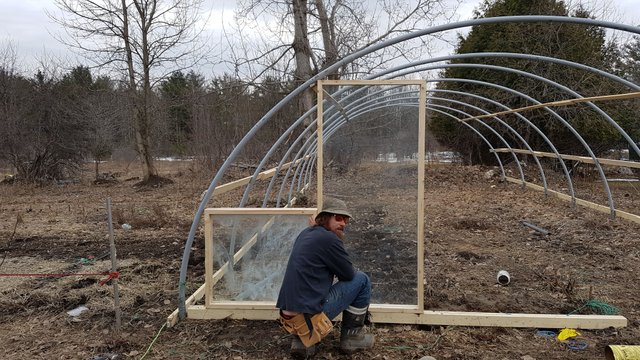
For the ends we wanted something riged to support everything. We have tons of old glass around the homestead.
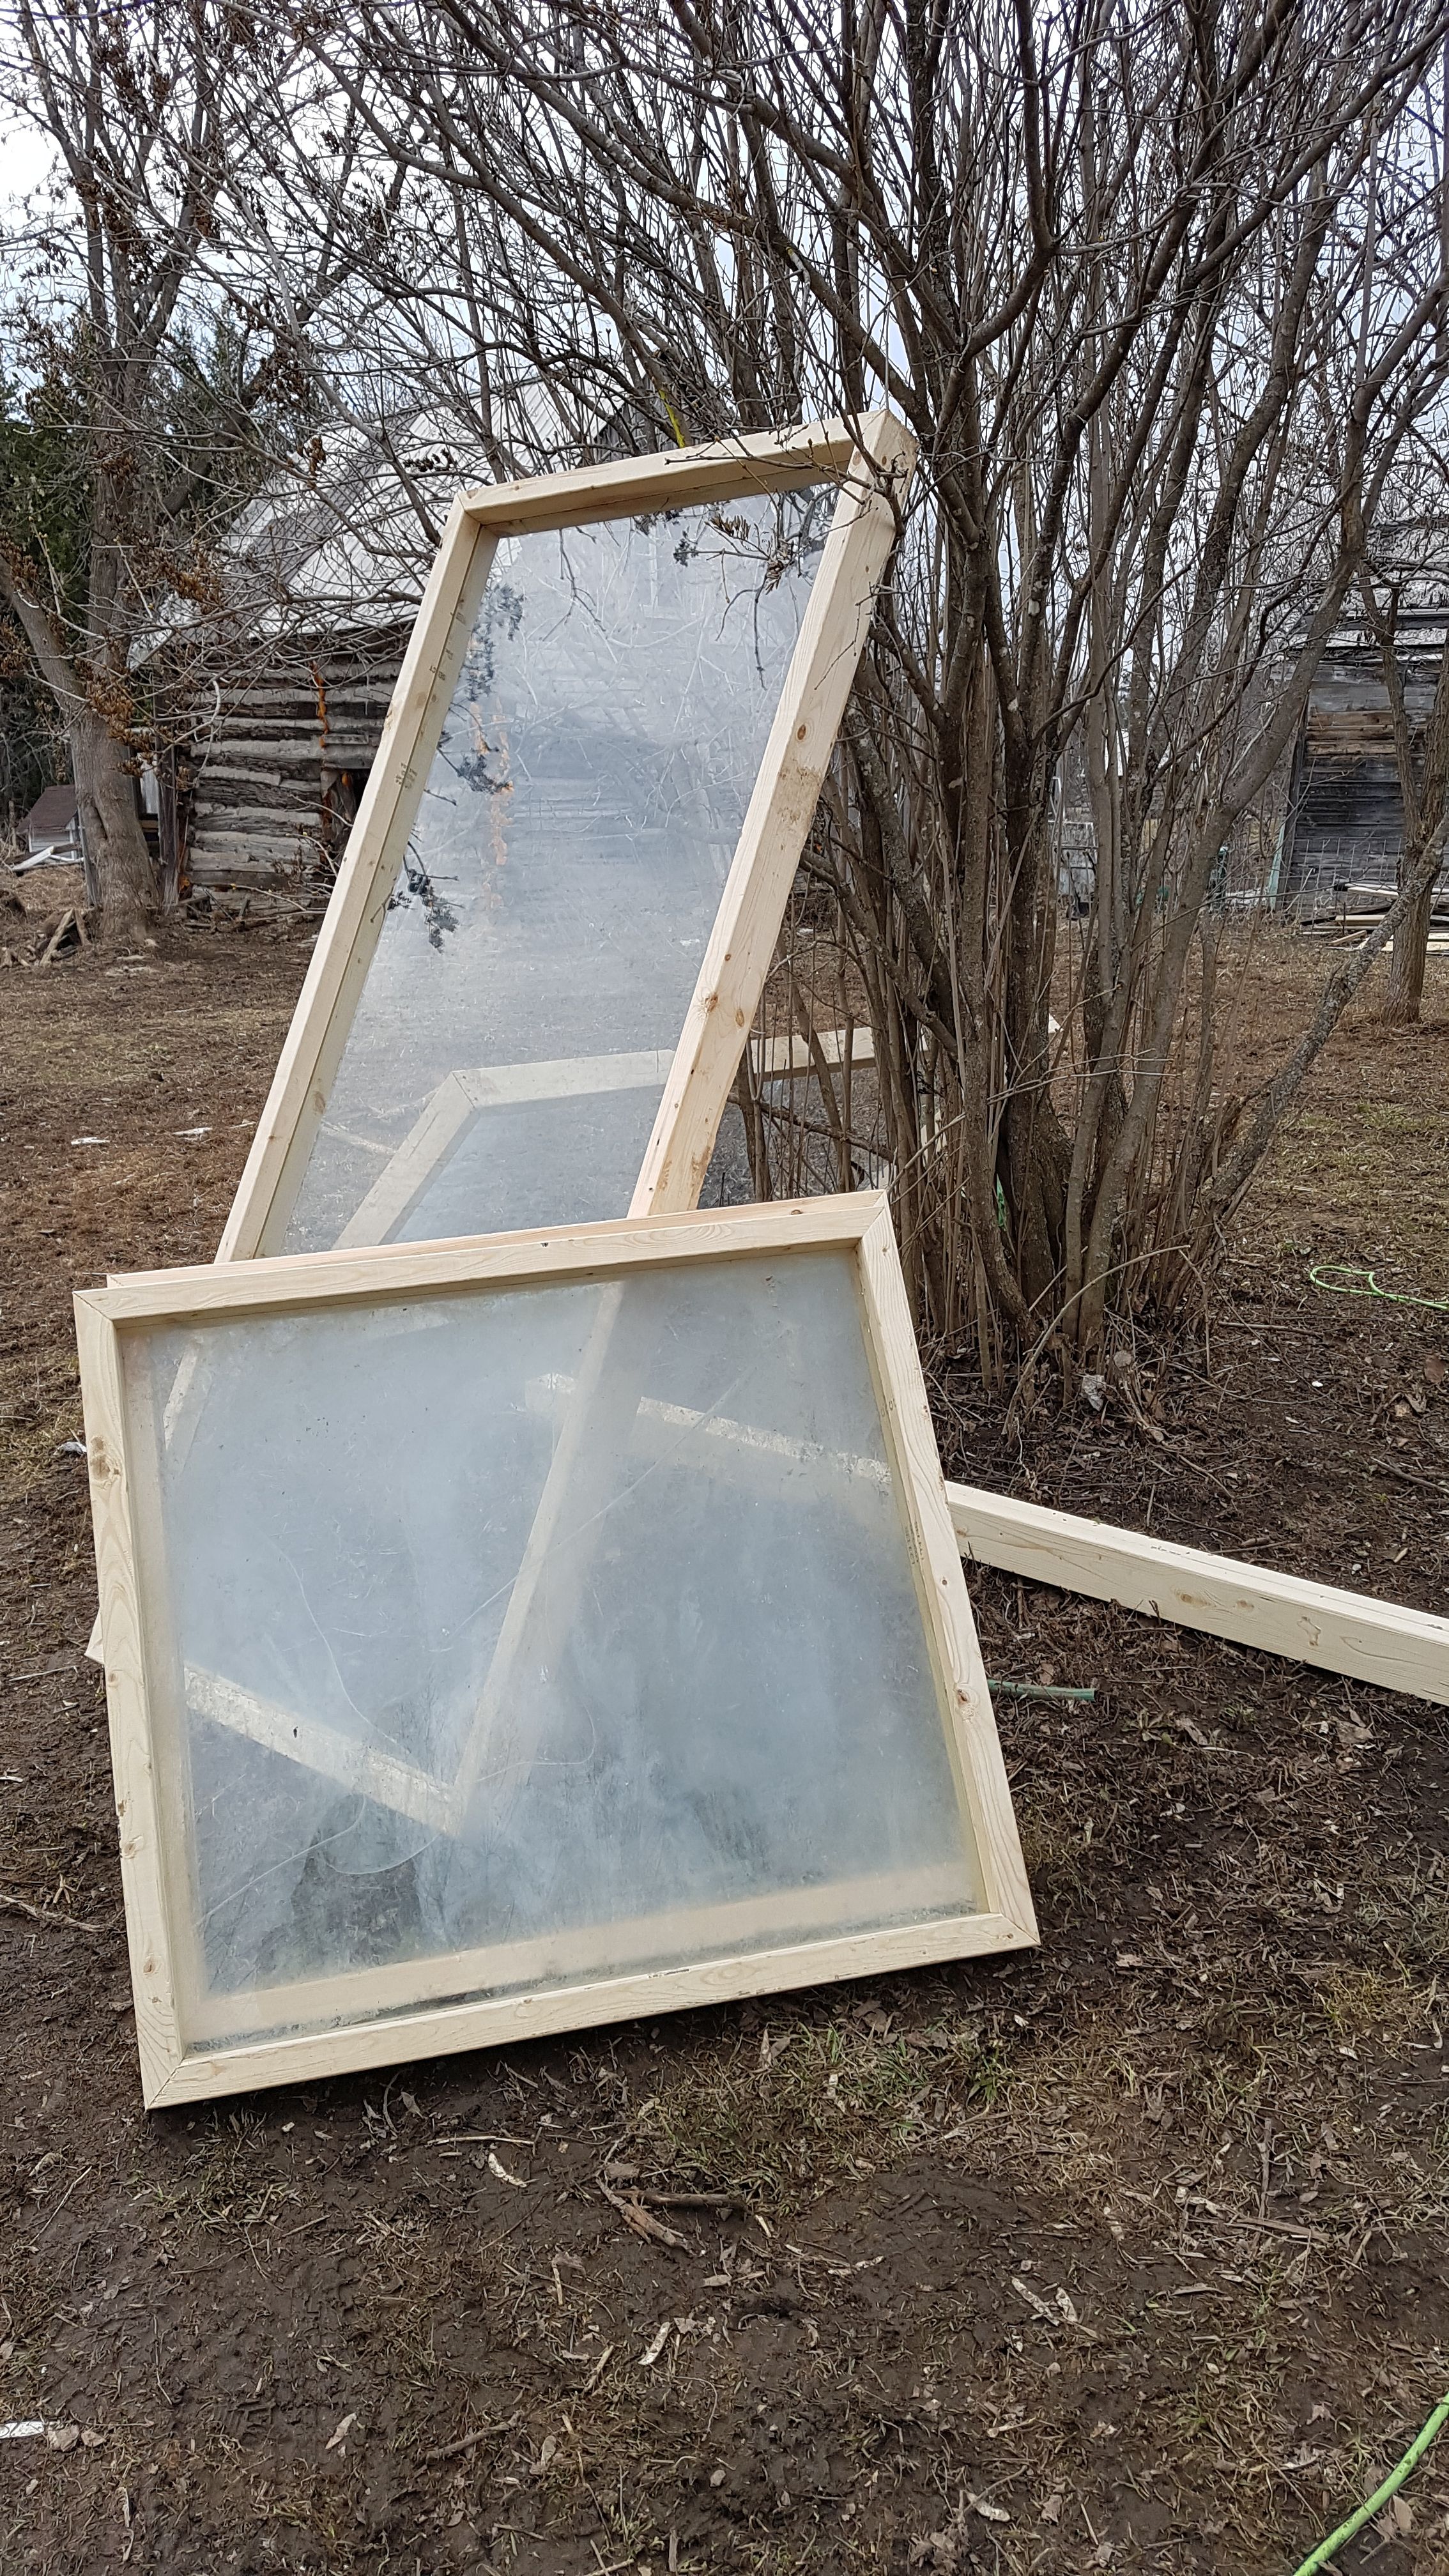
We went through it, finding pairs of panes in good enough shape to re-frame (using salvaged 2x4' and whatever was lying around) and puzzle pieced together both ends....one with an old screen door.
seeing what fits
makin' frames
Both ends have a wide door frame made with 4x4 concreted 3' into the ground.
This takes one small bag of rapid post per sonet tube. We made them this way for future door installation big enough to bring in equipment if ever needed.
Spaces around glass were just retro fitted as we went along to fill in spaces and strengthen the arch. No plan at all with this thing.....
We also built it (aside from window frame day) by ourselves. There are no pics of the framing in of the glass or door or pulling the plastic on as everything took both pairs of hands haha!
The plastic came in a big roll that easily unfolded into a huge sheet. We ordered 50' x 35' and it fit perfectly, phew!
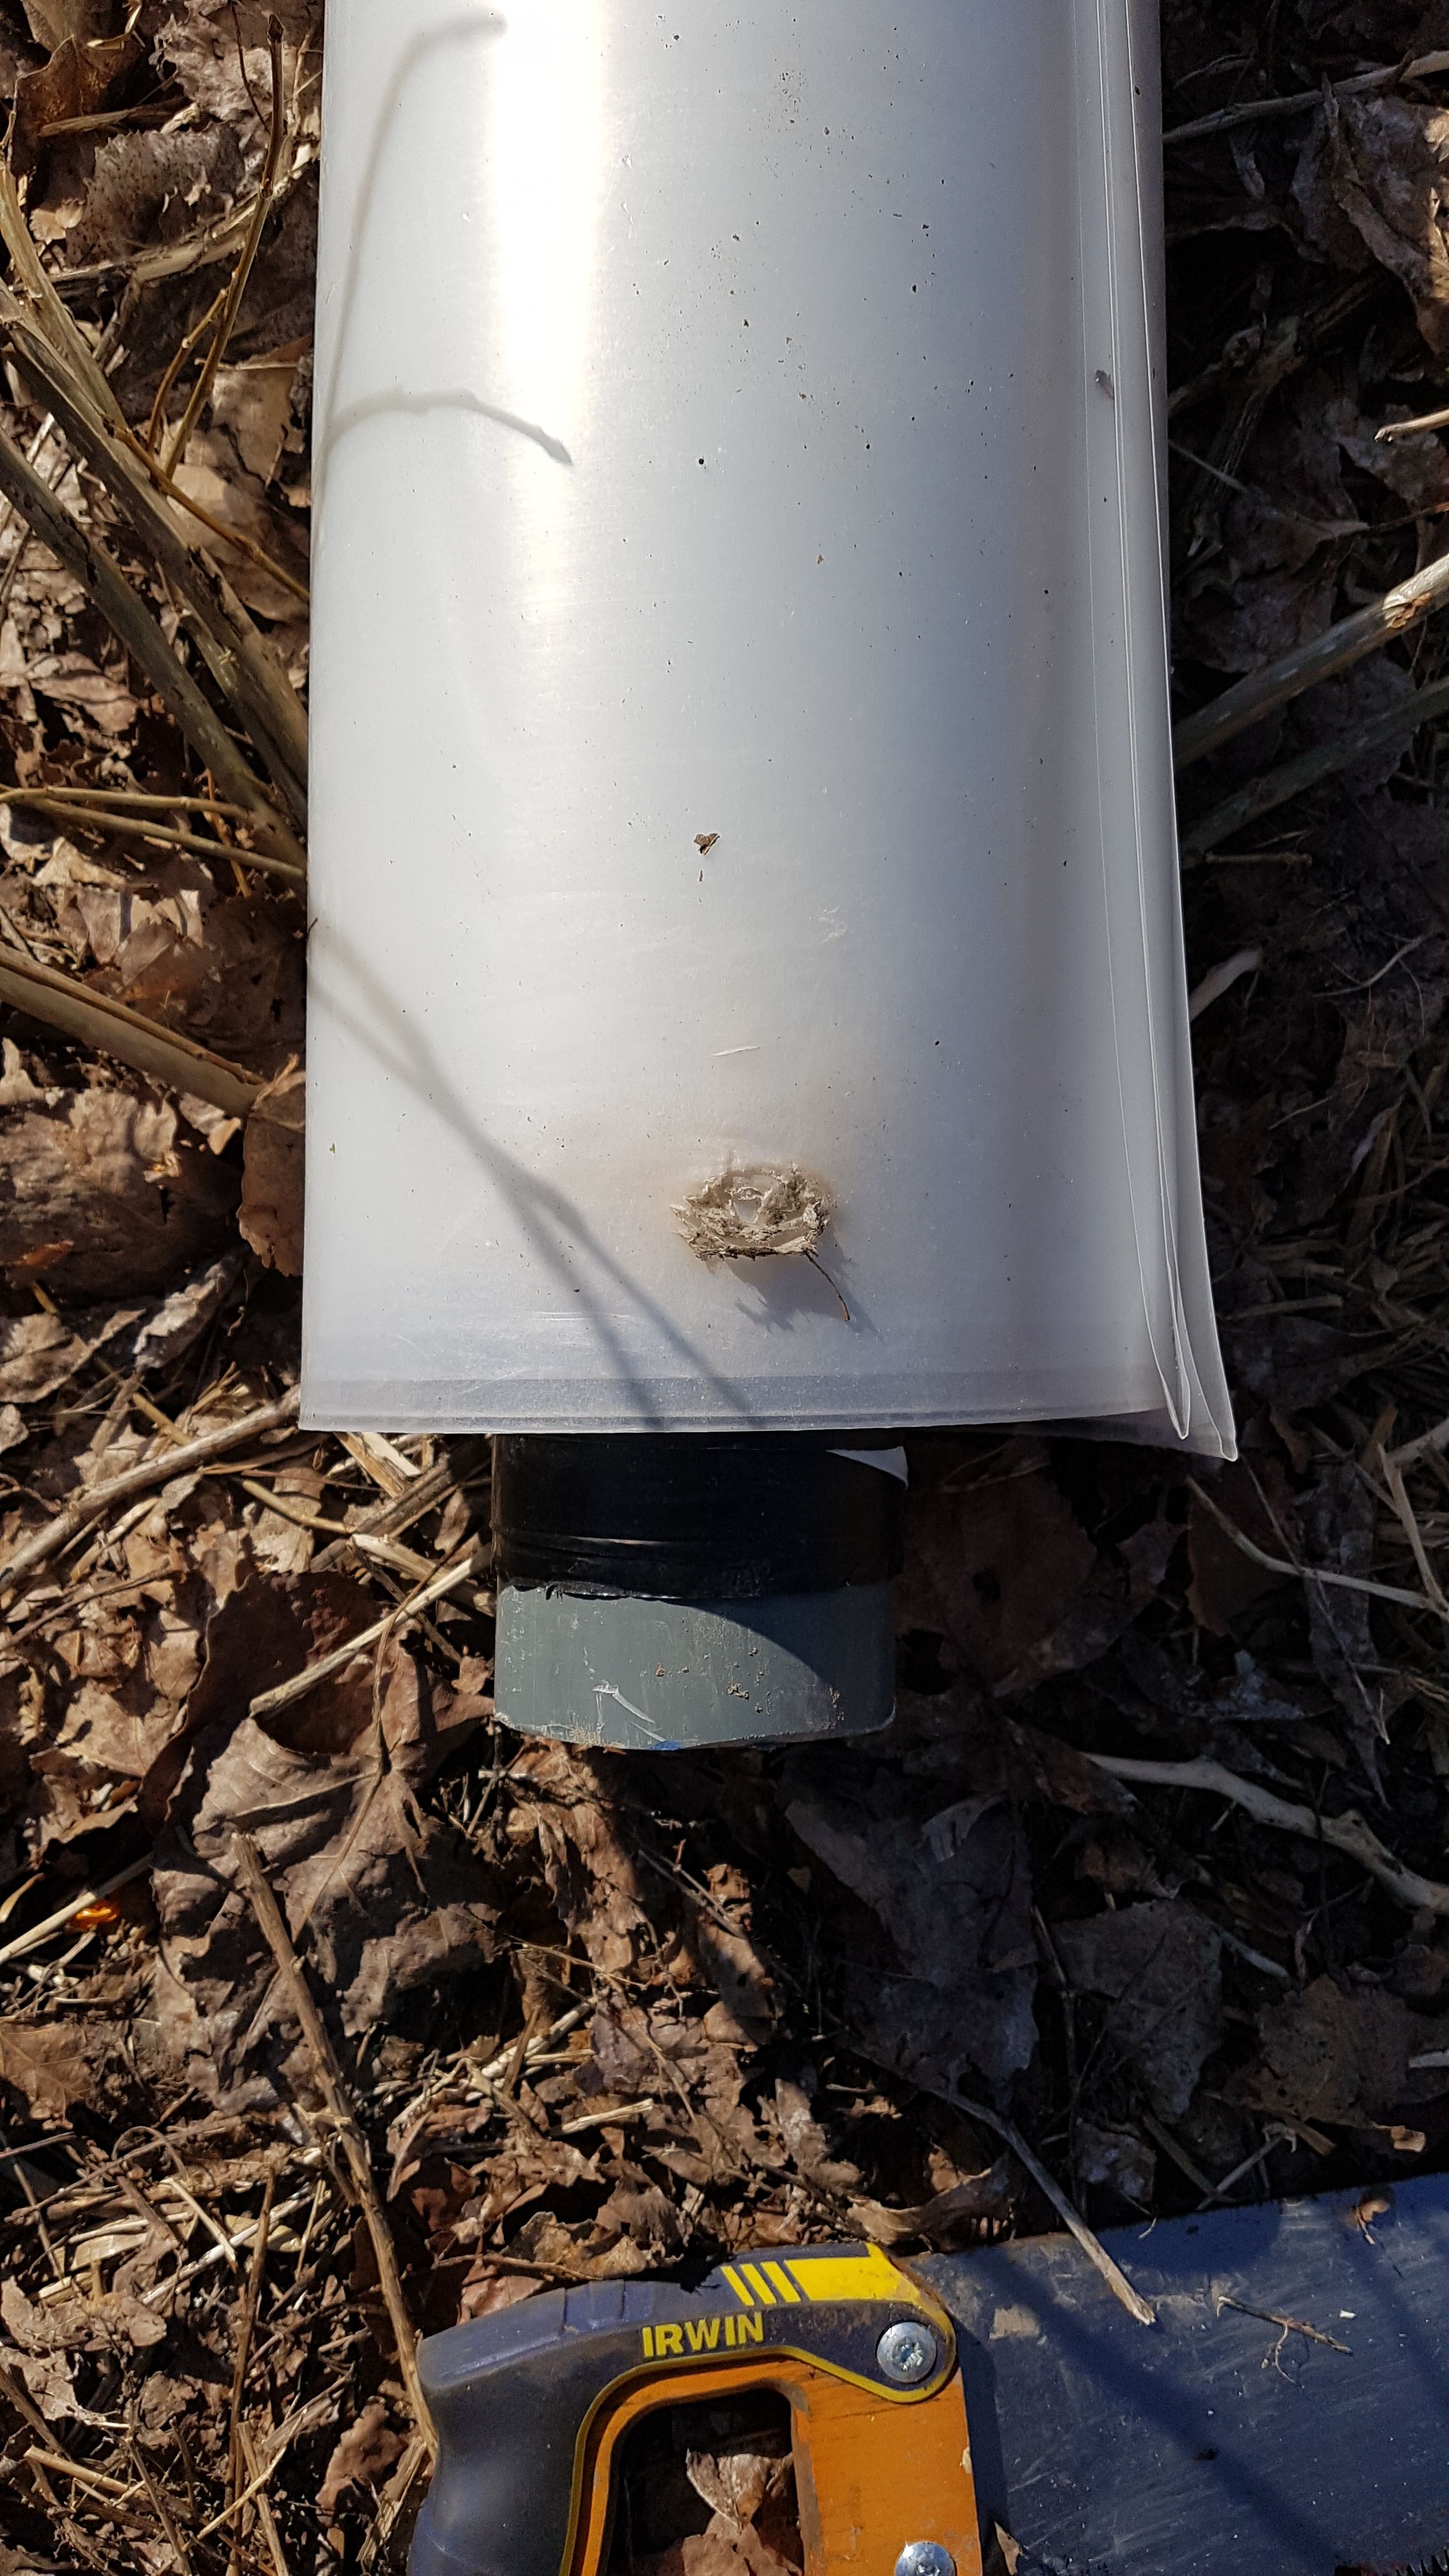
a small hole from delivery, it was dragged to the door. The plastic is so thick that this was only through one layer of folds
The plastic went on fairly smoothly. How we attached it is kind of hard to describe.
shiny new plastic
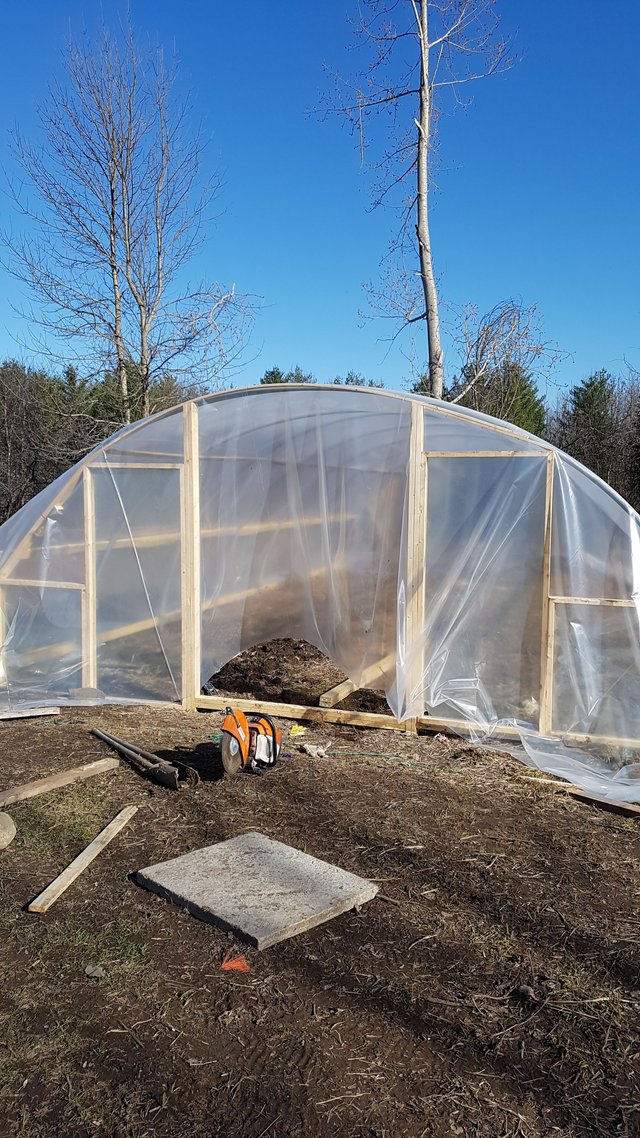
Basically we pulled it taught and screwed 2" x 2" strapping to bind the plastic to the existing lower strapping in a kind of a Z lock so the plastic won't slip.
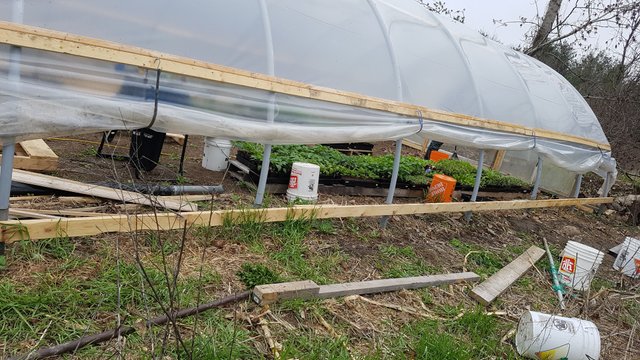
I can roll the sides of the greenhouse up for ventilation. Simple eye hooks and mini bungee straps every 5' or so are used to hold up the rolled plastic. Make sure that you roll your plastic up and inwards in case it rains, otherwise you risk catching the rain water in the pockets and the weight can tear your plastic.
In the front and back end, the plastic was pulled taught and secured to the frames of the windows and frame.
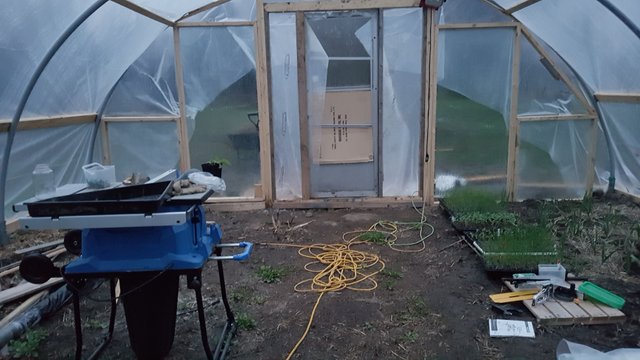
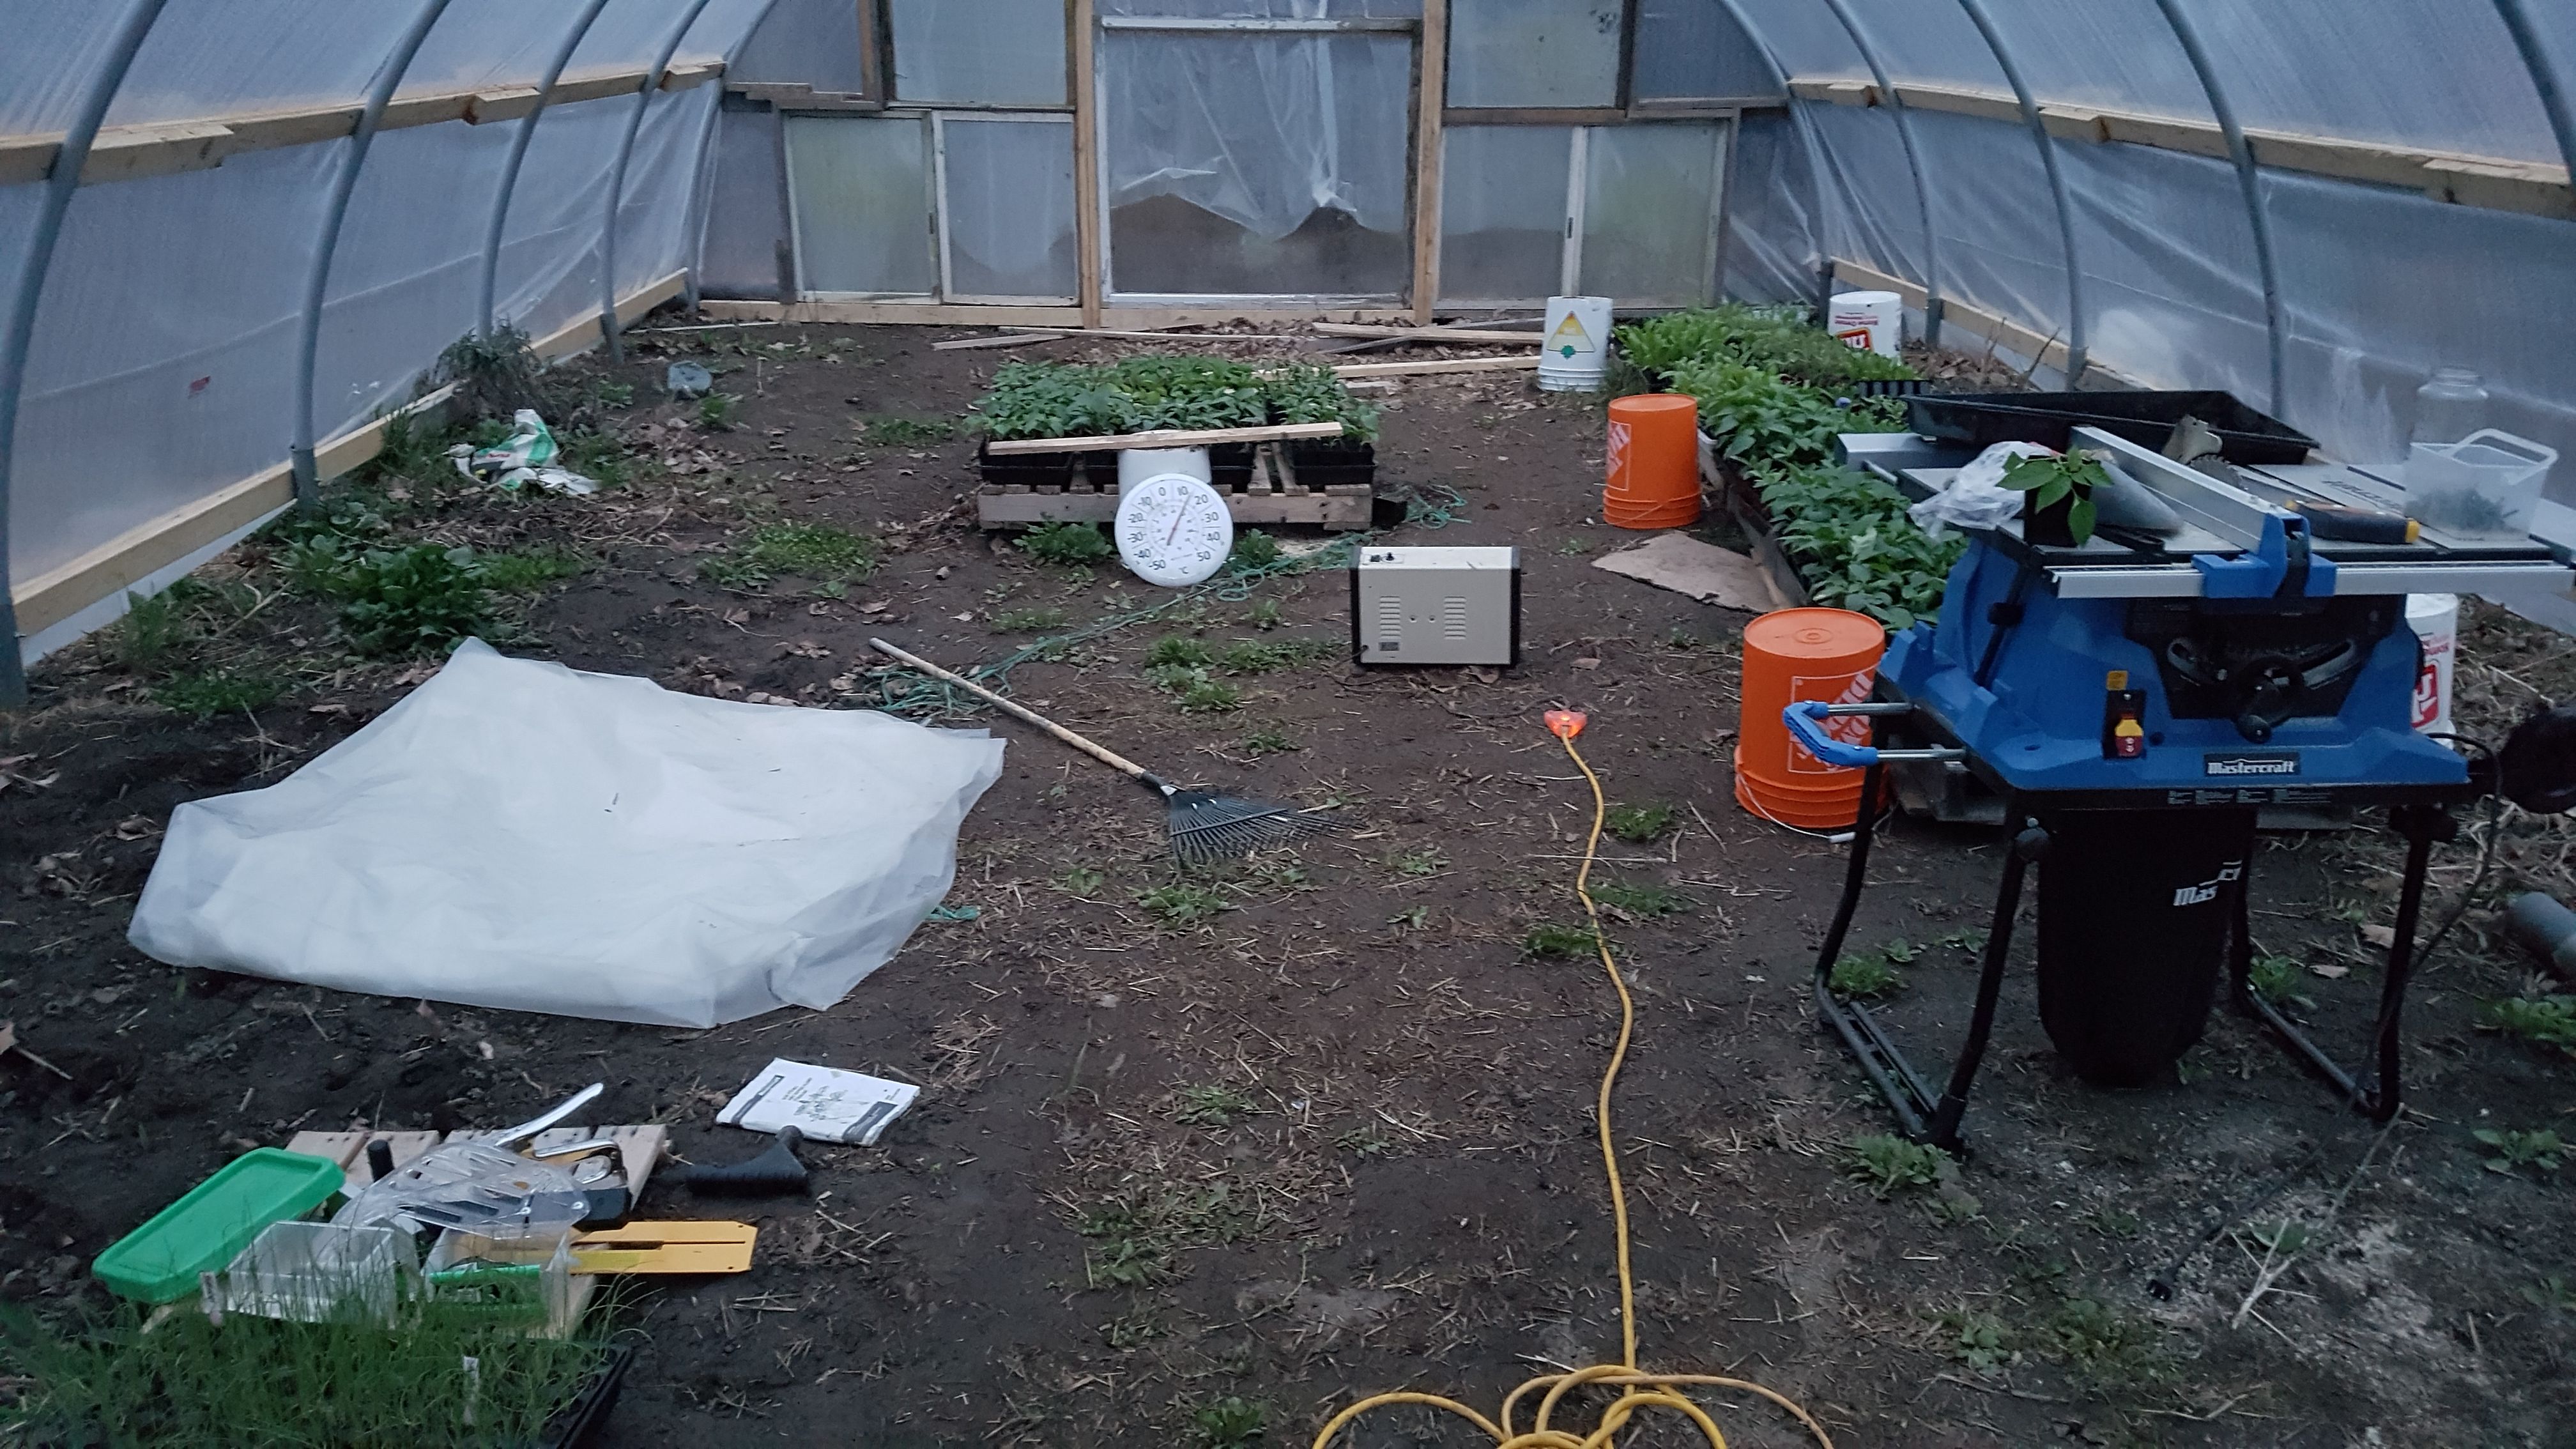
A few weeks later, after salvaging more wood we built a trellis for stringing plants (tomatoes this year) and to hang baskets from this spring. You can see it in the first pic up top...its very sturdy and is providing even more strength to our structure.
It is doing well so far, fingers crossed she makes it through the winter with no problems. I have a plan to remove snow if I have to...watching how the snow is affecting it every day!! I think I will do a mini blog on how it is doing in the winter, with pictures this week.
Thank you for reading! Take care of you and yours❤
I've definitely dreamed of buying/building a greenhouse but they are indeed expensive - maybe Steem will get me there some day! Nice tutorial!
Thank you! It has been an almost 3 year dream, they are costly for sure! Go steem!! I hope it gets you there as well ❤
I love your green house! I have to re build ours this spring we had an issue with the snow :(
Oh no that sucks, sorry to hear it didn't survive! I am not entirely sure ours will be alright by the spring....crossing our fingers. I think hubby has a plan to do some extra reinforcing this weekend when it is supposed to warm up just in case.
I think I'll try that electrical conduit like you guys this spring. I used the metal chain link fence pipes but the snow still got me.
I will keep you updated over the winter. If it does works here you are golden! You guys must get half the snow as here....
Yes please keep me posted. I need something strong
Awwwwwwesome to see all the steps together like this!!!! Sooooooo much better than fb!!!!!!!
Great post, and great job you guys did on that greenhouse!
Yes soooooooo much better!!
You know, your greenhouse was our inspiration to rig one up here! ❤
Great build. I’ll be coming back to this when I start building mine. Hopefully this next year!
Thank you! Lots of guesswork lol. Hoping for you to be able to build one next year too!
Excellent! Wish I could resteem so I can find it. :((
Any idea what the end cost was?