Fix It Yourself! - Changing The Brakes and Rotors on a 2003 Mazda Tribute
This is a video and tutorial on how I repaired and replaced the brakes and rotors on my daughter's 2003 Mazda Tribute. As always, this is offered up as an example of how I did it. If you chose to make any repairs you do so at your own risk.
Sustainability and Self-Efficiency (yes EFFICIENCY, not sufficiency) are one of the reasons that I homestead. That drive to more freedom is an important part of that. To those ends I've learned beekeeping, maple syrup making, wood stove heating and cooking, gardening, animal husbandry, pruning, grafting, plant propagation, construction, solar power, electrical, plumbing and a vast array of different skills.
As important to the homestead and rural life as our vehicles and tractors are to us, I'm always surprised by how many homesteaders don't know how to repair their own vehicle. As such I figured I would share a simple brake and rotor job I did on my daughter's car yesterday.
I had taken Monday and Tuesday off as vacation days from work to spend with the family. My daughter ended up spending her Monday (day off college) with friends and me and the rest of the family went to the cinema to see Black Panther. About 40 minutes after she left she sent a message that her car was "grinding". After a few questions I figured it was her front brakes and picked up brake pads and rotors (cost $112.00 with tax) on Monday. So Tuesday, which was a crazy and phenomenal 70°F, was going to be a fun day for my wife and I but duty called. So here is a brief tutorial I set up of the job. It's 23 minutes in video, but I'll post some picks on how to do the job here also.
Bob's Assessment of the Project:
Tools: All of the tools except the 7 mm Allen Head Socket were in my toolbox. I bought an allen head socket set from Tractor Supply for $9.99 during the change-over. It took an hour of my time to drive and get it. The 7 mm standard allen head wrench I had on hand was not sufficient to get good leverage.
Time: From the time of jacking up the car to repair and replacement should take about 1.5 hours for an inexperienced mechanic. An experienced mechanic with air tools can do this job in 30 minutes.
Cost: $112.00 for brake pads and rotors from Auotzone. If I did not install new rotors the brake pads would have cost ~$27.00.
Skill: This is a low-skill change and could be done by someone with a rudimentary mechanical ability and knowledge.
FIRST THE VIDEO (again on YOUTUBE because DTube wouldn't load it)
NOW THE ARTICLE
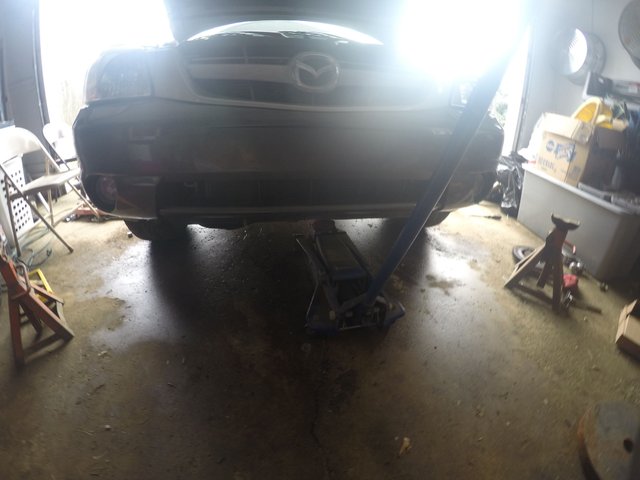
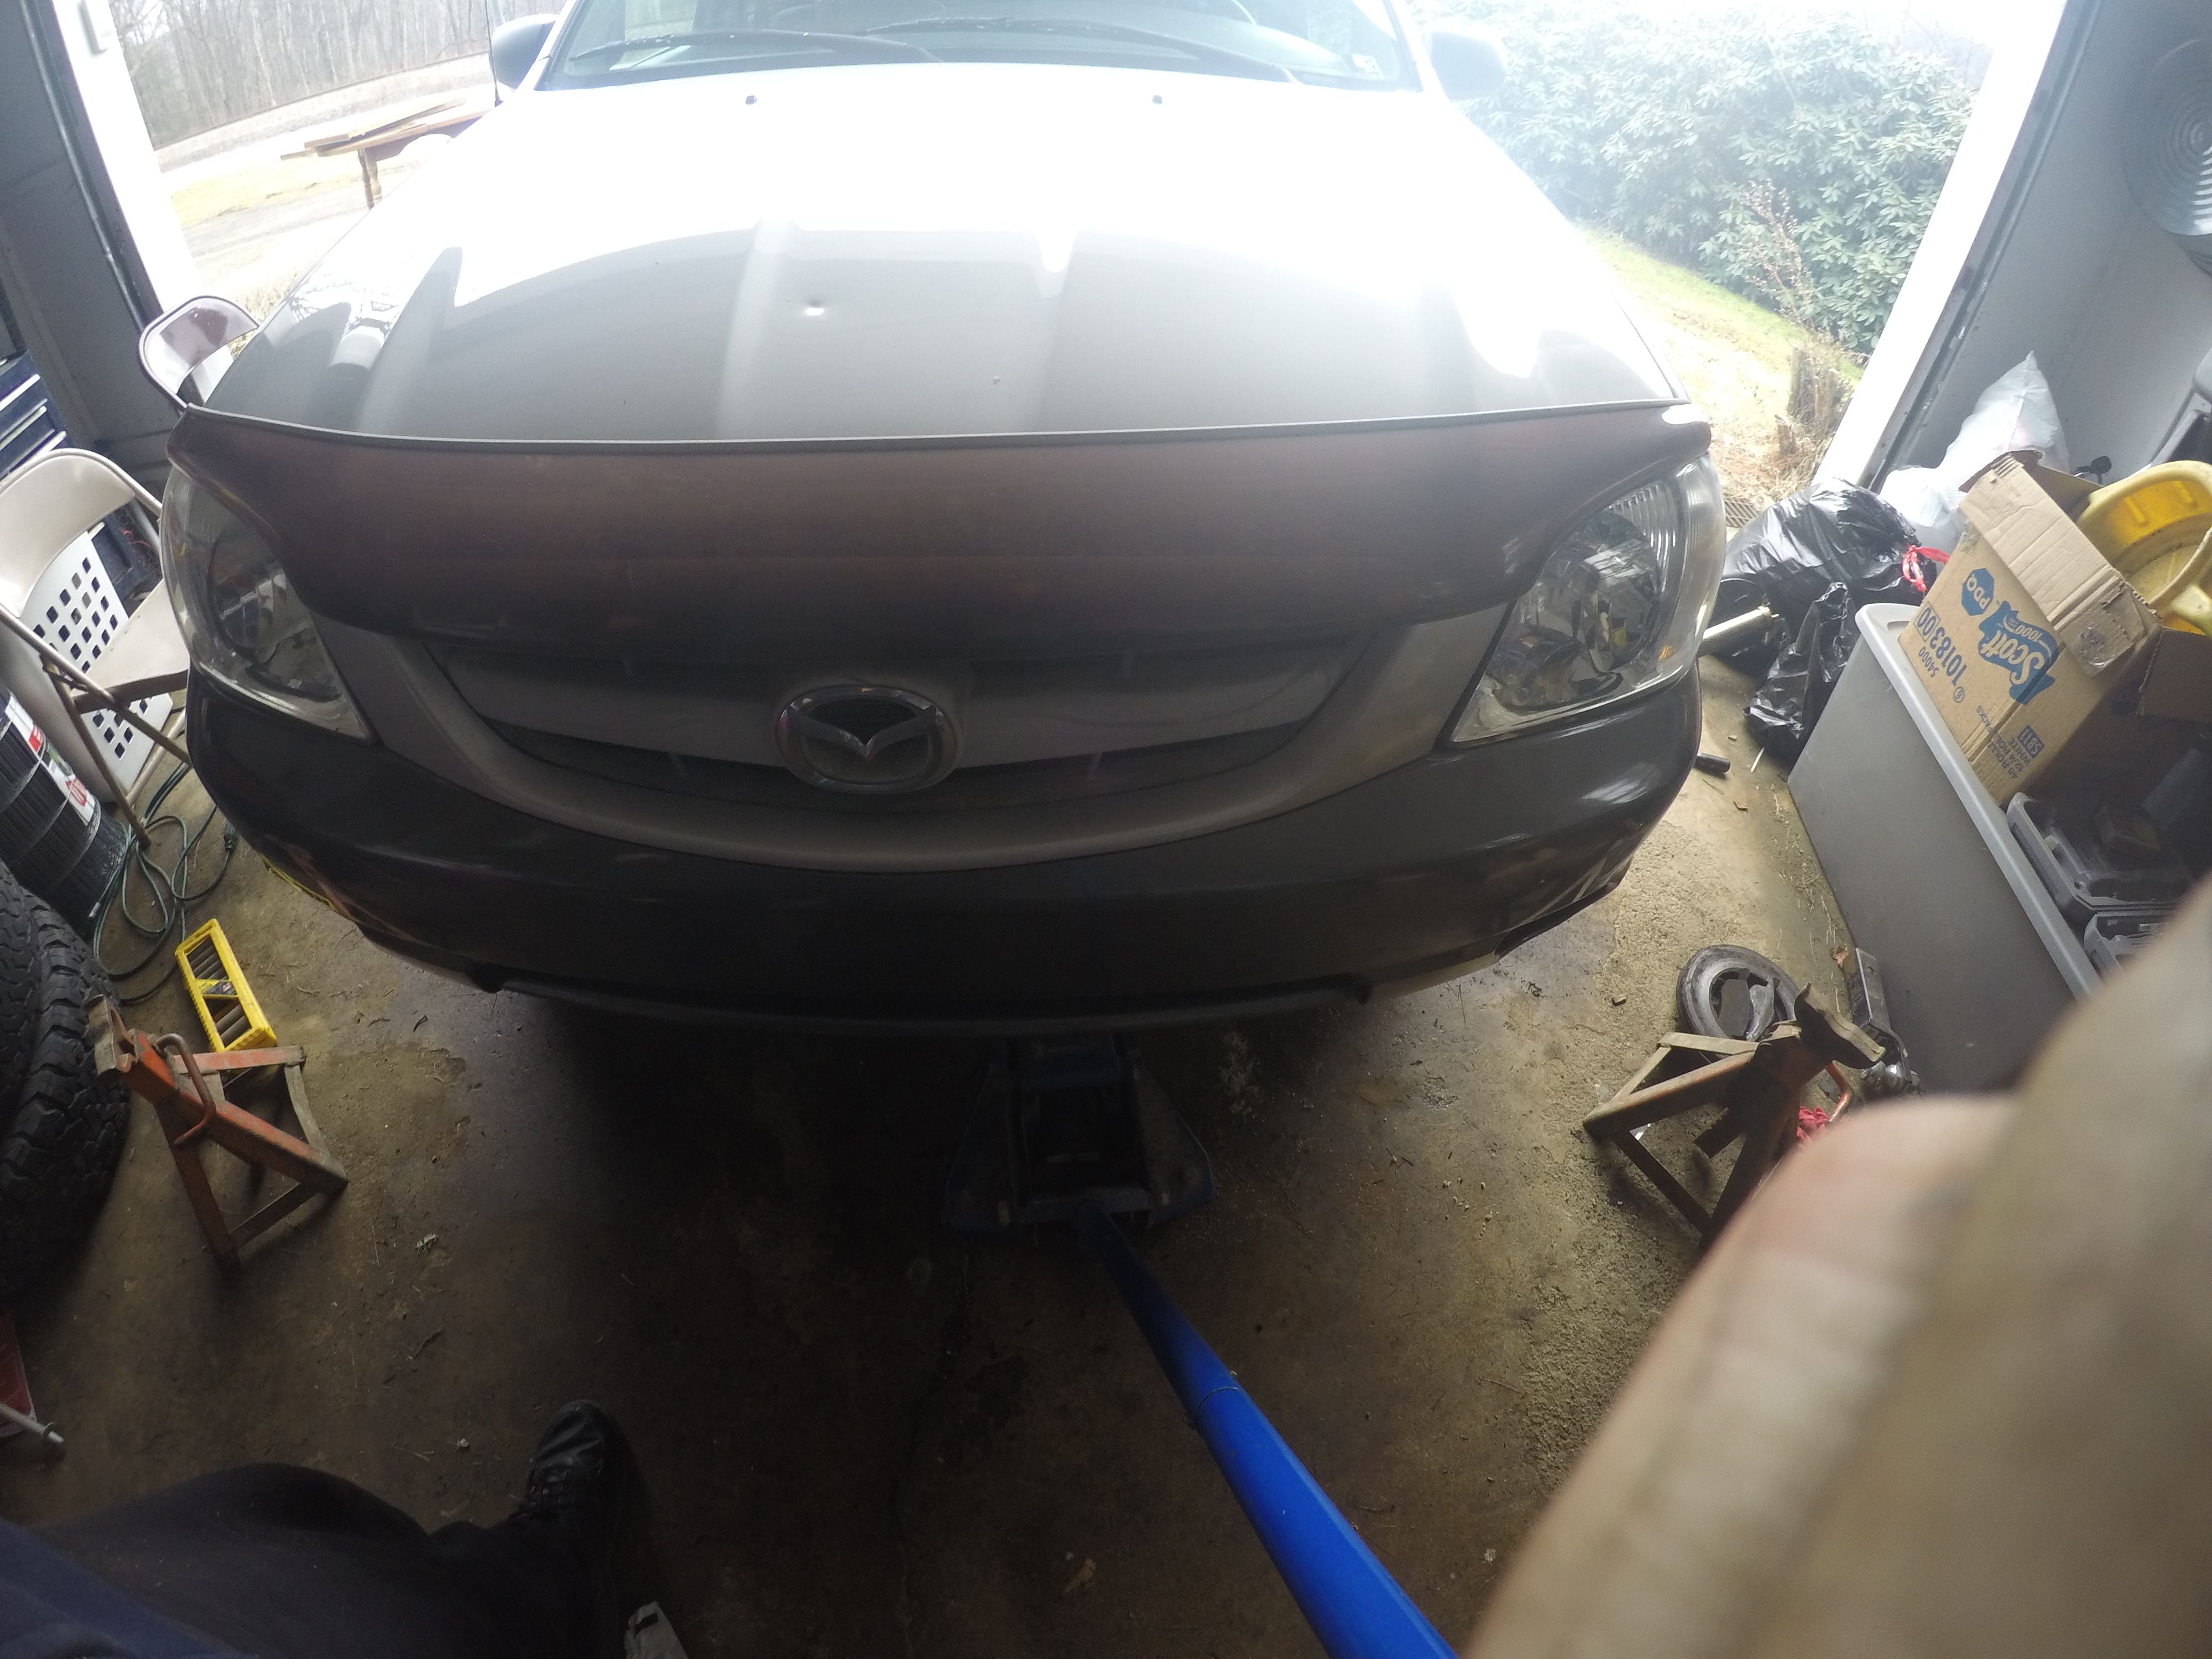
Place the car in park. Make sure that it's on a stable surface for jacking.
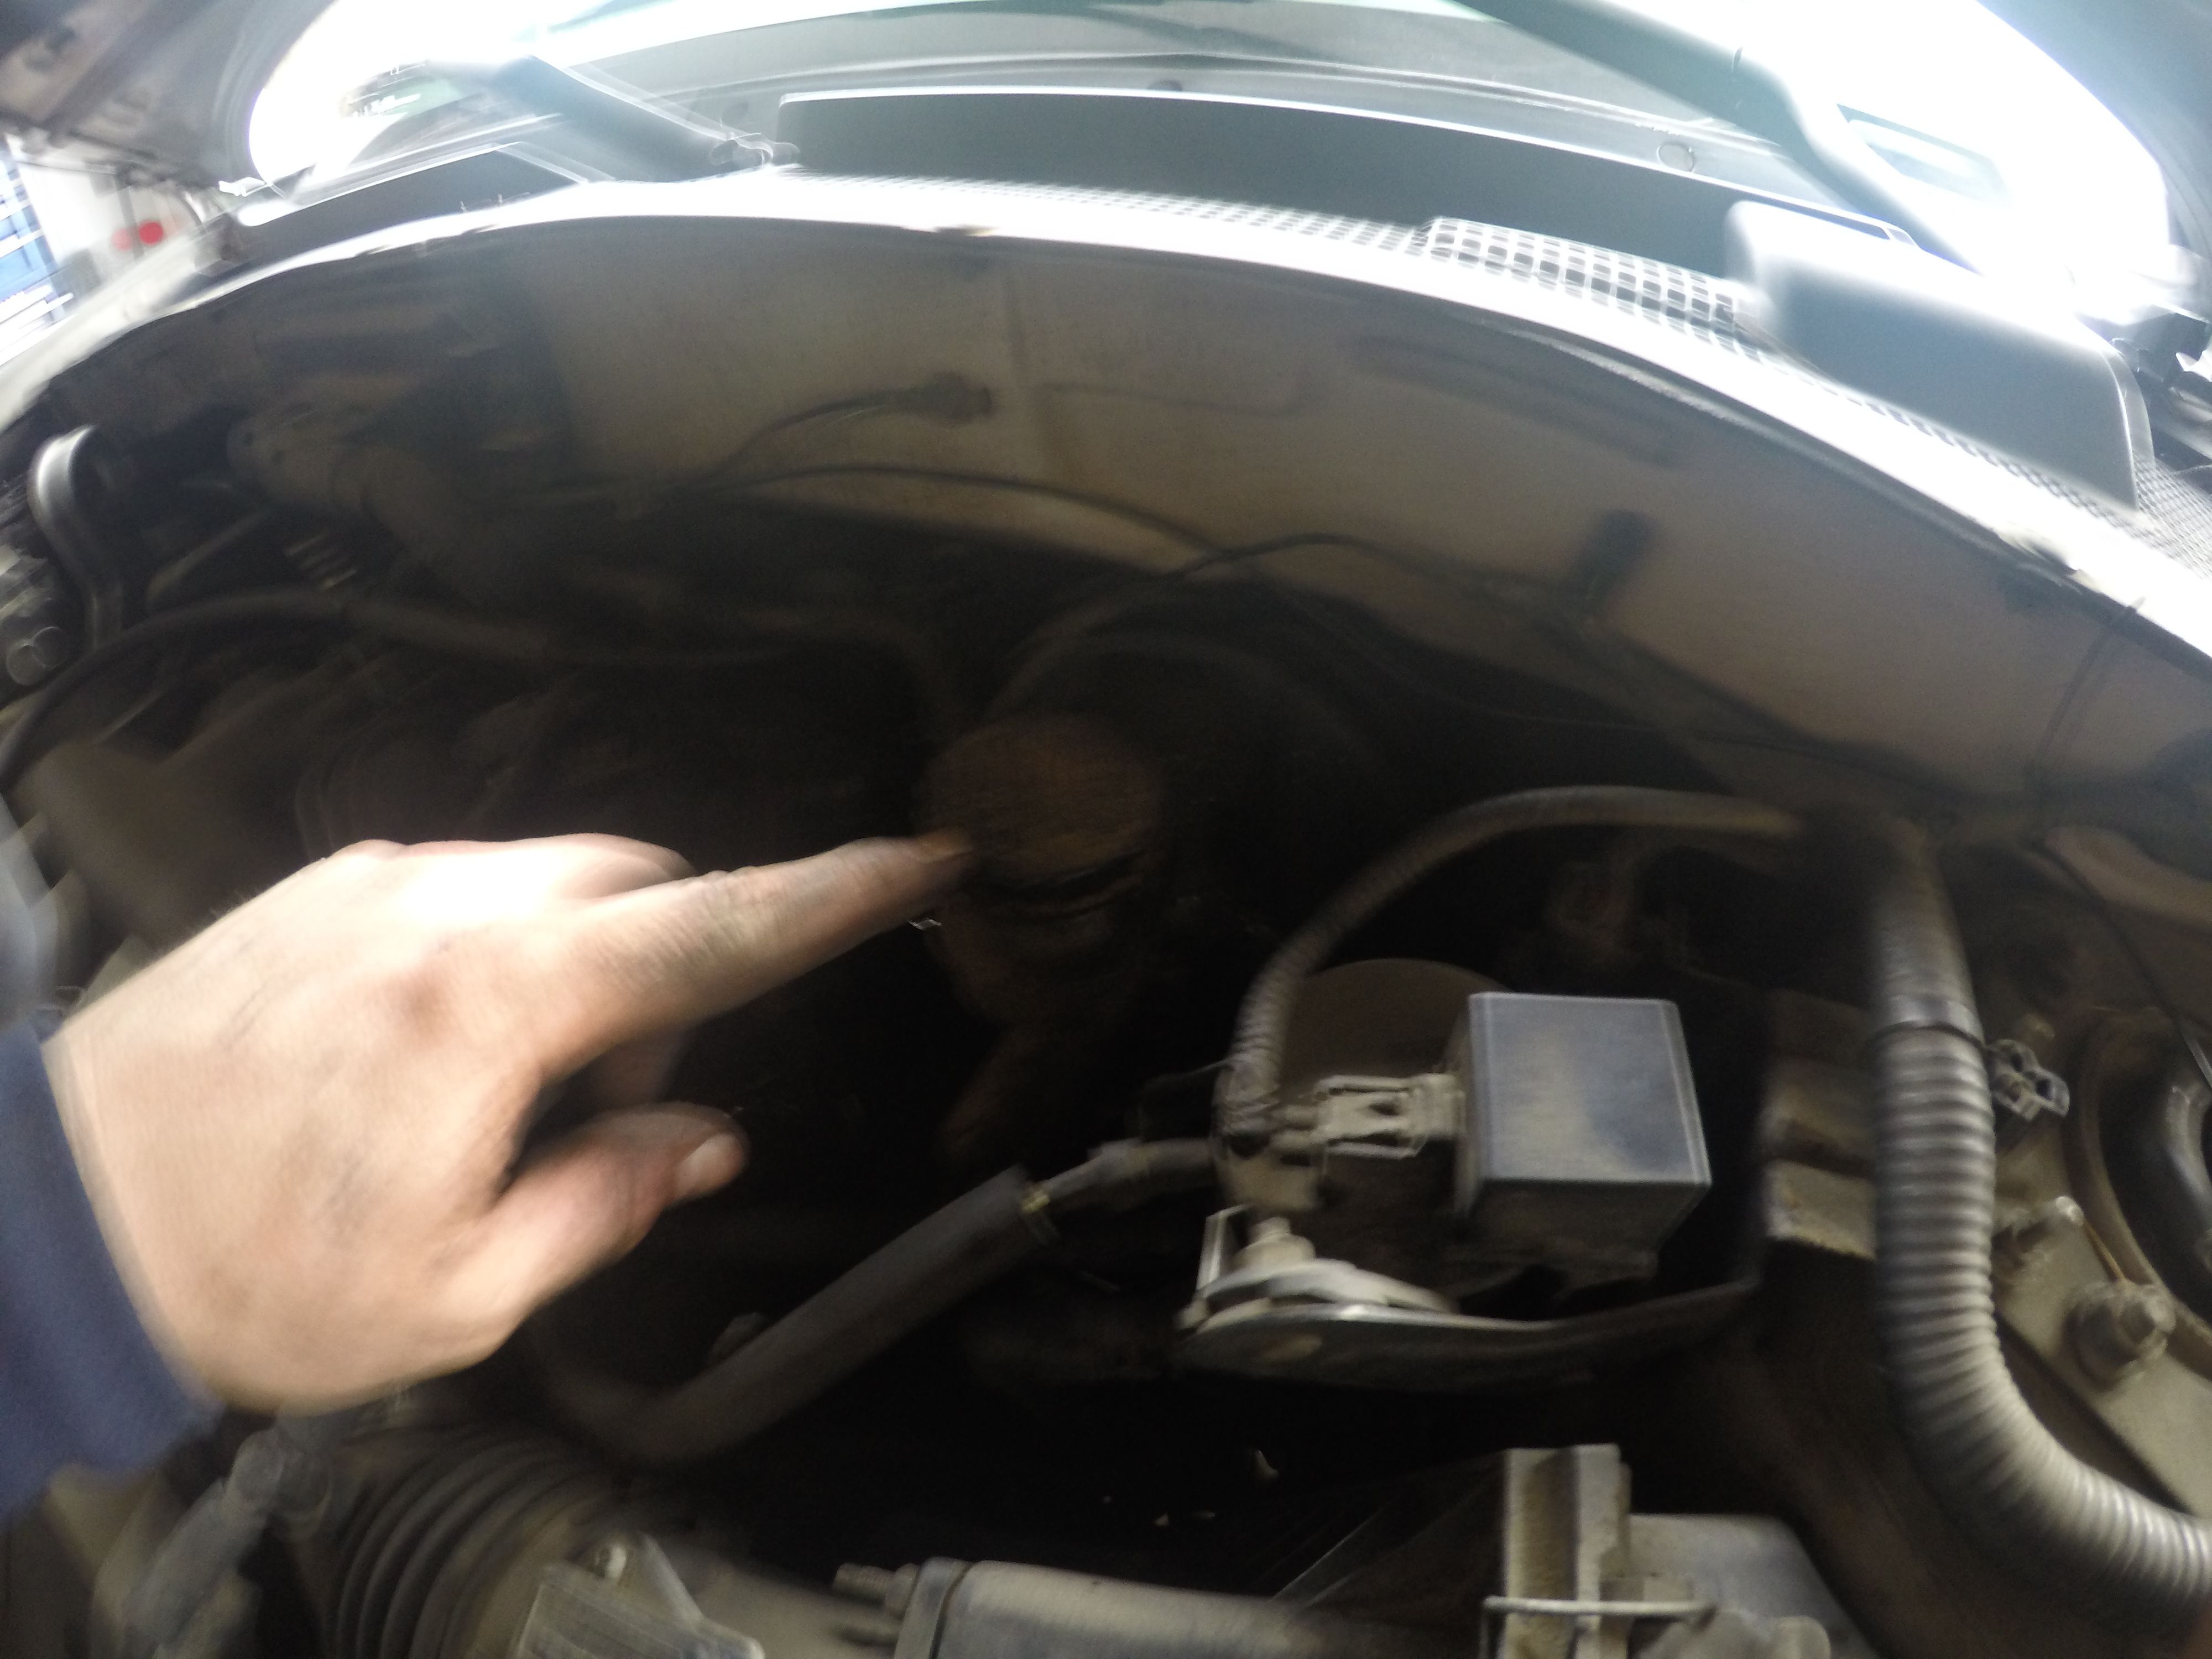
Open the brake fluid reservoir. The likelihood is that your caliper cylinders are extended and when you compress them the liquid will need to flow back into the reservoir. You don't want to fight the hydraulic pressure of a sealed reservoir when you compress the cylinder to reinstall your calipers.
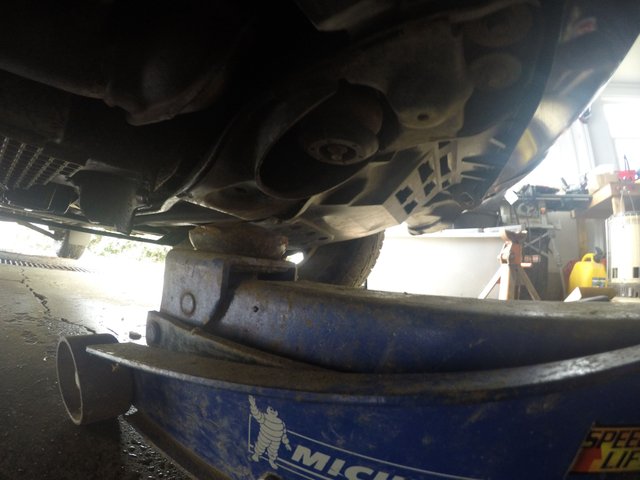
Find a solid point of the frame to jack up the vehicle on. This is a motor mount on the frame. It will do the job
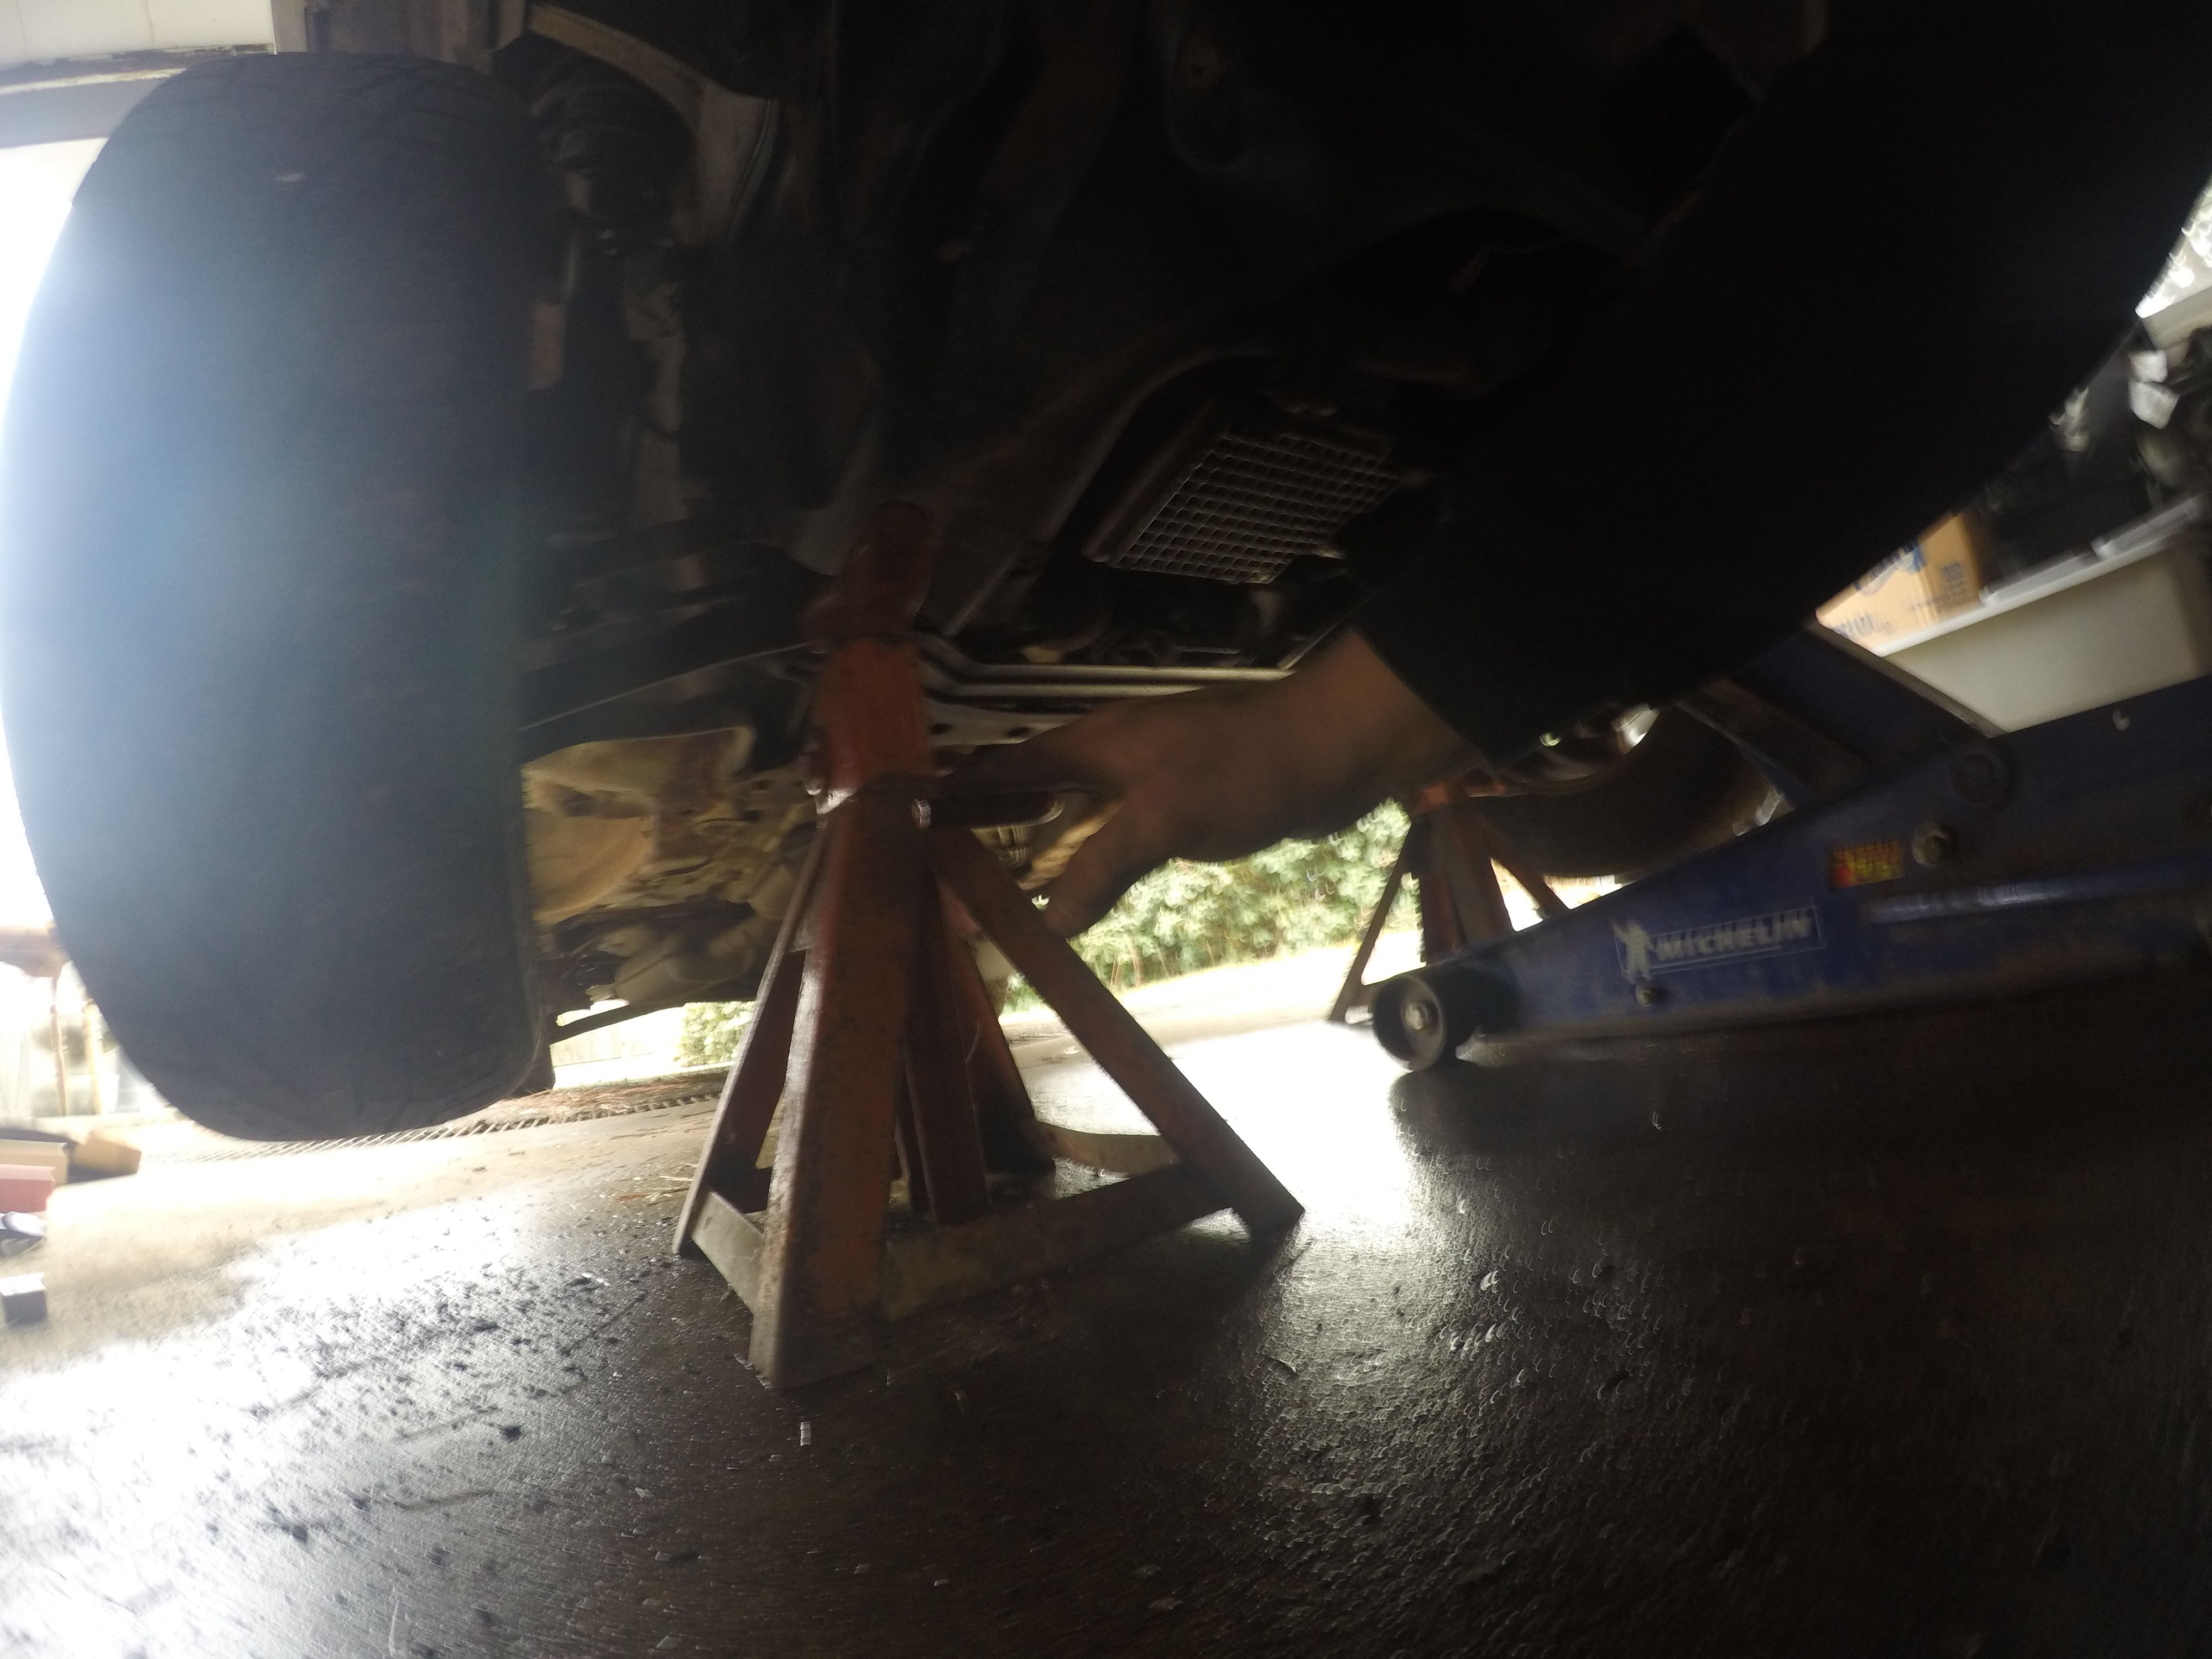
Place jack stands under solid points of the frame/suspension. Let the jack down to put the weight on the jack stands.
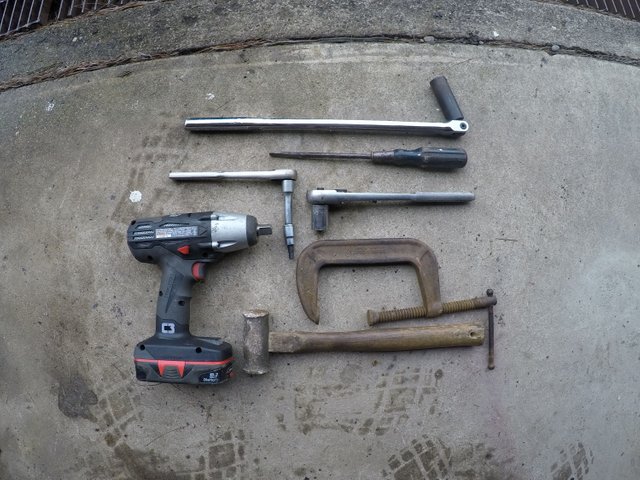
Gather the tools you'll need. The breaker bar has a 19 mm impact socket on it. I used both the electric impact driver and the breaker bar to remove the tires. The 1/2" drive ratchet has the 18 mm socket on it for the caliper mounts. The 3/8" drive has a 7 mm allen head socket. You'll also notice the hammer, the screwdriver and the c-clamp.

Remove the tires.
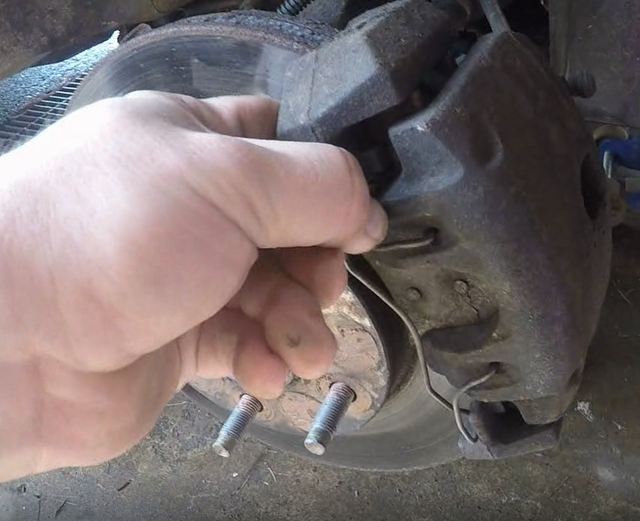
Remove the retainer clip from the caliper.
Remove the plastic covers from the two 7 mm allen head slide bolts that the caliper rides on.
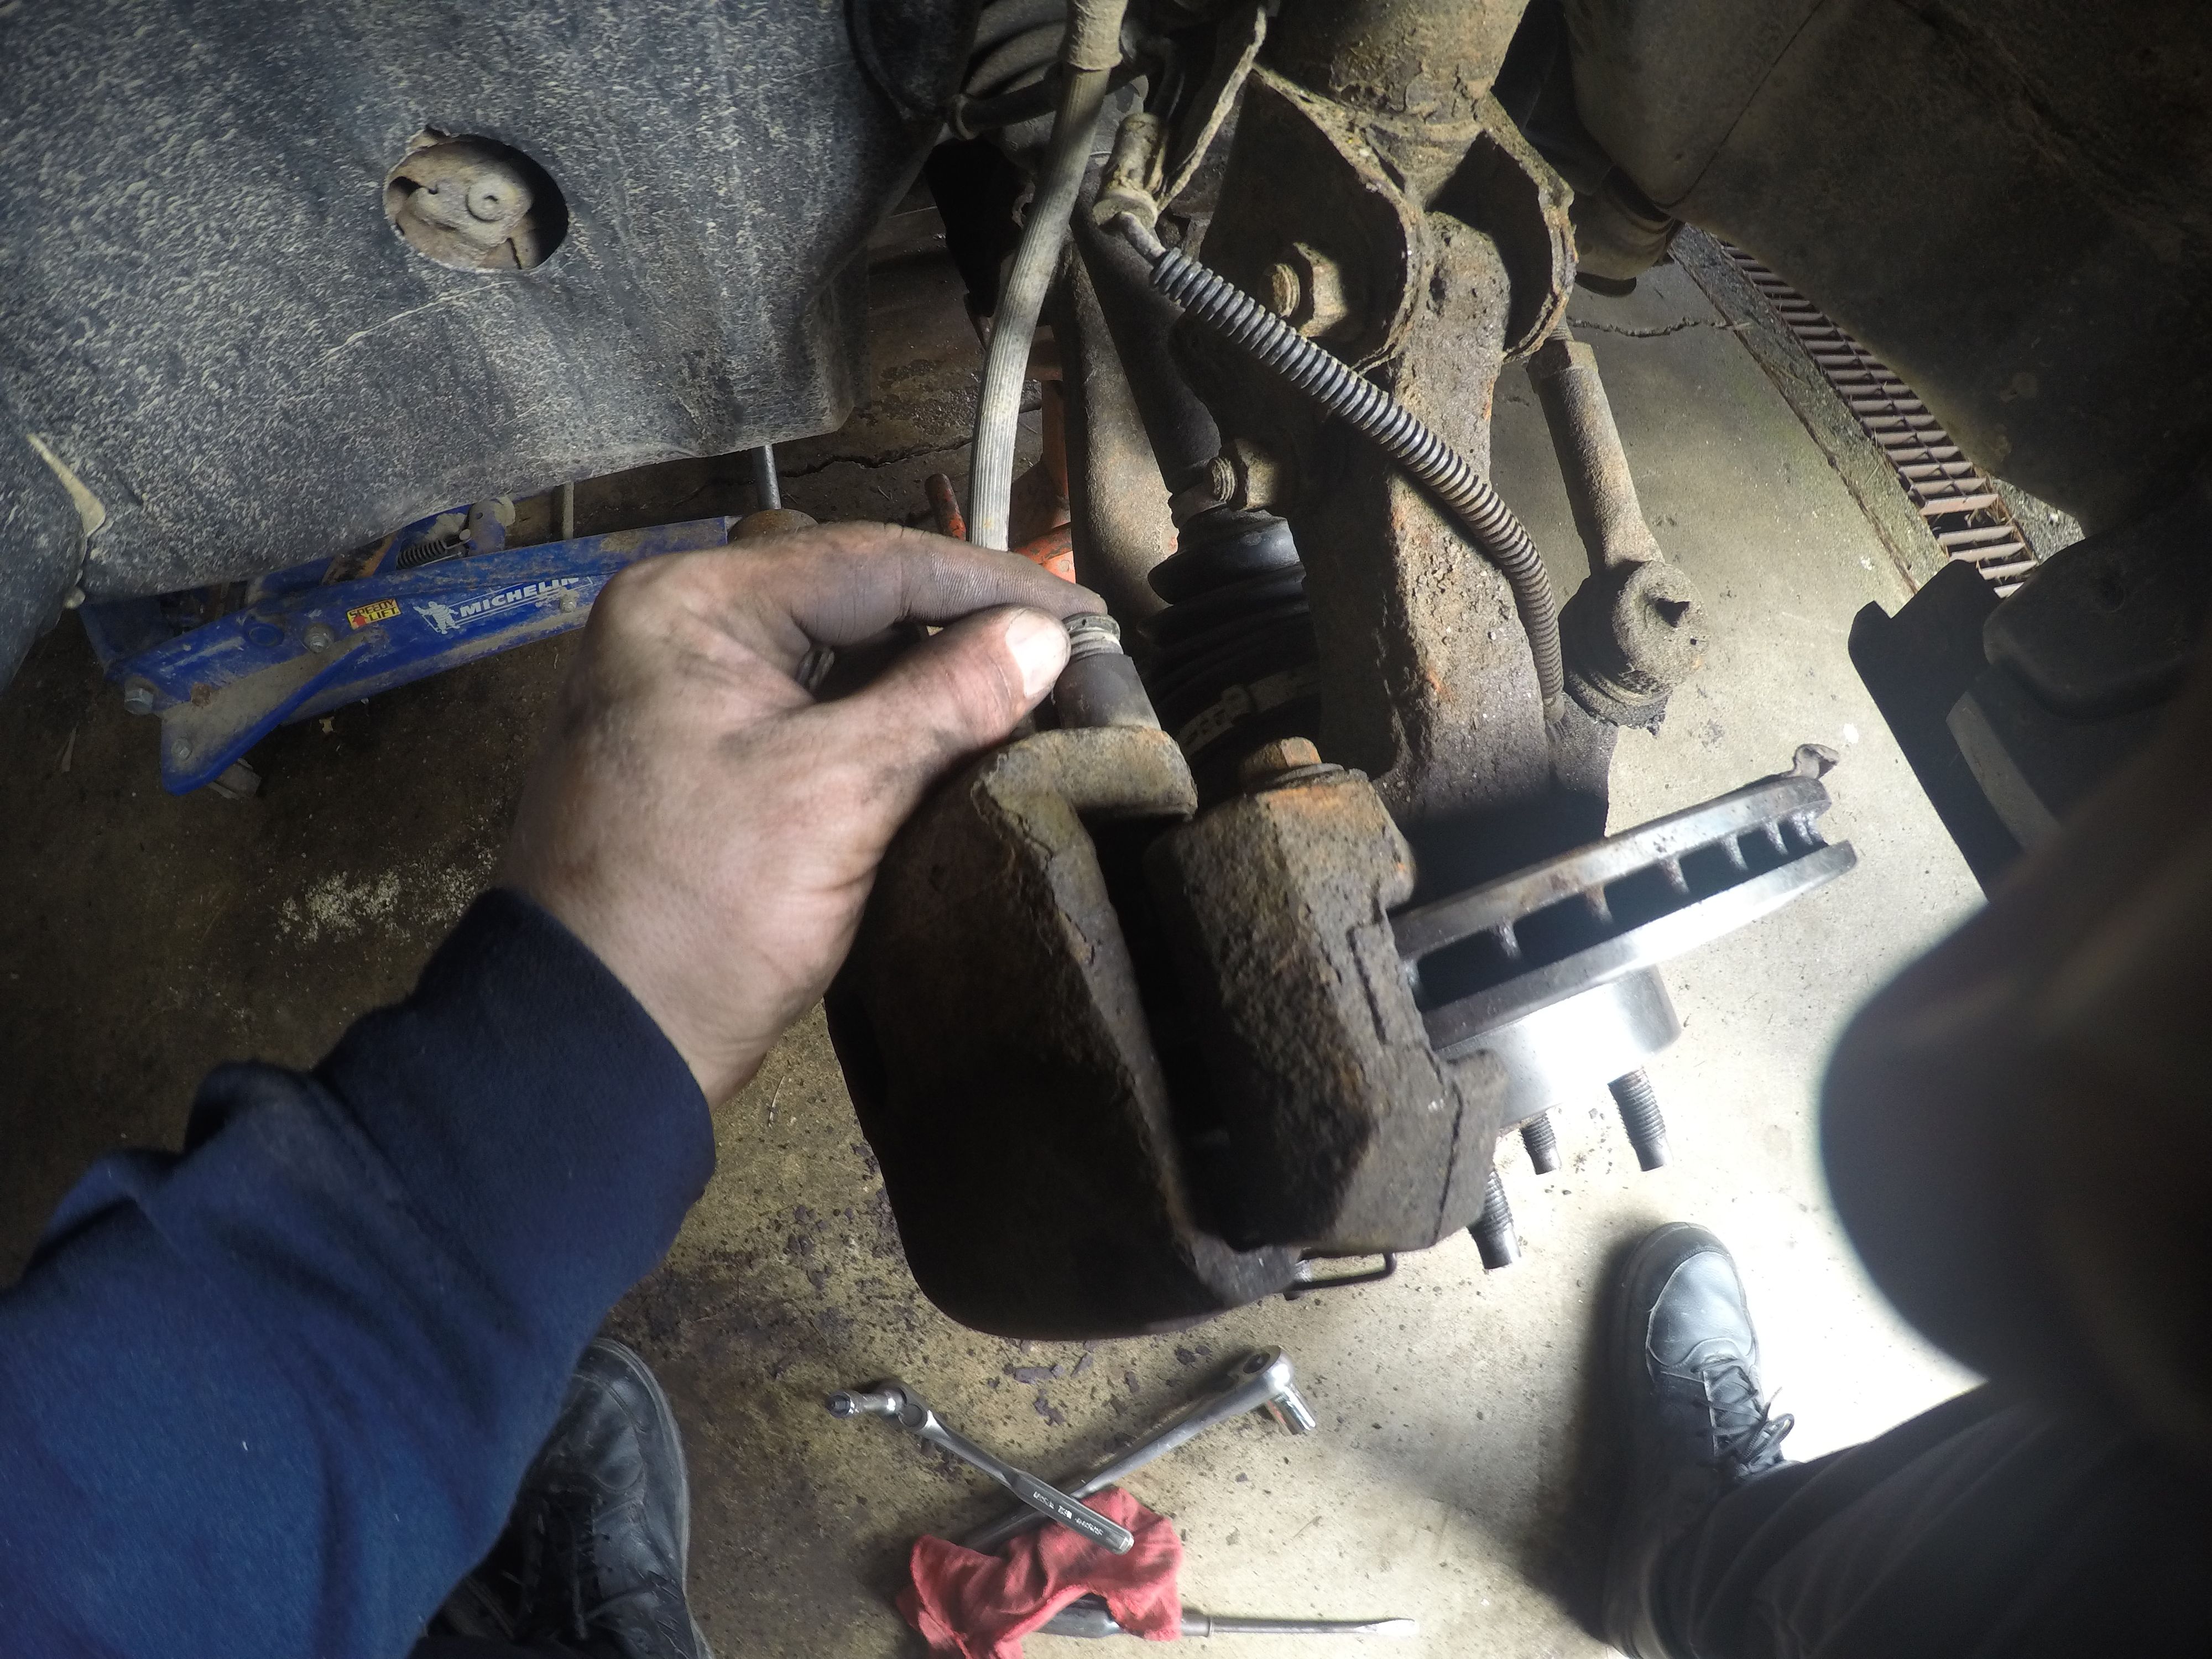
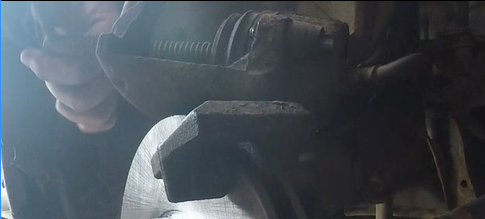
Remove the 7 mm Allen Head Slide bolts. This picture is actually of reassembly (as noted by the new rotor already installed) but is used for illustrative purposes.
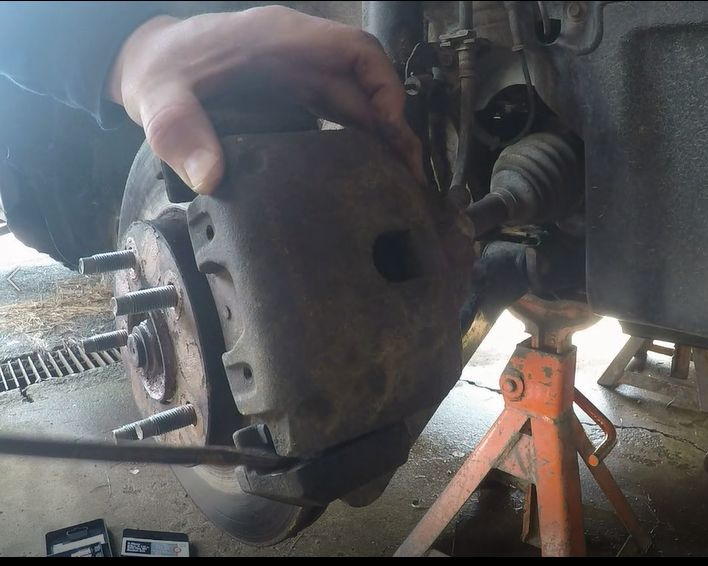
Use your screwdriver to work the caliper off the rotor.
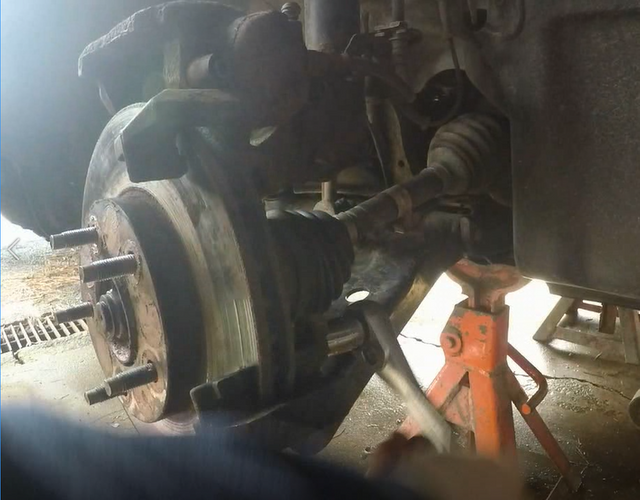
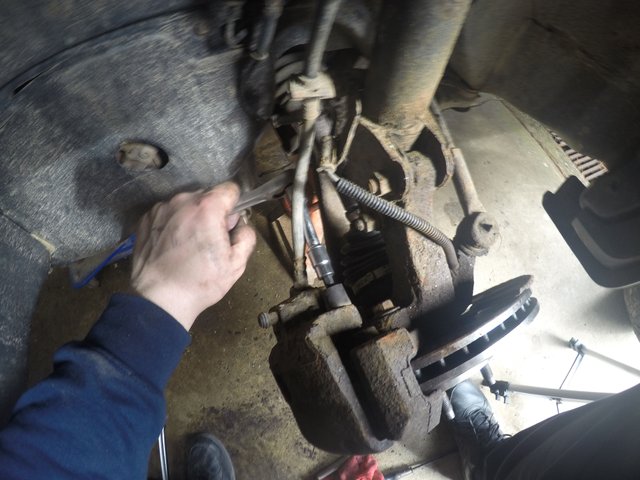
Use the 18 mm 1/2" drive to take off the caliper mount. There are two bolts holding it on.
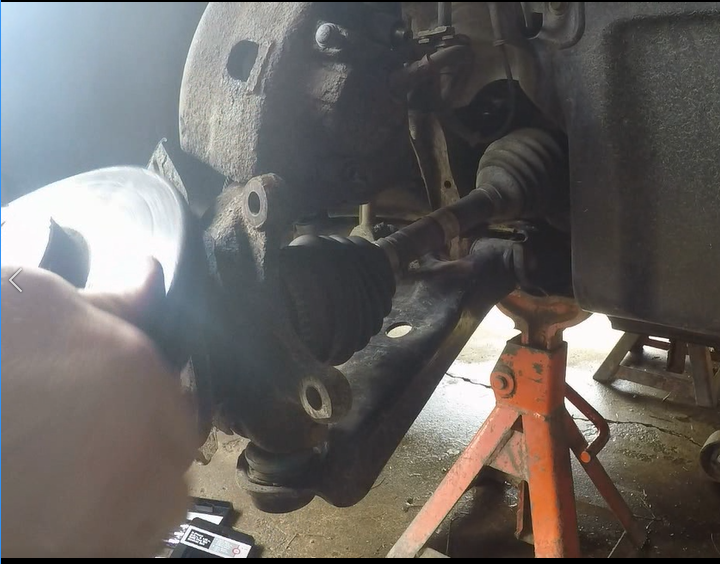
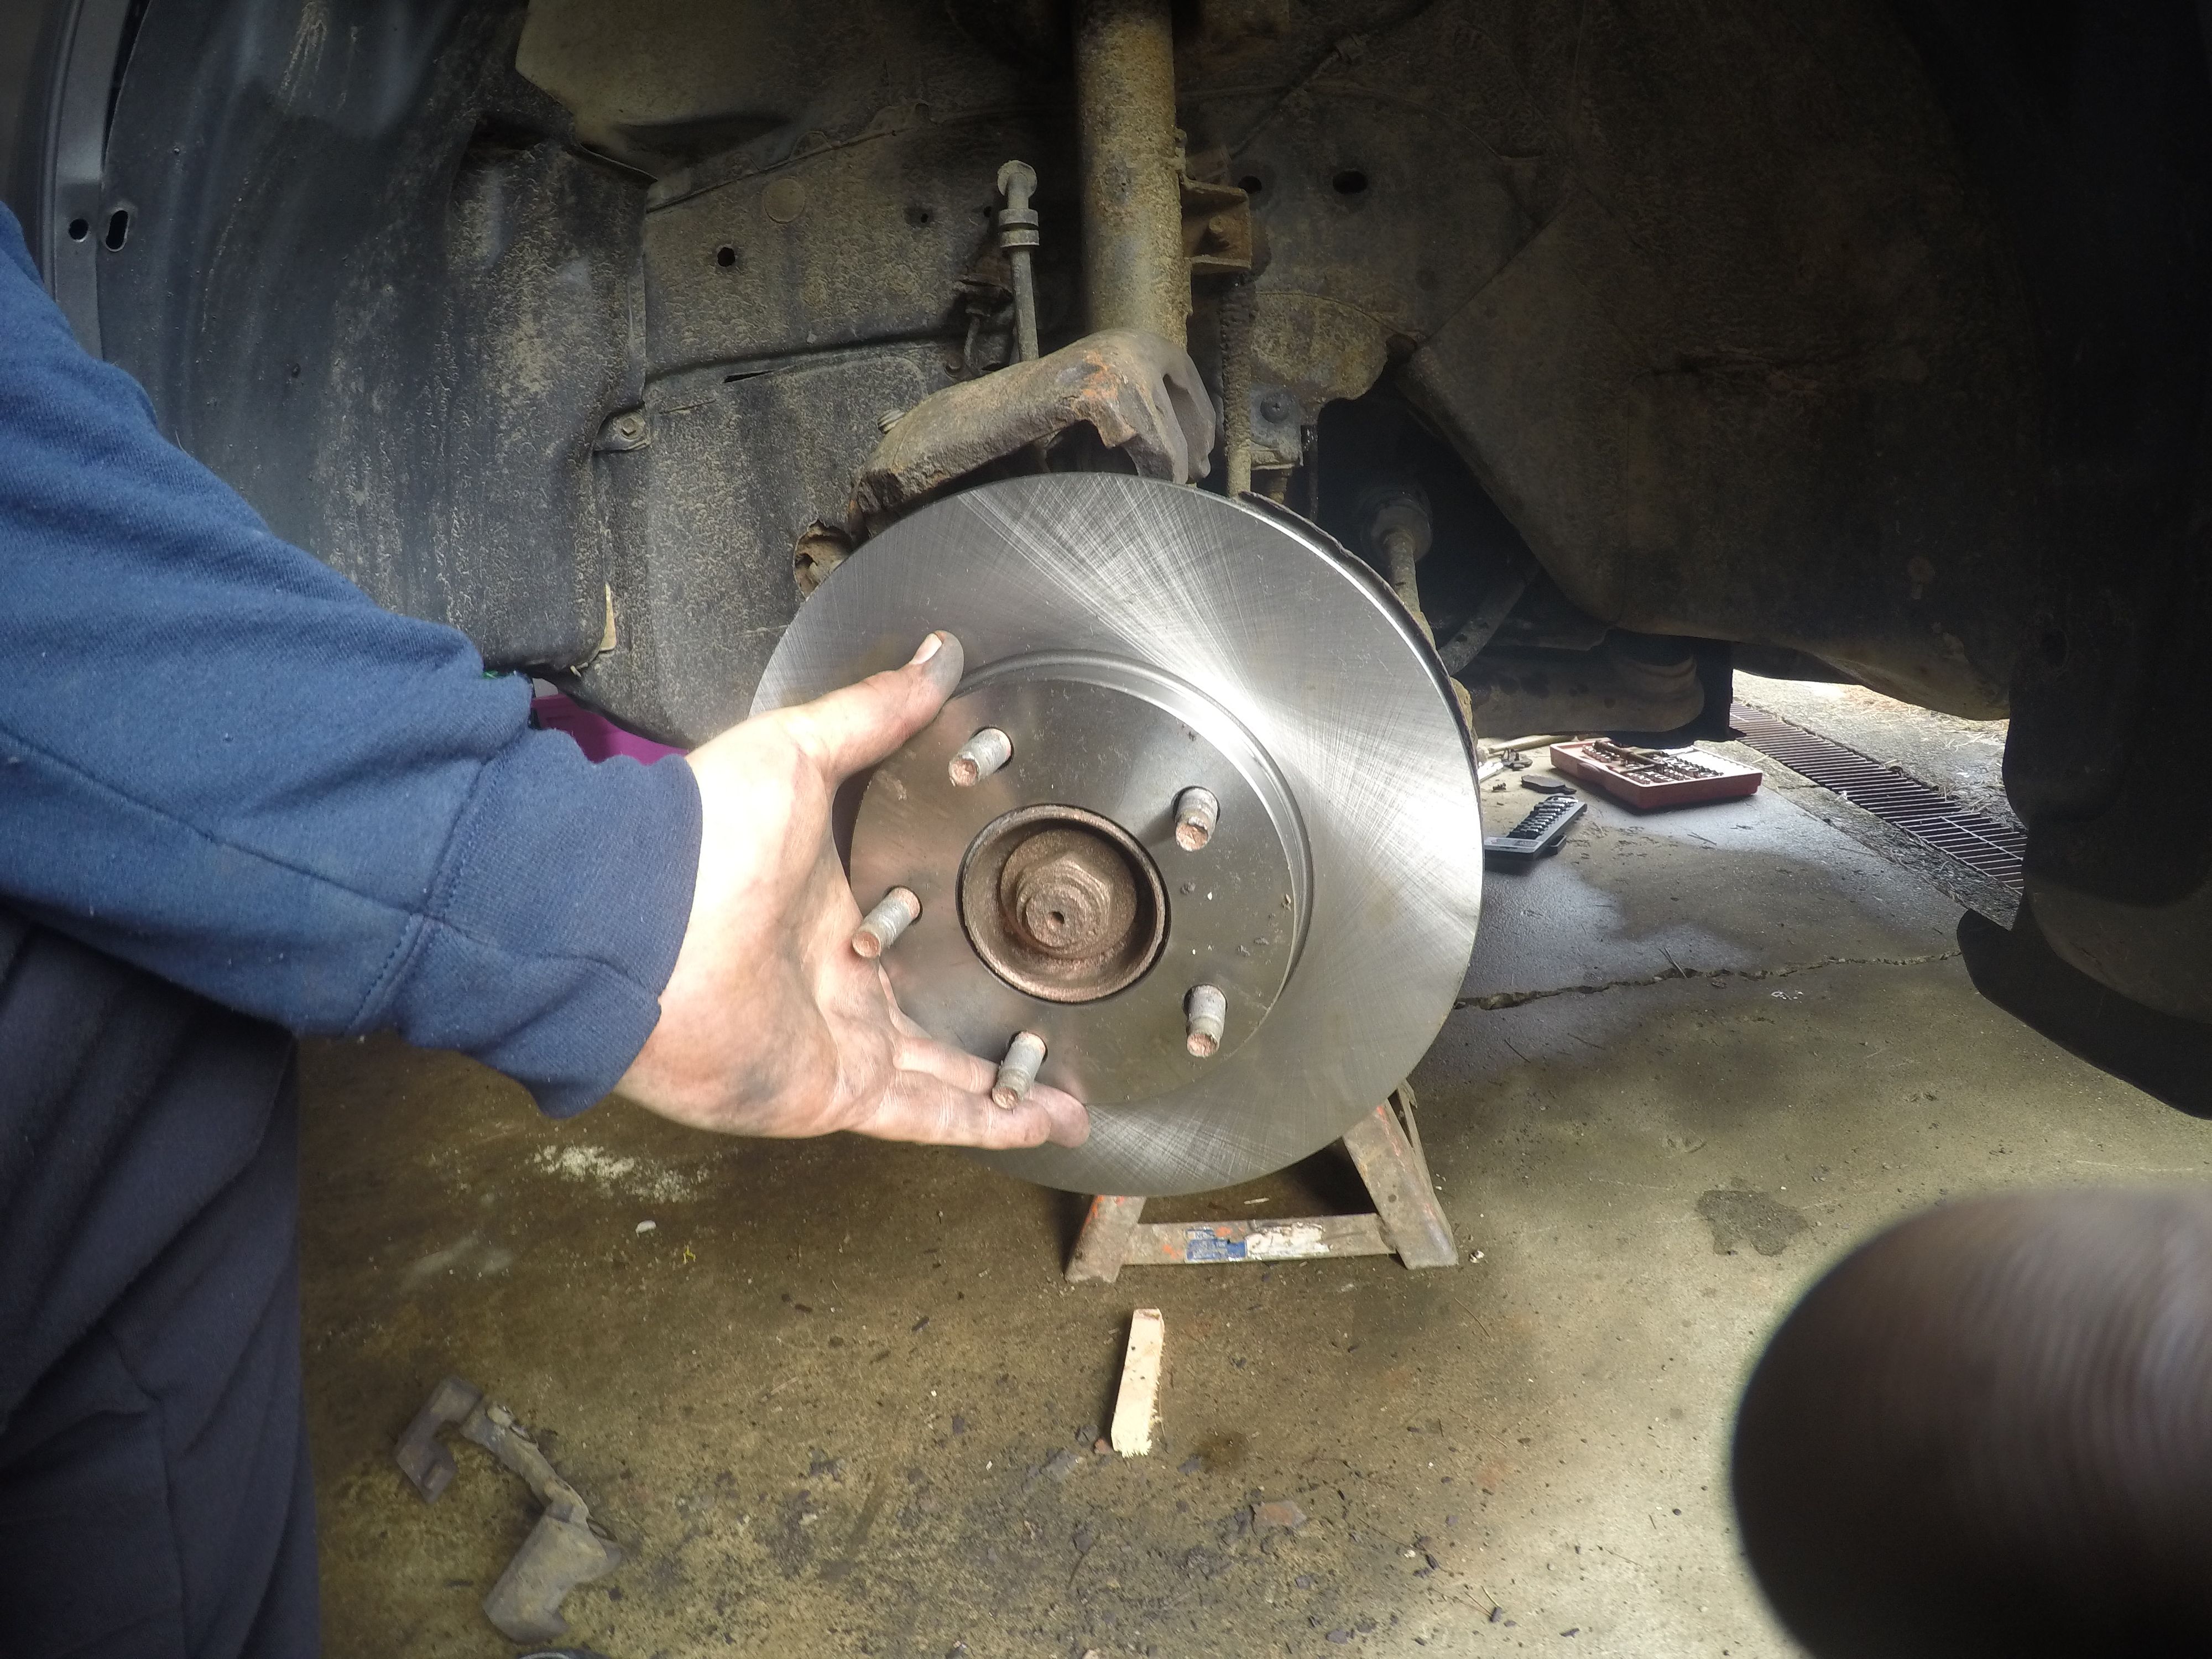
Pull the rotor off and review it. More details in the video.
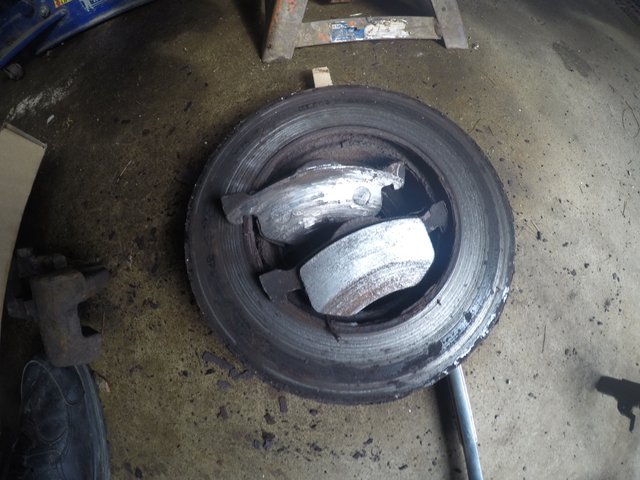
These pads were down to metal. My daughter has been driving about 70 miles round trip daily for school and work. I should have been checking these sooner. The rotors were thick enough to turn most likely (I saved them for later use) but I replaced with new rotors.
Install new rotors.

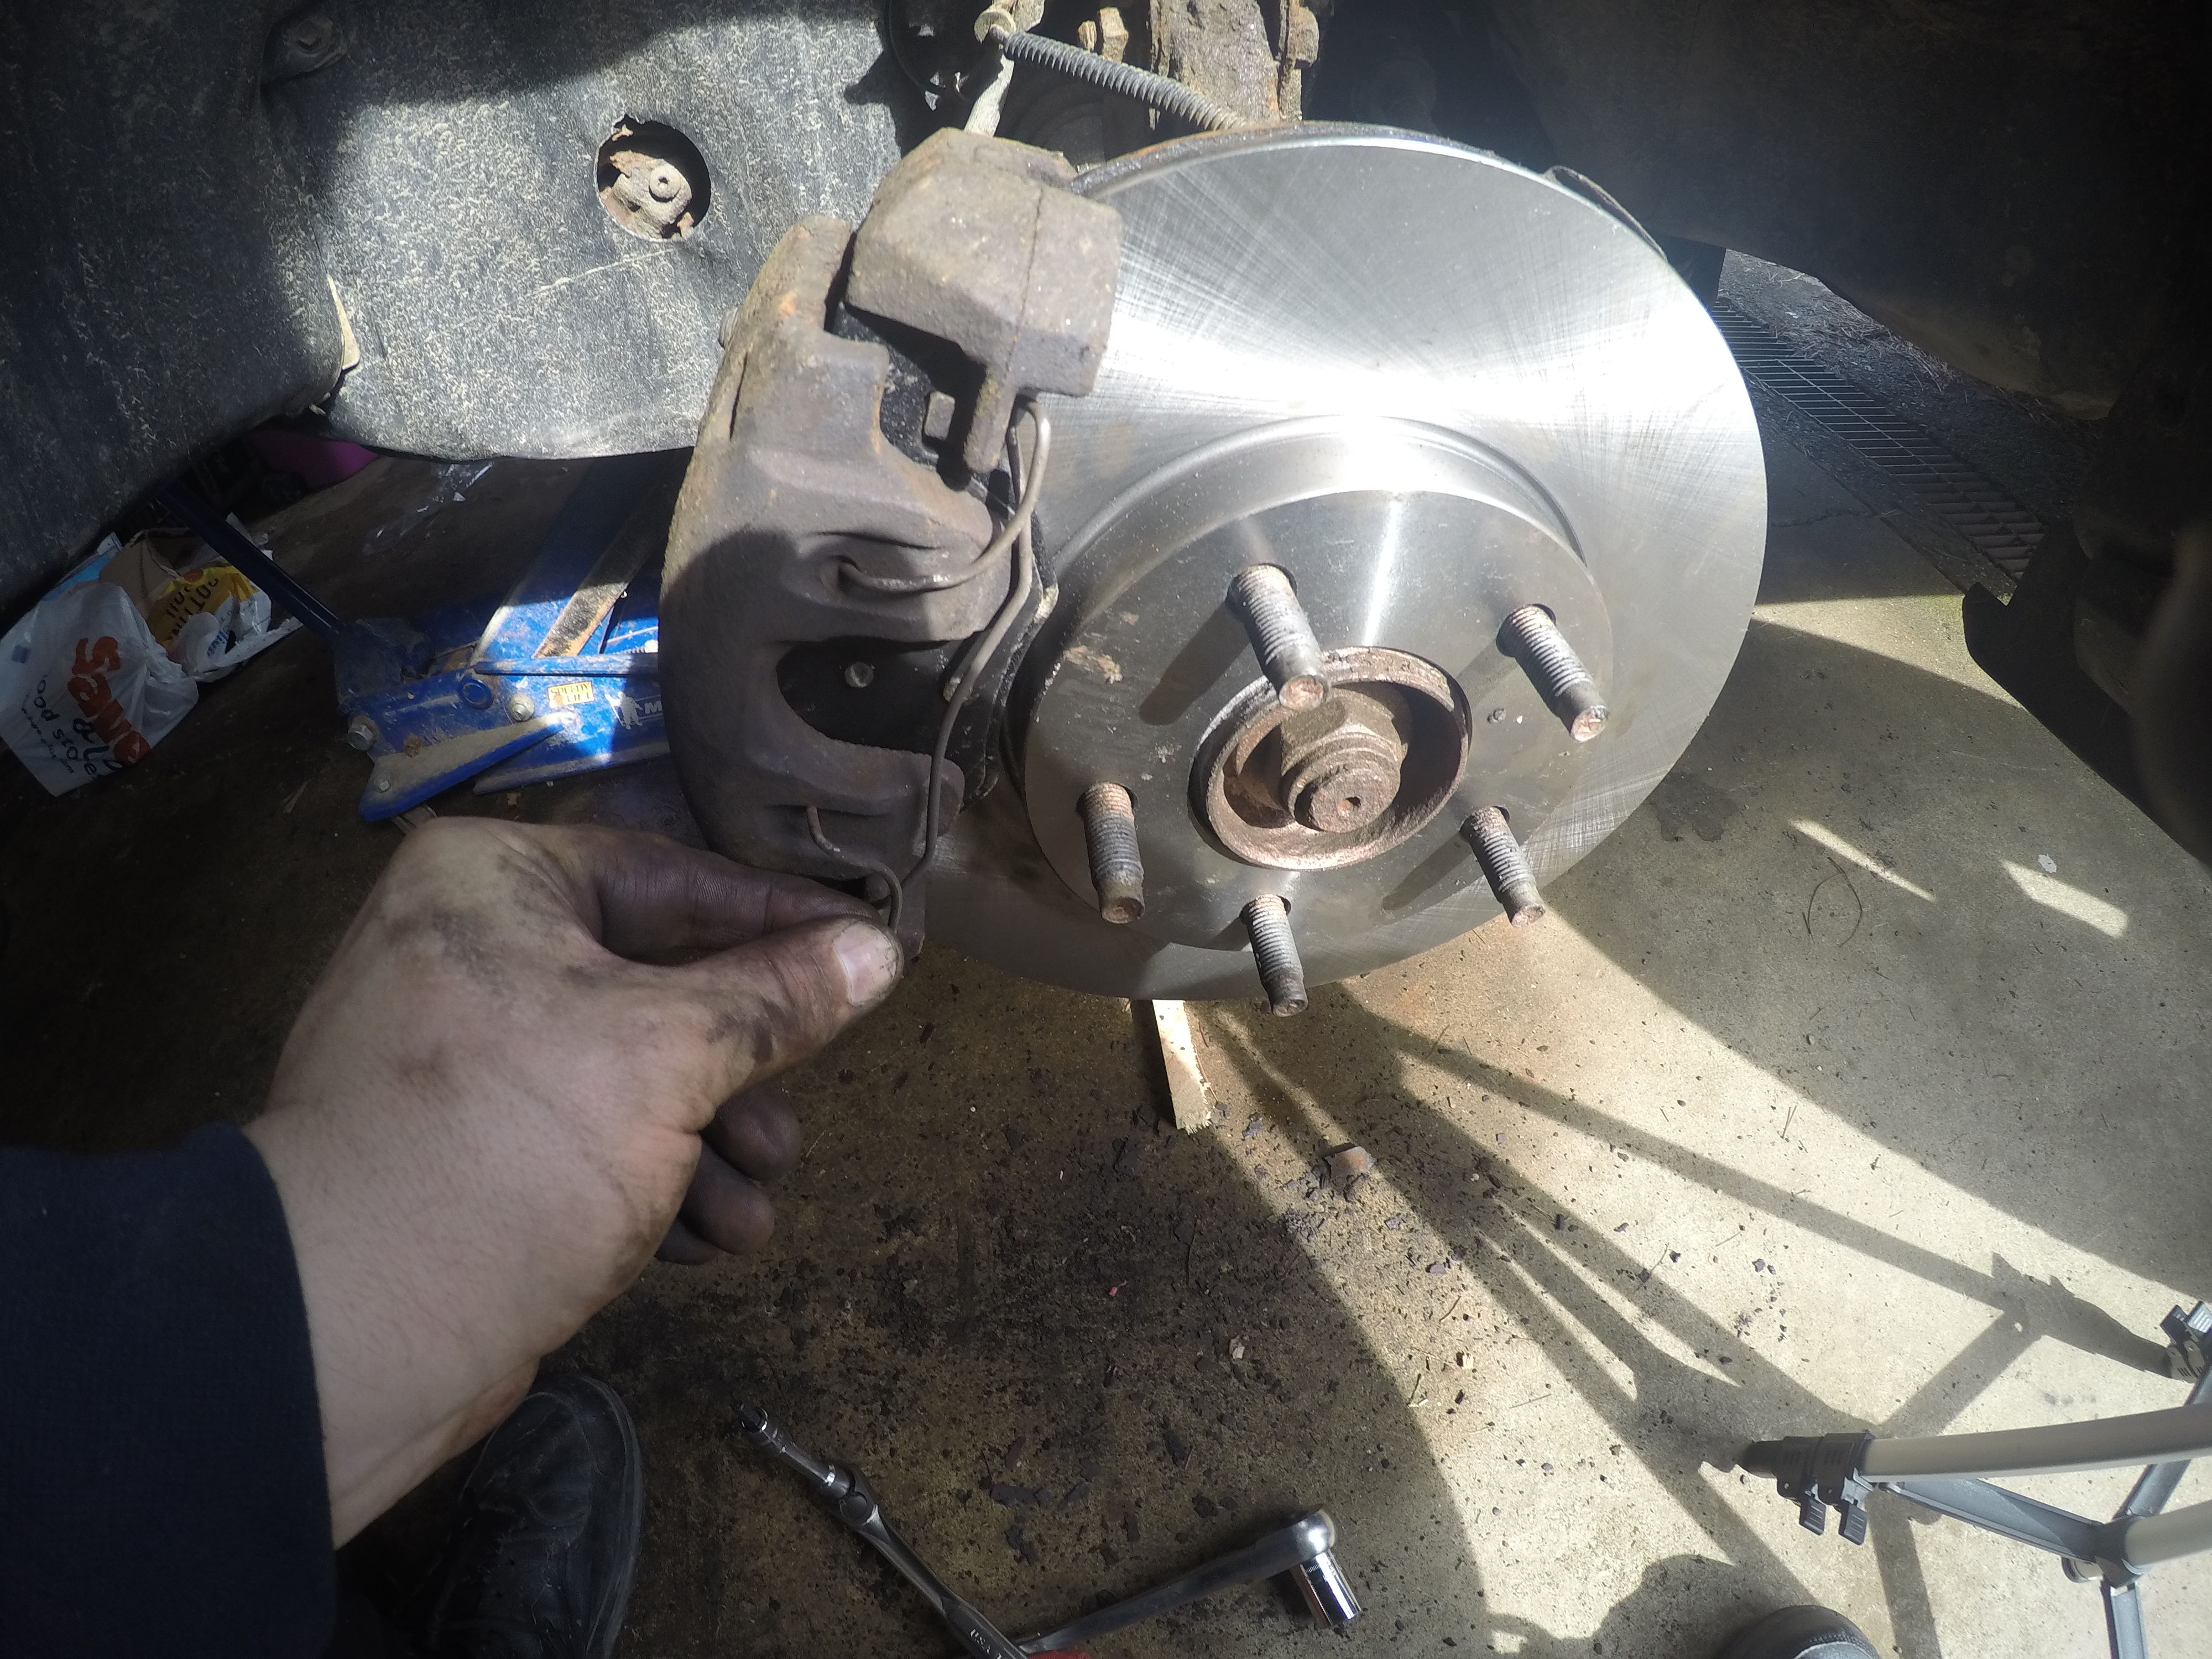
Reinstall the caliper mount with the two bolts.
(not the best picture, but the C-clamp is used to compress the cylinder on the caliper if necessary.
Install the new pads and the caliper back over the rotor and reattach to the caliper mount with the 7 mm allen head socket.
Reinstall the retainer clip.
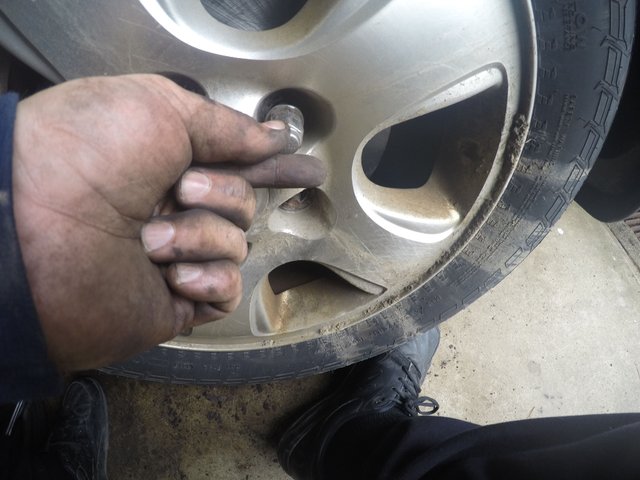
Reinstall the tires to the recommended torque.
Jack back up to remove the jack stands. Once out, let the jack stands down. Check your brake reservoir. Top off as necessary. Close the hood.
IMPORTANT
You must now pump your brakes to push the caliper cylinder back out. Check your brake fluid level after they are engaged.
You've changed your brakes and rotors! Good job!

Remember: GROW WHERE YOU ARE!
*If you found this helpful, thought-provoking or just plain entertaining , please consider resteeming it, upvoting it, following me and leave a comment!