Keeping it Cool: Building a Walk-In Cooler on a Budget
This is probably the most important piece of infrastructure on our farm. Not only does it let us cool down our produce immediately after harvest, it also allows us to delay our microgreen harvest if our shoots are running a little ahead. Our walk-in is a 10x10 that I picked up before we made the move from Chicago. In fact, if you check out the video posted in Our Farmstead Journey Part 2, you'll see me fixing a flat on a trailer that is loaded to the brim with cooler panels.
I did a lot of scrounging on craigslist before I found a guy selling a complete kit for $500. For something that size it was the lowest price I'd seen and I jumped on it. However since it was from on old pizza parlor it didn't come with a floor. Luckily after we made the move down I was able to find a guy a couple hours away selling random cooler panels and I decided to take what I could haul and make a floor out of that. Below is a step-by-step guide to putting one of those coolers together and tips for extending the shelf-life of your harvest.
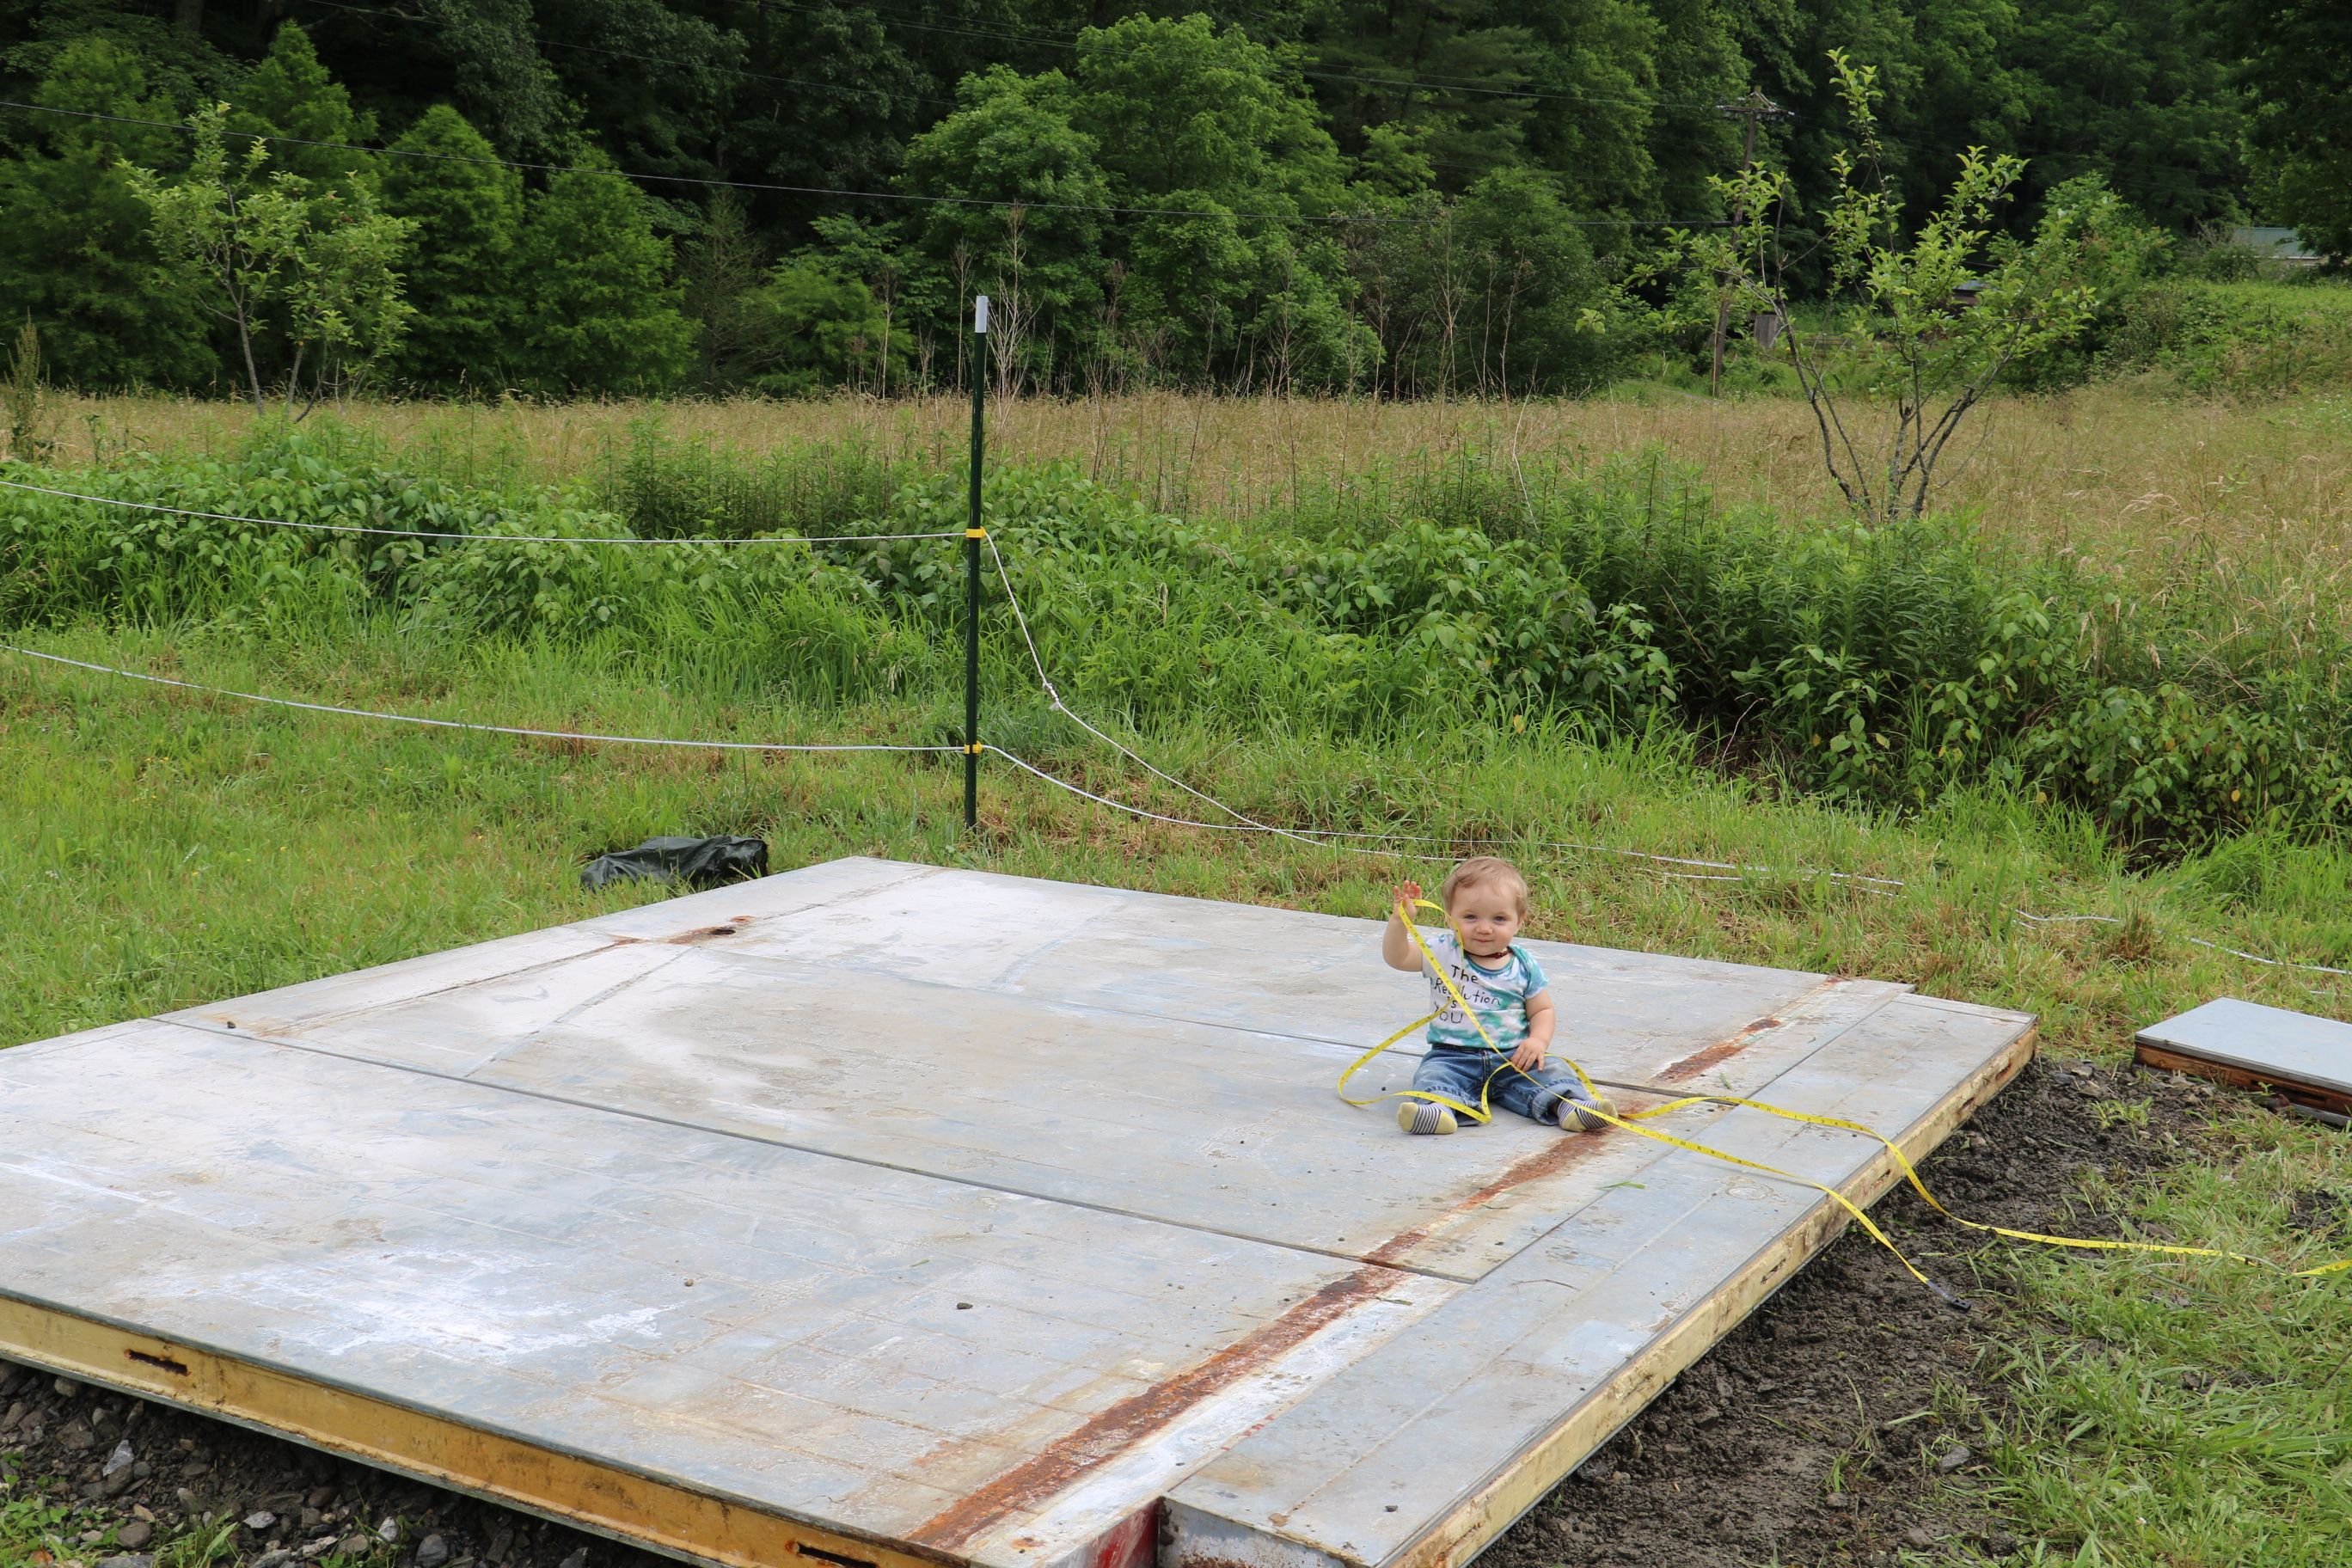
1. Lay the Foundation
So we don't have a lot of 'flat' land where we live and so this part was a little interesting. The spot where I wanted the cooler has a bit of a drop off and so I got a couple tons of road bond and made it as level as I could. It still had a bit of a slope, but this was actually a good thing as you want a slight slope towards the door so that any water can be pushed out. Once our foundation was in place it was time to lay the floor. I rounded up three ceiling pieces from the random panel set and laid them side by side. The each panel has these connector hooks that slide out when turned with an allen wrench. I connected each to each other and then laid a random 1x10 piece at the end to give extra support.
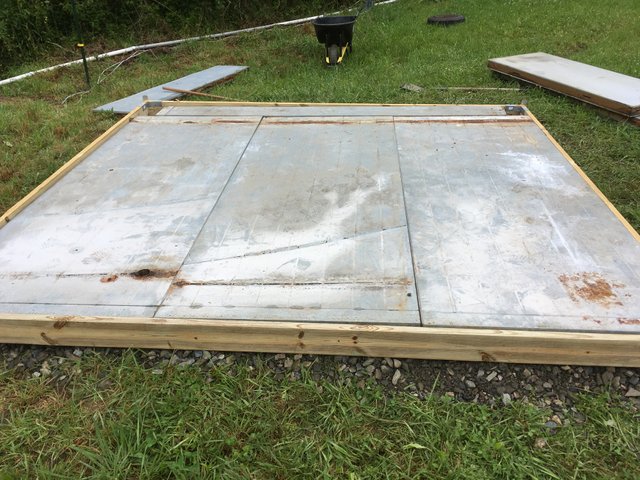
The next step was to frame the foundation to keep it from coming apart over time. This was accomplished with 2x6 pressure-treated boards and some Simpson Strong Tie Connectors like these.
Now I should mention this whole step could be completely avoided by just pouring concrete. However, since we are currently leasing this property we decided to go with a more impermanent design. Also the R-value on a concrete slab isn't bad, but the R-value on a cooler panel floor is much better.
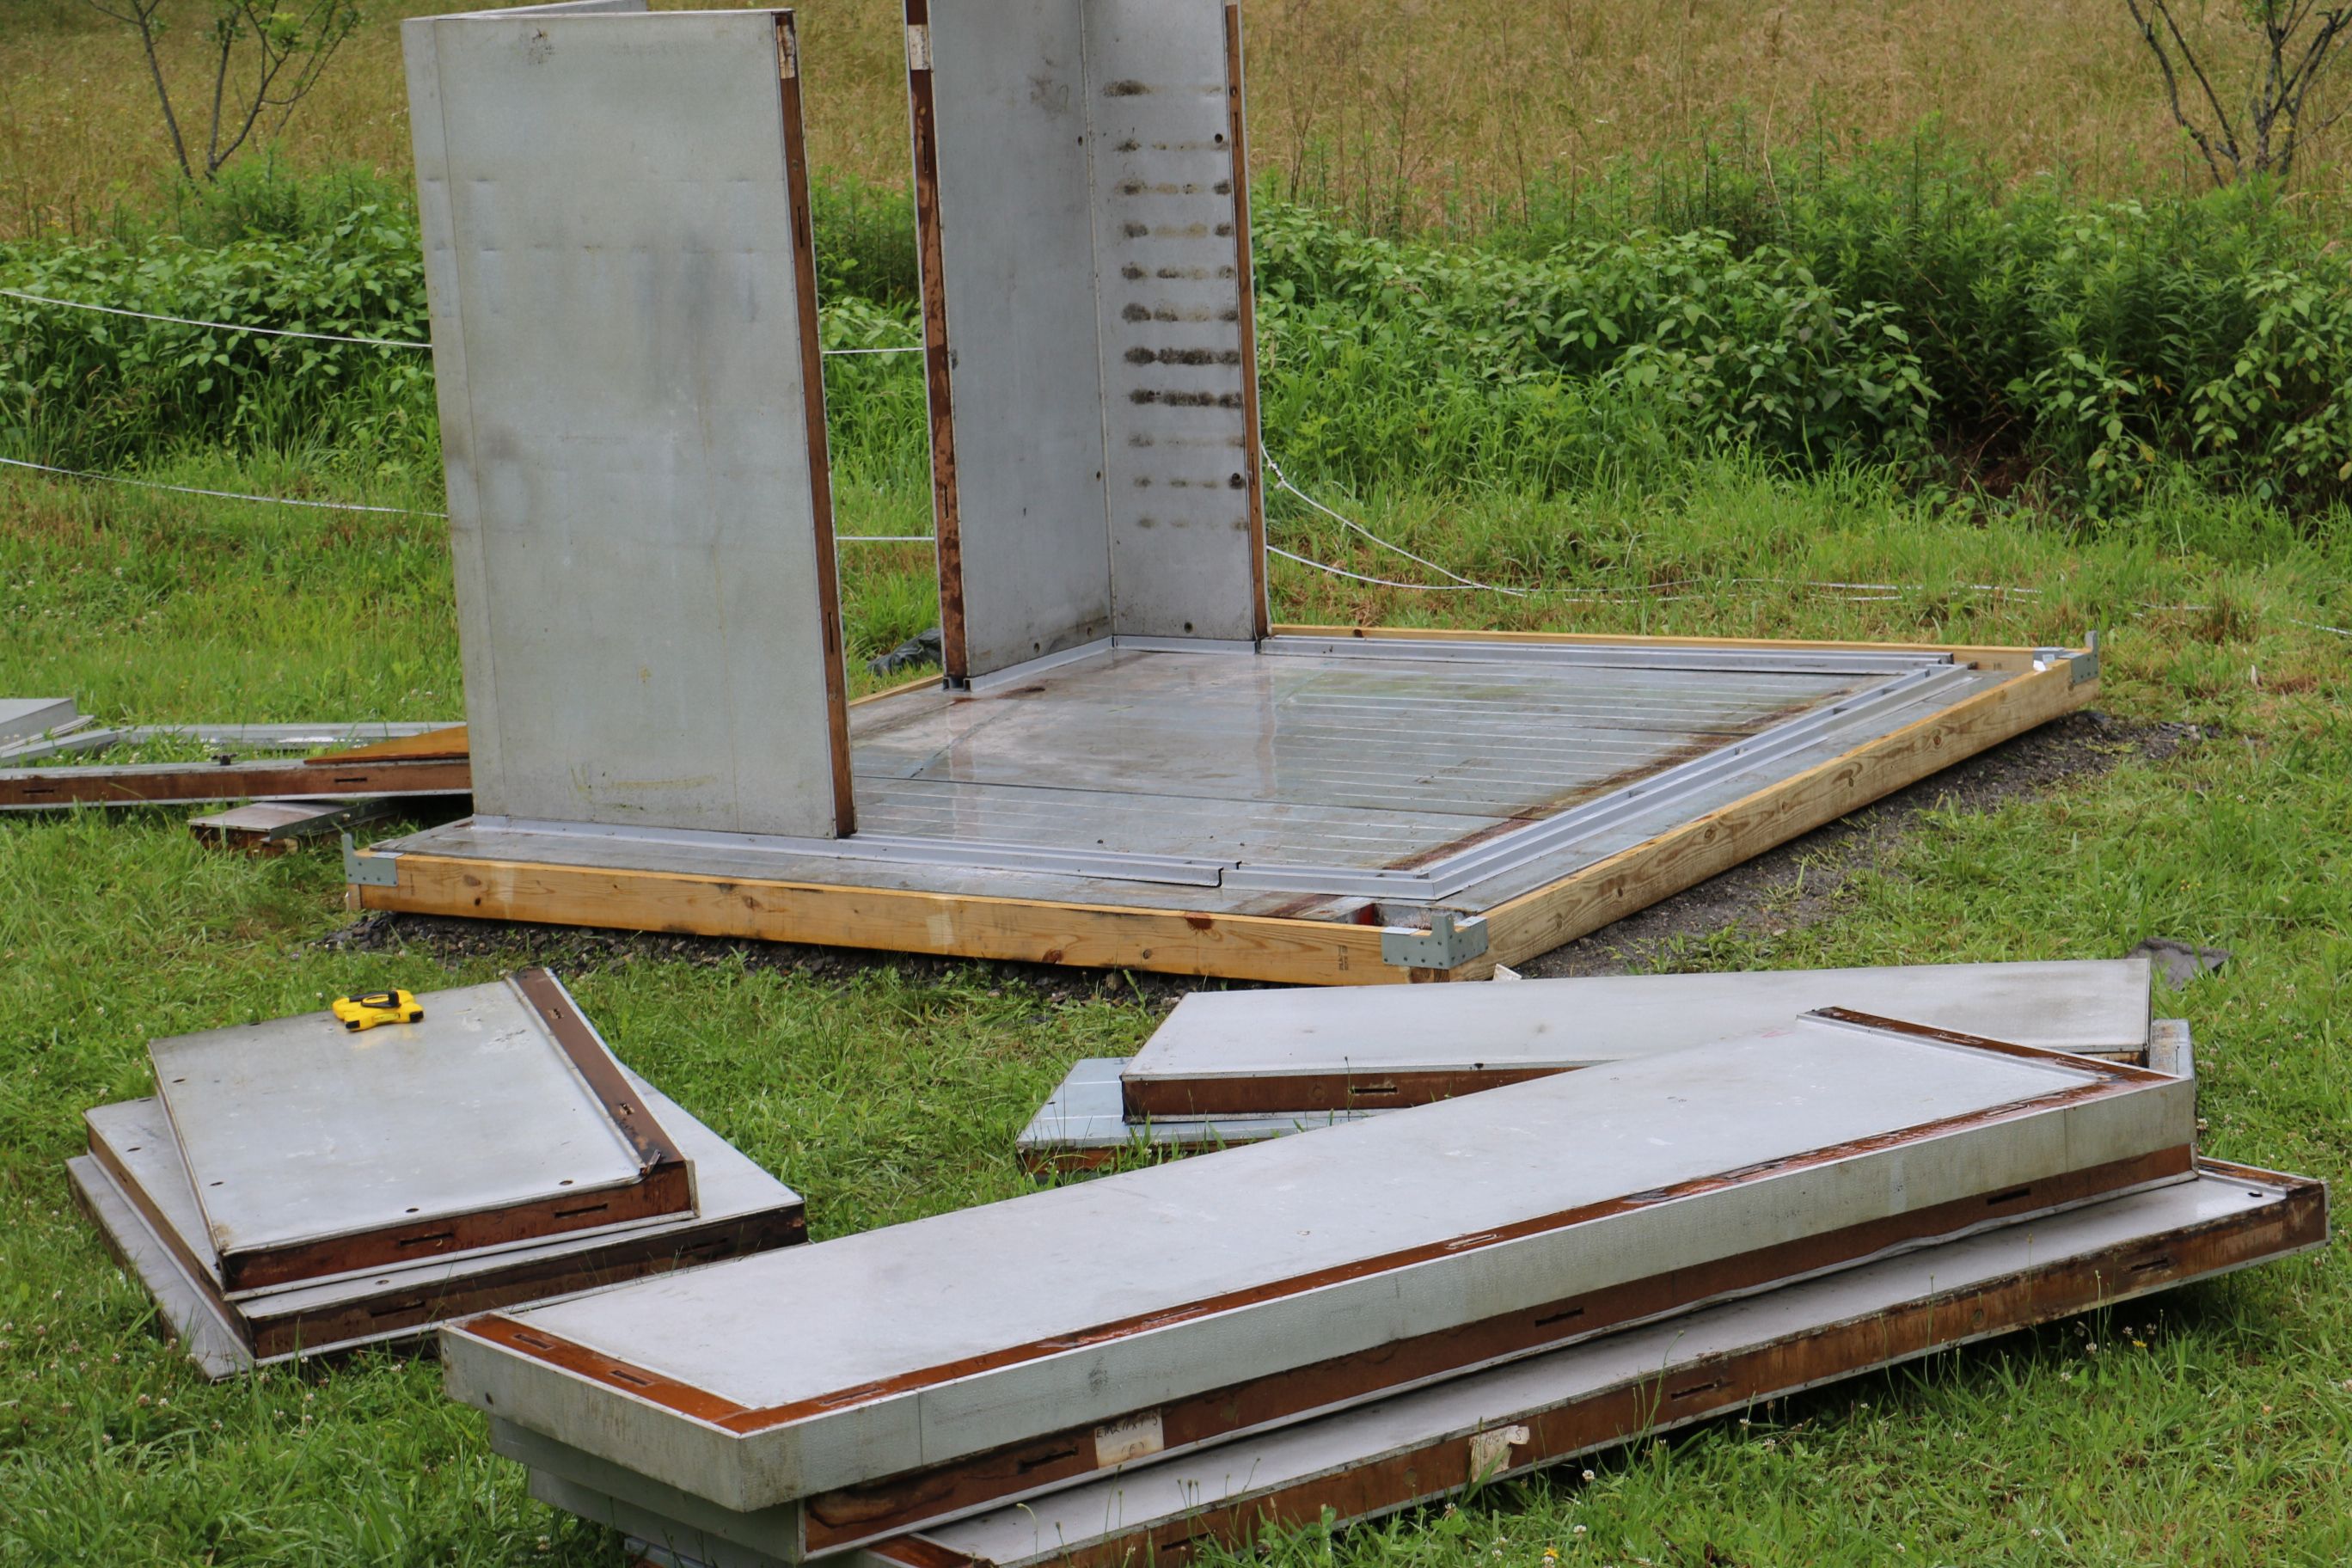
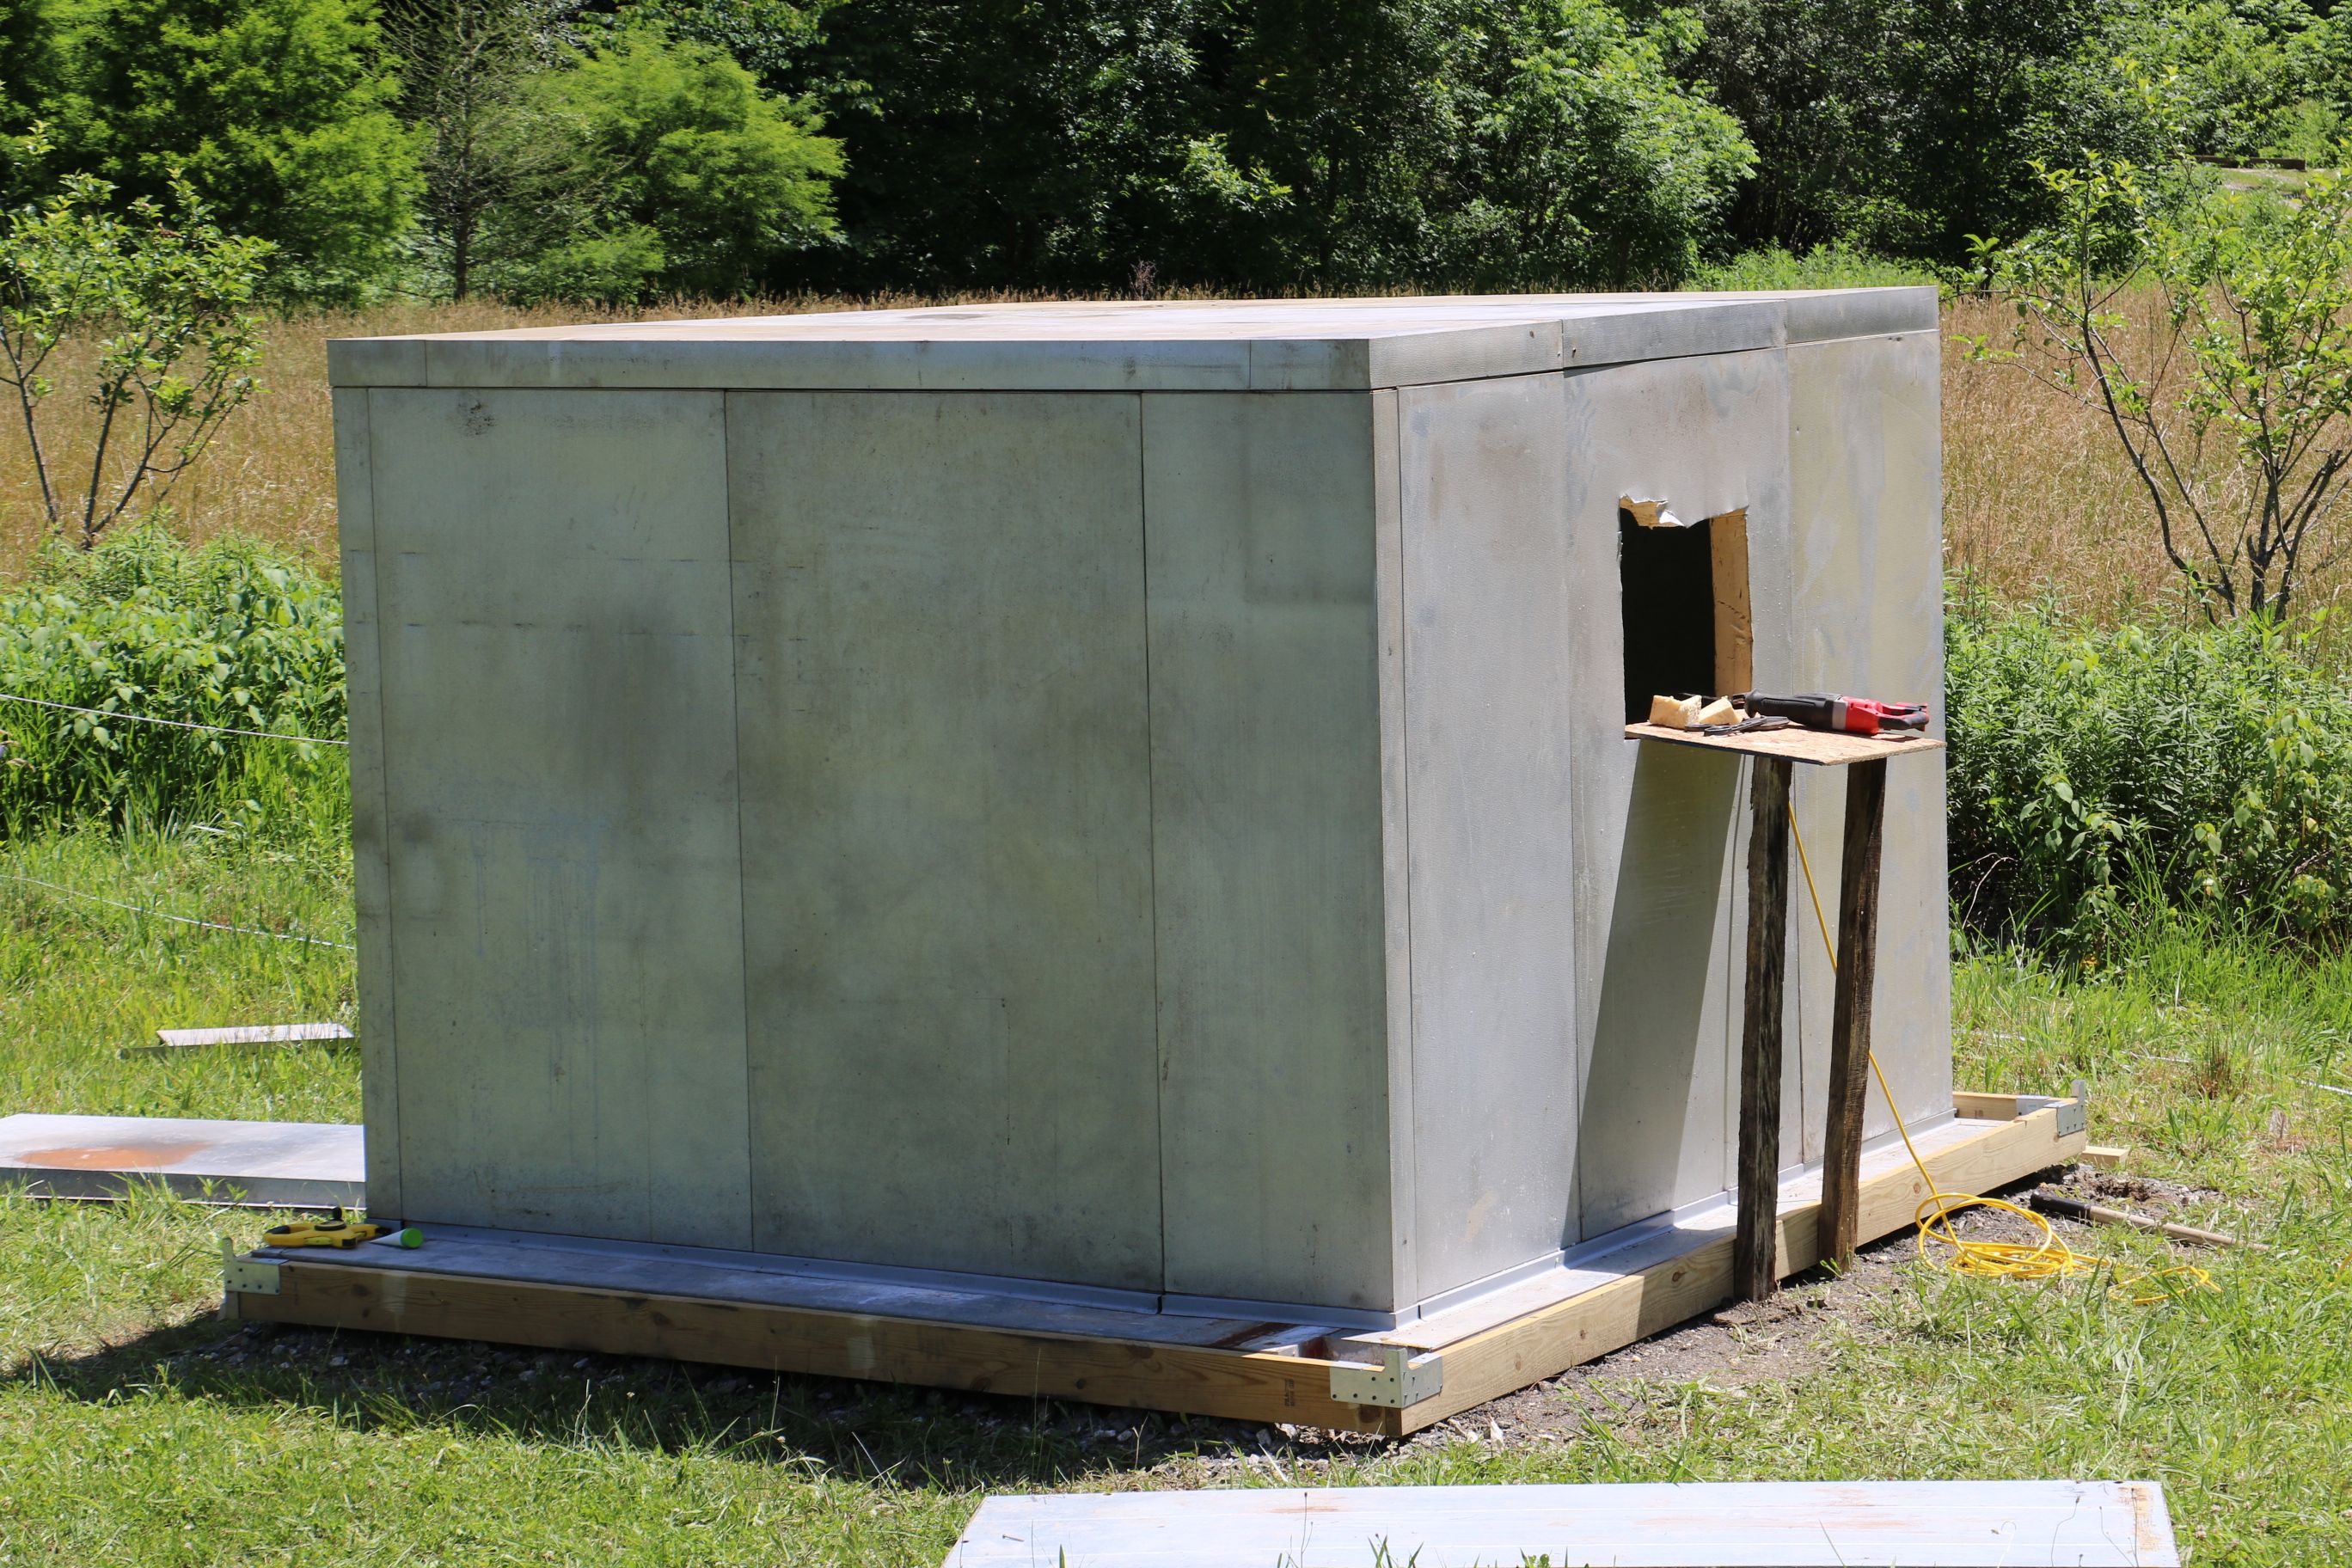
2. Connecting the Panels
Once the floor was in place it was really just a matter of standing up the panels and connecting one to the next. This was fairly easy especially because the panels were labeled and it was just a matter of lining them up and turning an allen wrench to latch them to each other. We put up everything but the panel that would be housing the AC unit. For this I took a Sawzall and a circular saw and cut out a square for the unit to slide into. Once we had this piece we slid it in place and laid the roof which latches just the same as the rest of the panels.
Side note: According to US Cooler, polyurethane foam loses 75% of its R-value in the first five years, whereas Extruded Polystyrene loses only 25%. After this it stabilizes and doesn't degrade any further. Due to the fact that these panels were over five years old I was a bit concerned about these panels lacking the necessary insualative qualities to keep a consistent temperature, but this has so far not been the case.
3. Setting up the AC Unit and CoolBot
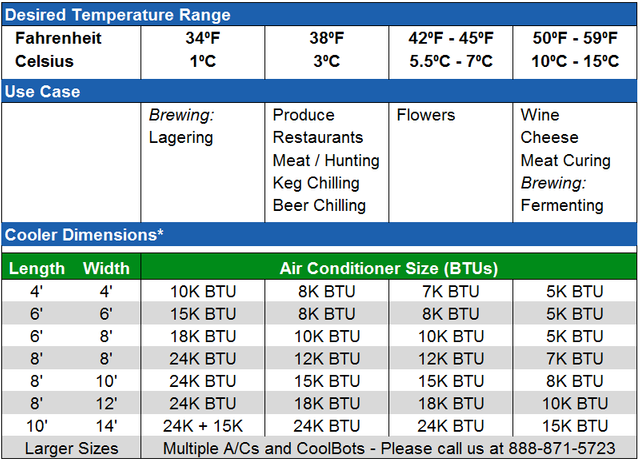
Now for anyone who is unfamiliar with the Coolbot, it is one of the most game-changing technologies to emerge for small farmer's in the past 10 years. Since most AC units will only go down to 60 degrees, the Coolbot 'tricks' the AC into thinking it's warmer than it is. This allows you to get the temperature down as low as 36 degrees which is a perfect temperature for salad greens and other crops. It also has an anti-frost sensor that keeps the AC coils from freezing up. The CoolBot can be attached to most AC units so long as they're digital. The specs for what size AC to get for your walk-in cooler is listed below courtesy of Store It Cold.
The Coolbot itself is very easy to set up. There's a short video on the manufacture's website and can easily be done in ten minutes or less.
Due to the bootstrapping nature of our operation, I decided to buy a used AC unit on craigslist. This turned out to be a bad idea as the compressor on it was broken and I ended up going to Lowe's anyway and purchasing a brand new unit. However I forgot to take into account the voltage requirements for such an 18000 BTU AC and since our power line is 125V, I had to hire an electrician to come out and run a 225V line to the cooler. While I was at it I decided to also install a motion-sensor light on the inside of the cooler so that we could see what we're doing with the door closed. With the electronics in place all that was left was to spray foam around the AC unit and caulk the seams with a mold-resistent silicon. The caulk was an optional step, but it didn't cost much and I figured it would only further serve to insulate the cooler.
Now the moment of truth. I turned on the AC, put it on "cool" mode and set the CoolBot to 36 degrees. I let the cooler do it's thing and went to finish up some farm chores. When I returned it was a perfect 36 degrees inside. On a hot summer day I'll find excuses to slip inside there and cool down for a bit. And as I mentioned above, if our microgreens are running ahead of schedule we'll pop them in there for a day or so to stop their growth. However the biggest advantage to having this cooler is being able to significantly extend the shelf-life of our greens by removing the field heat immediately after harvest. This allows us to present our customers with a high-quality product that will last for weeks as opposed to days. Like I said above, this is hands down the most important piece of infrastructure in our whole operation and I wouldn't consider farming without it.
Anyway that's my write up for this one. Hope ya'll enjoyed it and if you have any questions don't hesitate to ask. Also if you want to a visual of the whole process (including a pretty cool time-lapse) check out the video below. Lastly, if you think you might like to build a walk-in cooler of your own, use this link to get $20 off on a CoolBot. You save $20 and we get $20 so it's a win-win. Thanks for reading!
That turned out very nice and you did a great job with the assembly... i hadn't heard of CoolBot so thanks for that information as well
Thank you. Yeah the company that makes it is Store It Cold and offers some really great customer support.
I hadn't heard of the CoolBot before this either, such a neat product. I'll be curious to know how it holds up over time also. Another great post, thanks for sharing your experiences.
Thank you for the kind words. You were actually the impetus for putting this post out so I hope it was helpful. As for the CoolBot holding up I'm not too worried. I know a lot of farmers that use these and I've never heard anything but good things
This a pretty awesome cooler! I have been thinking of one for veggies and cheese. You have provided me with inspiration. Thanks for sharing...
Thanks for reading! Glad you were able to get something out of it. If you do end up building one yourself feel free to reach out with any questions. Good luck!
Thanks. I will.
Resteemed by @steemvote - send only 0.5 SBD to get your post resteemed to 1,8K follower and receive Bonus-Upvotes
Congratulations @greenshiner! You have completed some achievement on Steemit and have been rewarded with new badge(s) :
Click on any badge to view your own Board of Honor on SteemitBoard.
For more information about SteemitBoard, click here
If you no longer want to receive notifications, reply to this comment with the word
STOP