Building the Cold Room
We built the butchershop late in 2008. We planned to hang the beef from the heavy beam in there. That worked ok that year. The following year, not so much. We were late butchering and the temps turned real cold, like around 0F. We had no way of controlling the temperature in there and when we finally could cut it up, at 25F out there, it was terribly cold for us. We said never again.
So in February we started figuring out how and where to build a cold room for hanging our meat. The where came first. Our 150 year old tobacco shed had been converted into 10’ x 10’ horse stalls when we bought it. There was an unused stall diagonally across from the butchershop. It seemed the best place overall.
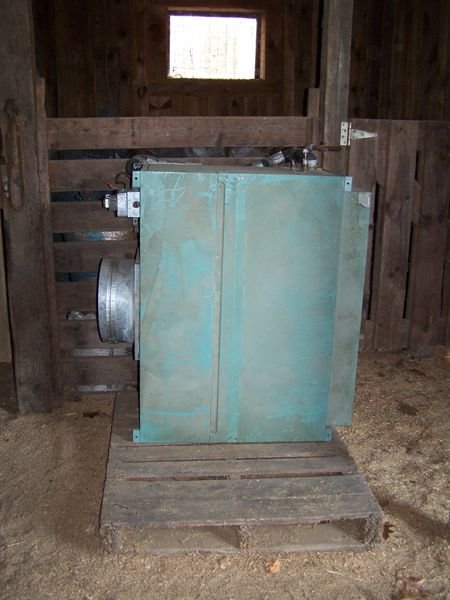
Next we tried to figure out how to cool it. We heard of a used Nordyne/Carrier dual 4 ton unit. We bartered 1 whole chicken, several rib steaks, and a lot of eggs for it. But it turned out it would need extensive building/plumbing/wiring and would be cycling constantly as it was far too big for what we were going to build. Back to the drawing board…
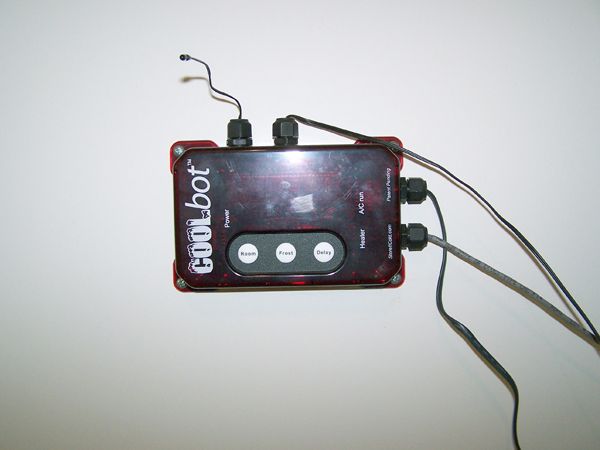
We heard about a CoolBot on one of the groups online we belonged to. You hook it into a good size air conditioner and it lies to the AC about the room temp. You can then drop the temp down to 35F. But they cost $299 back then.
So we offered the Nordyne on Craigslist for $350 and sold it right off! That paid for the CoolBot.
Now we had a location, we had a cooling system, we just had to locate 3” insulation for the walls, floor and ceiling. On Craigslist we found someone out in NY who had 75 sheets of 3” 2’ x 8’ of rigid foam insulation for $11@. We needed 30 and were able to secure those and bring them home.
We planned to use steel studs just because we had acquired a large amount of them for free.
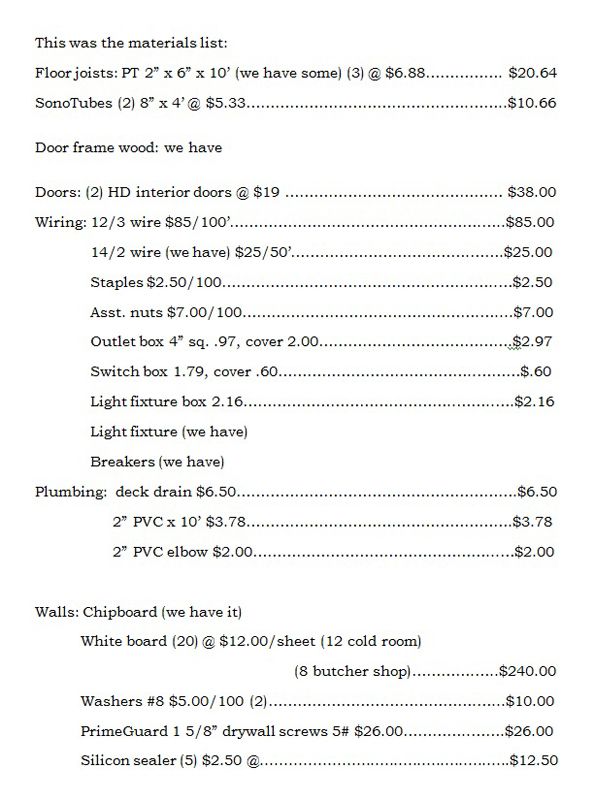
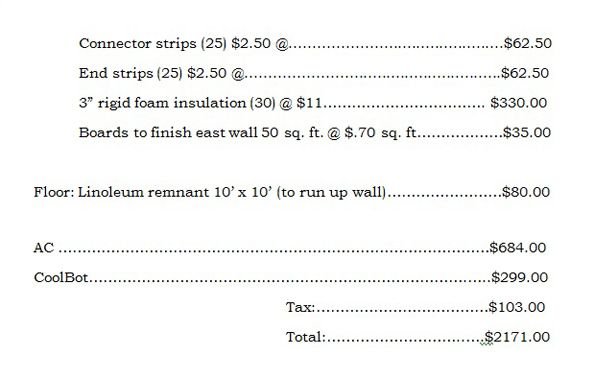
(Note: we needed to finish the butchershop so some of this cost was whiteboard for that.) To send a steer and a pig out to be processed each year would cost at least $456. In 5 years the room would pay for itself. So, planning done we started building.
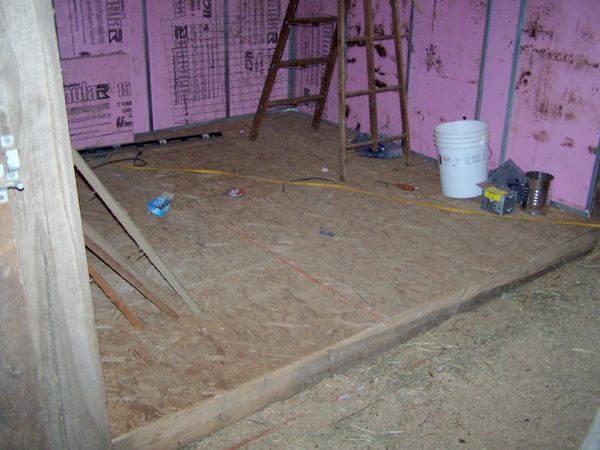
We built the floor first and insulated it. We put a deck drain in it for washing down. We then ran the electrical for the AC, CoolBot, outlets, and overhead light. All were waterproof.
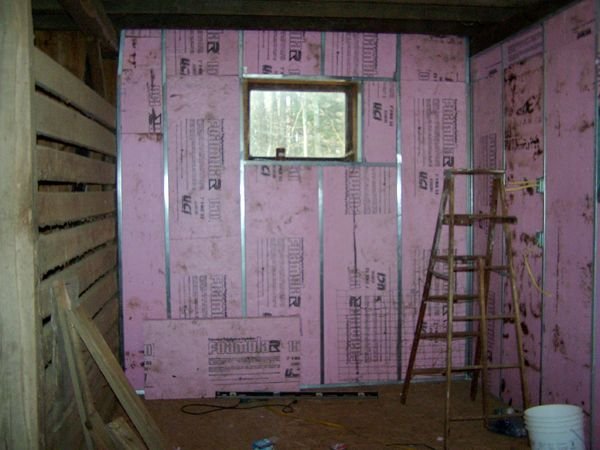
We put up the steel studs and left the window in place. This room would also be used as a brooder room for the chicks each spring and we wanted light in there for them. When it was used for a cold room, we put 2 pieces of the insulation in the frame. We put the insulation between the studs as we went.
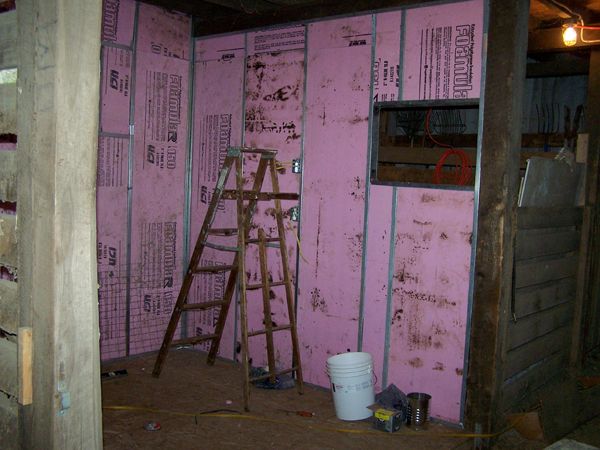
The hole on the right is where the AC will go. We planned to use white board because we’d used it in the butchershop and found it easy to clean. We were going to seal all the seams in this room so we could hose it down. That was one plan that did not work.
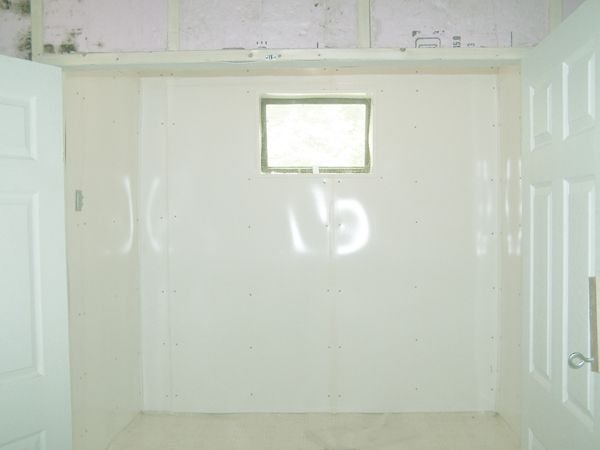
The floor was a remnant and we ran the linoleum up the wall under the whiteboard.
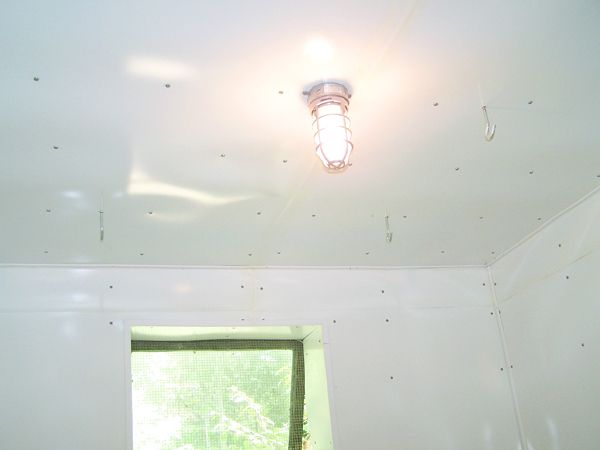
The explosion proof/waterproof light fixture and 4 hooks for hanging quarters. We later added 2 more hooks when we had both a pig and a steer hanging in there.
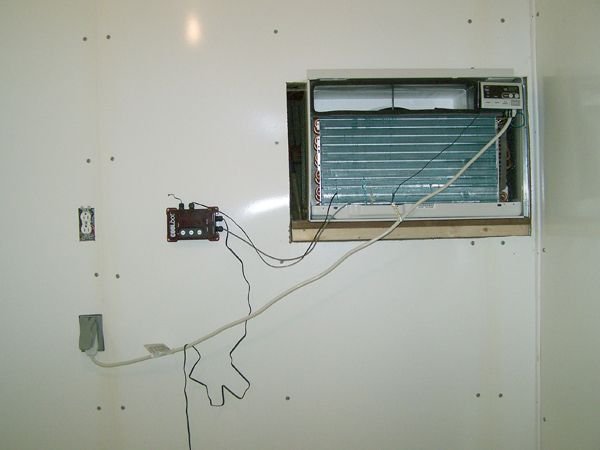
The AC installed and the CoolBot hooked up. The AC was an 18,000 BTU window unit as recommended by CoolBot for this size room.
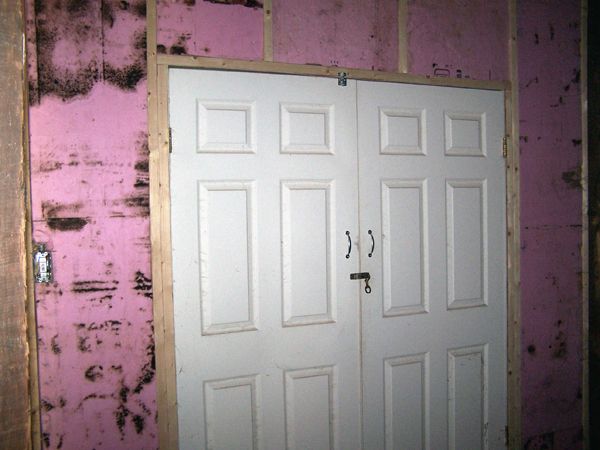
The front wall and doors in place.
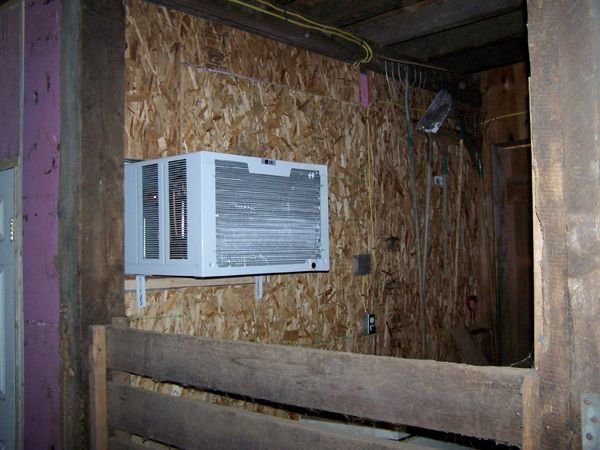
The outside walls had particle board over the insulation to protect it.
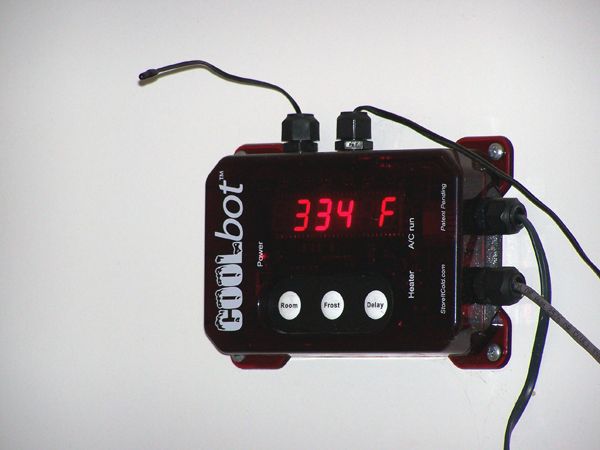
The CoolBot temp: 33.4F in the room.
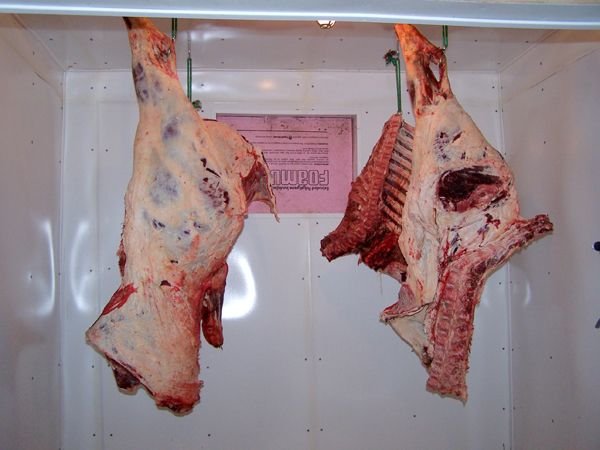
Hanging our first steer in the cold room.
Things we would change:
Different wall board: When the room gets real cold in warmer outside temps, the walls sweat and become discolored from water behind the white part.
Better design for hose washing. The whiteboard did not like being sprayed, and the sealer didn’t seal well enough.
Better design for the deck drain as the water doesn’t run to it, even though the floor was originally sloped to it. Building in a barn….
Buy solid doors not hollow core. These disintegrated about 3 years in.
This is not a single purpose room. As I said, it’s used for 6 weeks in late spring for brooding chicks, and at different times during the year for painting, as it can be a clean room. We made our farm sign in there, painted the farm stand, and have done various other projects.
When Hurricane Irene came through, we got the 80 broilers off the pasture and put them in there for safe keeping. If a deer becomes available at any time of year, we can hang it safely.
It’s been a real life saver for us at butchering time.

Community Forums
https://steemit.com/homesteading/@goldenoakfarm/building-the-cold-room
now that is cool!
HA! Pun!