The Making of a Skin Salve ... Part Two
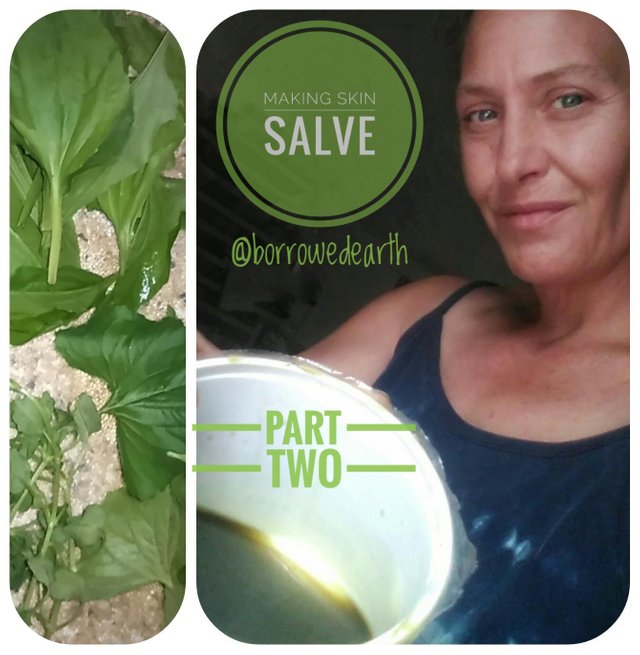
This is part two of my photo journal of the Making of a Skin Salve.
I don't usually make it this way. This is my Quick!...The Salve Is Almost Gone version.
In Part One we made an infused Hemp oil from Plantain, Violet and Chickweed growing around my homestead.

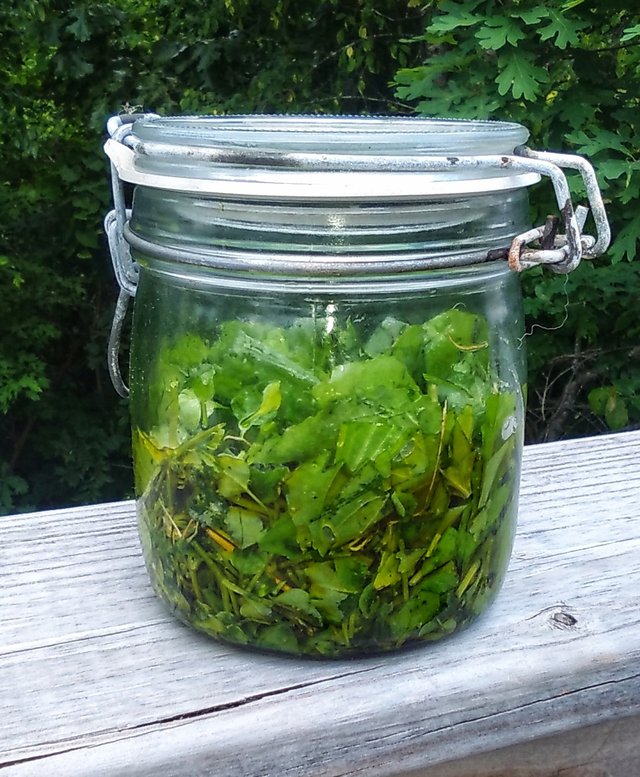
Here's where we left off... wait two nights.
I missed one pic in this series, I was so excited to have the oil done, I forgot to take a picture of the jar before I dumped the oil out to drain.
So... I invite you to use you imagination and picture this jar but with the dark oil pictured below in place of the light colored oil here.
To drain the infused oil, I set up a container to catch it with a strainer on top.
My strainer is some cheesecloth folded to be four layers thick, suspended in a canning funnel.
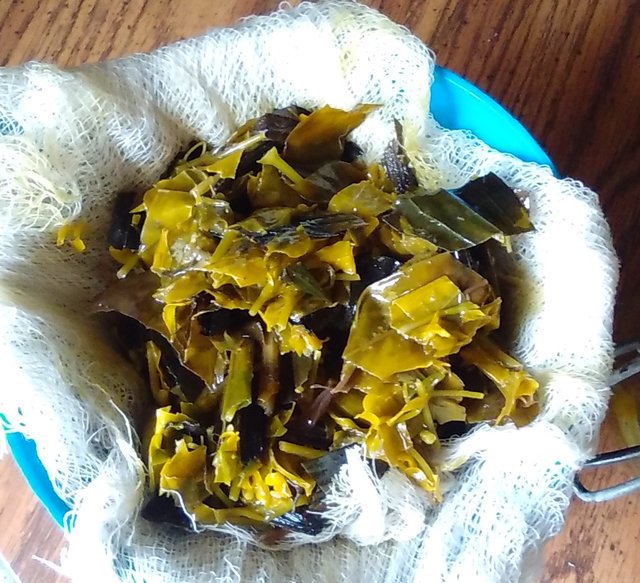
I carefully dump the contents of the jar in and wait about an hour.
During that hour I adjust the depth of the cheesecloth, keeping it's bottom out of the infused oil.
I also gently toss the herb material to allow any oil trapped to drain down.
Next, I gather the corners of the cheese cloth together and very gently spin the bundle to wring out the last bits of oil.
I watch my collection container and stop when I notice small "puddles" different than the oil falling in.
These are the water based juices of the weeds I used. I do not want these in my oil.
I personally push it to this point and deal with the little bit of water later. You could avoid this by not wringing the bundle at all.

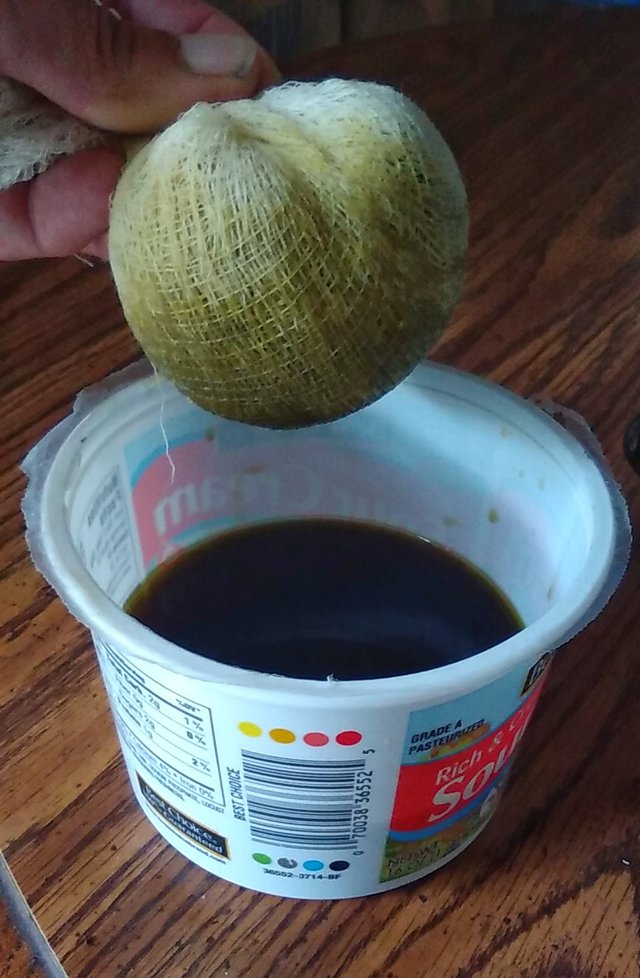
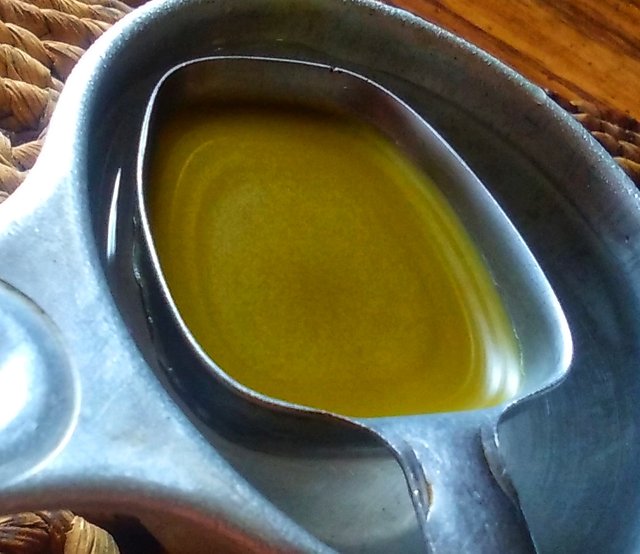
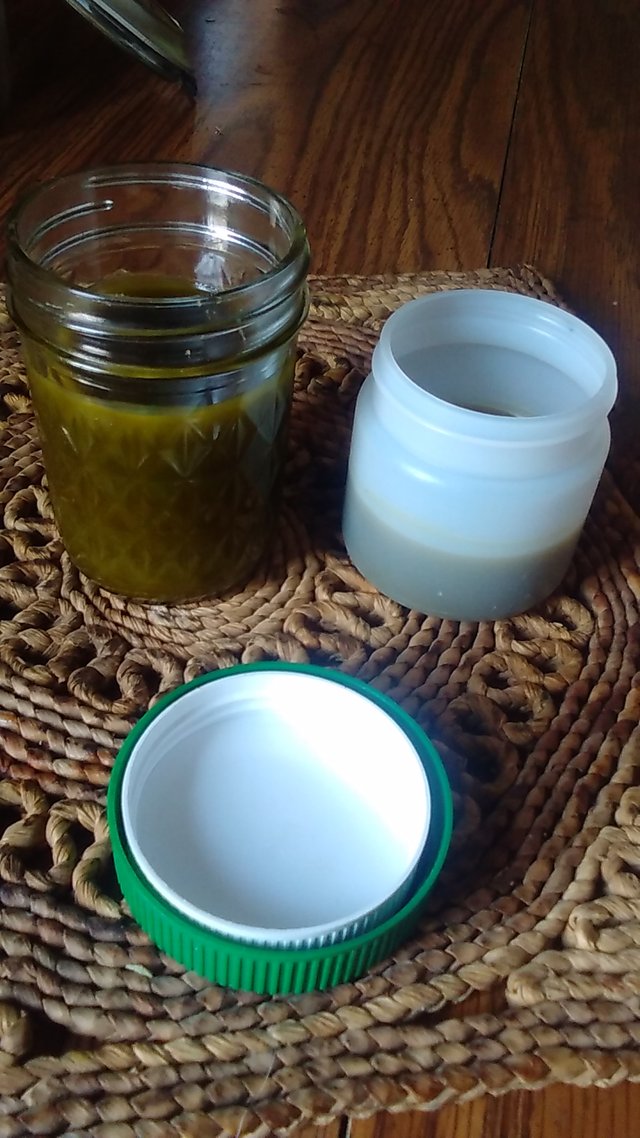
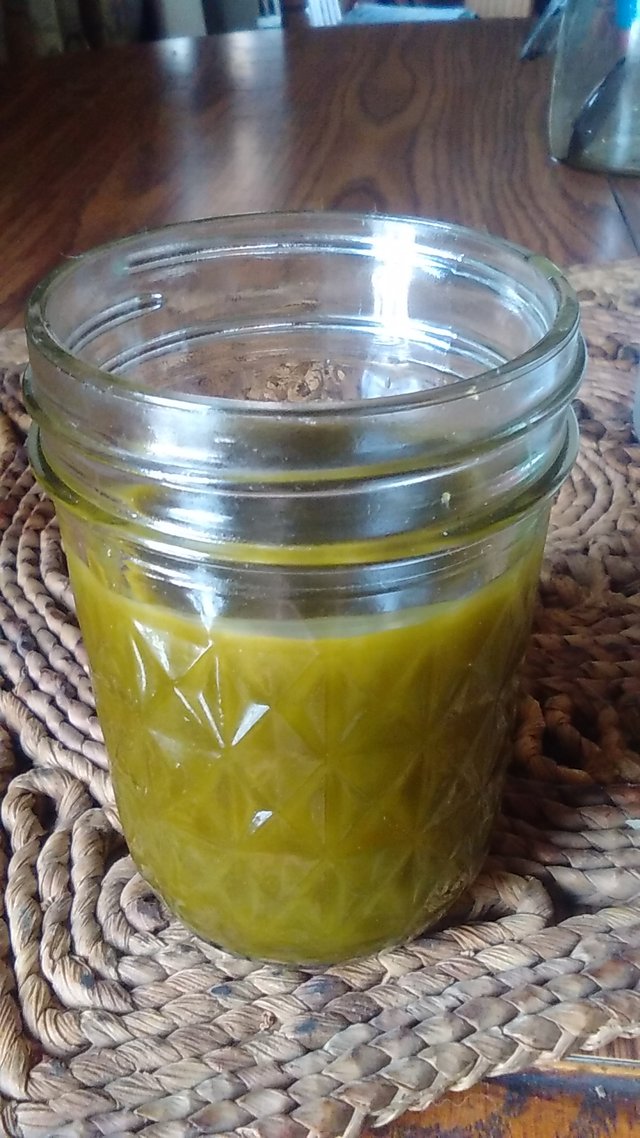
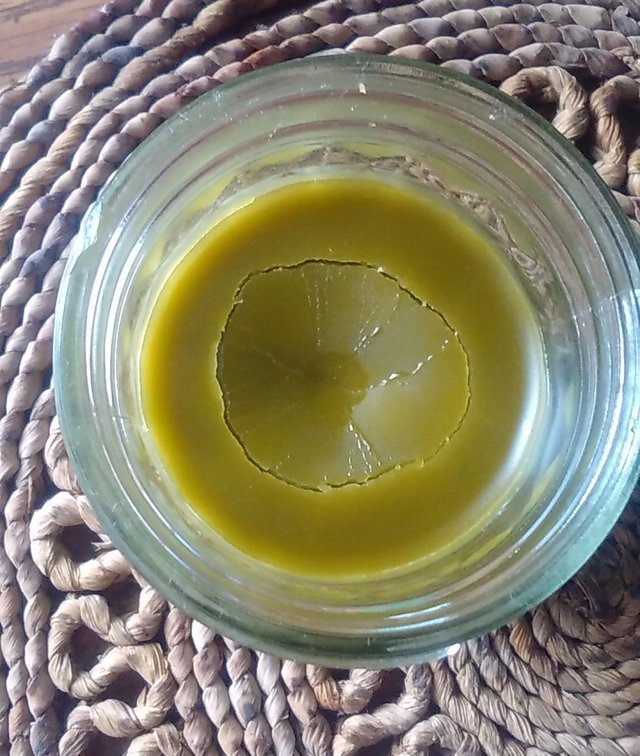
Infused Oil of Plantain, Violet and Chickweed ready to become a Skin Salve.
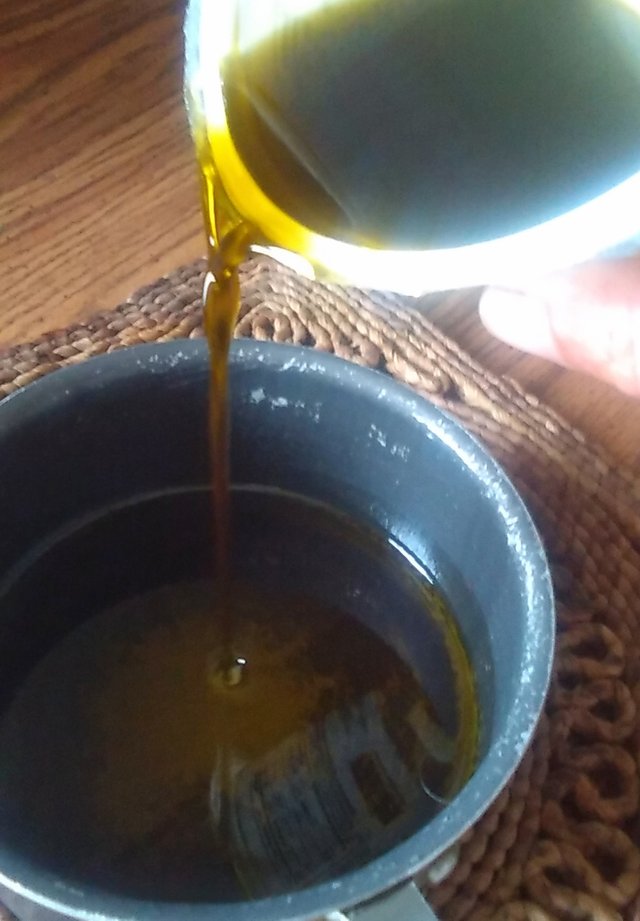
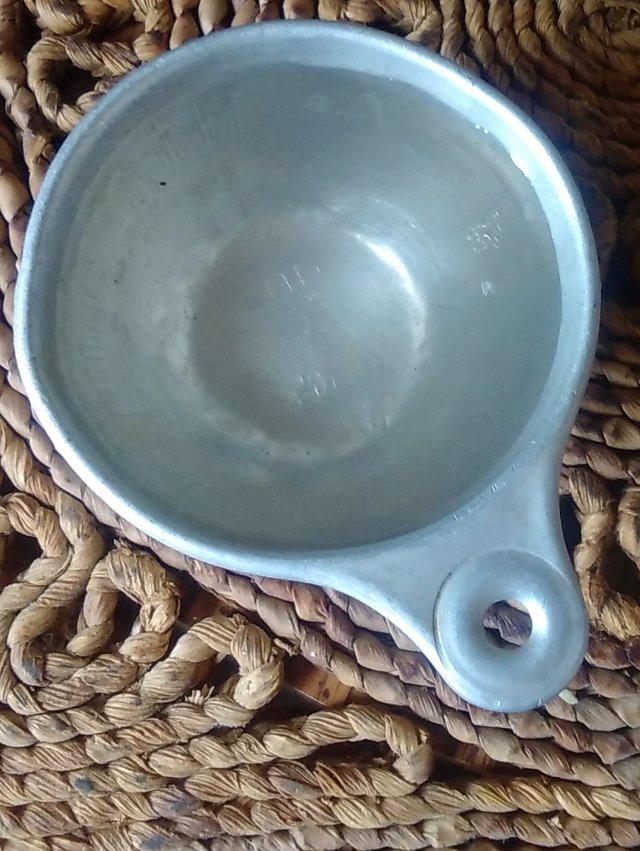
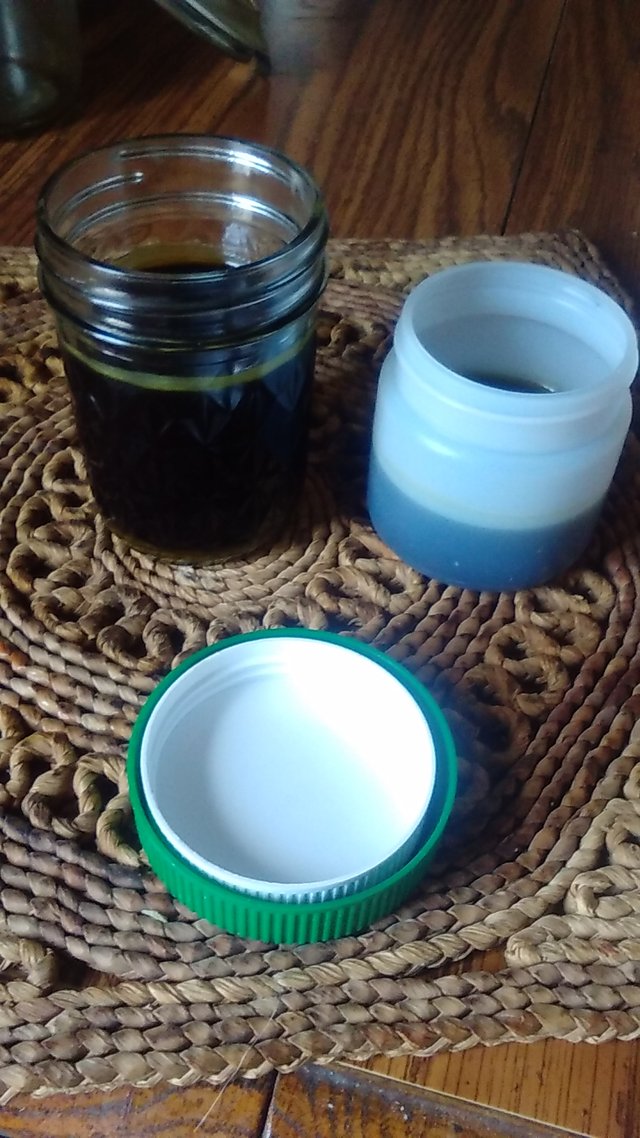
I am going to use small sauce pan to blend the Salve ingredients over low heat.
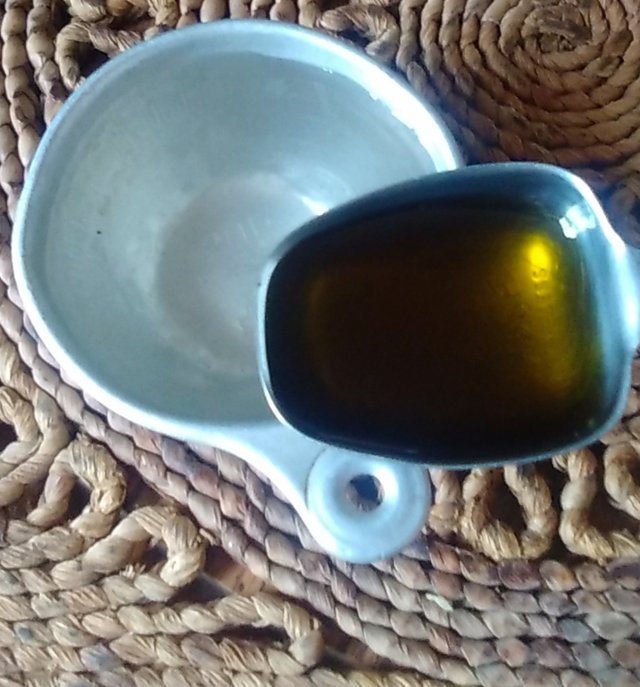
I carefully pour the oil into the pan, watching for the water, which by now has settled to the bottom.
As you can see below the water is a darker colored tongue of fluid below the oil.
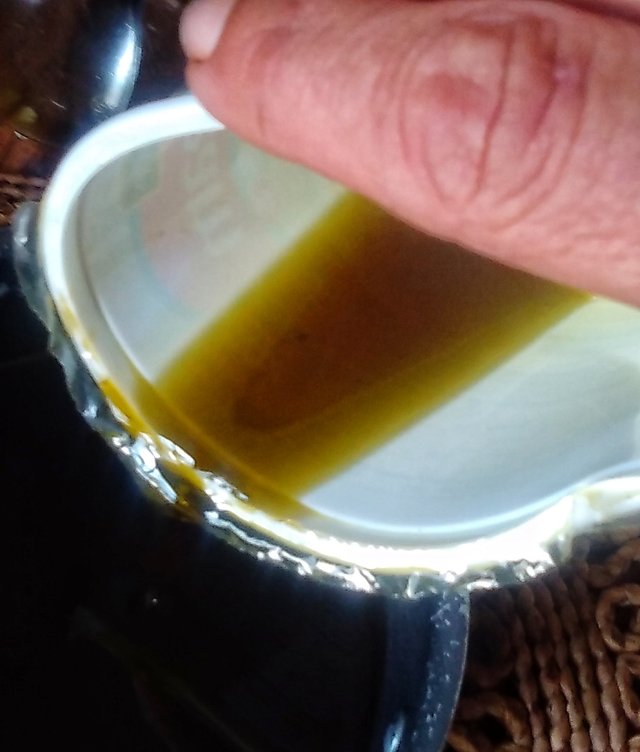
I do not let any of this water into my saucepan.
This time it took three rounds of stopping, tipping the liquids back to the bottom of my container and waiting for the water to settle before trying to pour off more oil.
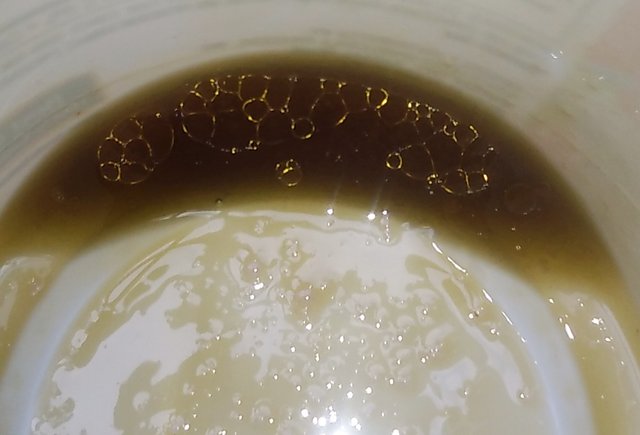
This is what I had left, agitated until I could get a pic showing that oil and water remain here.
This "waste" gets used in the next day or two as a skin oil, so it's not wasted!
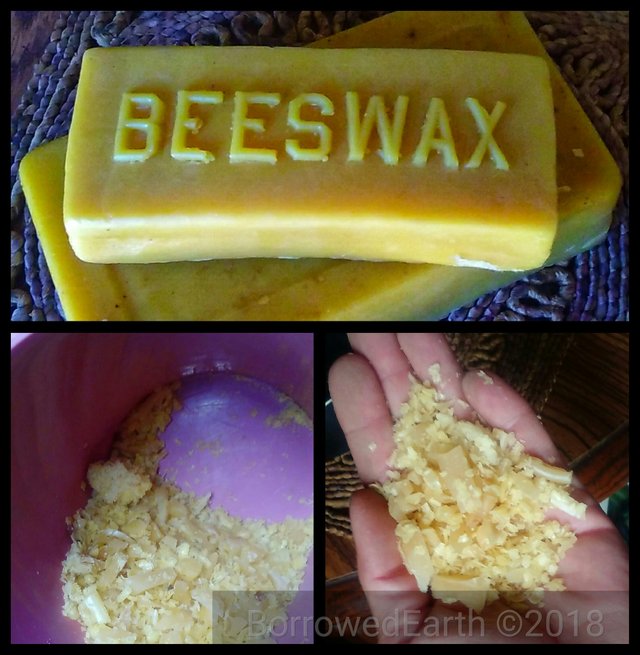
It's time to mix up the salve ingredients.
I will be using grated beeswax to thicken the Salve and Vitamin E oil to help stabilize the Salve to help it stay fresh and not rancid longer.
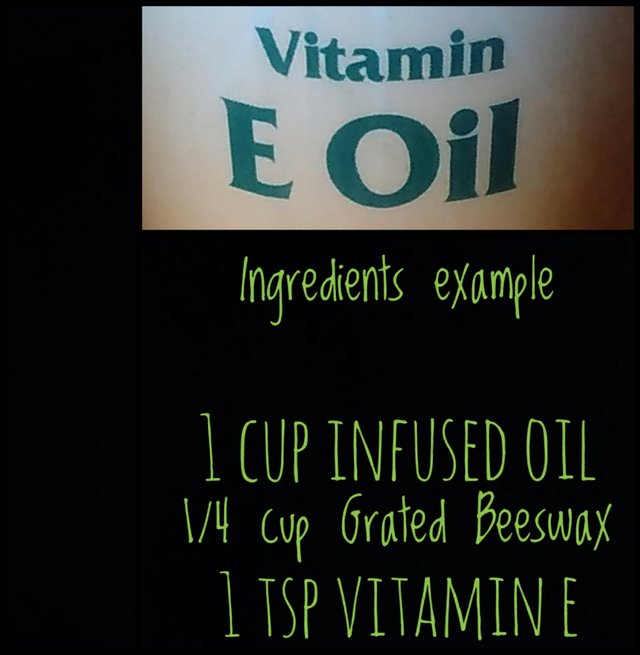
I mix the ingredients in the ratio given into my sauce pan. Then heat over low heat on the campstove until the beeswax is melted and well blended.

Once this has been achieved it's time to check the consistency of the blend when cool.
I would have previously put a drop or two on a plate and stuck it in the freezer a minute. Once removed, I would let it reach room temp and play with it between my fingers to see if it felt like a salve... Not too hard, not too soft.
You want to be able to get it easily out of a container and have it melt into your skin.
I dont have refridgeration on the homestead so necessity being the mother of invention and discovery I used the cooler!
I grabbed a metal spoon,put a bit of my hot salve mix into it and put it down into the cold water in the cooler and I was amazed! I could see the process... It was so cool!

So ... Insert a Big Geek Moment Here
I needed to photograph the process. I set it all up and here is the super cool result!
A container of cold water from the cooler.
A spoonful of hot salve mix.
And the Magic!
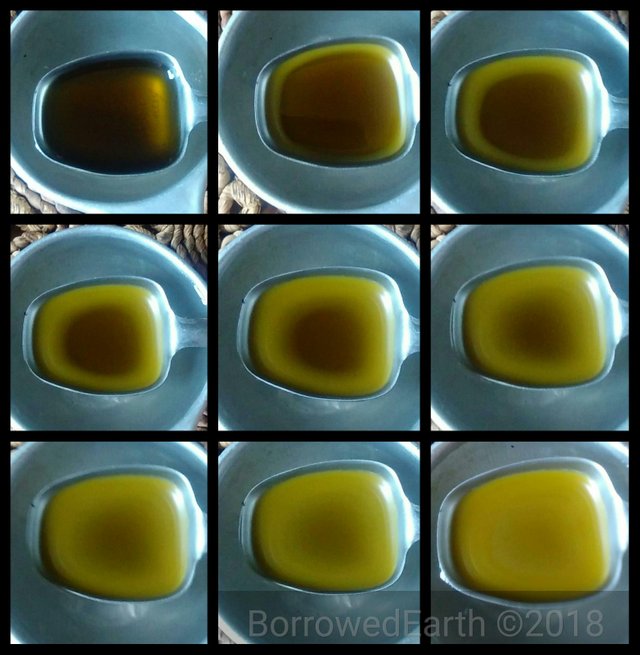
Yes...I am easily entertained!
Ok. It's time to jar it up and let it cool.
I leave the lids off while they cool.
The finished product. Such a lovely green color.
Someone other than me couldn't resist giving it a poke!
But they created a pretty design.
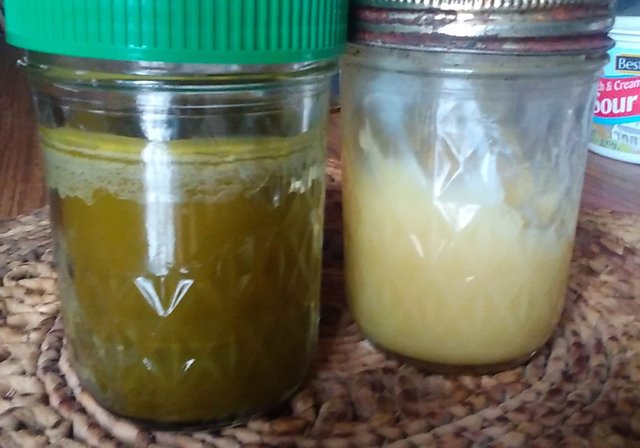
One last pic... New Salve on the left beside the last jar of last year's Plantain salve on the right.
Notice the lighter color... This salve was made with my usual long method, I will be making that salve in a very large quantity over the next few weeks.
I would be happy to document and share that process as well if there seems to be interest.
A few last tips... Salves, like oils, can go rancid. Starting with fresh oil helps, keeping it cool, dark even in the fridge helps delay this.
I generally don't bother as a jar is always sitting out around the house, and we are often giving it away.
Until next time...
Check out...
The Making of a Skin Salve ... Part One
~all text and images are my own unless otherwise credited

Just a girl...
Living, Loving and Dancing her way to Wholeness with the help of a Mountaintop and a Purpose.
Follow the Adventure


Oh yes!!! I am loving making my own salves and infused oils too!
I am loving my dandelion salve that I made a few weeks ago... plantain is the only plant I don't have for this recipe...but still... the possibilities are endless when you need salves around the homestead... burn salves, soothing salves, bug bite salves. So many to try and make!
Dandelion salve! Oh momma! No kidding so many to make!! I can't imagine no plantain! Here it's everywhere!
I would be interested in seeing a post on the long method. For me, hemp oil may be hard to obtain. What can I use instead?
What oil is easy for you to have?
Coconut, olive, avocado, palm...
I loved this series of posts and have resteemed them. One question: If you had not had hemp oil, what others might you have used?
Loved your time lapse cooling photos!
And I for one would be interested in the long process.
This is for both @cecicastor and @goldenoakfarm.
I quickly mentioned in the first post that I usually use Olive Oil. I just didn't have any this time. I have also used grapeseed oil and almond oil before with great results.
You have a minor misspelling in the following sentence:
It should be achieved instead of acheived.Lol
Correction made!
And this was not the most obvious One!
Hahaha
Thank you this series was very informative!
This looks phenomenal. What a wonderful post about the process. I used to make my own tinctures, but I've never made a salve and this just looks like it would be like magic for the skin. Great job and fabulous post!
Ohhhh! That's how you do it! Beeswax & vitamin E. Sooo fun! Again! Love yoyr images & entire blog. The transition of the oil to a solid is great!! Haha! I guess I am easily entertained too! Thanks for letting me know the 2nd post was up!!