Building A Small Portable Solar Charging System: For Less Than $200

When I first started creating a solar system
I was overwhelmed by the seeming complexity of the all the parts needed. I realized that I should start small, and as simple as possible. I would like to keep this post simple too, so if I leave out any details you'd like to know, feel free to ask any questions in the comments section.
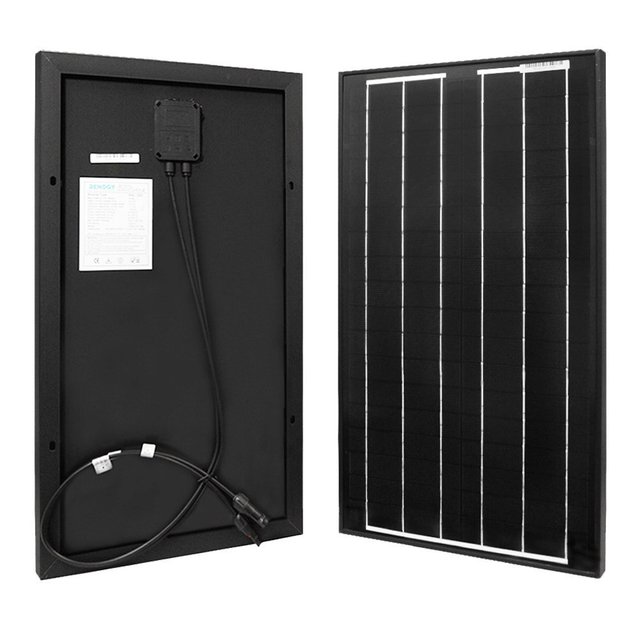
I purchased a 30 watt Renogy solar panel ($65)
to build my solar system around. It was a good place to start, and it has functioned flawlessly.


A solar charge regulator was a bit more tricky
I had purchased a couple that really didn't work out. They were too big and clunky. I wanted something small, and waterproof so my system could be portable, and be able to withstand wet weather.
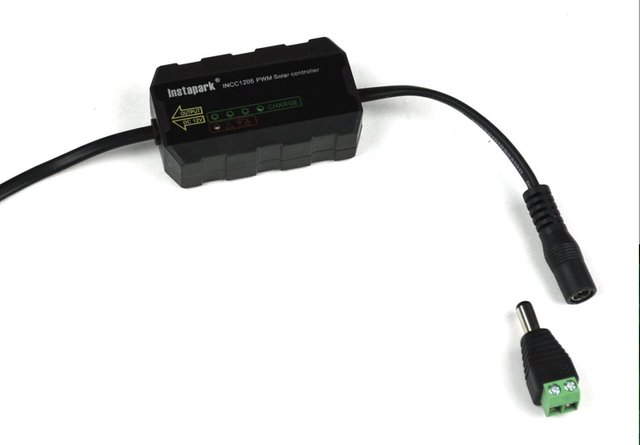
Introducing the Instapark Solar Charge Controller ($18)

The controller came with a connector (little green thing)
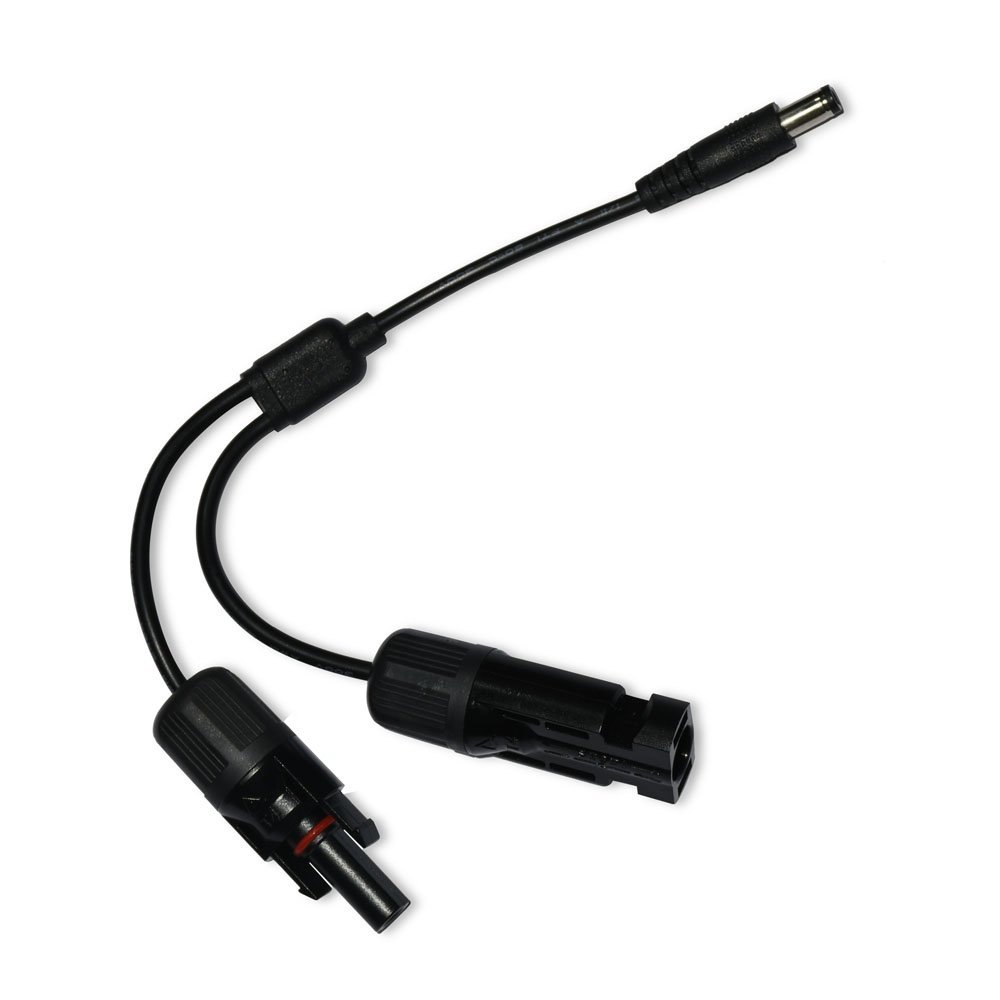
that is GARBAGE (Toss it out). It is fiddly, and really hard to make a reliable connection using it. Get this one instead ($6). This adapter cable will plug right in. Making the connections streamlined, and NEAT.


Next a battery ($34)
It only weighs 12 pounds, and has worked great for over a year. It is light, and small enough to be carried where you need it.

The charge controller comes with a cable that clips onto the battery
to charge. But I wanted a more secure, and permanent connection, so I added a ring terminal harness with a fused connector ($5.59).


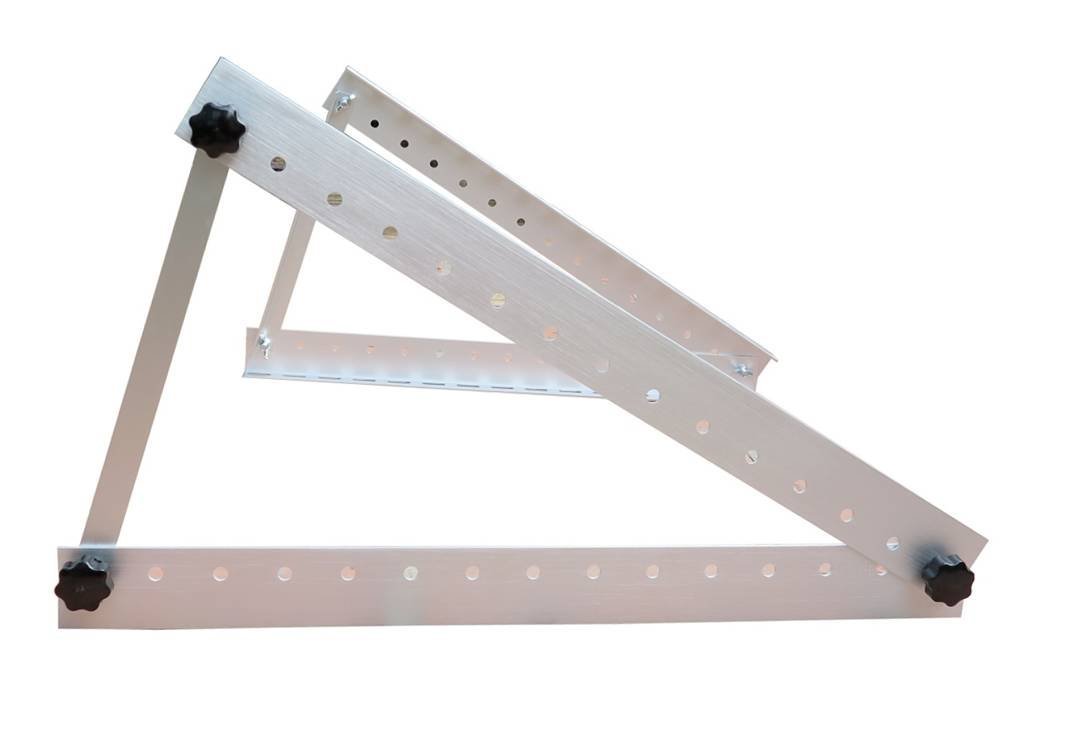
To hold all this together
I used this mount ($65). It works great, and is easy to setup. It has adjustments for different sized panels, and angle adjustment to change with the angle of the sun. It also collapses for storage, and portability.


Here is the charging station
all put together, and in use. This parts list makes an elegant, effective, and inexpensive package. All for less than $200.
Later, take care!

Your Post Has Been Featured on @Resteemable!
Feature any Steemit post using resteemit.com!
How It Works:
1. Take Any Steemit URL
2. Erase
https://3. Type
reGet Featured Instantly � Featured Posts are voted every 2.4hrs
Join the Curation Team Here | Vote Resteemable for Witness
When fully charged what can that battery be used to operate and for how long?🐓🐓
I run LED lighting, charge my cell phone, computer, and my sound system. In the summer I run a small fan.
I really don't know how long, but I have run these things for a couple of days without discharging the battery fully. I have two of these batteries which I rotate. That way I always have a fresh one.
Thank you for that information. I like that your post are to the point and details are not complicated. The message is there for the taking. 🐓🐓
Chicken On The Loose
This is an amazing post, the quality of content you have going on is fantastic! Can’t wait to see more.
That means a lot to me. I will keep them coming.
Wow this is cool, thanks for posting it! How long have you had it now? And what have you used it for so far?
Thanks for reading and commenting! I like getting comments, and responding.
I put it together a few months ago. I use it to run some led lighting, recharge my cell phones, iPads, iPods, and I run anything (with a low draw) that needs 110 Volts with a small inverter.
It really is amazing how many plugs, and cords, and variations there are to this system. It's fun to experiment.
This is a starter system for me. I wanted to get the parts together myself, instead of purchasing a kit. It has worked very well so far.
Ah very nice, I find it useful to put a kit together yourself, I end up learning so much more that way.