Easy and Simple Germination Box You Can Make for Less Than $10
Easy and Simple Germination Box You Can Make for Less Than $10

It’s time to start thinking about starting seeds for the coming garden season. Start your seeds right with this easy project. When you get your seeds started right, you make sure you have the best possible transplants for your garden.
One way to ensure good germination rates for your seeds is warmth, something in short supply this time of year in my area.
At the proper temperature, you seeds will germinate in days instead of weeks. You can see from the following chart that the temperature you want in your germination box is about 70 to 80 degrees.

Here’s another chart that shows how many days till seedlings appear. You want to make sure to get the sprouted seeds in the light as soon as they appear. Failure to do this with result in weak, spindly plants.

I use this homemade germination box to start all my early seeds. Soil blocks are my preferred starting medium. Using the Micro 20 Soil Block Maker allows me to start hundreds of seeds in this size box. Using 6 packs will still allow dozens of starts.

Here is the parts list
A plastic tote with a lid. Use whatever size works for your space and needs.
The one pictured is about a 15 gallon size and cost about $6.

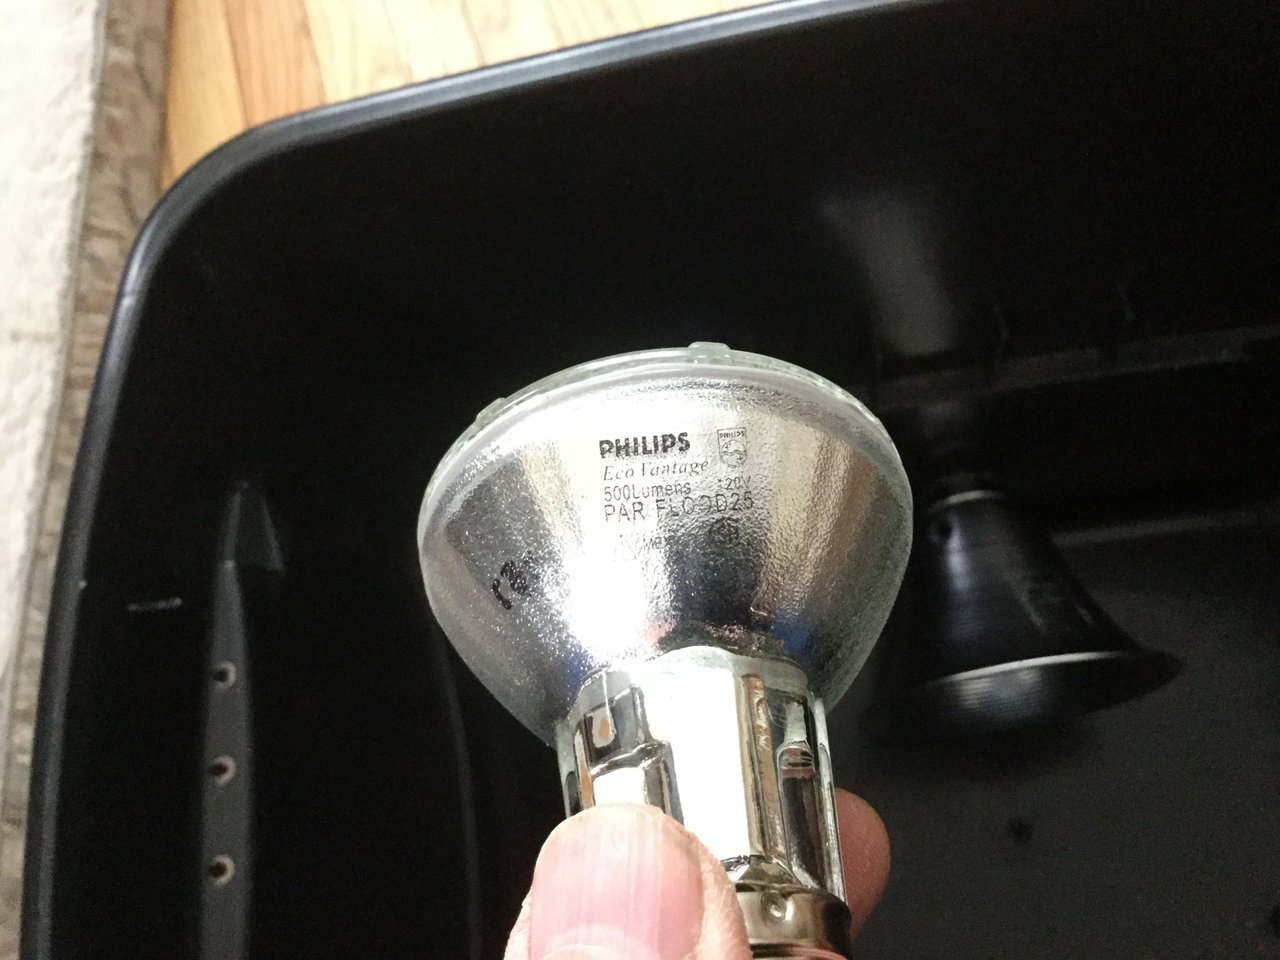
A light fixture with a metal reflector. Cost is about $2. Shown here disassembled.

A 25 watt lightbulb. Use a more or less wattage bulb to get the right temperature for your size tote and local conditions.
A piece of plywood to make a shelf above the light. This gives 2 levels for plant starting. The shelf I made is from a piece of scrap 1/2 inch plywood cut to fit the container.

Cut a hole in the side of your tote. Use the sleeve from your light fixture to determine the size of the hole. If you cut the hole slightly smaller than the sleeve, it will friction fit without any kind of glue. It should be centered on the longest side and near the bottom of your tote. Use the reflector piece to gauge the distance of the hole from the bottom.
Here’s what it looks like with the plastic sleeve installed in the hole.

Here’s what it looks like with all the pieces assembled.
From the outside...

And from the inside...

It’s done! Before you actually use your new germination box, check the temperatures with a thermometer. Make sure it’s not too cool or too hot. And remember, light bulbs get HOT! Keep flammables away from them.

Watch for my next post. I will show you how I start my seeds using the Soil Block Makers.
Thank-you for giving a few moments of your life to read my posts.
I really appreciate you for taking the time to do that!
Share more of my observations @beyondordinary
If you like the post, please encourage me with an Upvote and share my stuff by Resteeming or Sharing a link on your favorite Social Network sites.
It's ALMOST Valentine's Day! And this Stewards Of Gondor is spreading the LOVE! Your post has been chosen to receive some this LOVE! Please accept this special surprise on behalf of @goldendawne, the Stewards Of Gondor and @fulltimegeek's delegation! Please check your wallet for a LOVE-ly tip!
Thanks for the tip!
Just saw this and had to share it!
My dear friend, these are the things and the information that we will servive on in the end. Please keep giving us your valuable and critical information. Things that cannot be a waste of time regardless of what happens are rarely broadcast. Part of our programming I guess. Bless you.
Looks like a really good set up @beyondordinary! I like to use a soil block maker also. I don't have one that small though. About how long until you have to transplant to something bigger?
I like to transplant to the Mini 4 size block ASAP. The advantage of the Micro 20 is you only have to transplant the quickest, healthiest sprouts. The smaller blocks tend to dry out pretty quick.