How to Make "Lawson's Oatmeal Stout" (Beer Recipe)
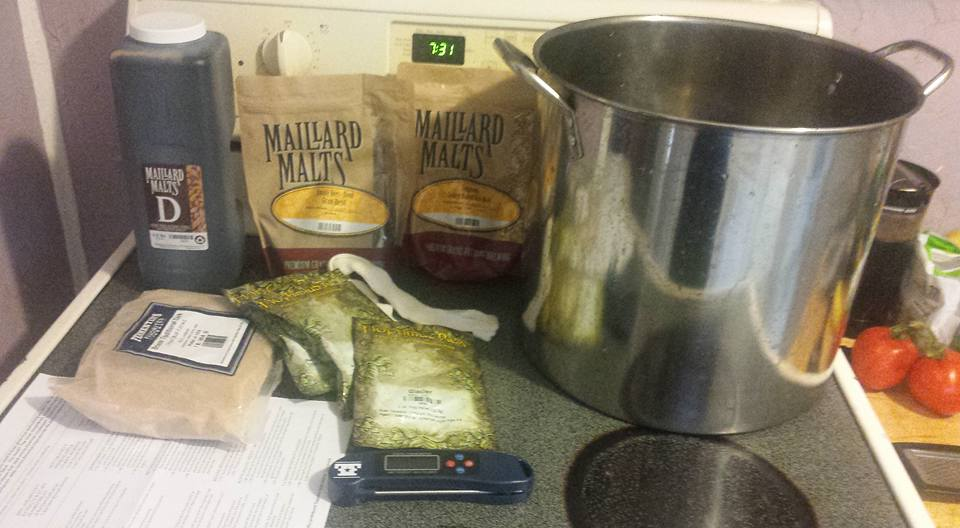
Assembled ingredients and gear.
For myself, much of the joy in homebrewing comes from being able to craft precisely the beer I want for special occasions. When I found out my wife was pregnant with my son Lawson, we set out crafting a beer she could enjoy when he was born. She is a fan of the stouts I've made, so we settled on a stout base. There's long been anecdotal evidence about oatmeal having lactogenic properties so despite the fact that fermentation probably would negate those properties, the symbolism was there, so an oatmeal stout was decided upon.
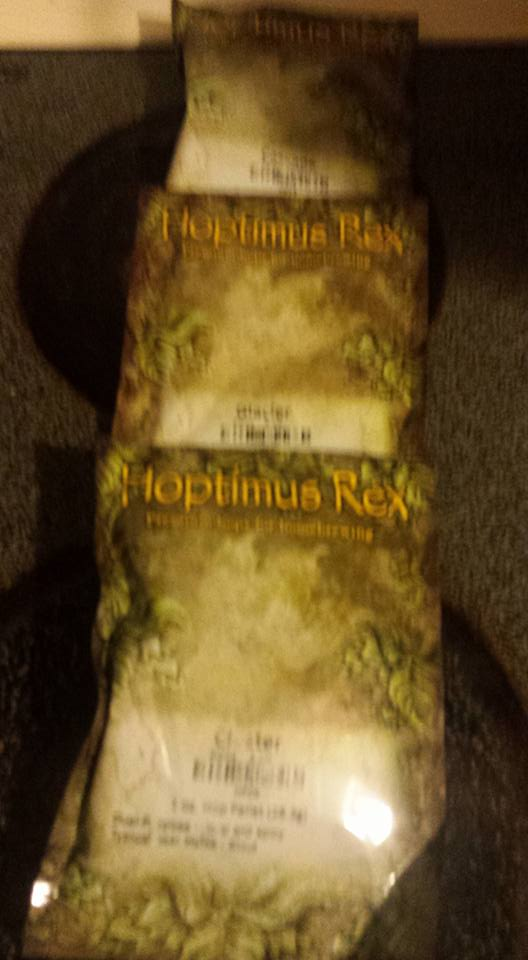
I like to use the Beer.Simply Beer. kits from Midwest Supplies as a base and then modify the recipe accordingly. Besides being as cheap (or slightly less) than buying the ingredients individually, the recipes themselves are fine and consistent (and apparently open source). In this case, we've added some oatmeal to the specialty grains and some Glacier hops during the hopping stage.
Any basic beer making kit will suffice. Brew Not Bombs has a DIY gear tutorial.
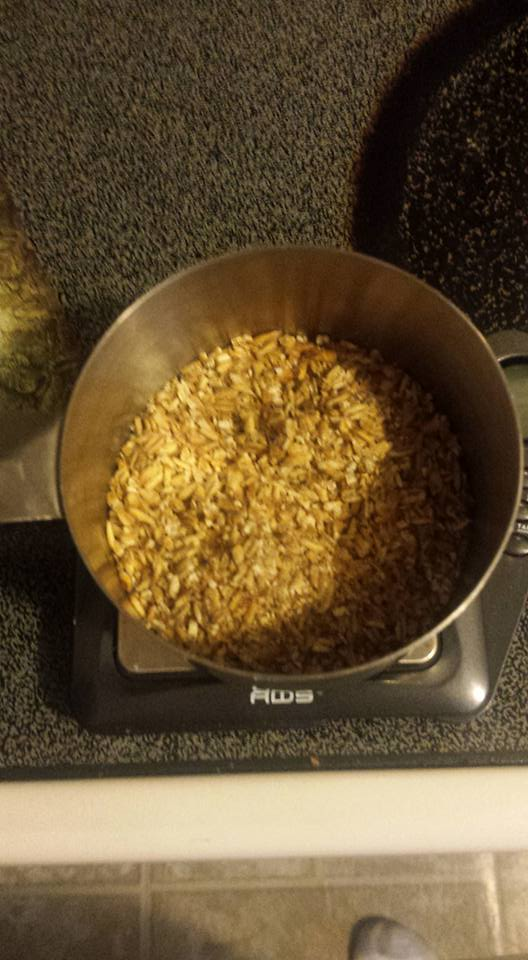
The standard specialty grains (roasted barley and chocolate malt) are already measured out to 1/4 pound. Here we measure the oats before combining with barley and malt in mesh sock.
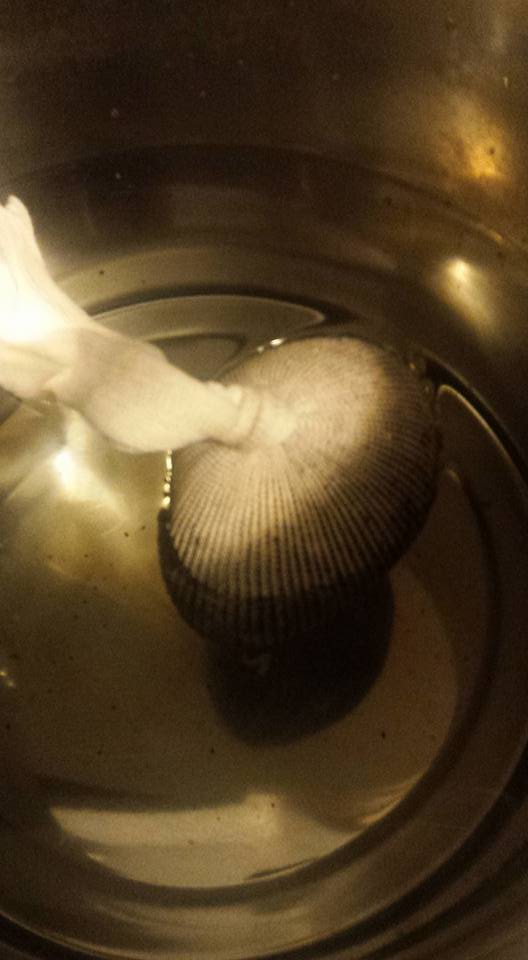
We place the mesh bag in about 2.5 gallons of water and begin heating until it reaches 170°F.

Extract brewing cuts out a step from "all-grain" brewing by utilizing premade "Liquid Malt Extract" - it makes things orders of magnitude easier and stores easily. It is, however, extremely thick. Keep the container in a sink of hot water until needed.
When it hits 170°F, the mesh bag is carefully removed with tongs and the water brought up to a boil. Once it boils, we remove it from the heat and added both the liquid and dried malt extracts.
It's now 7 pounds heavier and smells like someone dropped a case of Malta Goya on the floor.
It's now officially called "wort" (pronounced "wert") - unfermented beer. If you've played RPG'S you might have encountered "witch's wort" - an allusion to the belief that some of those accused of witchcraft were brewing beer in those cauldrons.
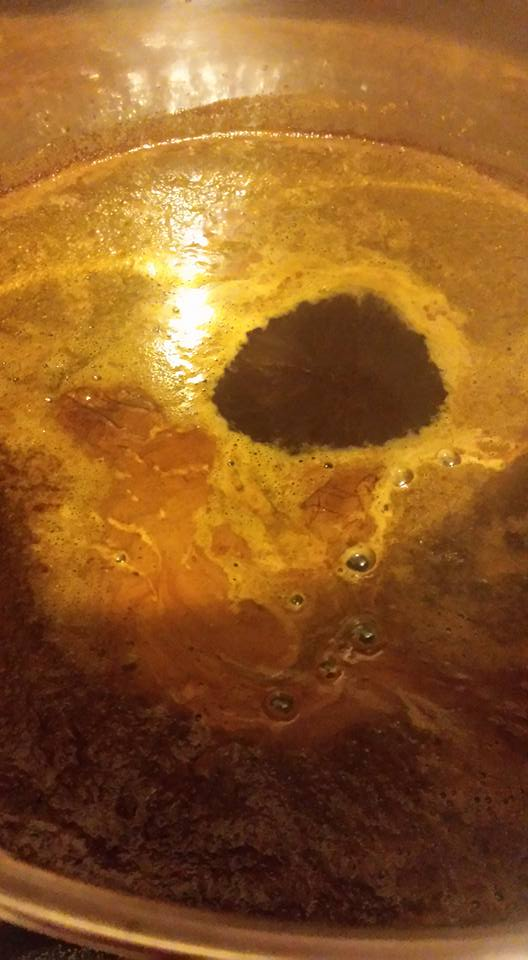
Once it starts boiling again we start adding the hops. We let it boil for 60 minutes.
Hops added at the beginning are bittering hops.
Hops added in the middle are flavor hops.
Hops added at the end are aroma hops.
I like to line them up in order. For this recipe we'll be adding an ounce of each.

Cluster hops at beginning.
Glacier hops 20 minutes.
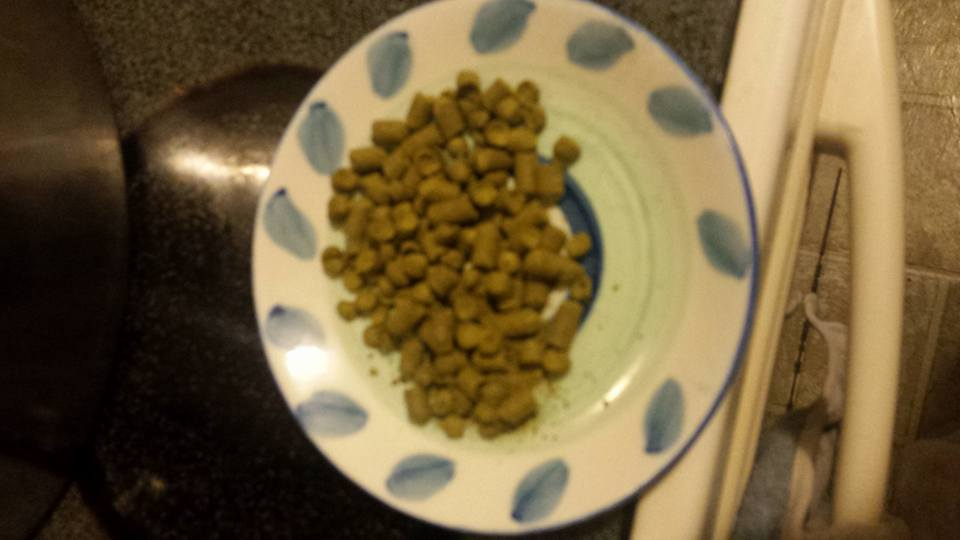
Cascade hops at 40 minutes. (pellets are more convenient than whole leaf)
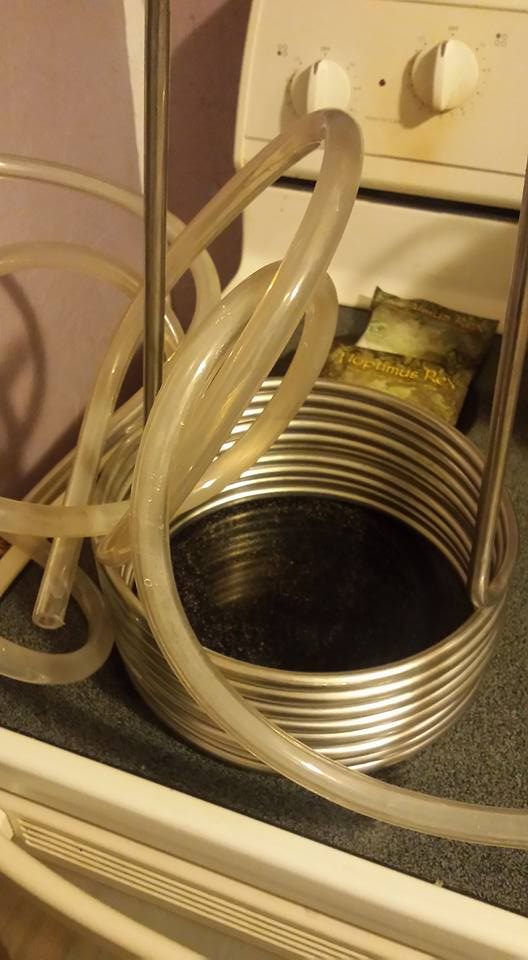
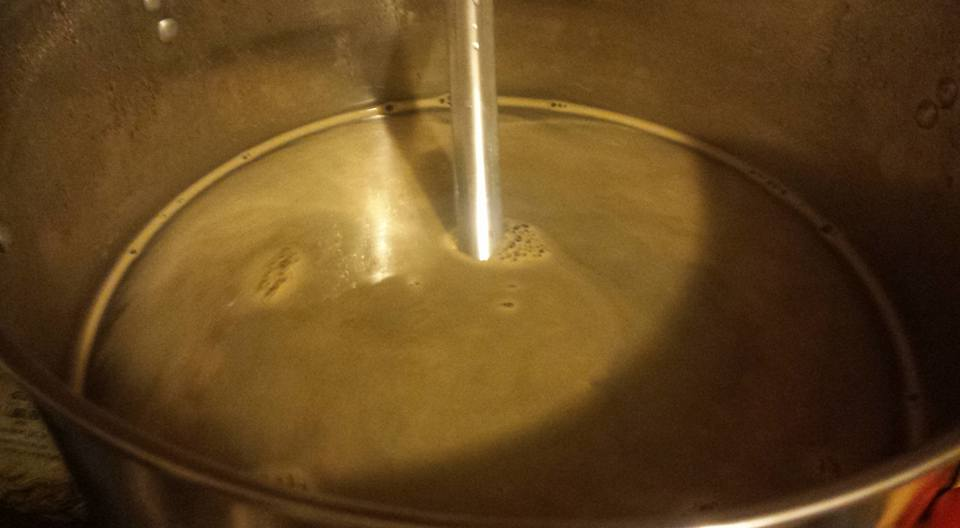
This doohickey is called a wort chiller. After the wort boils for an hour, we put the metal coil in the wort and run cold water through it until the wort is ~100°F. This one has an adapter for a kitchen sink; the default is a garden hose type. If you don't have one, an ice bath will do - it just takes longer.
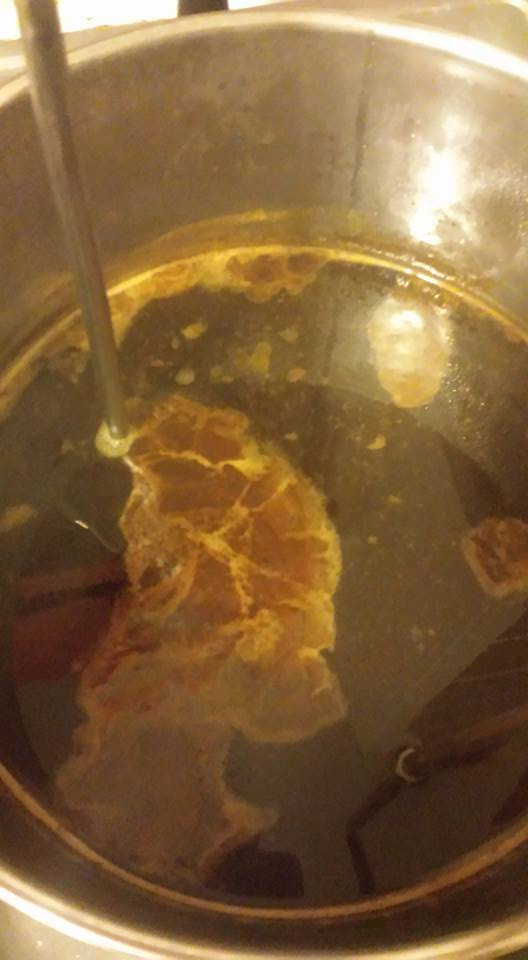
The wort chiller in action - moving the chiller in a circular motion speeds things up significantly.
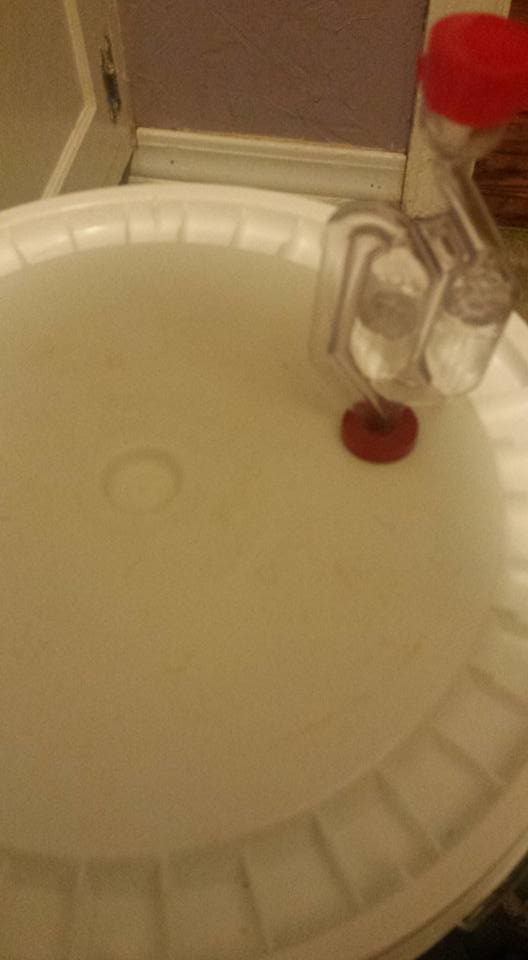
While we're waiting for the wort to chill, we add 2 gallons of cold water to a food-grade bucket we call the fermenter.
Carefully pour the chilled wort into the fermenter, trying to leave as much sediment in the boil pot as possible. Add water to bring back up to 5 gallons (if needed). Then we seal the fermenter lid on and shake the bucket for a few minutes to aerate the wort (people with a budget can buy special aeration stones similar to those for use in aquariums).
Now we wait for it to hit 70°F. Why is that so important? That's in the optimal temperature range for the yeast we'll be adding (each strain of yeast is slightly different, so check your package). Yep, the next step is where the zymurgy happens - the wort will officially be beer!
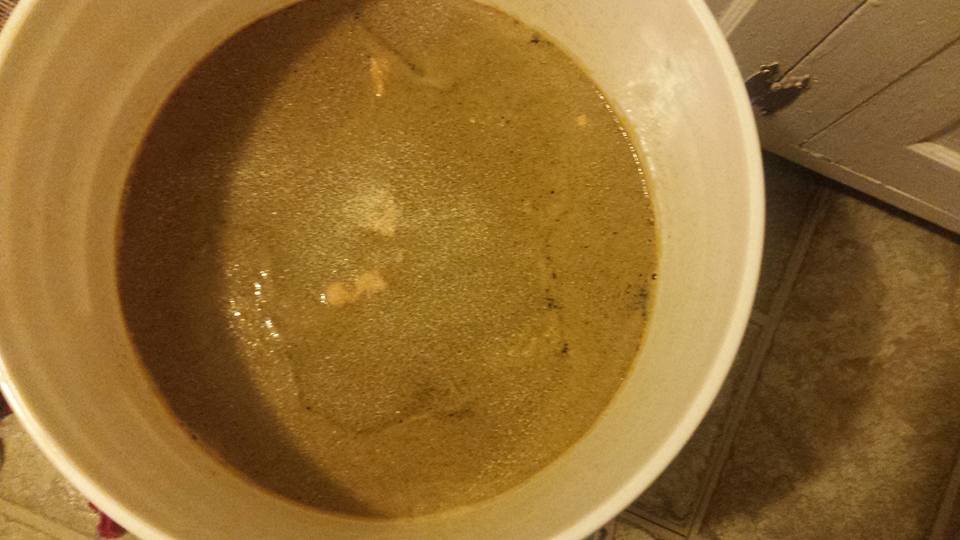
Now it's beer.
And now we let it sit for a couple weeks.
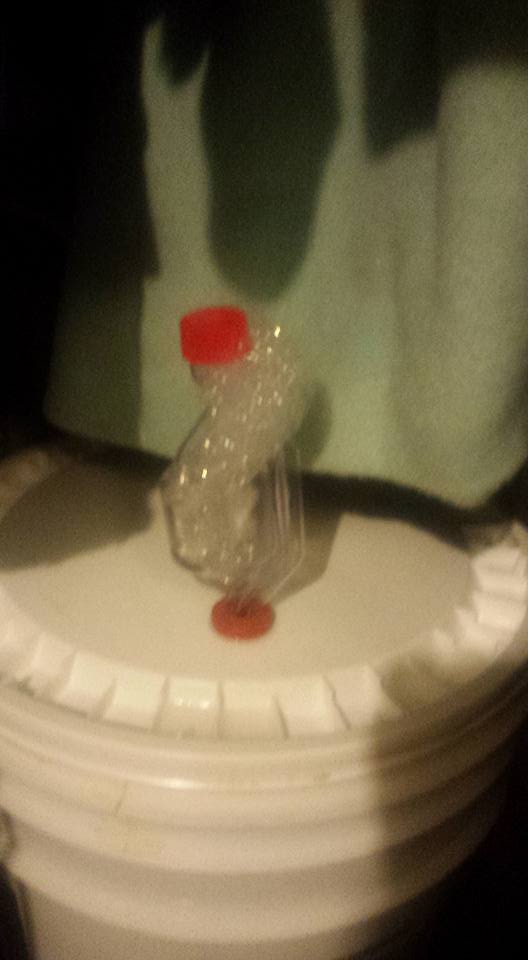
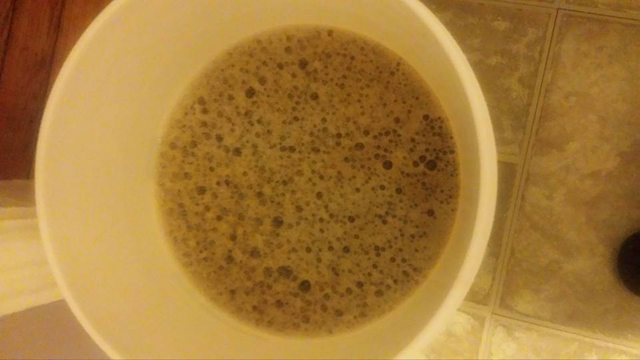
Good sign of fermentation, lulz
Once that's done, you can either bottle it (about 2 cases) or keg it (one corny keg). The longer you let it rest, the better it'll taste (up to a couple months).
Congratulations @dbruno! You received a personal award!
Happy Birthday! - You are on the Steem blockchain for 1 year!
Click here to view your Board
Congratulations @dbruno! You received a personal award!
You can view your badges on your Steem Board and compare to others on the Steem Ranking
Vote for @Steemitboard as a witness to get one more award and increased upvotes!