#club5050 || Art Craft With || A tutorial wall decoration || by @mabiya00.
Assalamualikum
Hello..!!
My Dear Friends,
I am @mabiya00 from 🇧🇩Bangladesh
Welcome to the Do It Yourself event. I want to develop my creativity in this community. I can make almost everything on colored paper. Gradually I will share all kinds of die projects with you. Today I will present to you about making beautiful Walmet with colored papers. I hope you like it.
Let's get started beautiful Wall decoration
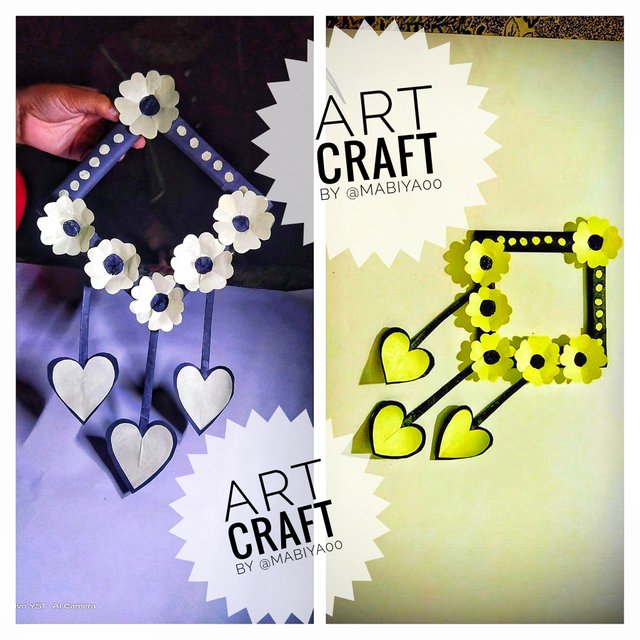
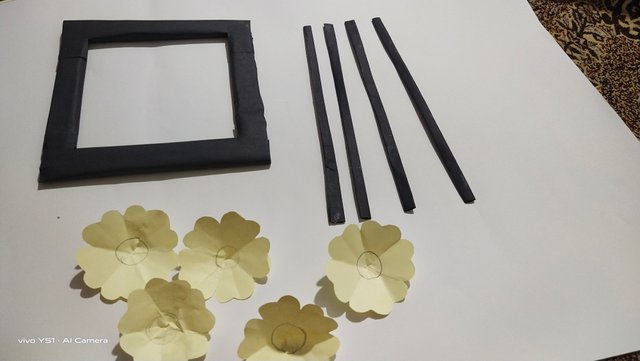
Beautiful wall decoration.
Device : vivo Y51.
- Pencil
- Scale
- Eraser
- Hard paper
- Soft paper
- 3 papers in yellow colour
- 4 papers in black colour
- Scissor
- Glue Stick
Workflow
 |  |
|---|
 |  |
|---|
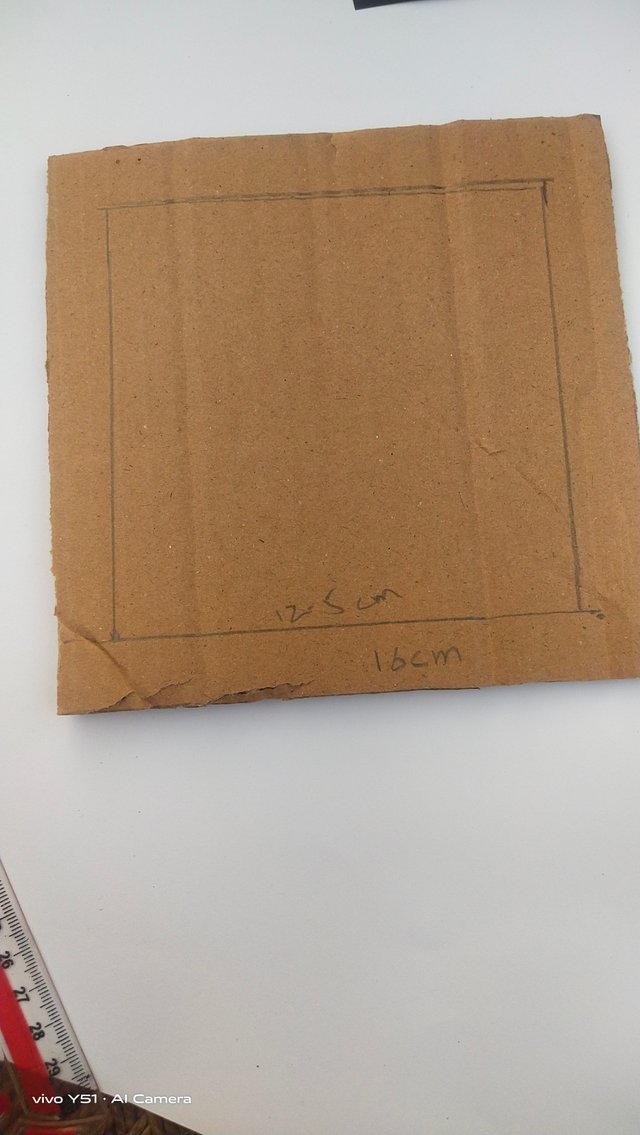
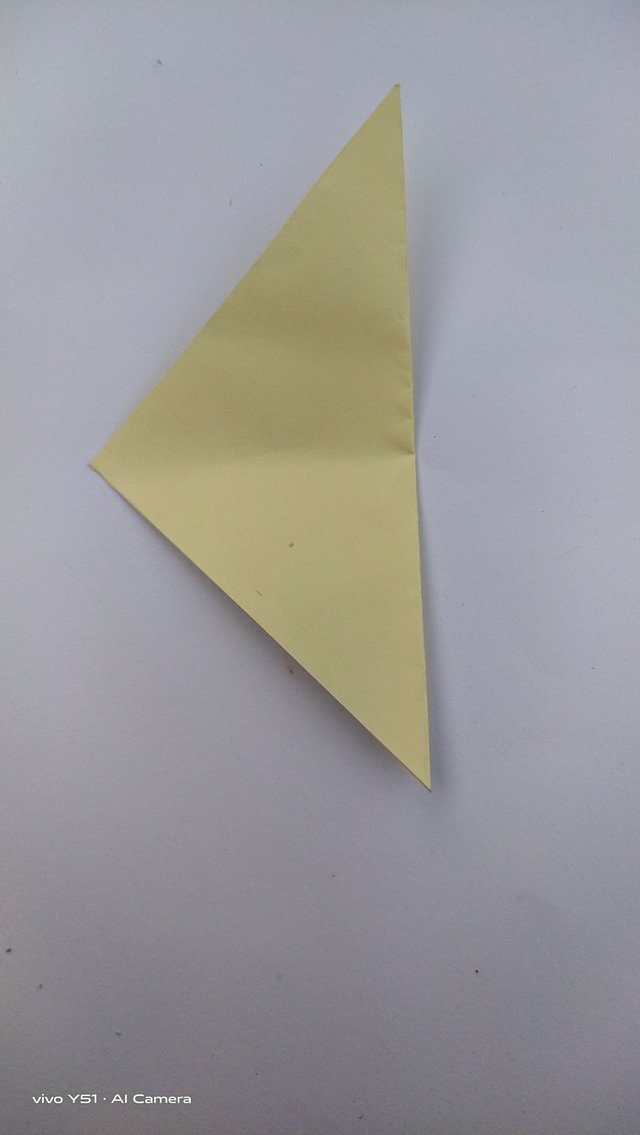
- Steep:01
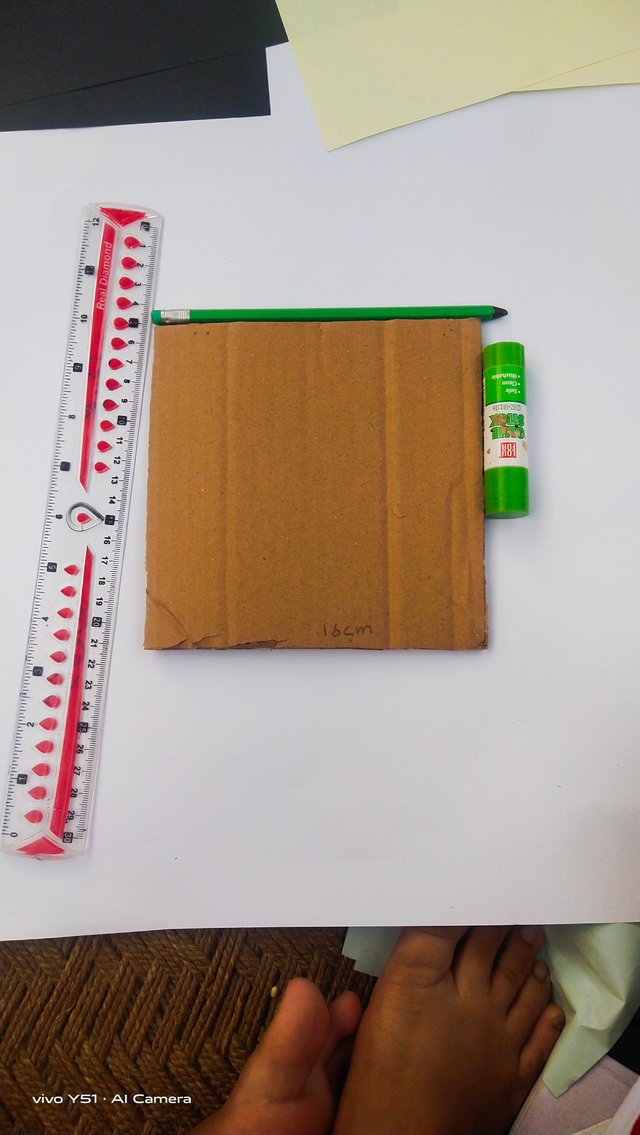
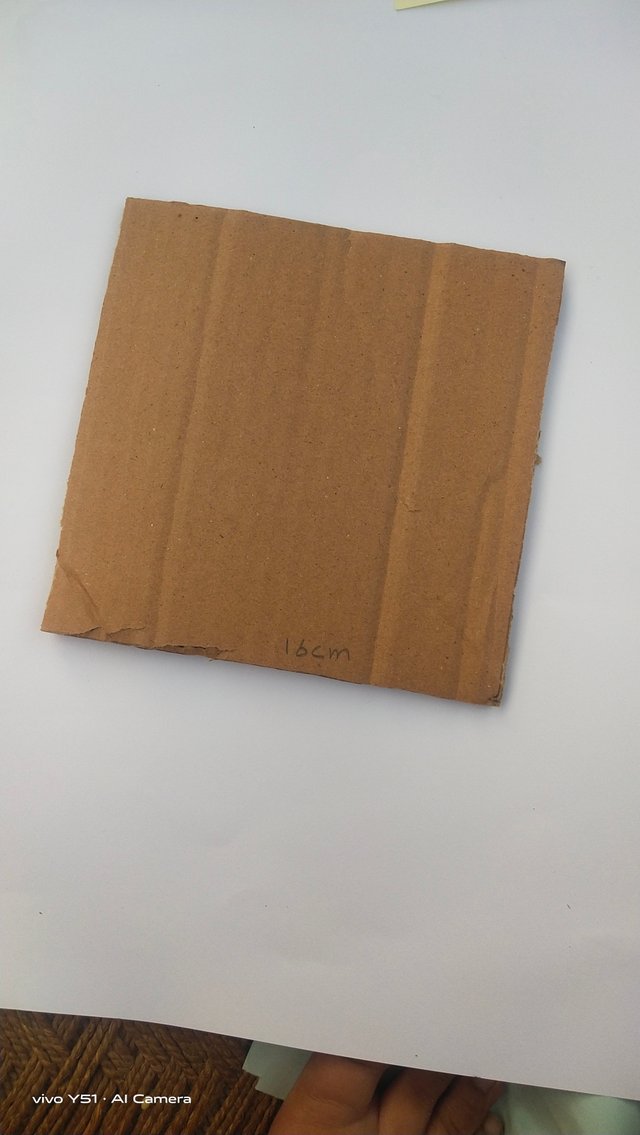
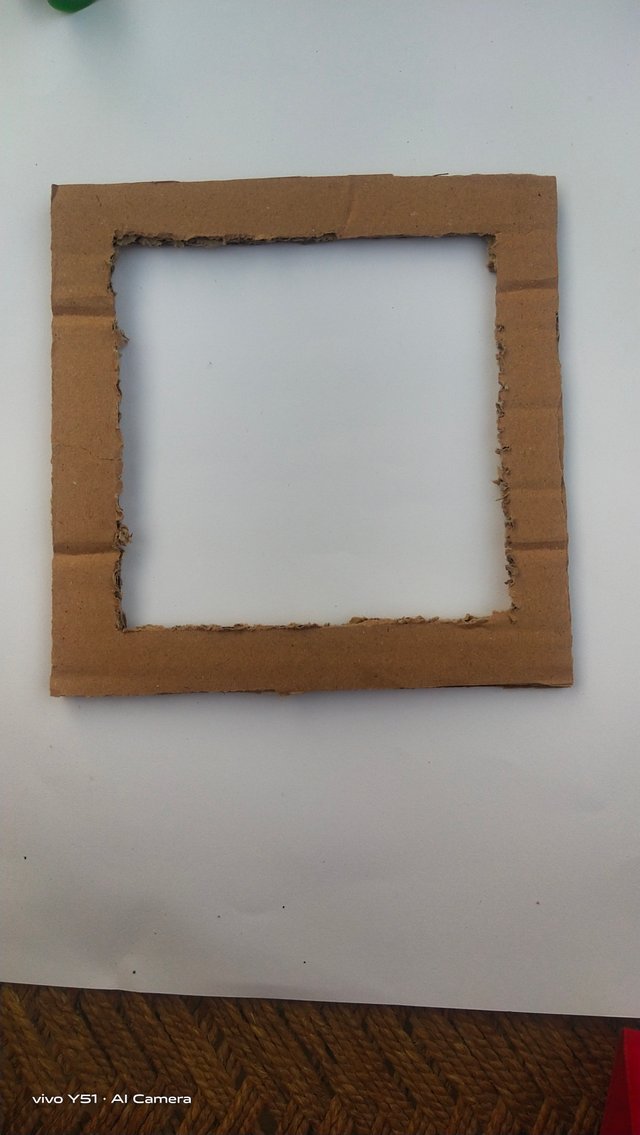
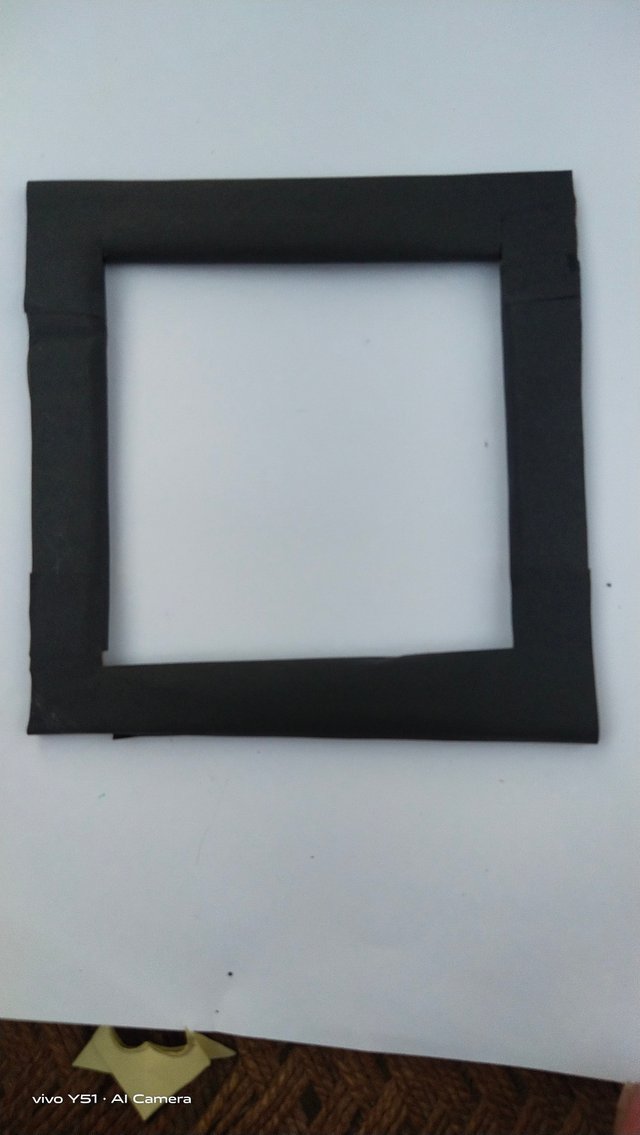
I took Hard paper. I cut that paper. Length × Width
16cm × 12.5cm
After that I cut this paper from center. It look like beautiful as you may seen in images.
 |  |
|---|
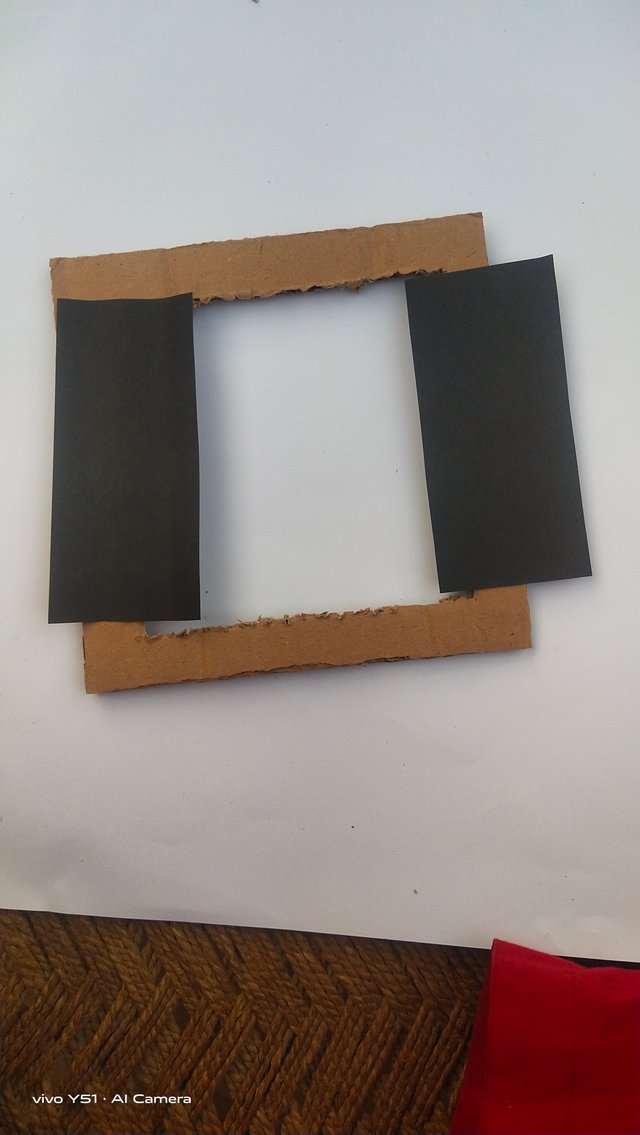
- Steep:02
Then , I took soft paper in black colour. Hard paper is looking rough until we cover it with soft paper. I took black paper. I cut black paper as I can cover hard paper. After that I use Glue stick to stuck this paper on hard paper.
 |  |
|---|
 |  |
|---|
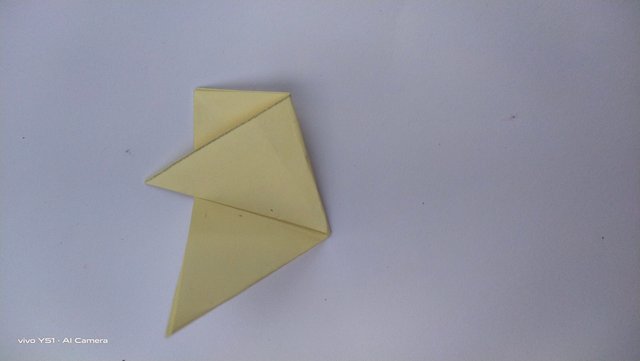
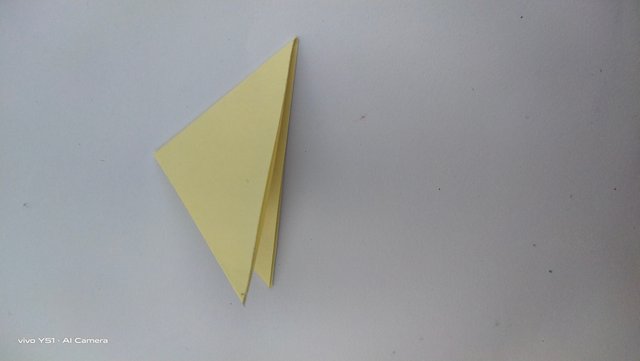
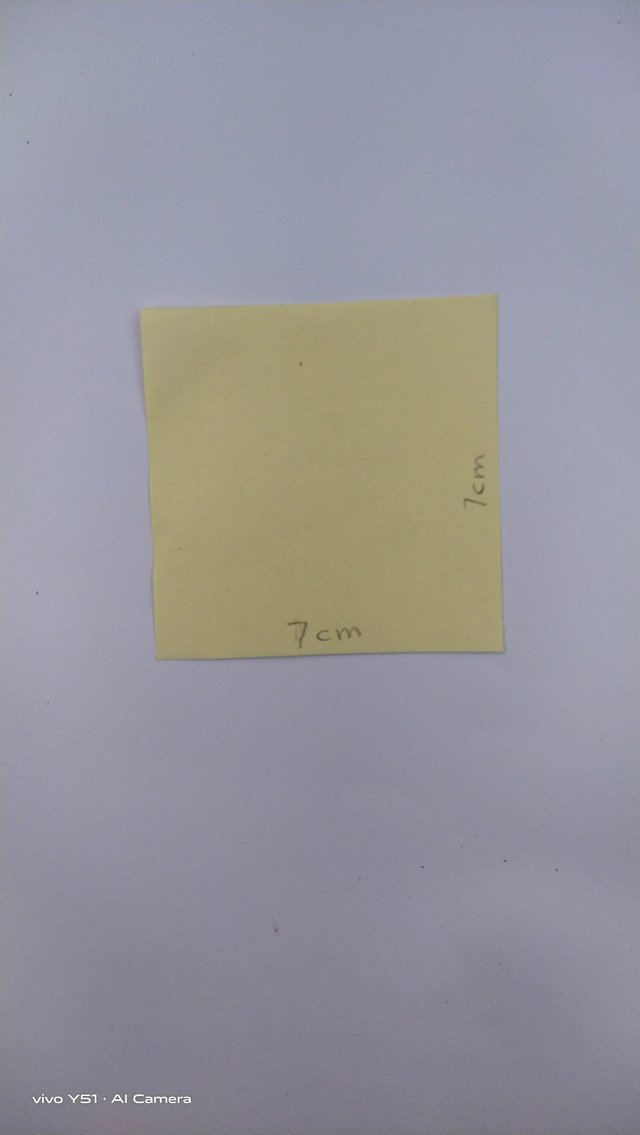
- Steep:03
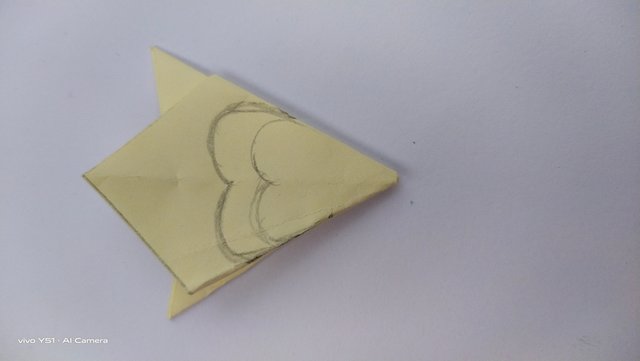
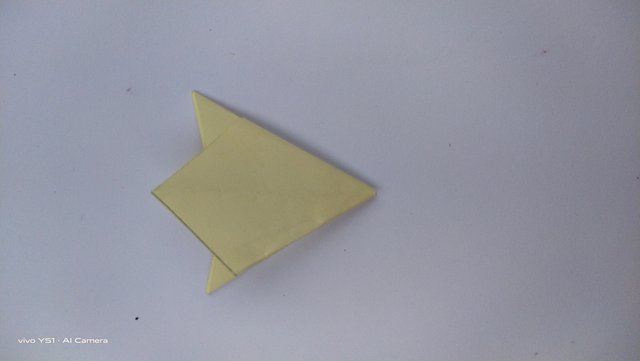
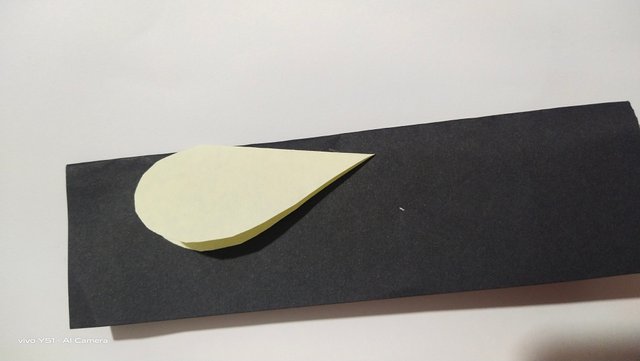
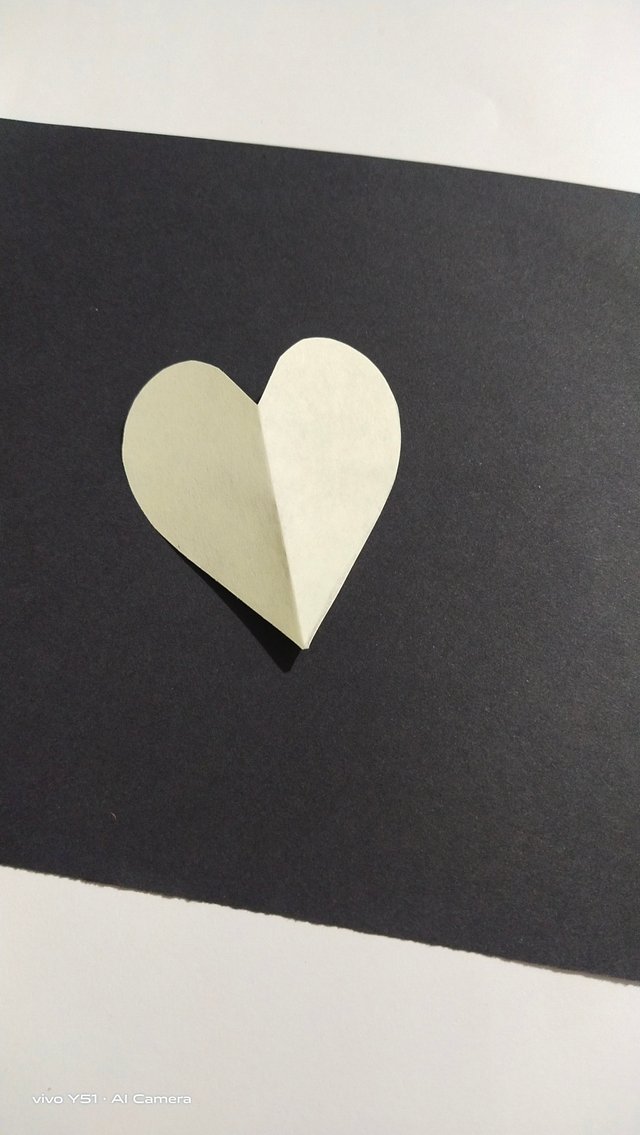
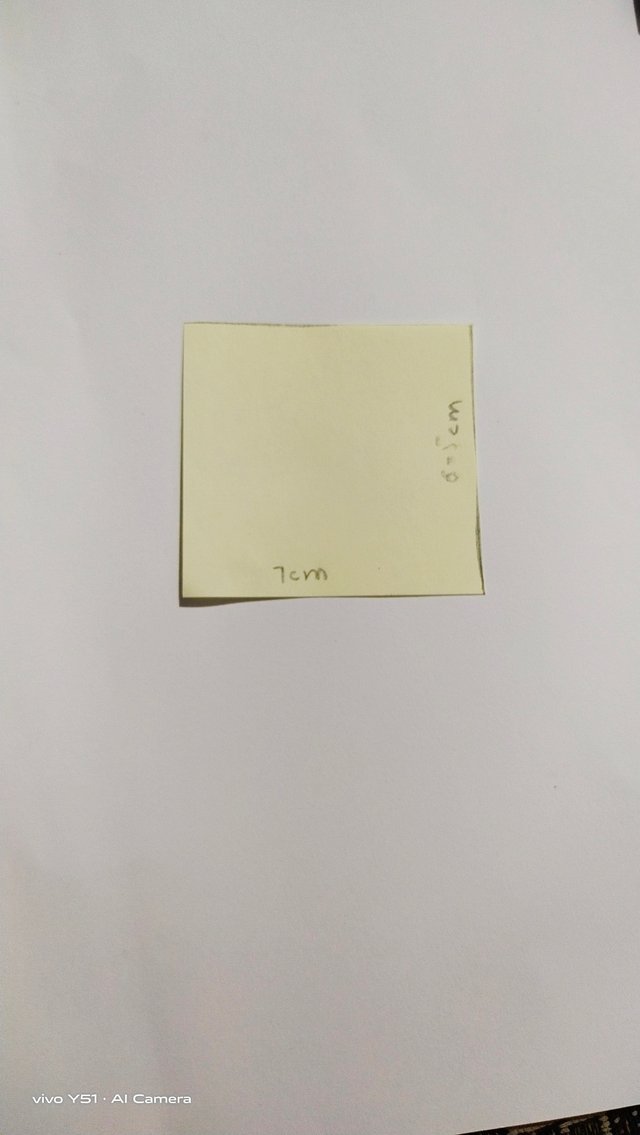
Then I took yellow 💛 paper. I cut this paper in particular measurements. As you can see in my images that it should be length × width 7cm × 7cm. After that I fold as you can see in imag . I fold in particular way. After that I draw an heart shape with pencil. After drawing I cut it then it look like as a flower with petals.
 |  |
|---|
 |  |
|---|
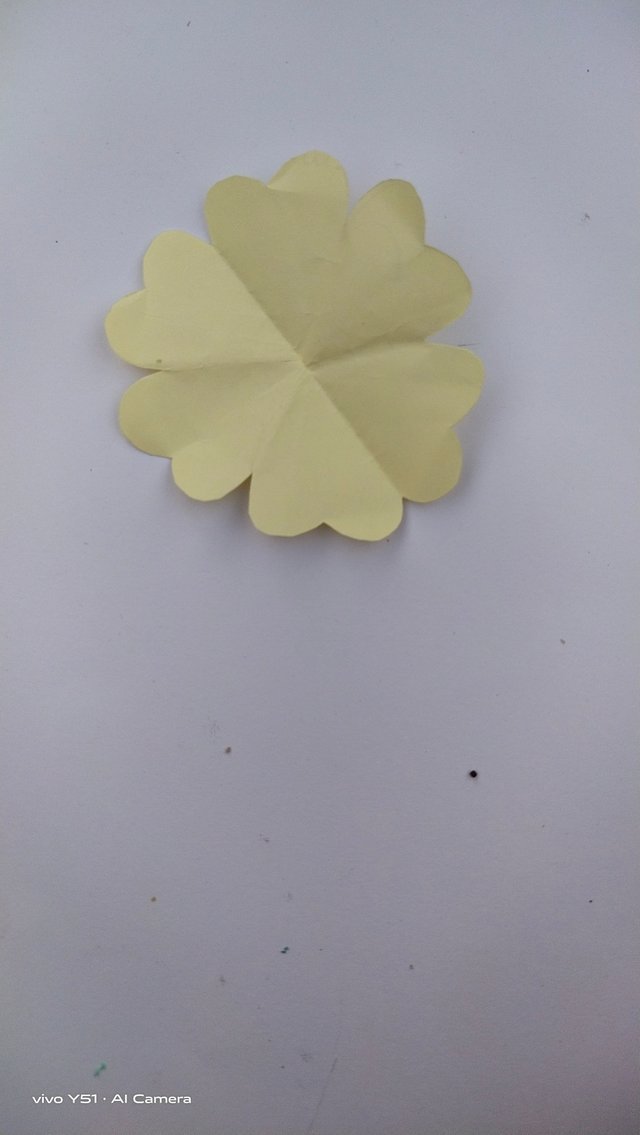
- Steep:04
This step deals with drawing and cutting ✂️ in a heart shape. After cutting , I used Gle stick to stuck it and balancing the petals.
 |  |  |
|---|
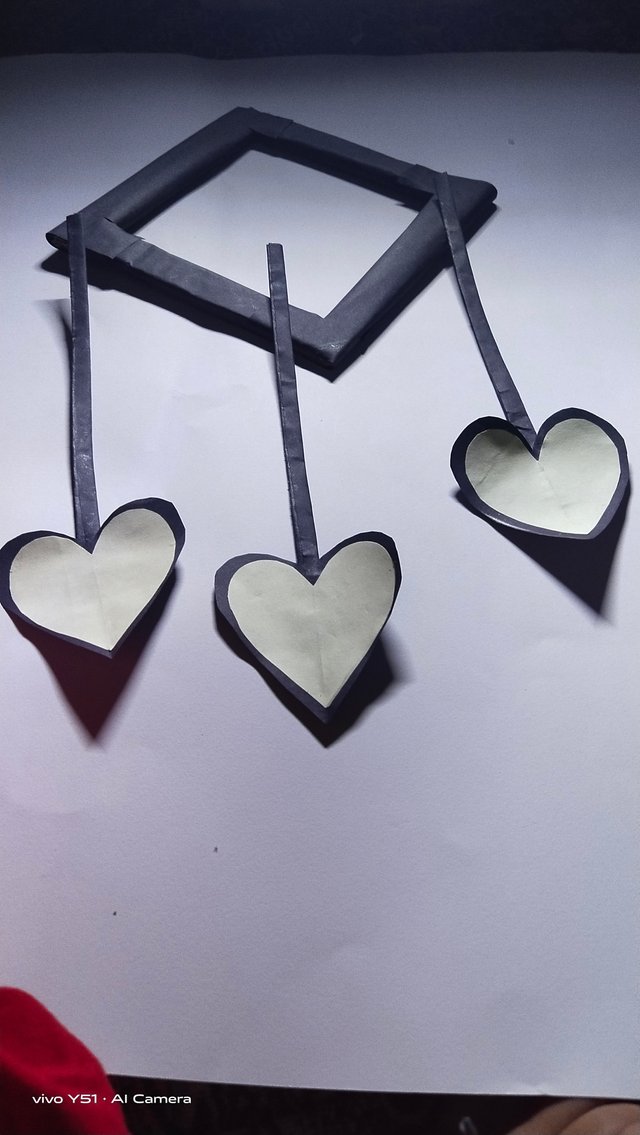
- Steep:05
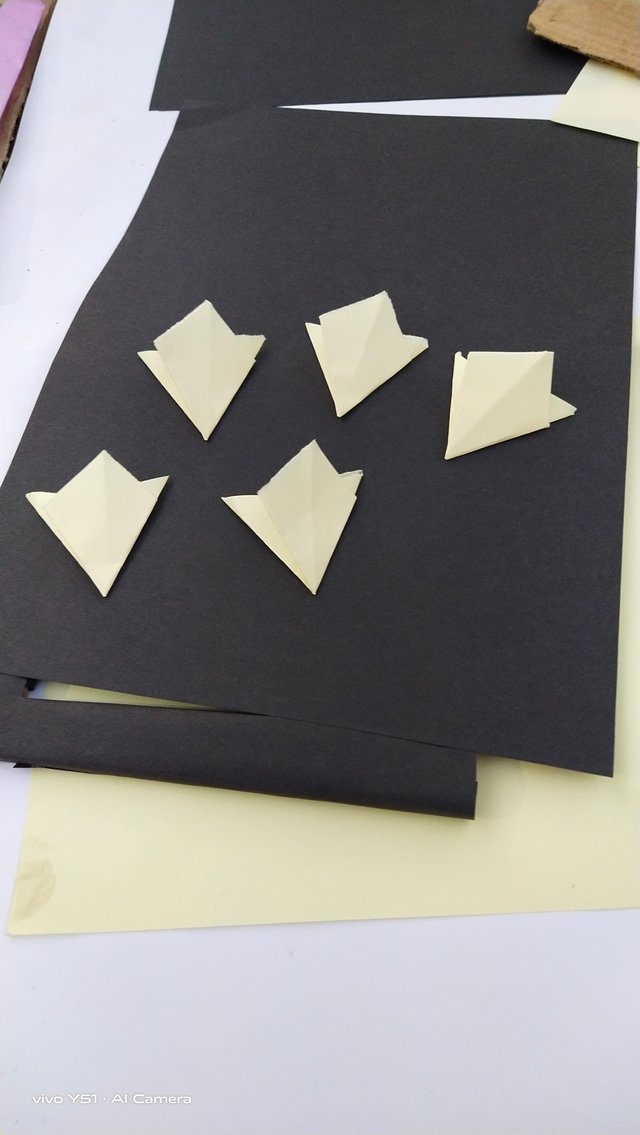
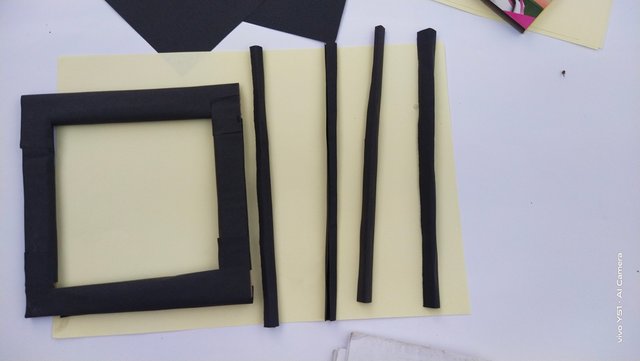
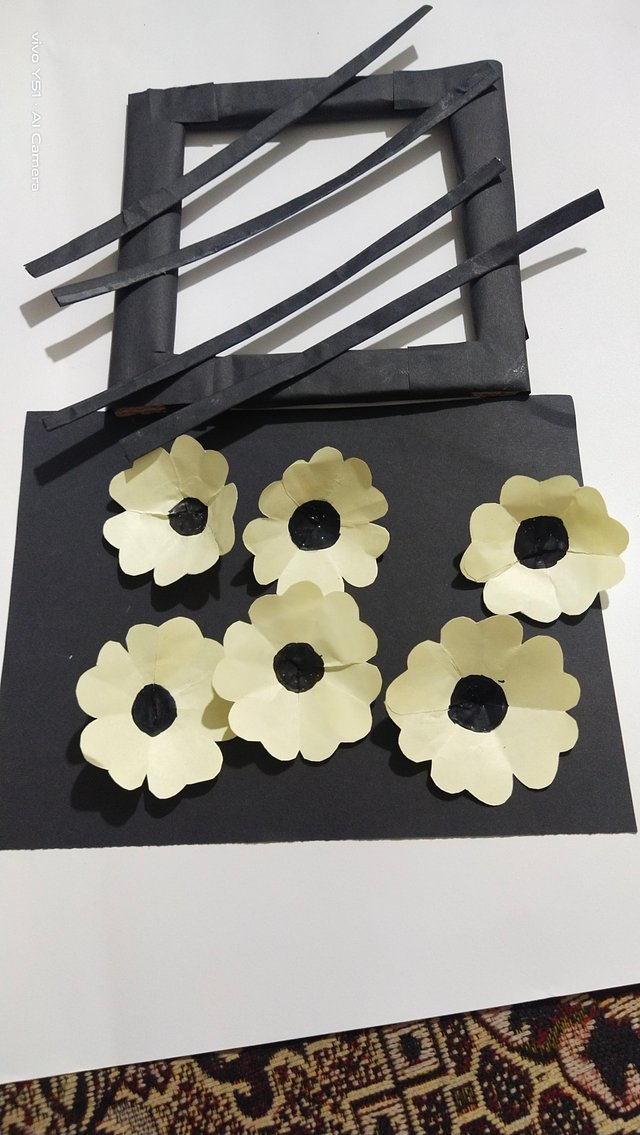
In this step , I made three strips with black paper. I took black paper in length. I fold it 2 times. So that it may have support to hang on a wall. After that , I made 3 more flowers . The method was same as I told in step 4.
 |  |  |  |
|---|
 |  |
|---|
 |  |
|---|
- Steep:06
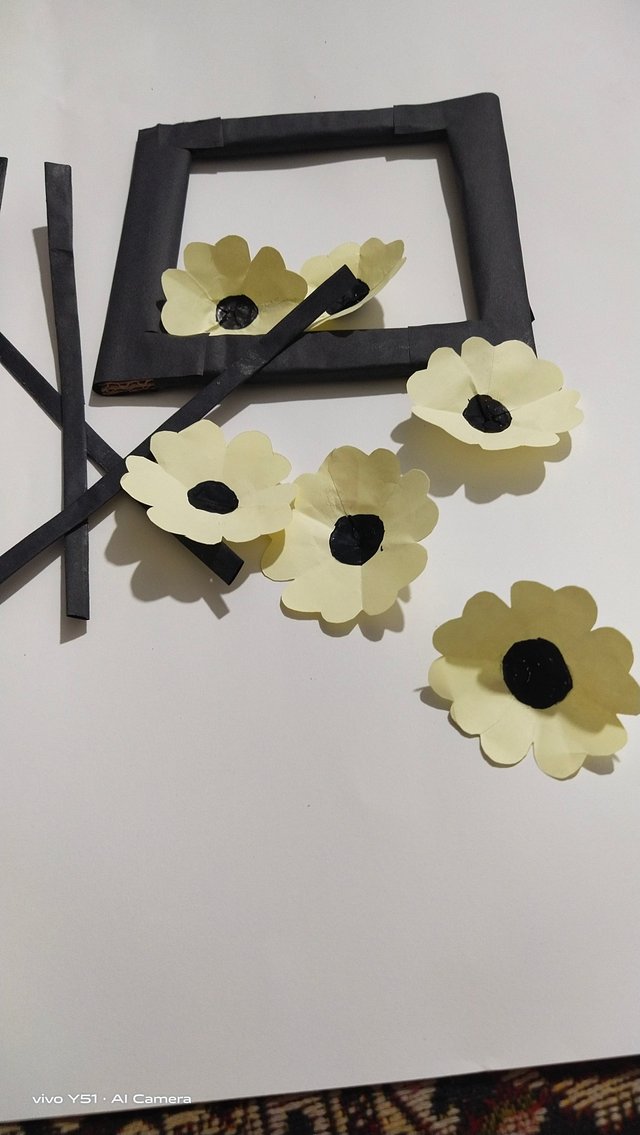
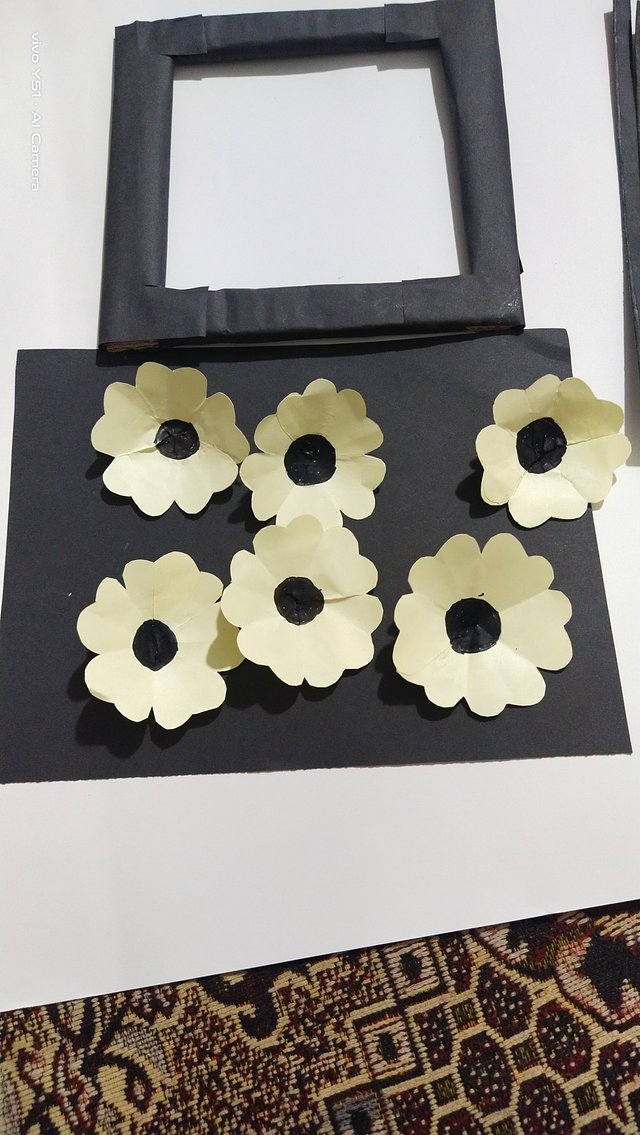
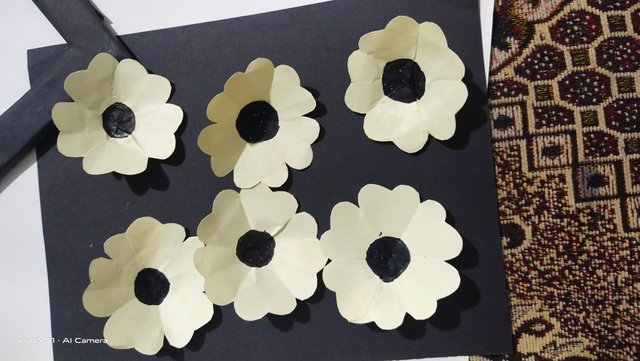
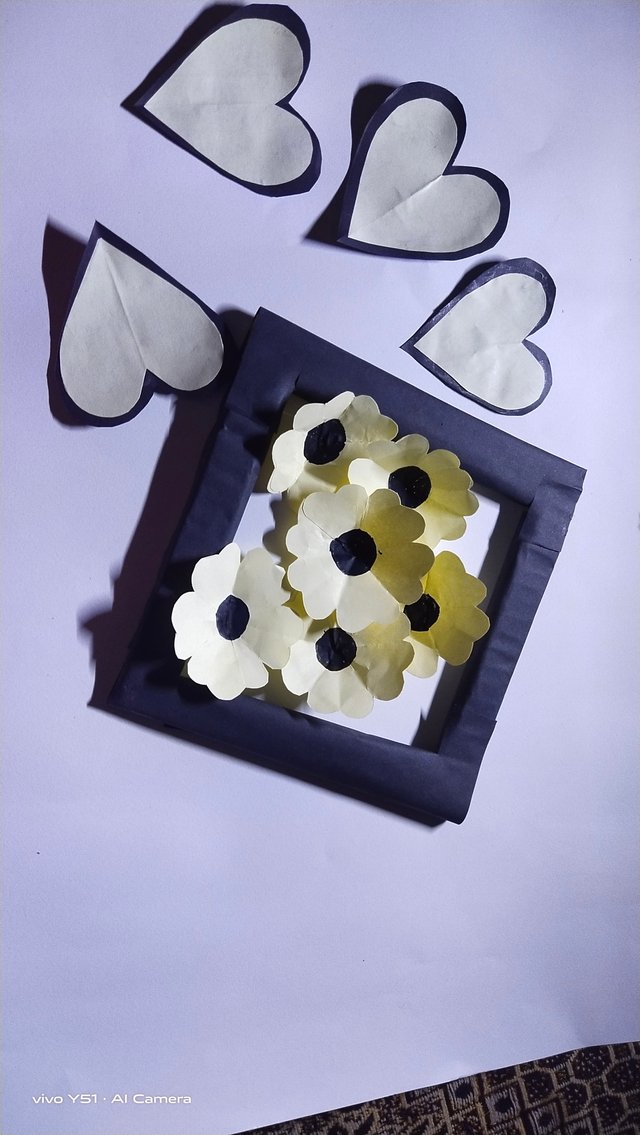
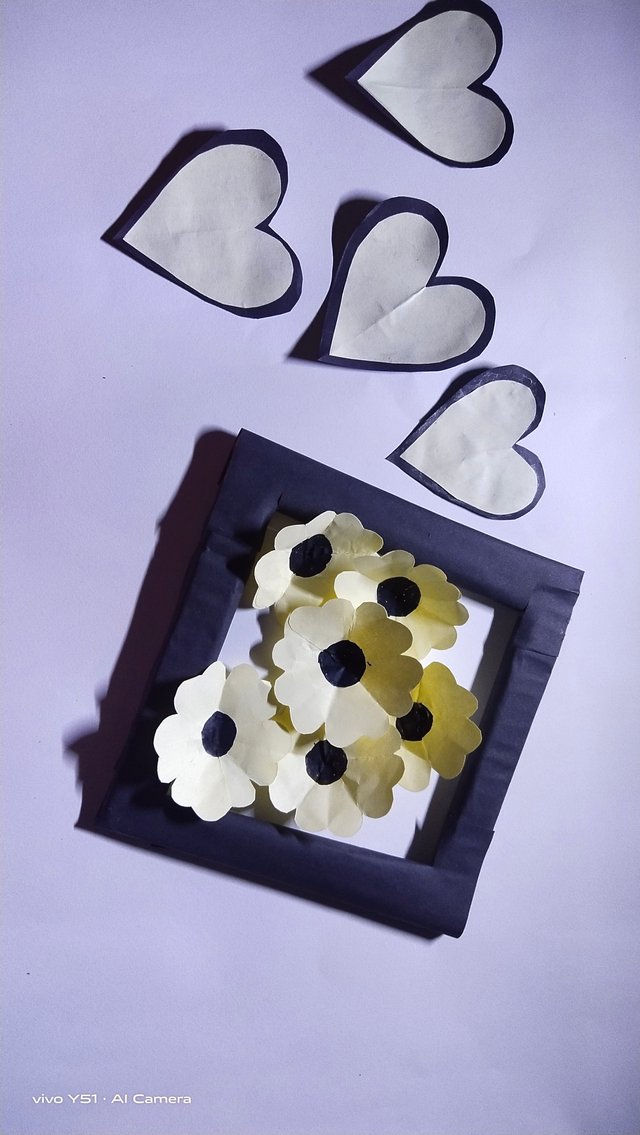
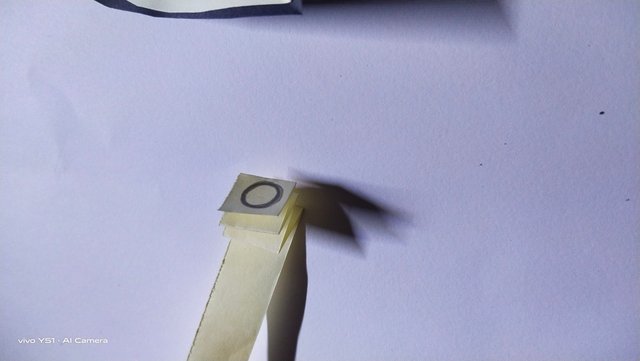
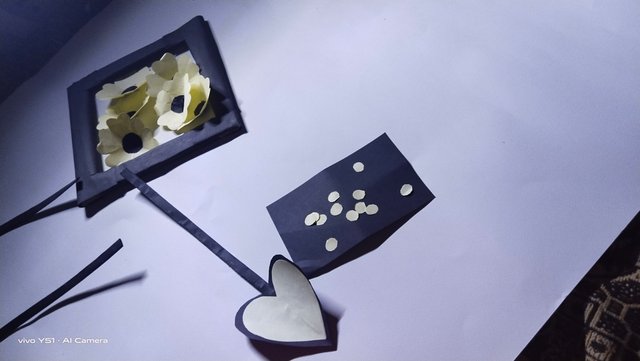
This step is very much interesting. In this step I cut flowers shape. After that I made a circle in center. Then I use black marker to fill this circle. After that flowers looked so beautiful. It looks like Original flowers. Colours put life in everything. You can see these are looking so original. Now , all the things are ready. Just wait to stuck with its original position and give shape.
 |  |  |
|---|
 |  |
|---|
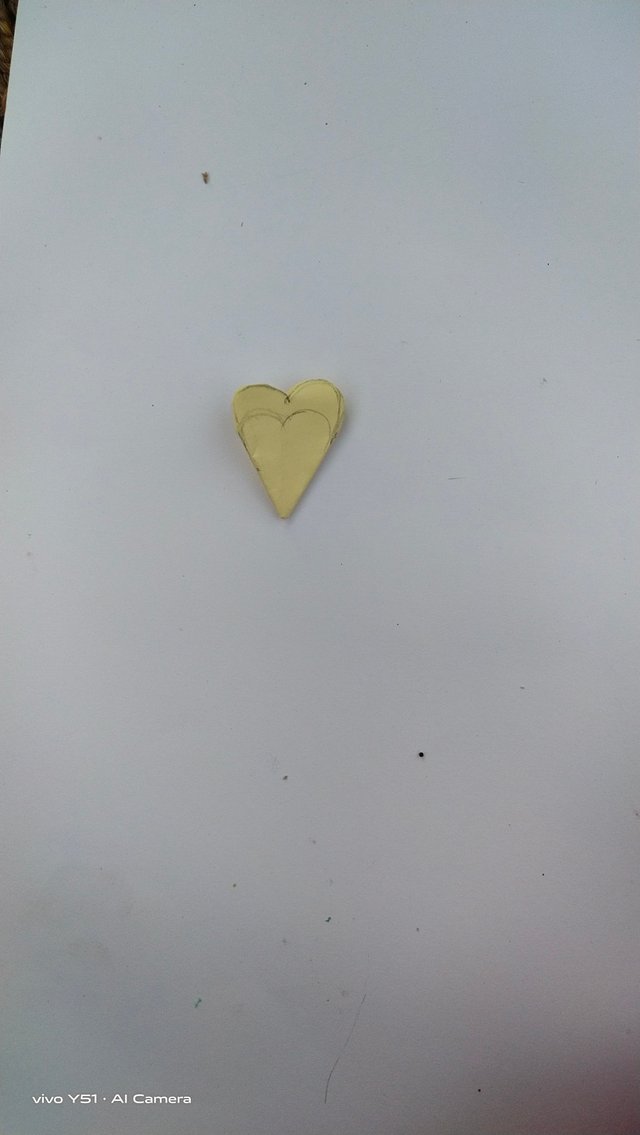
- Steep:07
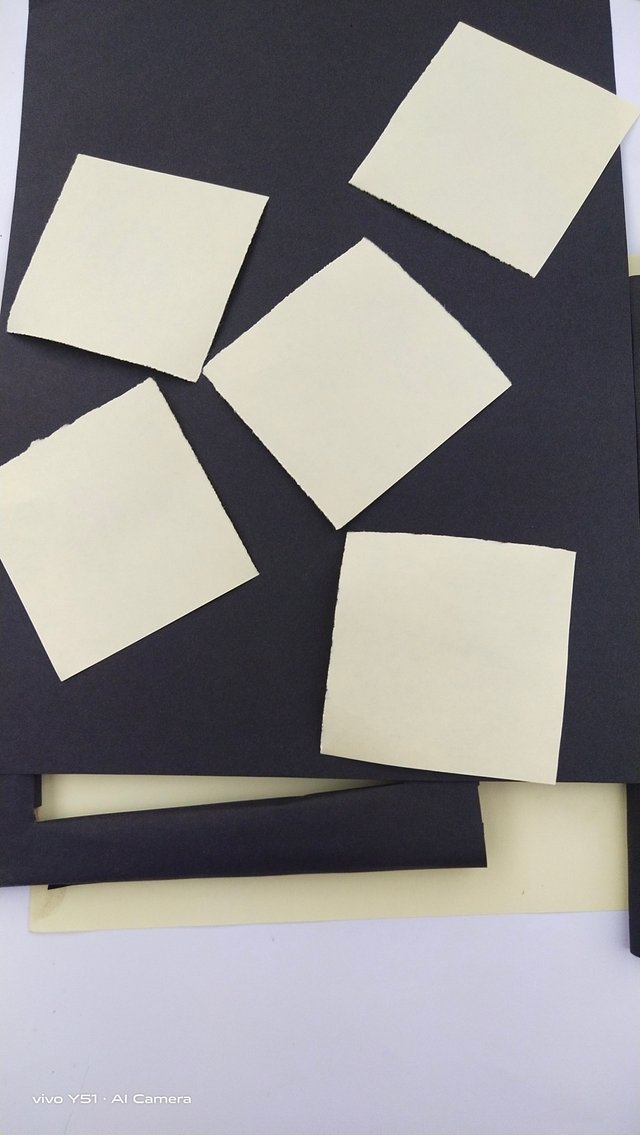
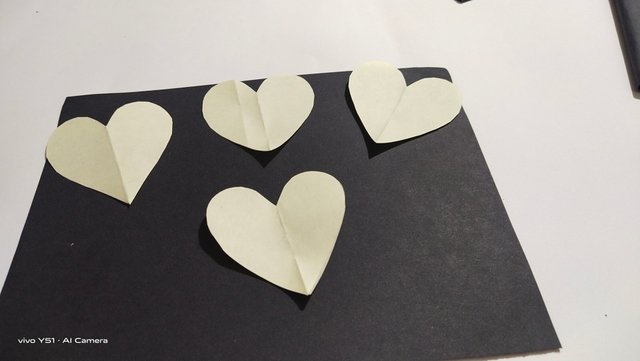
This step was so amazing . I really enjoyed this step. In this step I cut paper to make hearts shape. I took yellow paper whose length and width is 7cm × 7cm . Then I fold it and draw a heart. After that I cut that. I repeat it for three times because I need three hearts .
 |  |
|---|
- Steep:08
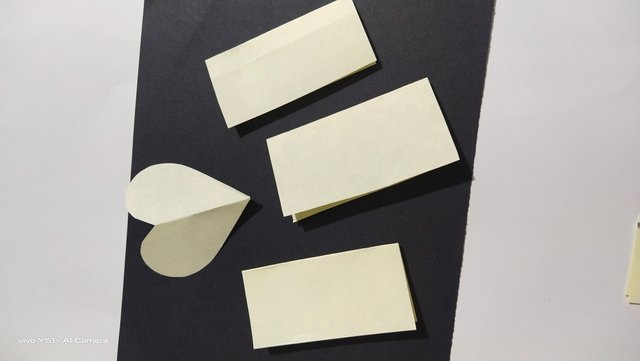
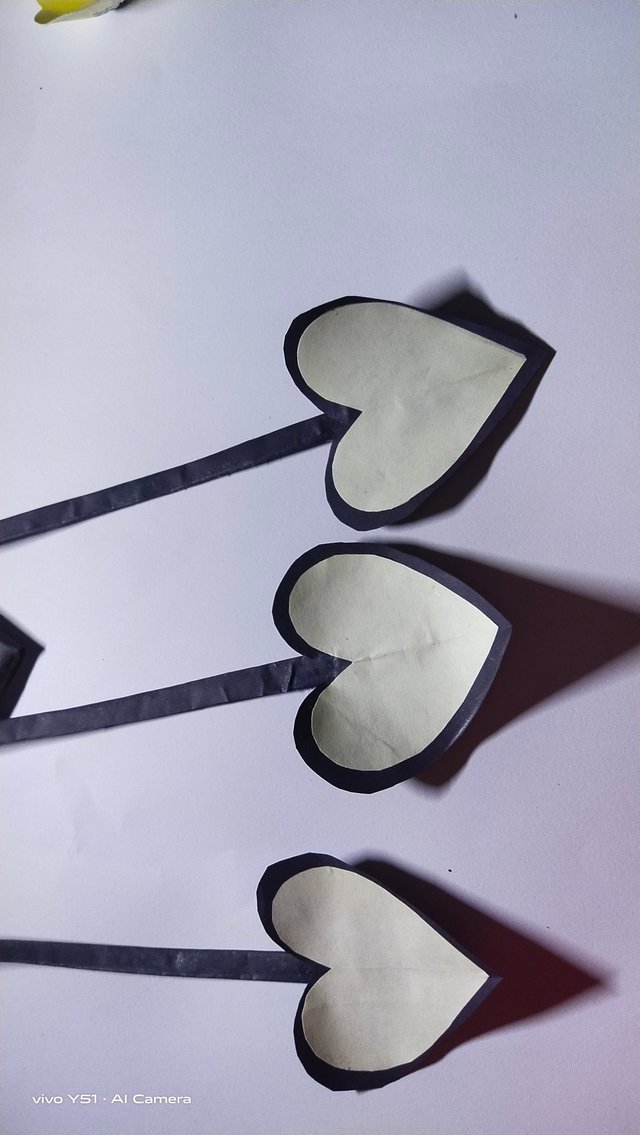
In this step , I repeated same method to cut hearts. But at that time paper was black. And size was also increased.
8cm × 8cm.Because I have to stick yellow hearts into black hearts. I did same. I picked glue stick. I covered yellow heart into black heart. Now everything was ready. Just I had to stuck with the base. Let me clarify that I cut three yellow heart which were reduced in size & 3 black hearts which were increased in size.
- Steep:09
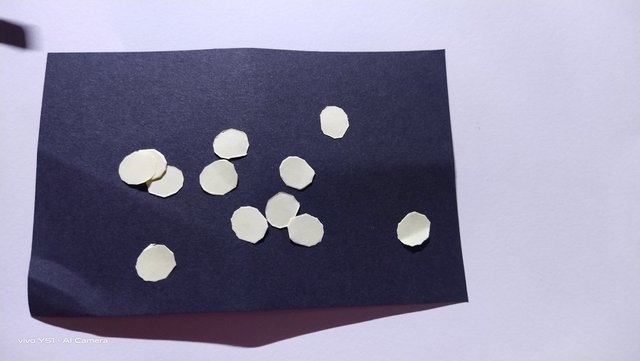
In this step , I cut a circle we can say small balls. But the reason is that we have to cut these balls in a same size. That's why I used trick. I took a paper. I drew a small circle. Then I folded it in zig zag manner. After that I cut it. I was succeeded in my trick.
 |  |  |
|---|
- Last steep:
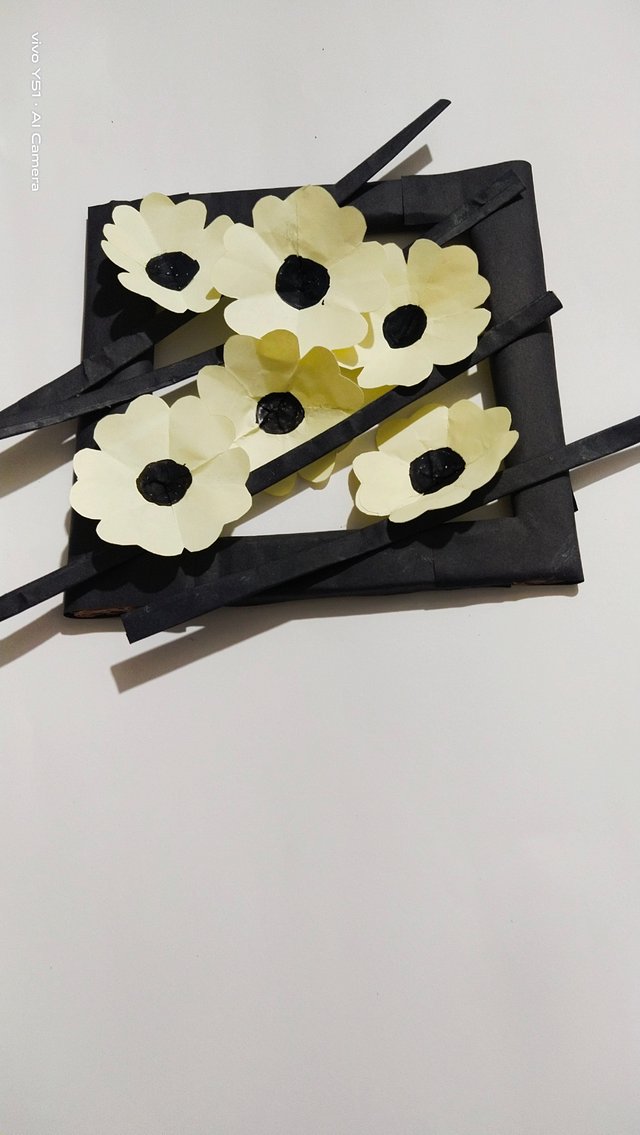
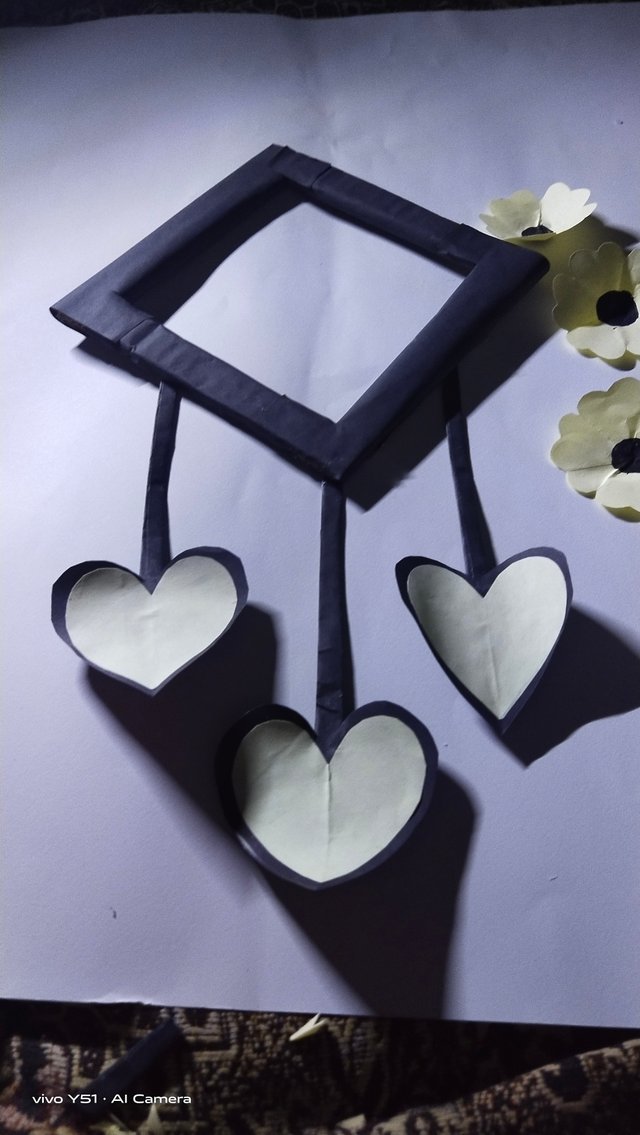
I took 3 strips of black paper. I attached it with hard paper. I use Glue stick to watch it with. I attaced it in a sequence. As you can see in images.
Final look
- When I completed , really it was amazing. You will definitely appreciate my efforts. Here are some pictures of my work. Here my Creativity ends. After that , my mother looked it , she apprecuated me a lot. My cousin said to me that they wanted it for their room. It was not only a decoration piece but also fill of happiness.
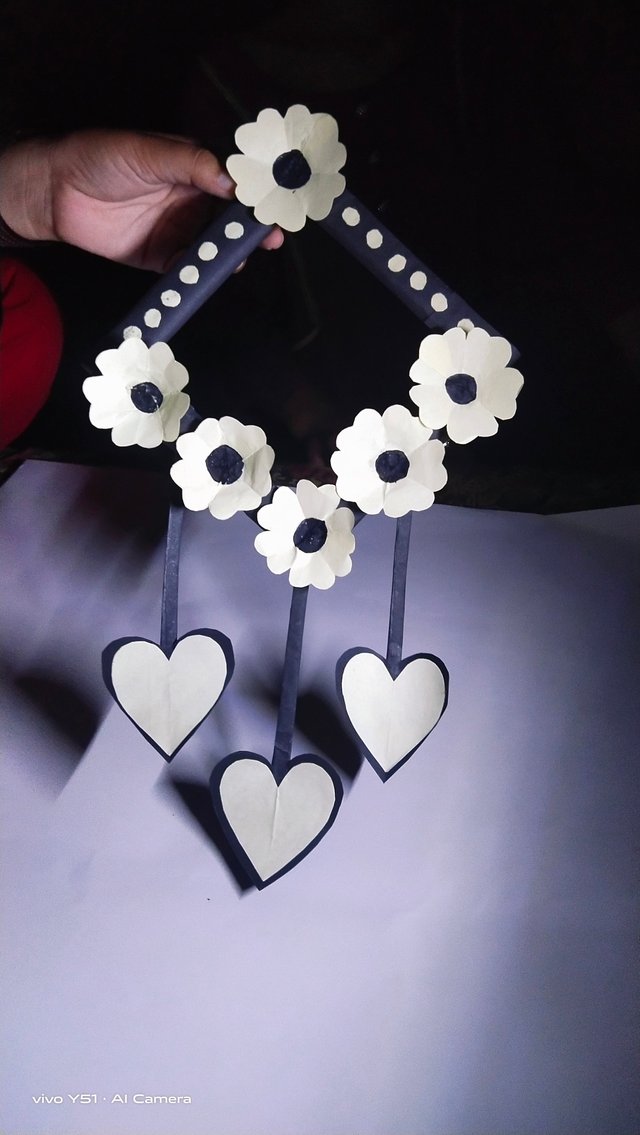
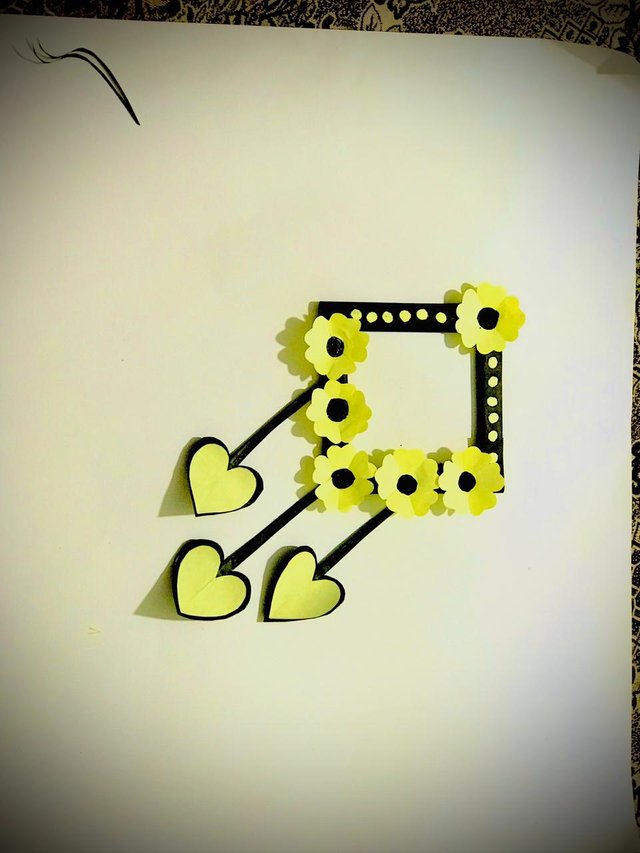
A beautiful Wall decoration was finally made.
Many people want to express their creativity but can't find the place they want. I think people can express their creativity through the #steemskillshare community.
| Photographer & edit | @mabiya00. |
|---|---|
| Device | vivo Y51. |
- I hope everyone like & enjoys my post. I would like to invited I also requesting to join #club5050, #club100 and #club75 programme for more support.
Hi Congratulations Dear 💐....
We also here to support our members through our community which name is Steemit Graphics Community.
https://steemit.com/trending/hive-123895
Let's join us and grow together. keep sharing your skills and earn steem..