How to repair a mouse (2/2)
Good afternoon friends, I hope you are well, here I bring you the continuity to the last post, I hope you could have a look and manage with these posts to learn and do yourselves with enough curiosity and the right tools, you can fix and maintain your mouses with some more life in the course of time.
As i told you in the previous part of this post, there will be an exposition of what the repair was, with a series of images and a step by step to make it easier for you to understand the whole subject.
Hands on the work
As I said, certain things are needed to work these components, such as solder, solder (tin) and flux, in my case just solder and solder. But this is not all, as we know that the soldering iron works with heat, so you have to have a surface that supports this kind of heat and that does not reflect any kind of risk when working, in the same way you have to take into account that it is an electrical equipment so you have to be careful in this part too.
If you like me do not have a table or workstation for that purpose, do not worry you can use a porcelain plate, any surface that can dissipate and support heat easily and gradually, the bigger the better because you will feel more comfortable working so.
So I grabbed my big porcelain plate, my cautin, my mouses and the solder to get to work.
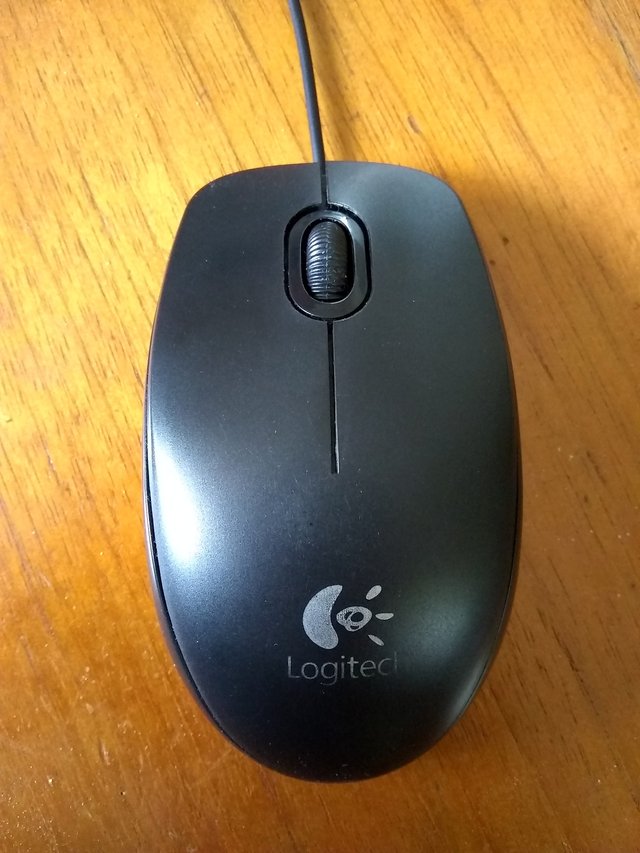
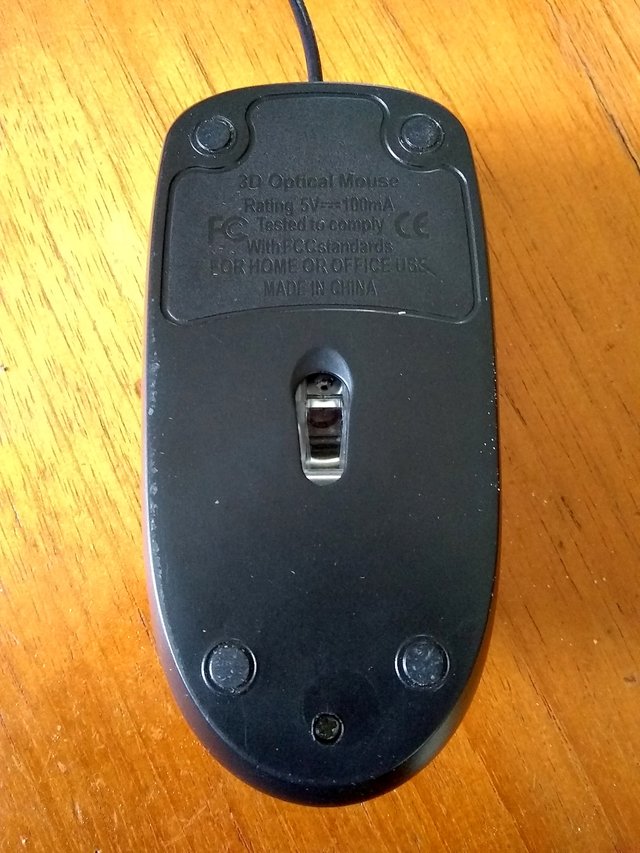
The first thing to do if you haven't done it before is to disassemble the mouses, in my case one (the one with the pieces) was already disassembled but the other one wasn't, normally it depends on the model they have one or two screws located generally or in the upper part (where the wire or pointer is, depending if it's wired or not) and they tend to be of the same form of star or striae screw.
Once removed, the cover can be removed upwards and the plate can be examined.
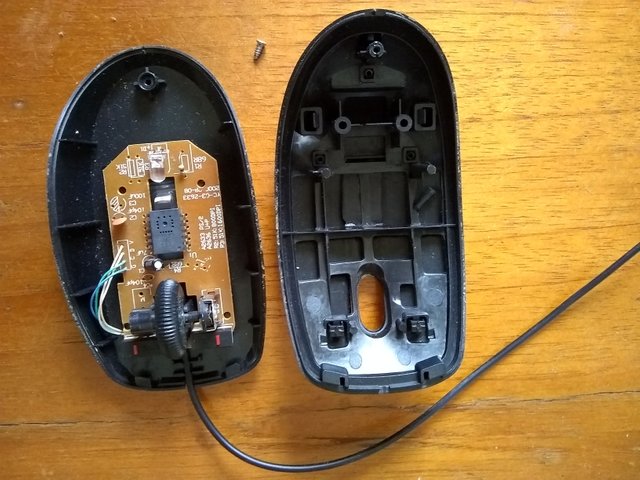
If the plate needs to be removed, it will only be necessary to remove it from the base of the mouse or, in any case, if it has one, remove the screw that holds it.

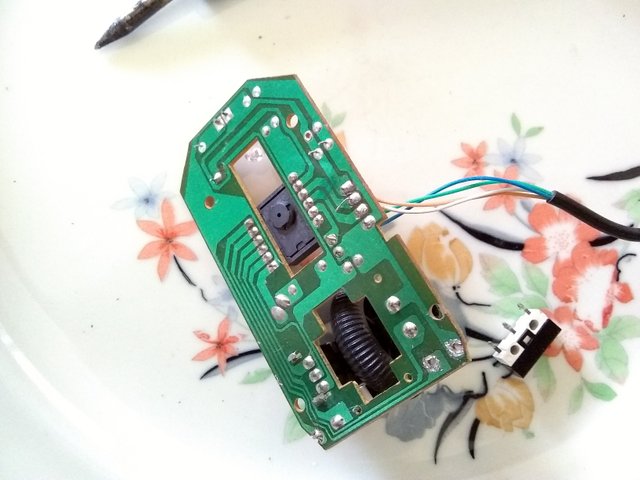
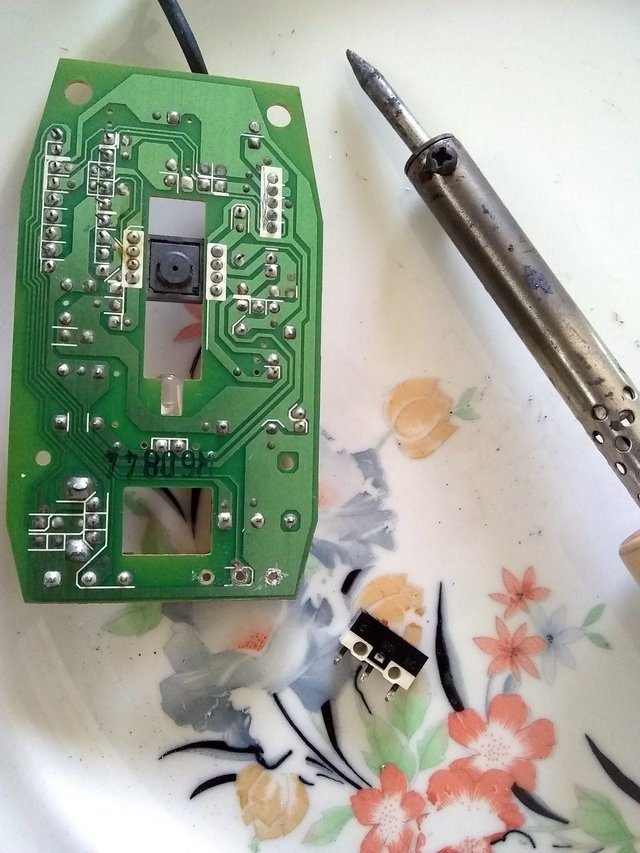
Once free, we must place it in a place where we can work on it, in this case on the plate. We proceed to remove the solder in the opposite way and thus remove the damaged button.

It must be taken into account that we must gradually and constantly heat the whole area of the solder to make the extraction as easy as possible without causing damage to the plate and its tracks.

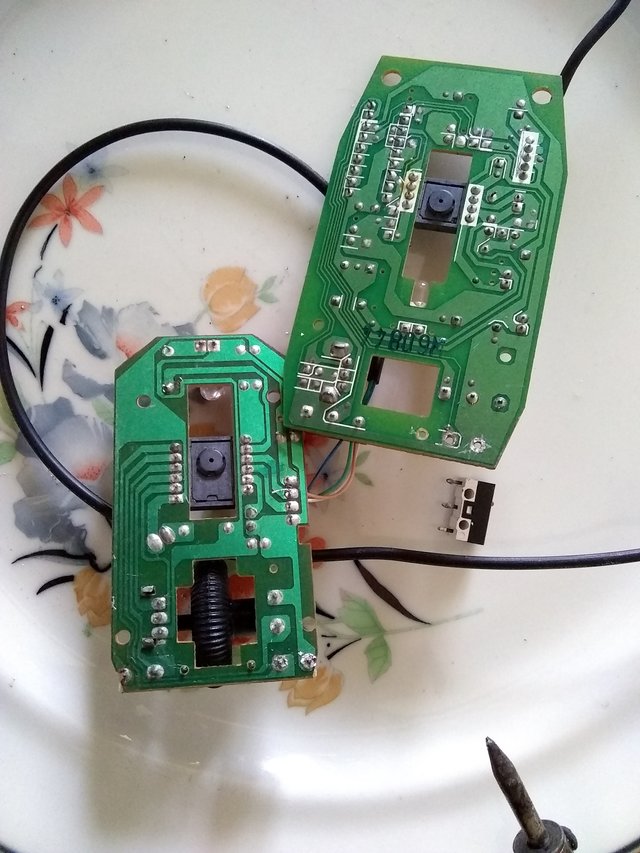
Once the button has been removed, the same operation is carried out on the spare parts mouse.
Something to take into account, is that when removing both buttons or parts in general, it is advisable to take into account position, polarity and pins in any case, since something wrongly put can not only damage the part but the whole equipment, depending on the part and its operation.
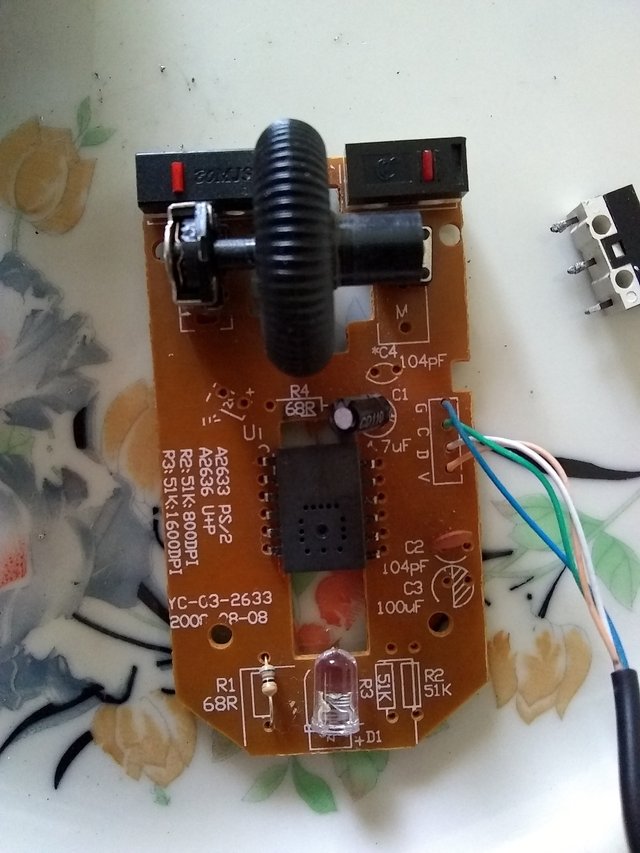
Now it's time to install the piece in good condition on the mouse to be fixed, in this case, you must take into account the position, because in this case the button is the right one, if we put it upside down it won't work, because the button won't be able to fit on the piece that operates it from the opposite cover on the mouse.
One that knows the position, it is recommended that in the case of us that is a recycled piece, it is verified that it passes by the hole of the plate without being very forced, reason why of not being the case it is come again to retire tin of the piece or of the plate, is better in this case to retire a little but of the piece that of the plate since the plate this naked and it is not due to pass much with the heat or we can spoil it...
Since we place the piece inside the plate comes how interesting it is to weld, for this we must likewise maintain the cautery at a good temperature so that it can be placed in a plasma state to tin and so in its malleable state can be added to the piece little by little.
Something to take into account is that if we have flux we put a little bit of the contacts of the piece in the or in any case the tip of the caution, then we approach little by little the tin to the tip and we wait until it is placed in the state mentioned before.
Taking into account the precaution that the piece must be as centered as possible, we add little by little the tin trying to cover the contact of the piece and the hollow of the plate, if possible in a circular and uniform way so that it obtains more rigidity and mechanically speaking avoid overloading all its possible efforts in a critical area that turns out to be a concentrator of efforts.
Once the welding is finished, wait for it to cool down, if you don't notice any cracks or similar details, it's ready. Keep in mind that if you are not going to use more caution can leave it on the plate to be cooled and then collect everything easier.
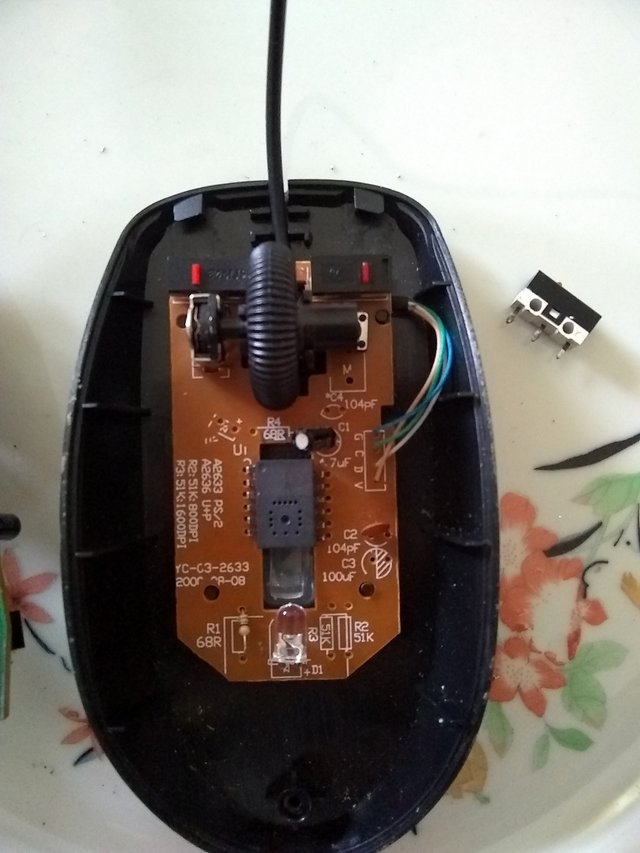
Then proceed to the assembly and verification and enjoy the mouse for a while more.
I hope you have liked these posts, and have been able to learn a little bit about this from mousse repairs, in case you have one and a button gets damaged, know that you can keep it and then calmly and eventually repair it once you have two or decide to buy such a button from an electronics store.
Thank you for reading. Rengus