How to repair a mouse (1/2)

Source
Good afternoon friends, I hope you are well, here with a post that I was pleased to make, it is noteworthy that I am not an expert on the subject, but with enough curiosity and the right tools, you can do great things.
As you can see in the title, this will be the first of two posts, in which I will put the basics and before the repair itself, I hope you like it, I continue with the post.
This is how it all started
It all starts when my son @suanky told me that his mouse had been damaged, so I decided to see if it could be fixed, some time ago I had looked into the subject since I had an old mouse in the same condition.
That mouse I kept it as a way to extract pieces from it in the future, so I proceeded first to ask him about what it was that had been damaged, after inspecting @suanky's mouse and confirming that it was the button, I looked for the mouse for pieces that he told me about and I checked that the button was in good condition.
Once I noticed that the button was in good condition, that the pins coincided (that are welded to the tracks of the board), and that they were exactly the same, I knew that I would have a solution.
A bit of theoretical explanation
It should be noted that this is a simple procedure, but relatively time consuming when not all the necessary equipment is available. For my part, I do not have a solder extractor, so a reverse process would have to be done in order to remove the solder from the tracks and the part.
I say reverse process because the solder (tin) is heated to the point where it becomes malleable and can be applied to the parts to be joined. As I said this can be done in this way or with the extractor, but a simple way is with that tool, because it is the fastest, and the result is neater.
It is necessary to take into account that, for a soldering of electronic equipment, it is advisable to have a caution, tin and flux as minimum equipment. However, soldering can easily be done without the latter, but it becomes a little less effective .
For my part I only have a somewhat old and few watts caution so the soldering tends to take longer than conventional, added to the fact that I do not have much tin (I reuse a little of an old plate that I have here) and well I do not have flux. However, you can do this kind of work.
It's important to note that the more watts you have, the faster the heating and the less time you will have to wait for the solder to be applied.
As I said at the beginning I am not an expert so my soldering will not be very aesthetic, but functional, so when you see the photos you know hahaha, they are functional not aesthetic, I hope with time and practice to improve my technique and gradually be buying the tin, flux and a better caution.
To illustrate a little of what I've been saying I leave you with images of a cautin, tin, flux, a track, solder and an extractor to complete the idea.
Caution. Source
Tin (in various presentations). Source
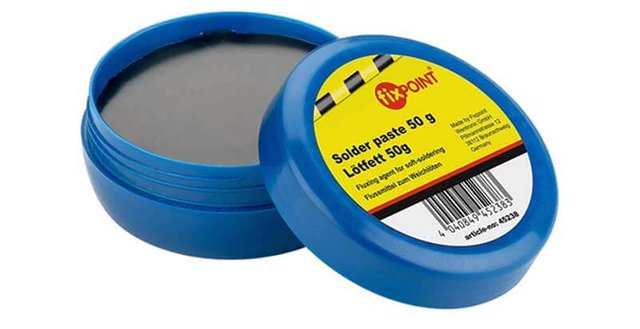
Flux (paste), since the liquid is like an oil. Source
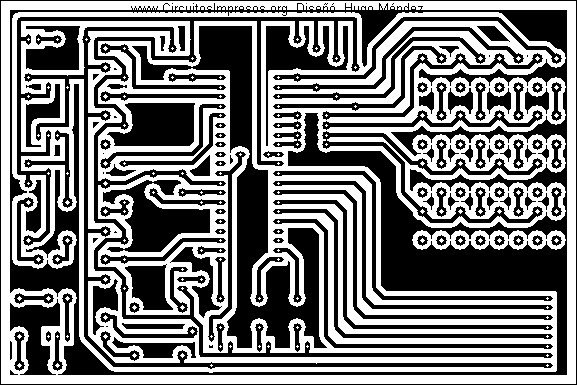
Electronic track. Source
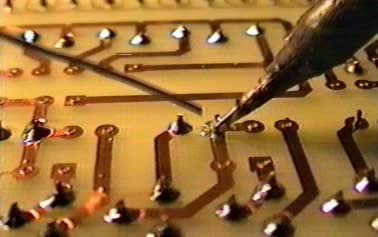
Welding. Source
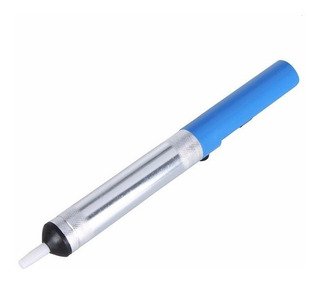
Welding extractor. Source
So much for the first installment, see you tomorrow with the application itself and how the work is done.
Thanks for reading. Rengus