How to easily make a Gif in Photoshop
Greetings friends, here I bring a post that can serve more than one at the time of publication, or simply to create some signature in question. This idea comes from the fact that soon I'll have a post in which I'll include a gif and it's a good idea to upload about how you can easily make a gif in Adobe Photoshop CS6, it's worth mentioning that it's not the most modern version of the Adobe suite, but it's what my modest team can run.
Don't be scared, you don't need to be a graphic designer or anything like that to be able to create great gifs, it's all about creativity and imagination. In my case I'm just a guy who studies Industrial Engineering, but I go far beyond what my career encompasses, since learning new things is great for me.
Making gifs in Photoshop was something that I learned in my high school years, in which in computer science they taught us a little of the Adobe suite and Photoshop was not the exception, clear it was something basic that later to personal taste I was taking like practice outside my hours of study.
Something you have to know is that it's a gif, since we can't start doing something without knowing a little about it. So we can define "GIF" according to Wikipedia as:
The Graphics Interchange Format (GIF /dʒɪf/ JIF or /ɡɪf/ GHIF) is a bitmap image format that was developed by a team at the online services provider CompuServe led by American computer scientist Steve Wilhite on June 15, 1987. [1] It has since come into widespread usage on the World Wide Web due to its wide support and portability between applications and operating systems.
Source: Wikipedia
But to see more simple it could be explained in colloquial words as an exchange of photos or images one on another that give the sensation of movement depending on the case, and that this can be done with texts, images, etc.
Once we know this we can move forward, then in question we need to know what we are going to work with in my case I will make it of images, but you can do it in the same way since it does not vary practically, the formula is the same only that you can or not add more things to yours.
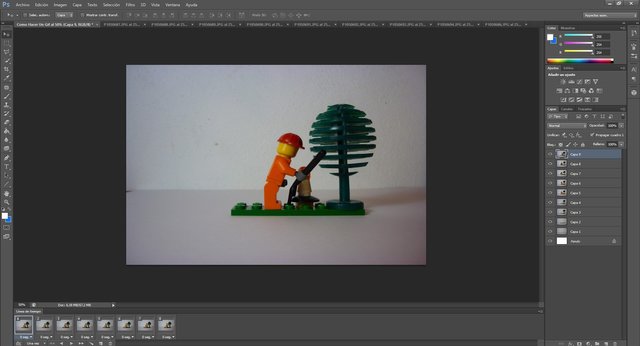
For my gif I will use nine images that I took previously for this explanation.
And then we proceed
We open Photoshop, once in the environment we will activate the timeline so we can work with the Gif format, so in the main tape we go to "Window".

Once here the menu will be displayed and we proceed to go down in the column that was displayed until "Timeline" we click and the tape will appear.

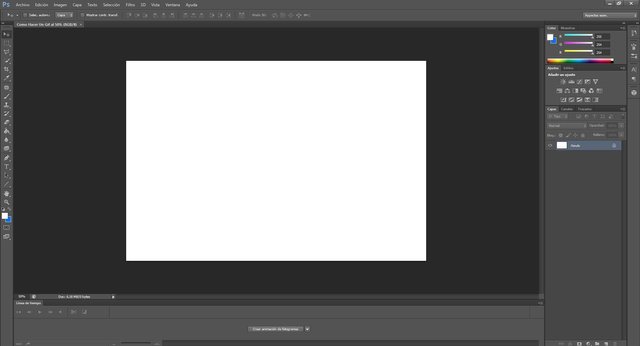
Then we create a new file with Ctrl + N or File, New.
Resulting in a new workspace, which can configure the size you want, in my case I will use 4 x 6 photography.
We open the photos that we want to add to the Gif.

Once opened we proceed to go photo by photo and pass them to the file we created for that purpose.

To do this, select the pointer (or selection tool, which is the first) in the column located on the left side. Click on the image and drag it to the title of the file to be worked on.

This should result in something like this, when passing the image from one place to another.

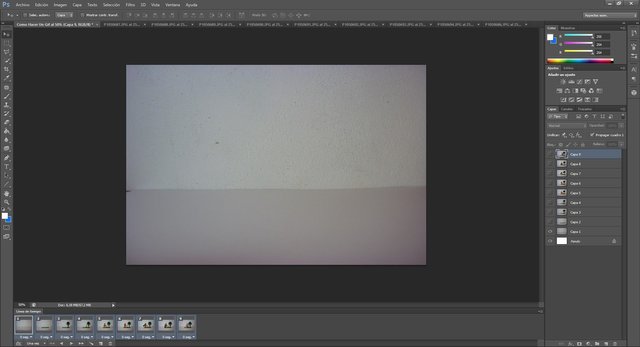
The image in my case, being bigger than the file to work, is above the size of the work site, so we must adjust the image for it Ctrl + T and adjust properly.

Once adjusted, we must repeat the same procedure with the amount of images for the Gif.
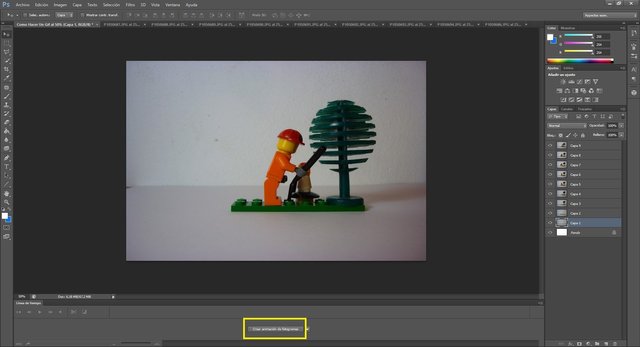
Now the timeline comes into play, for this we must go to "Create frame animation" and click.
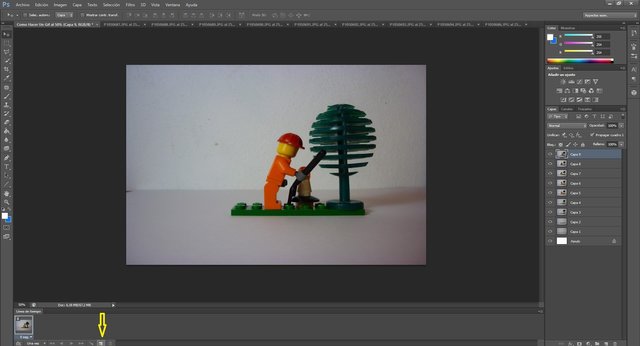
As you saw only one frame came out, in my case I need eight more so I need to add a few more, so let's go to the news that comes out next to the trash can in the tape that is on the timeline and click as many times as necessary according to the amount of frames we need.
Once the link Frame 1 - Layer 1 is made we must continue with Frame 2 - Layer 2 and so on.

As an example the link Frame 2 - Layer 2.

Once the frames and layers are linked, we will have something like this, one image per frame.

Then we proceed to give it the movement for them, we select all the frames, click on the first frame and keeping the Shift key pressed, we go to the last one and voila.
We place ourselves in the first frame, right click and the following menu will be displayed.
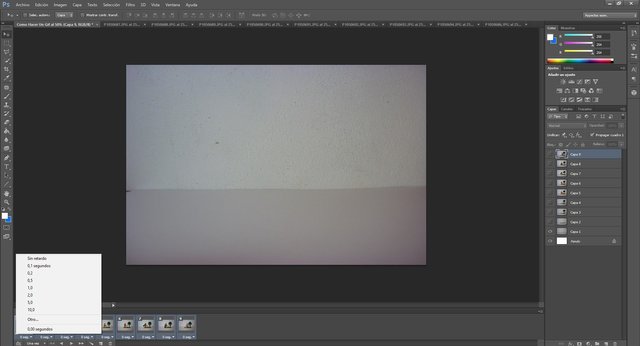
In it we select the time we want to be in the transition between the frames, in my case 0.5 sec.

We can now save our Gif, to do this we must first select "Save for Web".
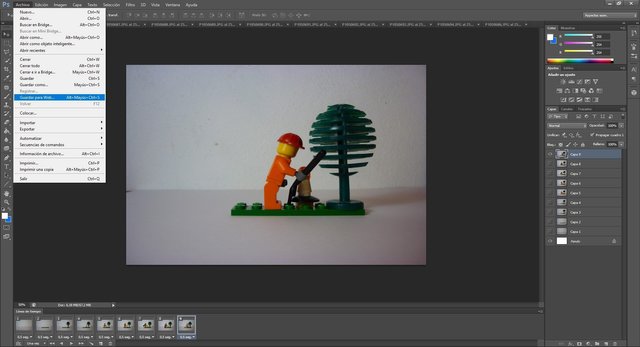
The following window will appear and we will proceed to "Save" as it is without touching any setting.

We save in the folder of our preference.

Voila, we have our Gif done.

Thanks for reading my post and for supporting them, I hope to see you soon in this series of tutorials and other posts that are coming ✌
Votado @team-mexico
Comunidad mexicana / hive-174683 ¡Te esperamos!
Delegación: 50 SP, 100 SP, 500 SP. Ayúdanos a crecer.