Purple makeup to look fabulous
Hello to everyone in this wonderful SteemWomenClub community! Today I'm sharing with you the step by step how I did this makeup:
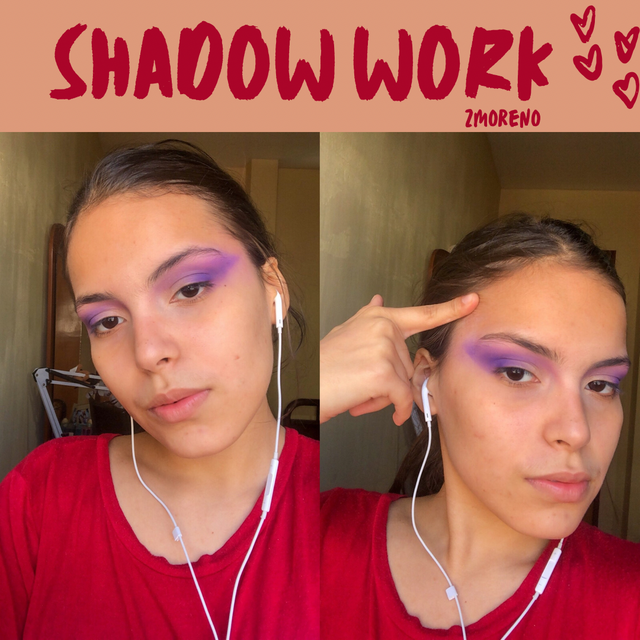
First we started with the shadow work. For this one, we take a small and pointed brush with which we will frame the most powerful purple color. We center this color on the outer corner of our eye, drawing it out a bit towards our temples. When we feel we have that desired intensity, we blend all that product deposit with a thick, loose brush along our eye, emphasizing the outer corner.
I then use other shades of purple to even out the darker one. I take a medium purple shade and with that we blend and bring the shadow up to the brow bone. Then, with a light purple shade very close to pink, I blend to the inner corner of our eye socket. This shade creates a beautiful gradient of purples.
If necessary, we take a floffy brush and fix details by blending a little more. The result should look like this:
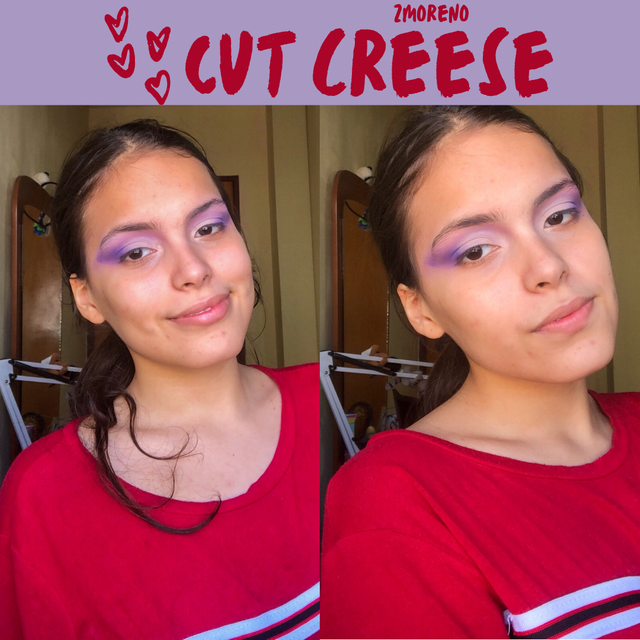
After finishing the blurring, we take a flat square-shaped brush and with it we make a small and blurred, but precise cut-creese, using a lighter concealer. At the end of the arc, which I carry from the tear trough to the outer quarter of the eye, I seal the used concealer with powder or white shadow. We blur the marked corners with a floffy brush, and if we lose a bit of the intensity of the purple, we place stitches of the darker purple tone and degrade it with direction to the cut-creese so that there is no sharp cut that would dull the makeup.
The result so far:
Once the upper part of the eyes is finished, we proceed to start on the face. For this, we apply a moisturizer, unscented so that the skin does not react negatively.
I wait for it to dry and then apply a moisturizing primer that gives gloss to the skin. I apply this product with caution, only in the areas where it is necessary, like on the cheekbones and a little on the forehead.
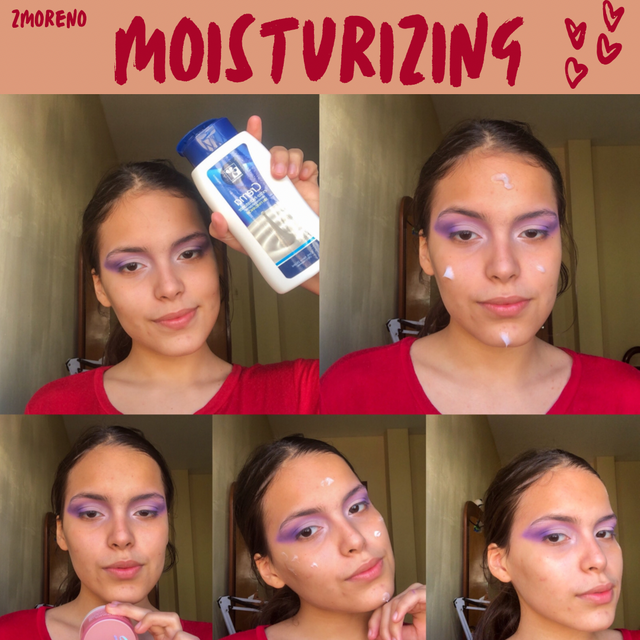
We apply an appropriate amount of foundation depending on what our skin needs. Then we start to correct the imperfections of our skin. For this I use a new product in my collection: an orange concealer that promises to suppress the purple spots under my eyes. I apply it in minimal amounts where my face shows undue darkness and, evidently, it works!
To bring back light we can put a little light concealer, which is what I do and you can see in the pictures. In small amounts, just under the under eye circles and other darkness.
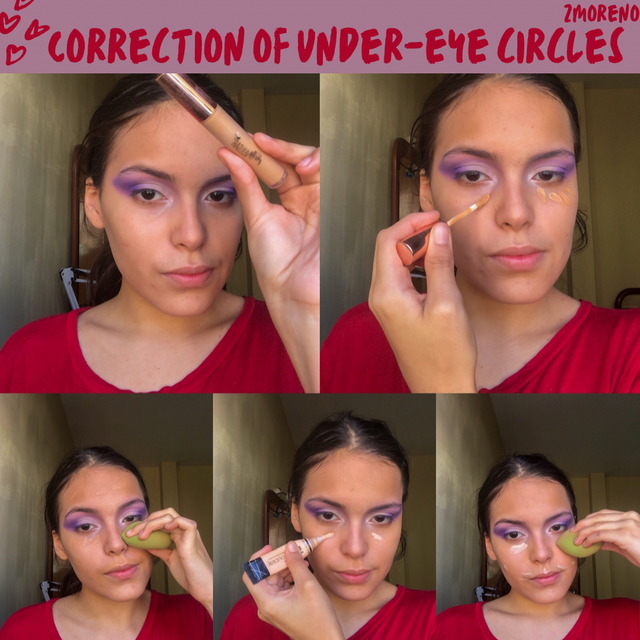
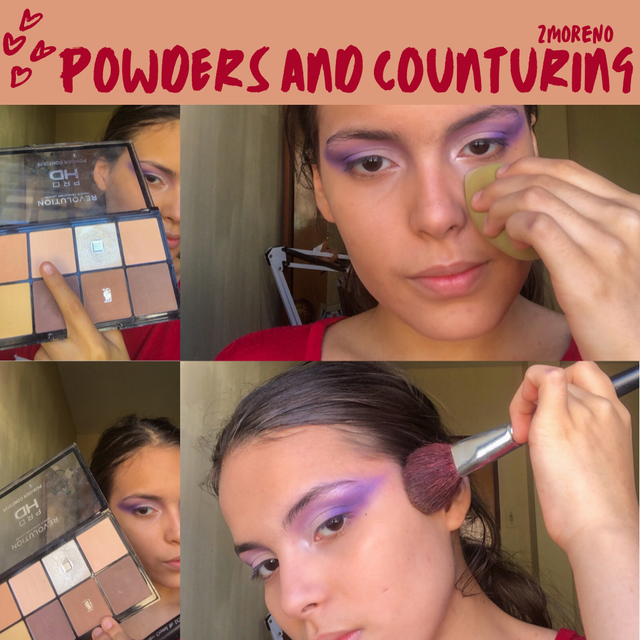
All these creams have to be sealed, so we use a light powder for the under eye circles and spread it all over the face. When I make sure everything is well sealed, we do the contouring: with a dense brush, we apply dark powder starting from our ear to the middle of our face. We can be guided by the natural line of our cheekbones.
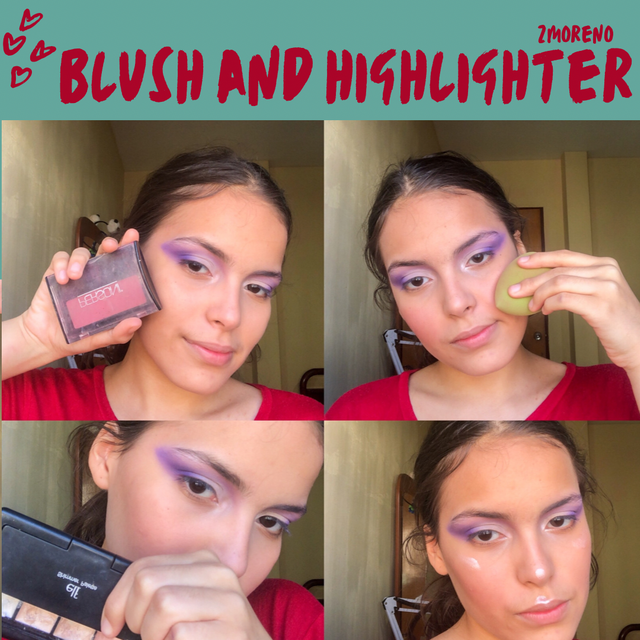
For the blush I use a pretty pink color that I place in large amounts on my cheekbones. I blend it with the sponge in case of excess.
For the highlighter, as usual, I use a natural cream and blend it well with the sponge. I seal it with a luminous powder.
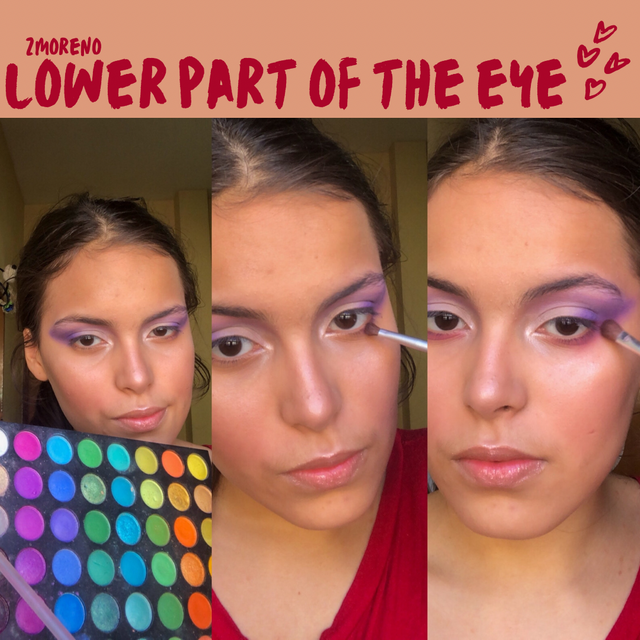
On the lower part of the eye (which we can't forget!), I use the lighter shade I used on top and apply it with a small, pointed brush. I blend it well with small circular moments.
For the final details, I decide to do my brows quickly. I fill in the few gaps with an angled brush and brown shadow to simulate hairs. I comb them upwards to finish them off.
I apply a volumizing mascara to the upper lashes. I make sure to leave a uniform finish.
On the lips I apply a very concealing gloss.
I fix everything with makeup fixer.
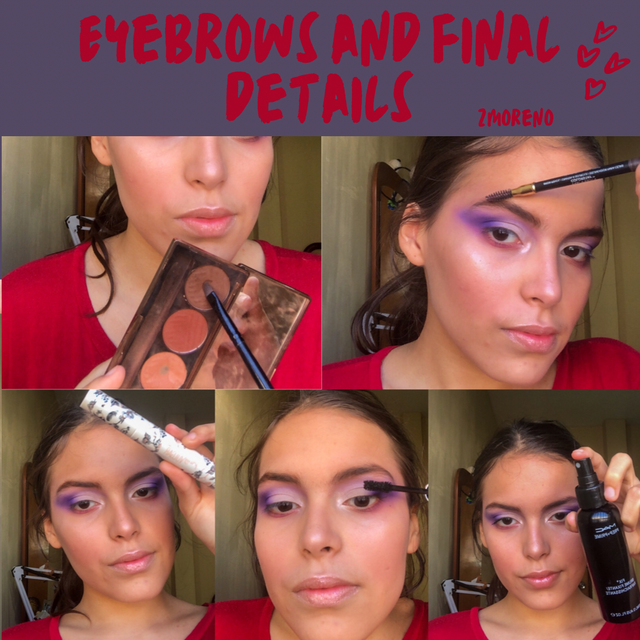
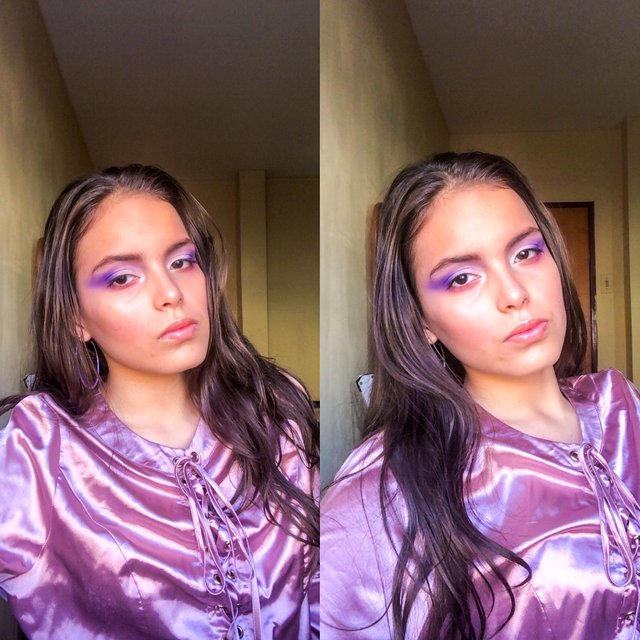
And that's it! The makeup is finished.
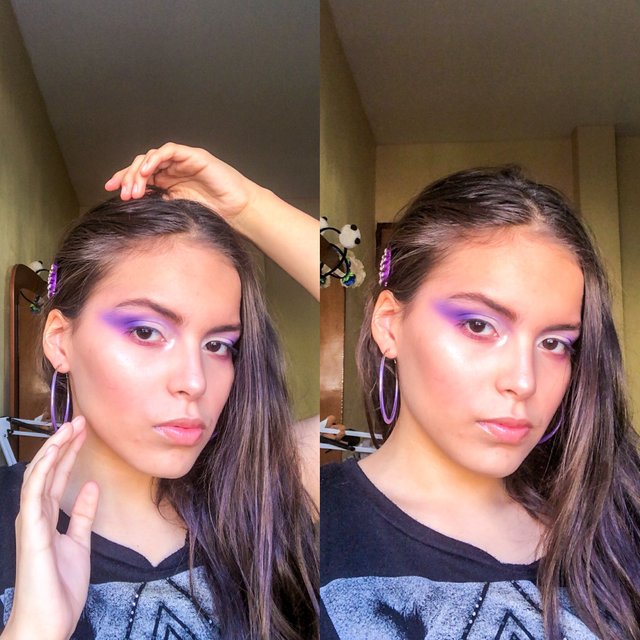
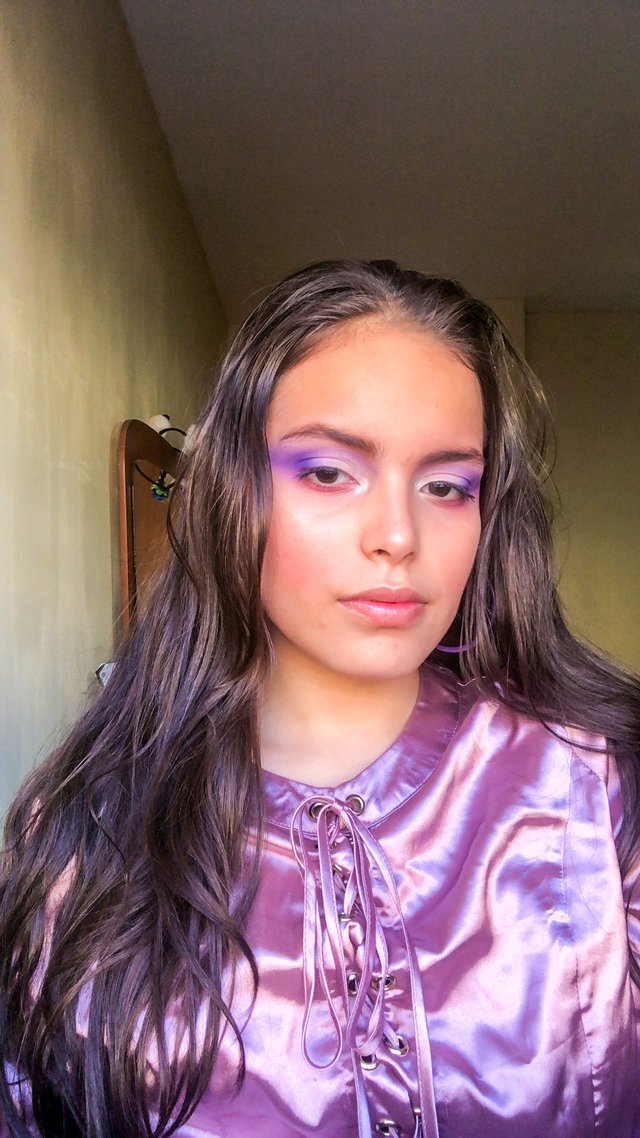
The final result:
All the photos were taken with my phone and edited by me in Lightroom app. They are of my propierty, Isabella Moreno.
I hope you liked the tutorial, thank you very much for reading!
Wow! that's so beautiful!
I’m glad you liked it!
Muy lindo! Te queda muy bien el color morado 💖
¡Muchas gracias!