Crafty Content (January 19, 2021): Organizador triple |🐮| Triple organizador | TUTORIAL 🎨 [ENG-ESP]
.jpeg)

Hello, dears ❤️
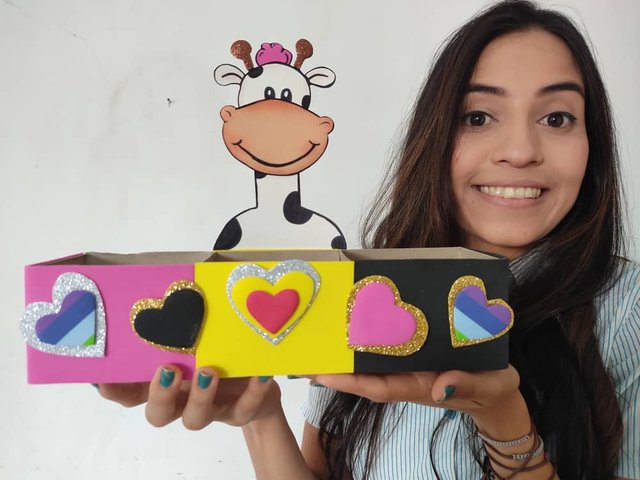
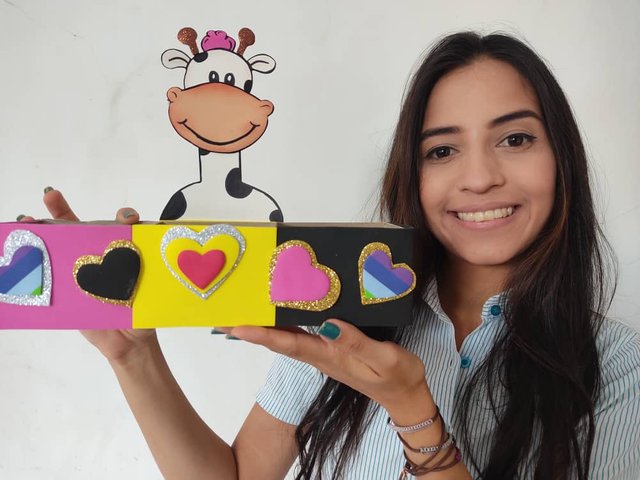
This beautiful day I bring you a new and fun tutorial where I will show you how to make a triple organizer, basically, it is a box with 3 compartments, which will allow us to better organize our things and that of our little ones, giving a creative and personal touch to the decoration of our room, workplace, etc. And the best of all is that it is made with recyclable materials, very cheap and easy to get, so let's not wait any longer and start this new year developing our creativity to the fullest.
Hola queridos ❤️
Este hermoso día les traigo un nuevo y divertido tutorial donde les mostrare como realizar un organizador triple, básicamente se trata de una caja con 3 compartimientos, que nos permitirá organizador mejor nuestras cosas y la de nuestros pequeños, dándole un toque creativo y personal a la decoración de nuestra habitación, lugar de trabajo, etc. Y lo mejor de todo es que está hecha con materiales de reciclaje, muy económicos y fáciles de conseguir, así que, no esperemos más y comencemos este año nuevo desarrollando nuestra creatividad al máximo.
What are they waiting for?
Thanks to this useful technique we can make our own triple organizer, perfect for the order and decoration of our surroundings. Cool no? Before we start, let's not forget to wash our hands.
¿Qué están esperando?
Gracias a esta útil técnica podemos realizar nuestro propio organizador triple, perfecto para el orden y decoración de nuestro entorno. Genial no? Antes de comenzar no olvidemos lavarnos nuestras manos.
[Materials | Materiales]
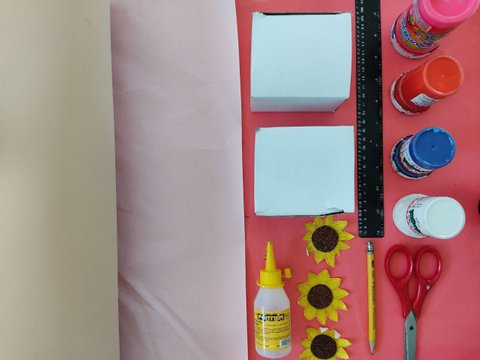
To make this cute work we will need:
- Foamy or eva foam.
- Graphite pencil.
- Paintings.
- Brushes.
- Scissors.
- Recycled cardboard boxes.
- Glue or liquid silicone.
Para realizar esta linda obra necesitaremos:
- Foamy o goma eva.
- Lápiz de grafito.
- Pinturas.
- Pinceles.
- Tijera.
- Cajas recicladas.
- Pegamento o silicón liquido.
Procedimiento (paso a paso)
Process (step by step)
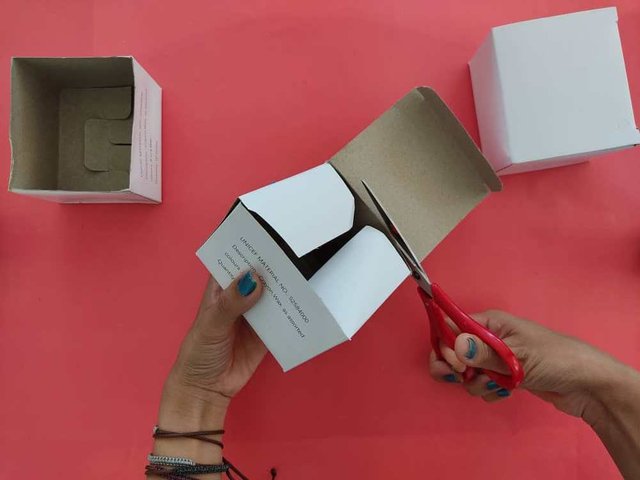
First, we very carefully cut out the tabs of the 3 recycled boxes the little boxes. Next, we join the three boxes by applying liquid silicone to the sides of the boxes and apply a little pressure to make sure they are well joined.
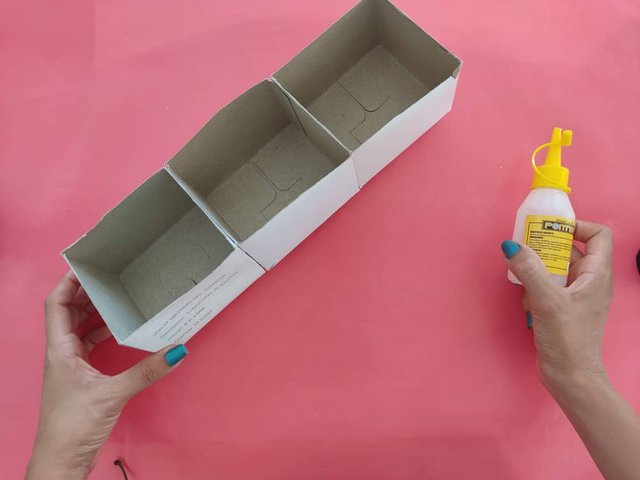
Primero, recortamos con mucho cuidado las pestañas de las 3 cajas recicladas las pequeñas cajas. Seguidamente, unimos las tres cajas aplicando silicón líquido en los laterales de las cajas, y hacemos un poco de presión para asegurarnos que queden bien unidas.
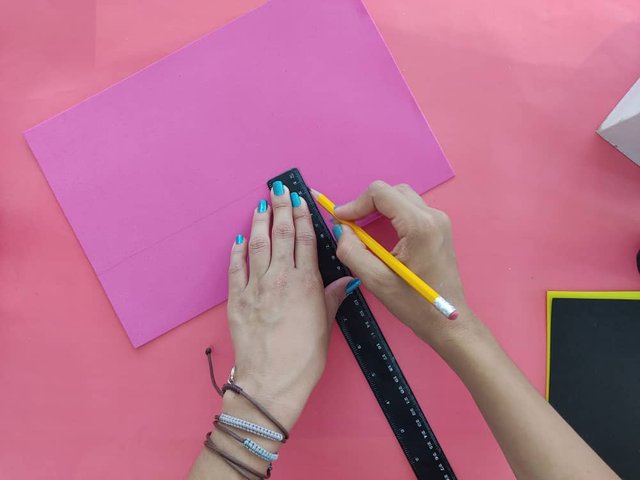
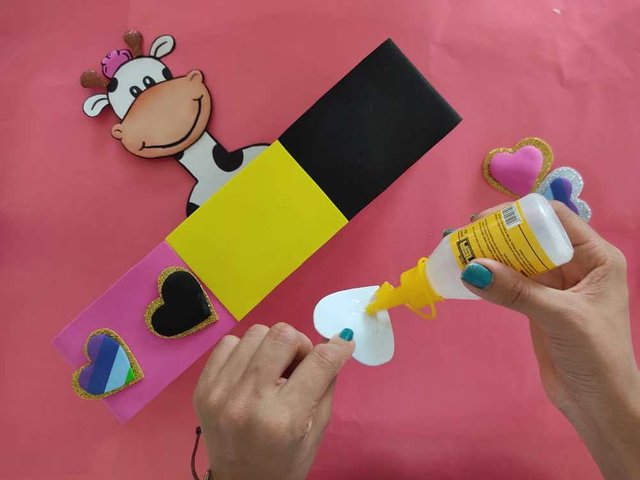
Now, we cut four (4) foamy strips to cover the 3 joined boxes, to cover the box on the left we will need one (1) pink strip and one (1) black for the box on the right, both of 6cm x 18cm, and for the center box, we will cut two (2) of 6cm x 7cm of yellow color. We must use a ruler so that the measurements are accurate and precise.
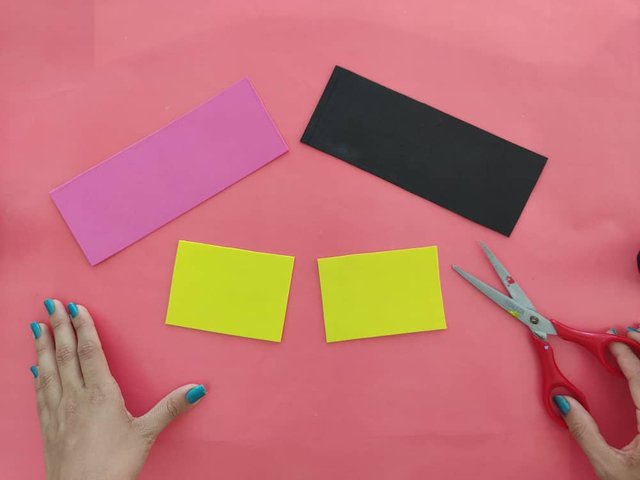
Ahora, recortamos cuatro (4) tiras de foamy para cubrir las 3 cajas unidas, para cubrir la caja de la izquierda necesitaremos una (1) tira de color rosa y una (1) de color negro para la caja de la derecha, ambas de 6cm x 18cm, y para la caja del centro recortaremos dos (2) de 6cm x 7cm de color amarillo. Debemos utilizar una regla para que las medidas sean exactas y precisas.
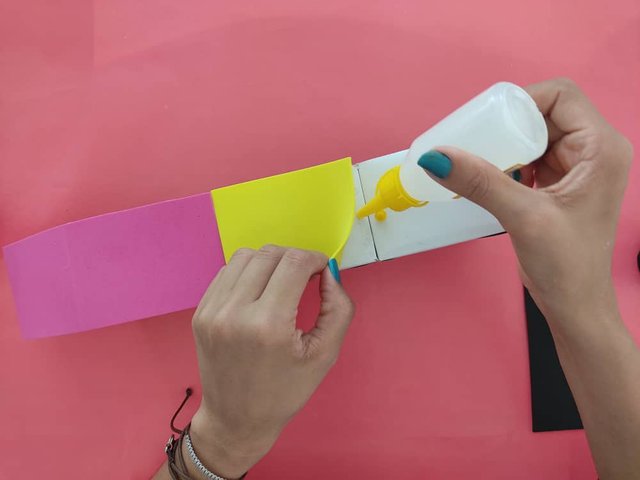
Next, we cover the boxes with the foamy strips that we have obtained using cold silicone, we must press for a few seconds so that it is lined perfectly.
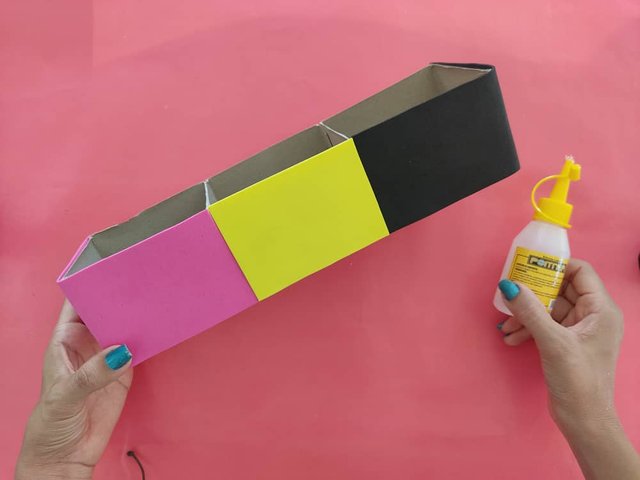
Seguidamente, cubrimos las cajas con las tiras de foamy que hemos obtenido utilizando silicón frio debemos hacer presión unos segundos para que quede forrada de manera perfecta.
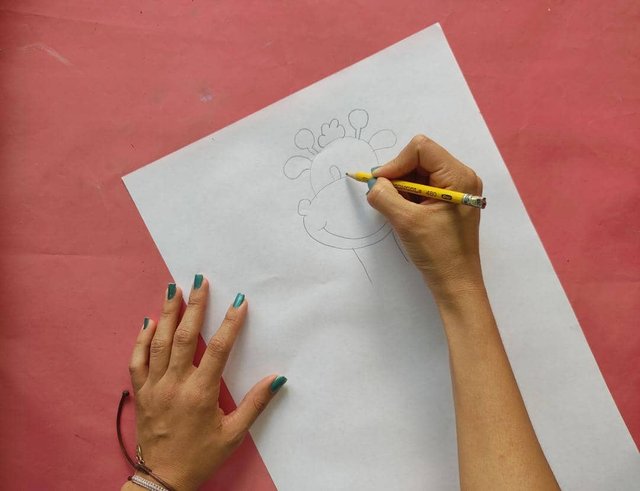
Then, we draw a beautiful cow that will be the star and main custody for the decoration of this cute and original organizer.
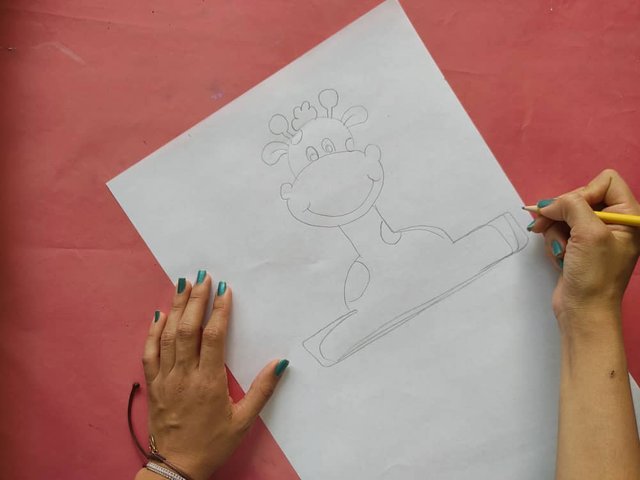
Luego, dibujamos una hermosa vaca que será la estrella y custodia principal para la decoración de este lindo organizador tan original.
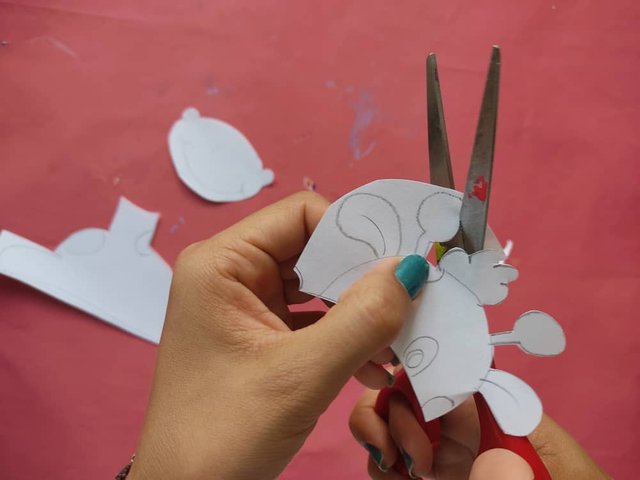
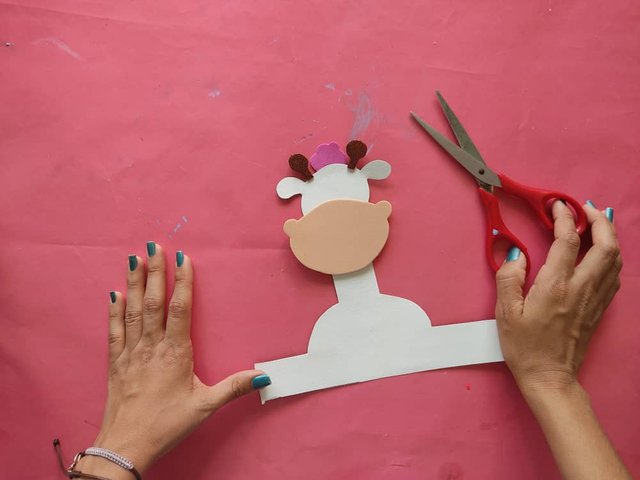
Now, we cut out the parts or molds of the cow, separating the face, trunk, and body.

Ahora, recortamos las partes o moldes de la vaca, separando la cara, trompa, y cuerpo.
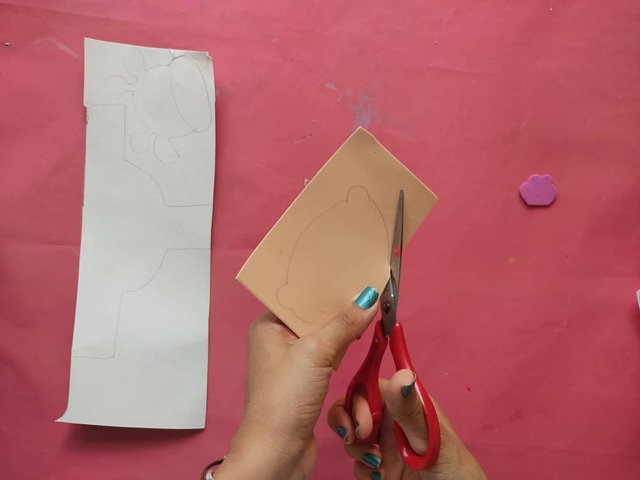
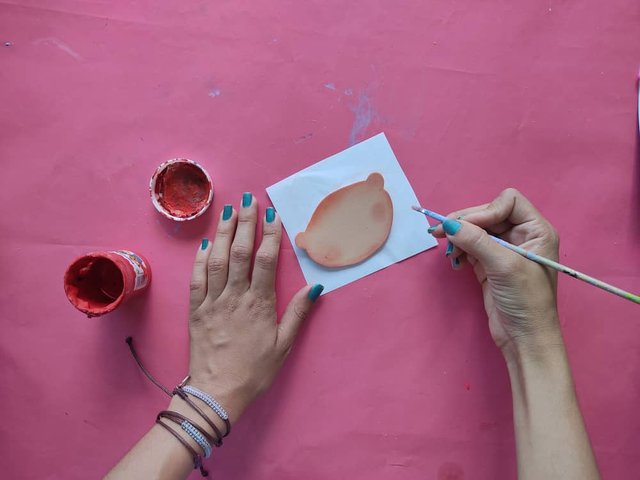
Then, we transfer the pieces of the cow to cardboard sheets and foamy, this time I chose to use double white cardboard to make the cow and colored foamy for the rest of the details such as the trunk, the hair, and the horns.
Luego, transferimos las piezas de la vaca a láminas de cartón y al foamy, está vez opte por utilizar cartulina blanca doble para elaborar la vaca y foamy de colores para el resto de los detalles como lo son la trompa el cabello y los cuernos.
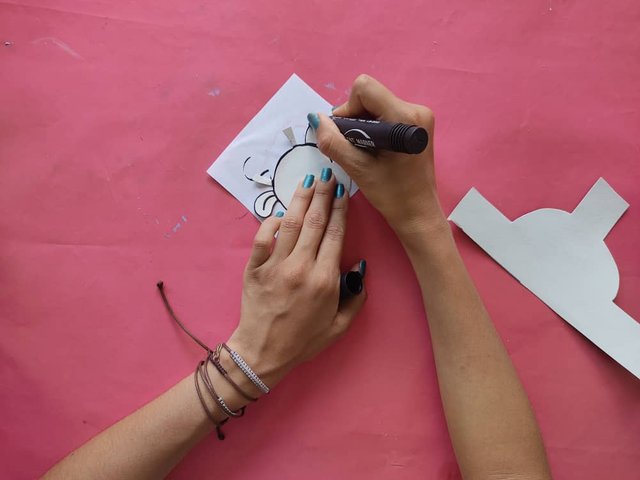
Next, we define the details of the cow's face and body, using nothing more and nothing less than the magical black fine-tipped marker.
Seguidamente, definimos los detalles de la cara y del cuerpo de la vaquita, utilizando nada más y nada menos que el mágico marcador negro de punta fina.
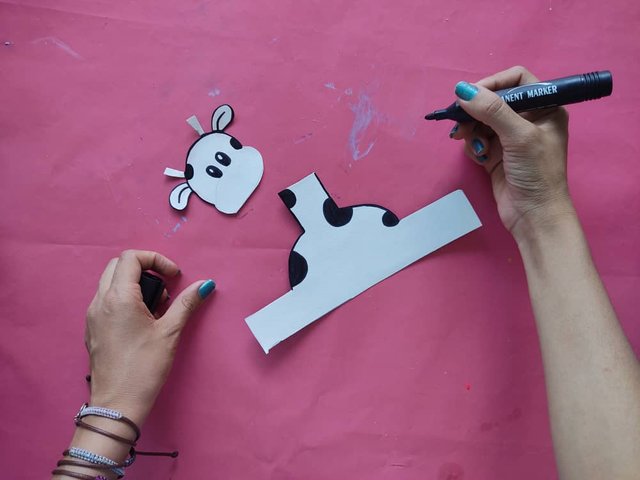
Next, we define the trunk and hair, and then, we mark the edges with the black marker.
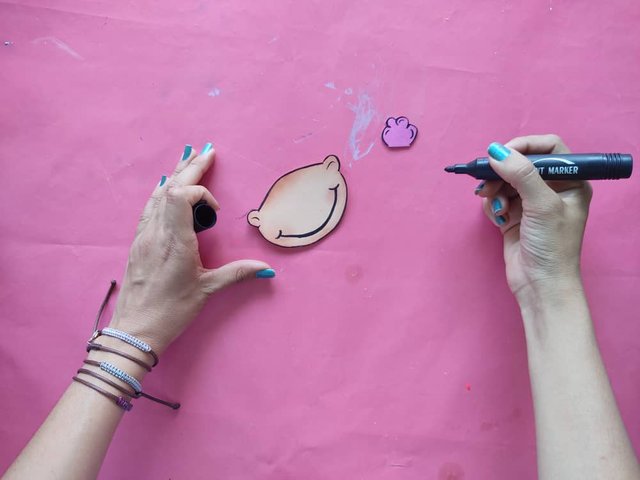
Luego, definimos la trompa y cabello, y luego, marcamos los bordes con el marcador negro.
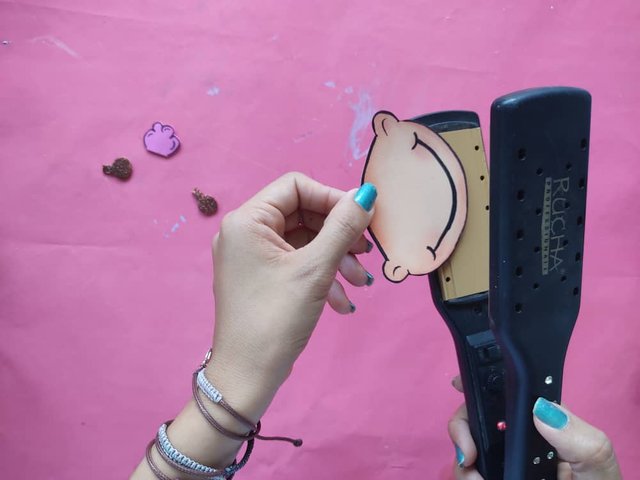
Once the figures of the cow are ready, we apply the technique of thermoforming to the trunk, horns, and hair to enhance the beauty and make the cow look more real.
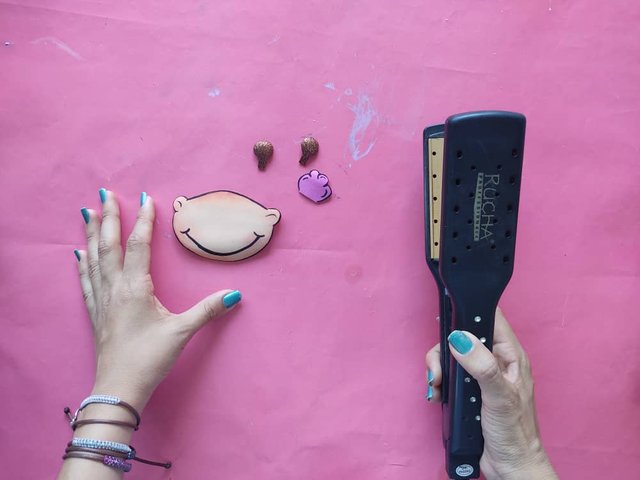
Una vez listas las figuras de la vaca, aplicamos la técnica del termoformado a la trompa, cuernos, y cabello para realzar la belleza y hacer que la vaca luzca más real.
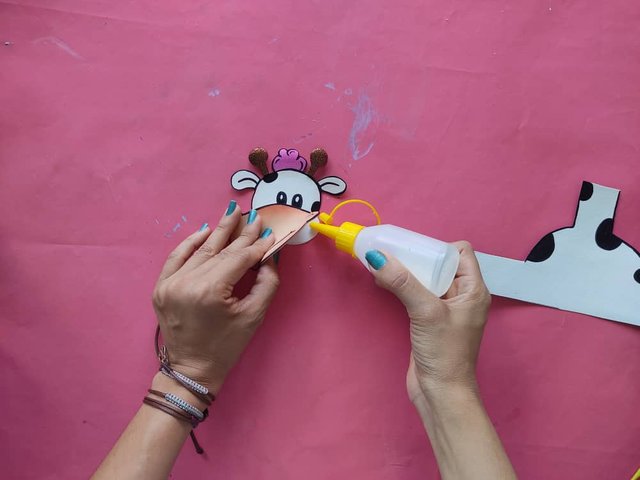
Now, we put together this cute cow by gluing each piece in place using cold silicone and making sure everything is well glued and in place.
Ahora, armamos esta linda vaca pegando cada pieza en su lugar utilizando silicón frío y asegurándonos que todo quede bien pegado y en su lugar.
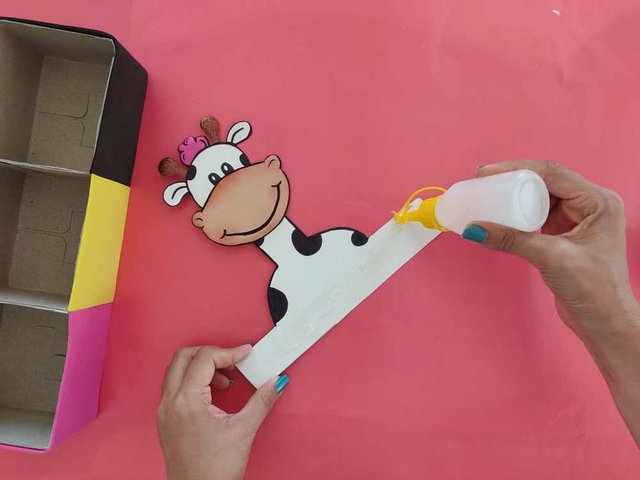
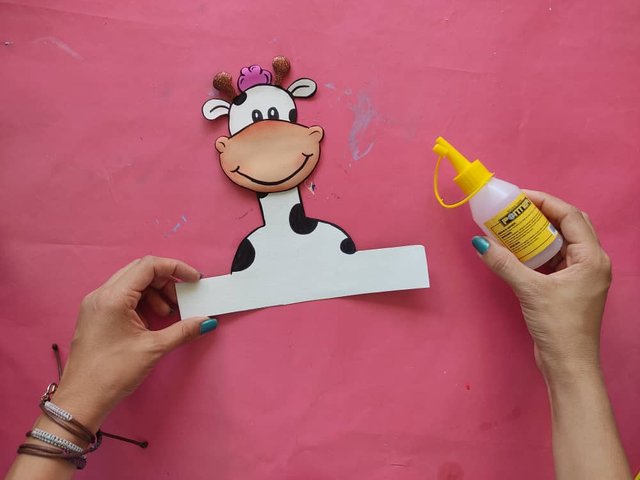
Once the cow is ready, we apply cold silicone on the rectangle that we make in the lower part of it, and we glue it on the back of the triple box.
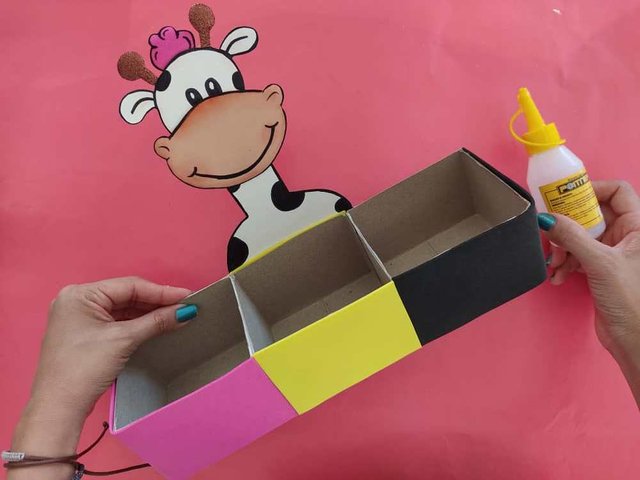
Una vez lista la vaquita, aplicamos silicón frío sobre el rectángulo que elaboramos en la parte inferior de esta, y la pegamos en la parte trasera de la caja triple.
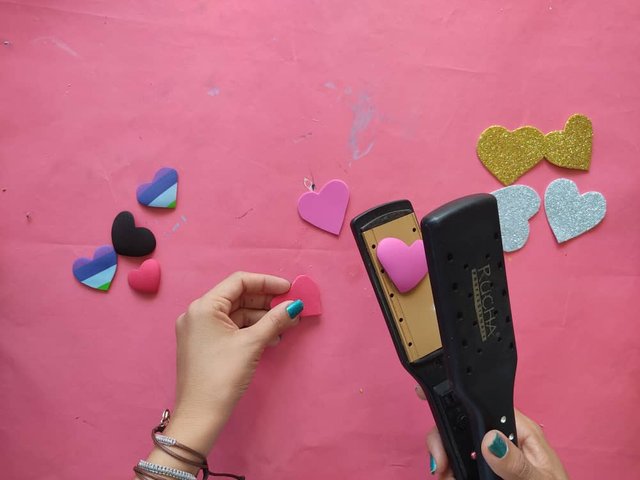
Then, we make some foamy hearts of different colors to give our organizer an even more fun and original touch.
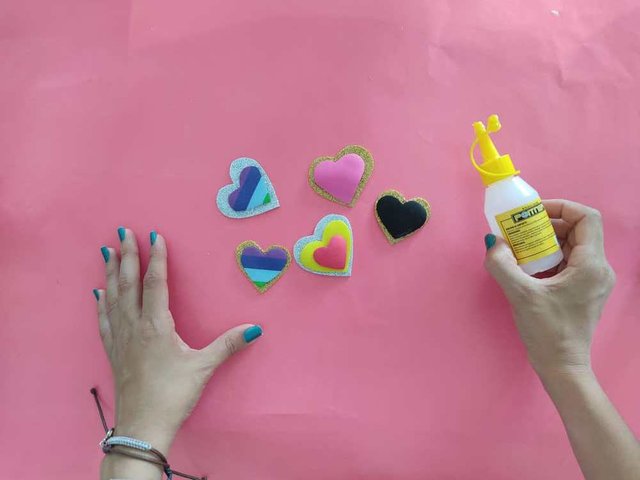
Luego, elaboramos algunos corazones de foamy de distintos colores para darle un toque aún más divertido y original a nuestro organizador.
Finally, we glue the hearts on the front of the triple organizer and that's it. Cool no?
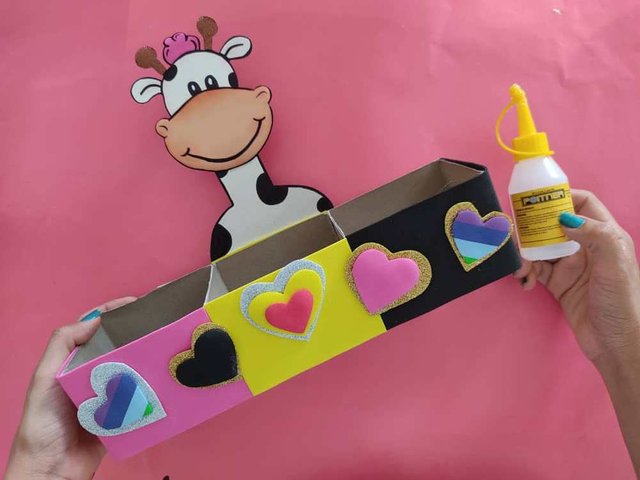
Finalmente, pegamos los corazones en la parte frontal del organizador triple y listo. Genial no?
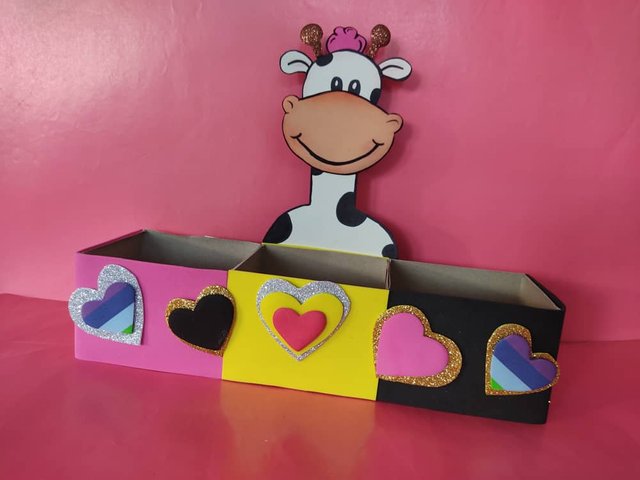
Thanks for joining and I hope you enjoyed it. ❤️
Gracias por acompañarme y espero que lo hayan disfrutado.❤️
.jpeg)
.jpeg)
.jpeg)
.jpeg)
.jpeg)
.jpeg)
.jpeg)
.jpeg)
.jpeg)


Share on Twitter
https://twitter.com/SaraCampero6/status/1352165331461091328?s=20
Beautiful cow <3 and your face...
Very much!
It is a well done publication, you should make a magazine about your work, you will surely be successful.
Thanks for your visit!
It is an honor and pleasure to see you again in the group.
Very much, greetings!
Great idea for sure we hope to see more of you in the community ...
In the name of God!
Congratulations, your post has been upvoted by @dsc-r2cornell, which is the curating account for @R2cornell's Discord Community.
Enhorabuena, su "post" ha sido "up-voted" por @dsc-r2cornell, que es la "cuenta curating" de la Comunidad de la Discordia de @R2cornell.
Thanks for your support <3
Hola @saracampero, como siempre un excelente trabajo, los organizadores son fundamentales cuando tenemos niños pequeños ya que quieren dejar todo tirado, a mi me toca hacer uno pero extra grande porque ya no se donde poner mas juguetes.
A mi me gustan mucho las manualidades, pero con la universidad y los niños, la había dejado a un lado ahora quiero volver a este hermoso mundo de creatividad, pero me toca volver a comprar todos los materiales desde cero.
Saludos
Hola amiga @saracampero, que hermoso trabajo compartes, me encanto este organizador, de verdad que se ve muy útil y lindo.
Saludos...
#venezuela
#affable
Gracias querida amiga, que bueno que te guste lo que hago. Gracias por visitarme. Saludos desde Anaco XOX