[ENG-ESP] SteemWomen Club Gift Box with Name Initial / / SteemWomen Club Cajita de Regalo con Inicial de Nombre

Gift Box with Name Initial
Today we are going to make a beautiful gift box, this time with a letter motif, the initial of the name to whom our gift is addressed.
The Materials to be used are the following:
*Paperboard.
- Frosted Gold Card Stock.
- Metallic Gold Card Stock.
- Double Sided Gift Wrap, I used Fuchsia w / Silver.
- Transparent Plastic or Cellophane Paper.
- Purple Crepe Paper.
*Pencil. - Regal.
*Exactly.
*Scissor. - Hot Silicone.

Cajita de Regalo con Inicial de Nombre
Hoy vamos a realizar una hermosa cajita de regalo, esta vez con motivo de letra, la Inicial del nombre a quién va dirigido nuestro obsequio.
Los Materiales a utilizar son los Siguientes:
*Cartón.
- Cartulina Dorada Escarchada.
*Cartulina Dorada Metalizada.
*Papel de Regalo doble Cara, yo utilice Fucsia c/ Plateado.
*Plástico Transparente o Papel Celofán.
*Papel Crepé Morado.
*Lápiz.
*Regal.
*Exacto.
*Tijera.
*Silicón Caliente.
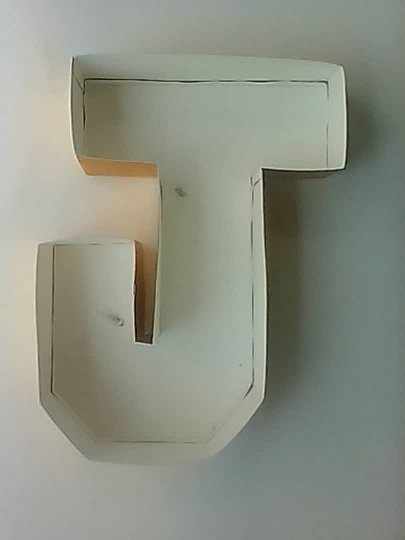
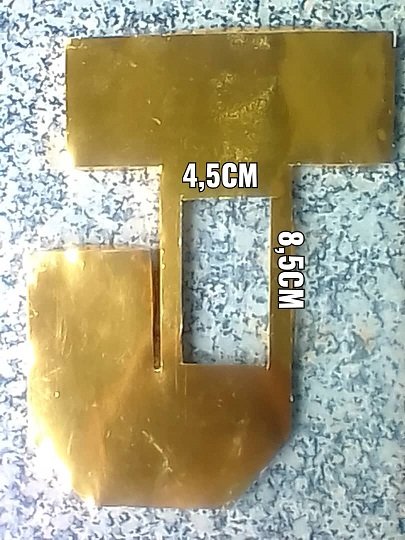
Step a: We will cut a J with the Measurements that we can see in the Image.
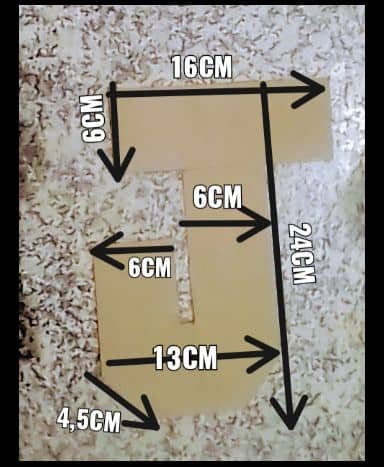
Paso a: Cortaremos una J con las Medidas que podemos visualizar en la Imagen.
Step b: We pass our mold both Cards, taking into consideration that the Face of the Frosted Card goes down and the Face of the Metallic up. Since in this way the white background of both will be inside the letter.
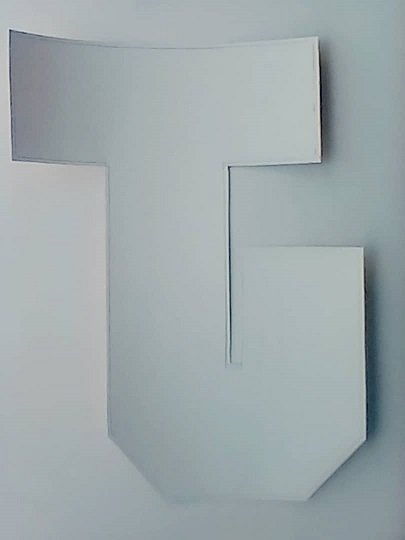
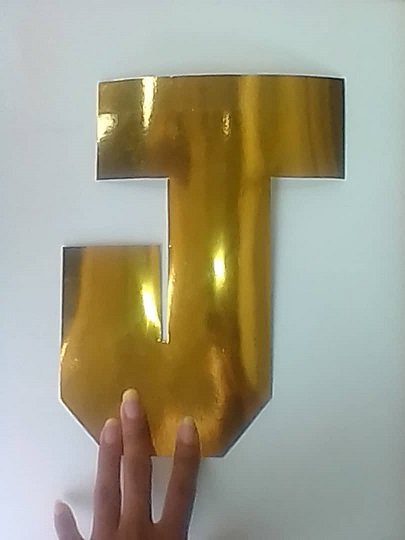
Paso b: Pasamos nuestro molde ambas Cartulinas, tomando en consideración que la Cara de la Cartulina escarchada va hacia abajo y la Cara de la Metalizada hacia arriba. Ya que de esta Manera el fondo blanco de ambas nos va a quedar dentro de la letra.
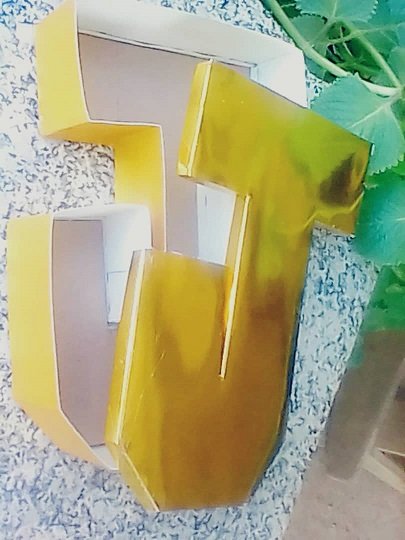
Step c: At the bottom, we are going to leave some 5 cm wide tabs. To be able to mold our box.
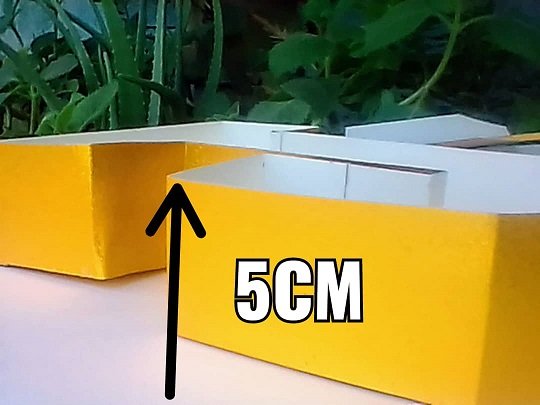
Paso c: A la parte de abajo, vamos a dejarle unas pestañas de 5 cm de ancho. Para poder moldear nuestra caja.
Step d: To our lid, we will make the 1cm wide tabs.
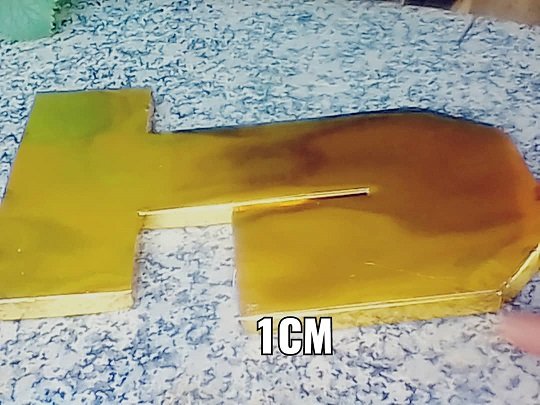
Paso d: A nuestra tapa, le haremos las pestañas de 1cm de ancho.
Step e: The mold that we cut at the beginning, we are going to glue it with Silicone to the bottom of our box, to give it a little more support.
So we have our box almost ready.
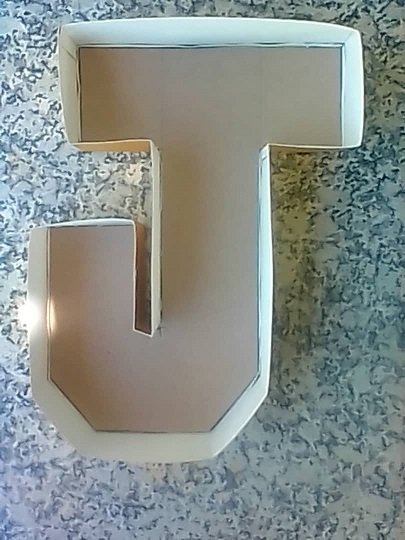
Paso e: El molde que cortamos al principio, vamos a pegarlo con Silicón a la parte de abajo de nuestra caja, para darle un poco más de soporte.
Así ya tenemos nuestra cajita casi lista.
Step f: We proceed to cut a piece of crepe paper, wide enough to fill and cover the inside of our Box, which is where the gift will go. We will treat that there are folds as if it were a fabric.
We will cut the lid 4.5 cm wide and 8.5 cm long. Which is where we are going to stick the transparent plastic or cellophane paper.
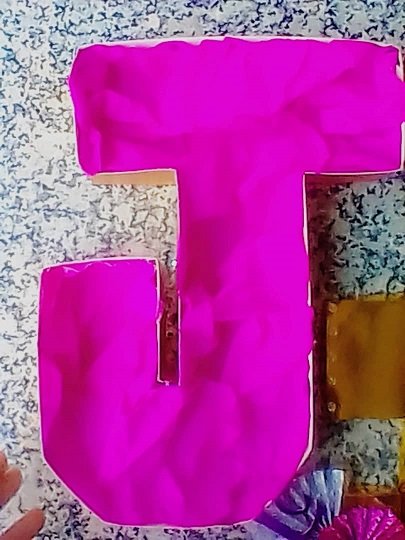
Paso f: Procedemos a cortar un pedazo de papel crepé, lo suficientemente ancho para rellenar y cubrir la parte interior de nuestra Caja, que es donde irá el obsequio. Trataremos que queden pliegues como si fuera una tela.
A la tapa le realizaremos un corte de 4,5 cm de Ancho y 8,5 cm de largo. Que es donde vamos a pegar el plástico transparente o papel celofán.
Step g: We will cut 2 rectangles from our double-sided wrapping paper. 1 of 10.5 cm wide x 15.5 cm long. And the other smaller one, 6.5cm wide x 14cm long. We will fold them lengthwise in one-centimeter folds.
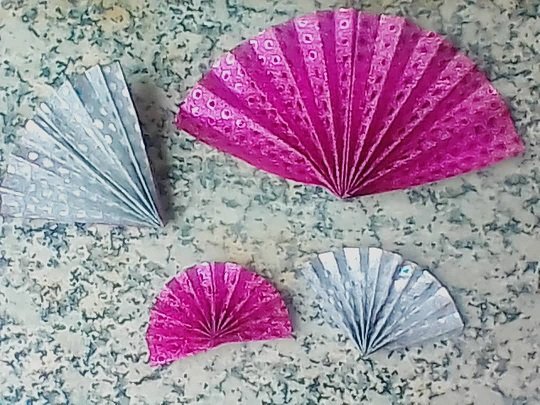
We fold and glue in half. To later open them and give them a fan shape
And voila ... Let your creativity fly and finish decorating your box as you prefer.
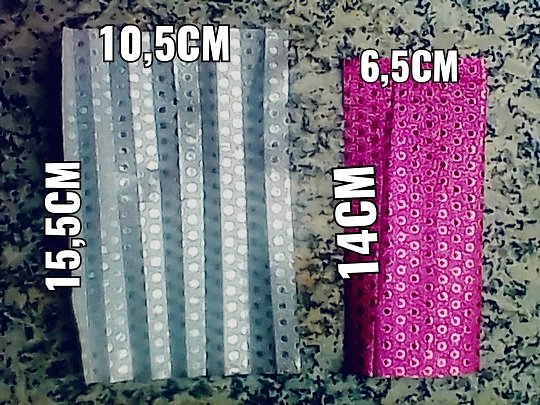
Paso g: Cortaremos de nuestro papel de regalo doble Cara 2 rectángulos. 1 de 10,5 cm de ancho x 15,5 cm de largo. Y el otro más pequeño de 6,5cm de ancho x 14cm de largo. Los doblaremos a lo largo en pliegues de un centímetro.
Doblamos y Pegamos a la mitad. Para posteriormente abrirlos y darles forma de abanico
Y listo... Deja volar tu creatividad y termina de decorar tu cajita como tú prefieras.
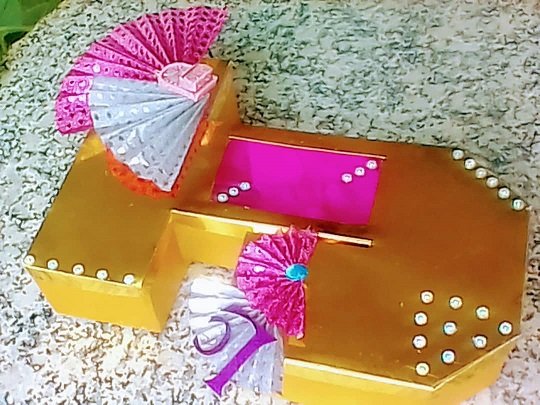
Step h: We glue the fans of our cover together with the reason of preference for the guest.
We all have the imaginative capacity to create, do not remain untapped and take advantage of yours.
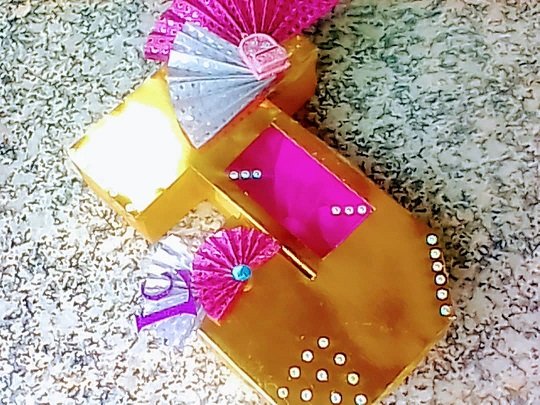
Paso h: Pegamos los abanicos de nuestra tapa conjuntamente con el motivo de preferencia para el agasajad@.
Todos tenemos la capacidad imaginativa de crear, no te quedes sin explotar y sacarle provecho a la tuya.
Well people of steemit is everything for today I hope that in the step by step you have understood me perfectly, there is nothing left but to say goodbye to everyone and I hope that support from all of you will soon come with more tutorials

Bueno gente de steemit es todo por hoy espero que en el paso a paso me haiga entendido perfectamente no me queda más que despedirme de todos y espero ese apoyo de todos ustedes pronto vendré con mas tutoriales
Did you like the result? Comment if you liked the idea.
¿Te gustó el resultado? Comenta si te gustó la idea.

SteemWomen Club

Hermoso trabajo! 🤗 Me gustó mucho la idea! Éxitos y bendiciones! 😇
Que hermoso trabajo, felicidades
Congratulations, your post has been upvoted by @dsc-r2cornell, which is the curating account for @R2cornell's Discord Community.
Enhorabuena, su "post" ha sido "up-voted" por @dsc-r2cornell, que es la "cuenta curating" de la Comunidad de la Discordia de @R2cornell.
Muy buen trabajo amiga; muy buenos detalles...