[ENG-ESP] Beautiful "Pink Wardrobe" to Store the Accessories of Our Princesses of the House. / / Hermoso “Armario Pink” para Guardar los Accesorios de Nuestras princesas de la Casa.

Hoy realizaremos un hermoso “Armario Pink” para guardar los accesorios de nuestras princesas.
Para eso necesitaremos:
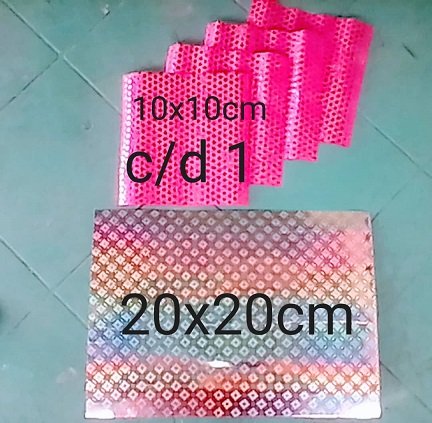
*1 Cartulina o Papel Decorado,
*4 Piezas de Otro tipo de Papel decorado,
*Tijera,
*Lápiz,
*Silicón frio.
Today we will make a beautiful "Pink Wardrobe" to store the accessories of our princesses.
For that we will need:
- 1 Card Stock or Decorated Paper,
- 4 Pieces of Other Kind of Decorated Paper,
*Scissor,
*Pencil,
*Cold sylicon.

Step 1: We will fold our 10x10cm decorated paper in half and then the diagonals making sure they go through the center of the first doubles.
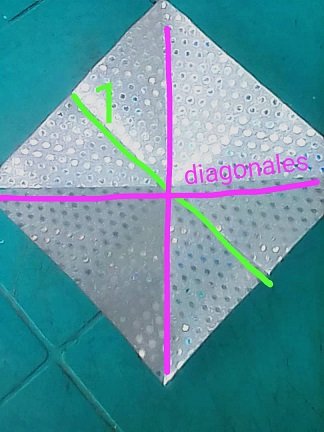
Paso 1: Doblaremos a la mitad nuestro papel decorado de 10x10cm Y luego las diagonales asegurándonos que pasen por el centro del primer dobles.
Step 2: When placing it on the corner, we will bend both ends towards the center: upper and lower
Then fold up again. We will do this process the same with the other two tips.
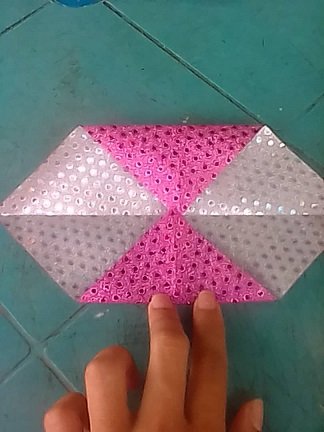
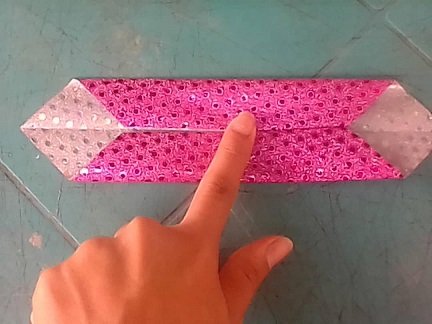
Paso 2: Al colocarlo esquineado Doblaremos hacia el centro ambas puntas: superior e inferior
Para luego doblar nuevamente hacia arriba. Este proceso lo haremos igual con las otras dos puntas.
Step 3: After we have folded all the tips in the way already explained, we bring all the tips to the center, making sure that they bend the edges inwards and then the excess point. To create a box. And we will do this with the 3 remaining 10x10cm decorated papers.
They will remain this way.
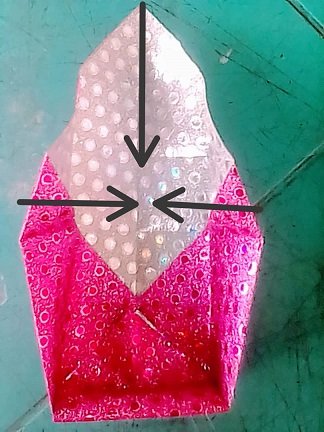
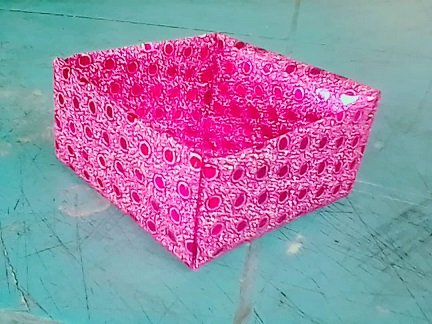
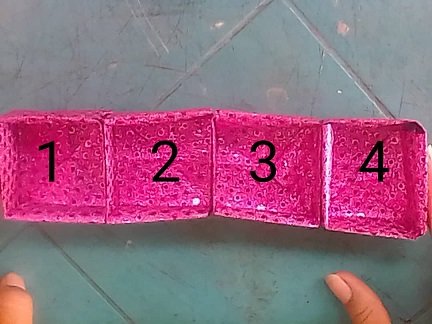
Paso 3: Luego que hayamos doblado todas las puntas de la forma ya explicada, llevamos todas las puntas al centro, asegurándonos que doblen los bordes hacia dentro y luego la punta sobrante. Para crear una cajita. Y esto haremos con los 3 papeles decorados de 10x10cm sobrantes.
Quedarán de esta forma.
Step 4: On the 20x20cm decorated card or paper we will mark both horizontal and vertical halves. Then on both sides we will mark the middle and make another line to divide four sections
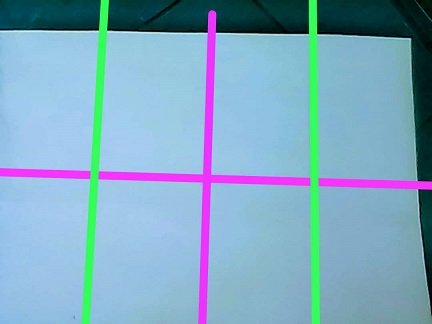
Paso 4: En la cartulina o papel decorado de 20x20cm marcaremos ambas mitades horizontal y vertical. Luego en ambos lados marcaremos el medio y haremos otra línea para dividir cuatro secciones
Step 5: We draw 2 horizontal dividing lines and on them 2 triangles at both ends.
We proceed to cut
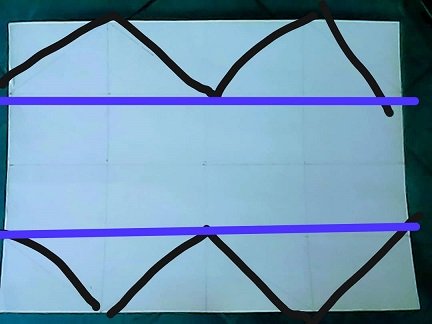
Paso 5: Trazamos 2 líneas divisoras horizontales y sobre ellas 2 triángulos en ambos extremos.
Procedemos a cortar
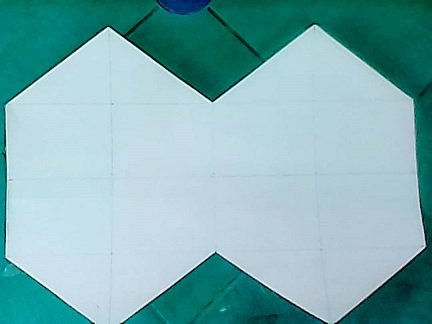
Step 6: We will fold the 3 vertical lines,
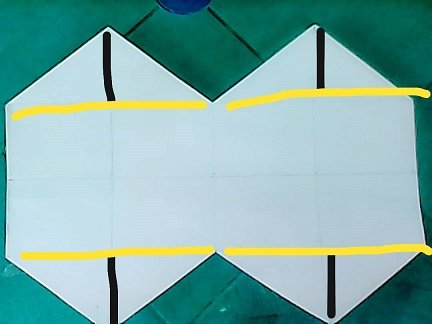
Then we will cut the triangles in half. And we will fold inwards what will be our eyelashes. And we will glue them.
It will be as follows.
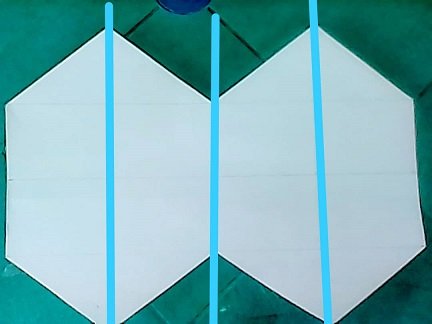
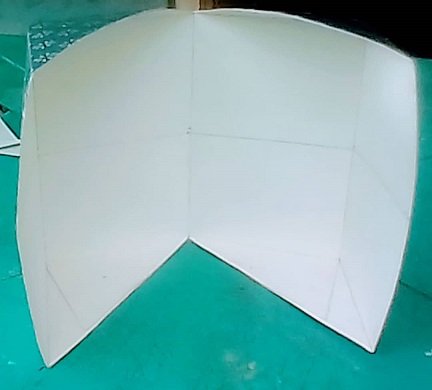
Paso 6: Doblaremos las 3 líneas verticales,
Luego cortaremos los triángulos a la mitad. Y doblaremos hacia dentro lo que serán nuestras pestañas. Y las pegaremos.
Nos quedará de la siguiente manera.
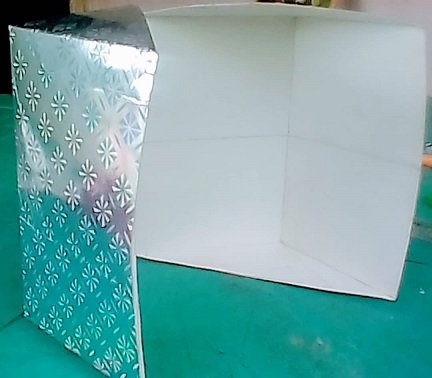
Step 7: We will glue our boxes inside the showcase making sure that it can close.
And we will decorate to our liking ...
Paso 7: Pegaremos nuestras cajitas dentro del escaparate asegurándonos de que pueda cerrar.
Y adornaremos a nuestro gusto...
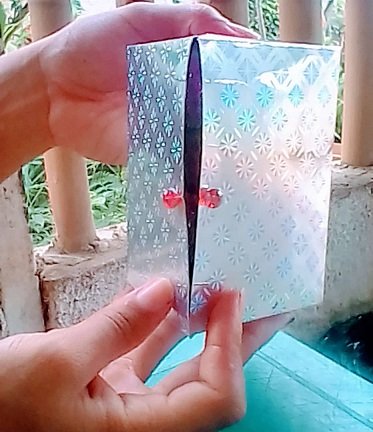

Did you like the result? Comment if you liked the idea.
¿Te gustó el resultado? Comenta si te gustó la idea.
SteemWomen Club