Neotradi Ladybug Tattoo
Happy Thursday, hope you are having a good week and with the best vibes.
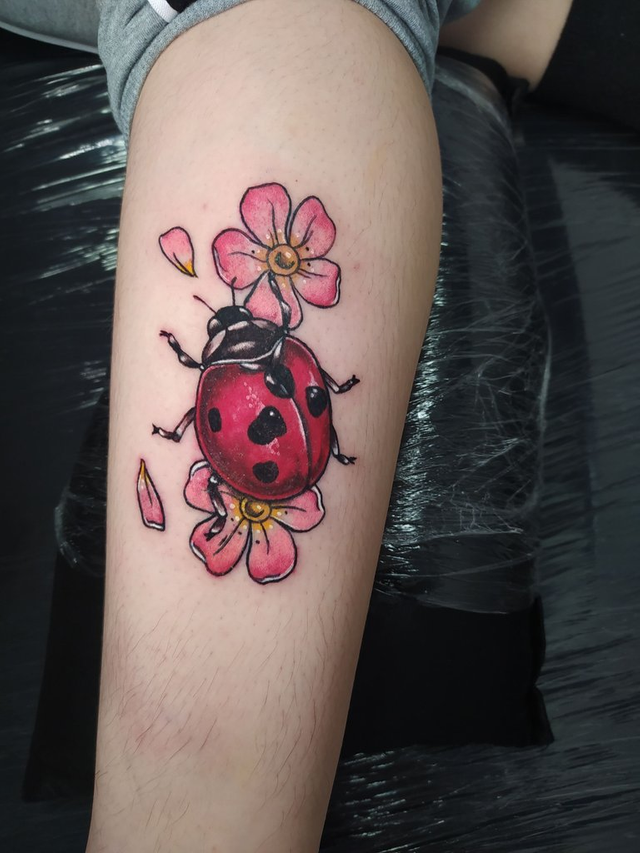
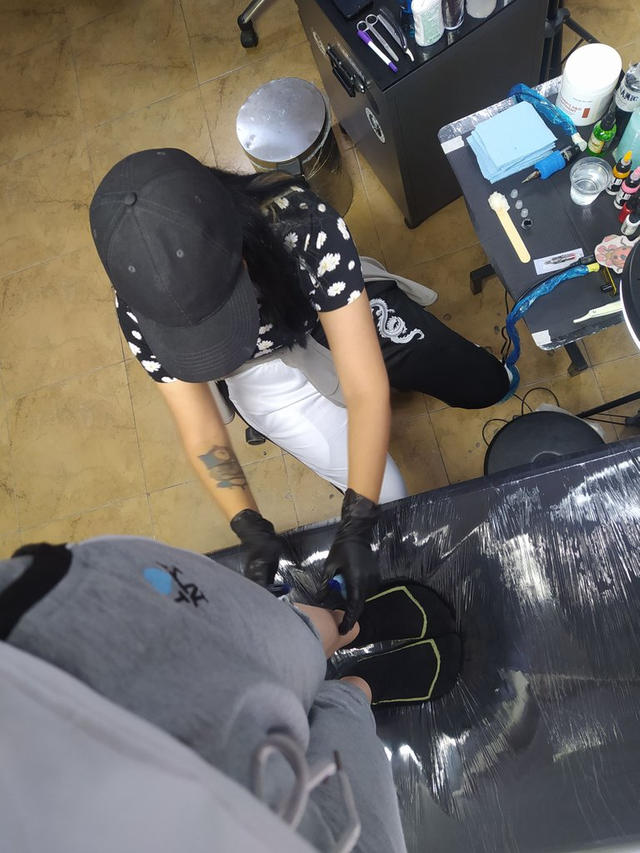
Yesterday at the tattoo studio where I work there was a small activity, where a photo shoot would be done to all the tattooers of the site in the process of making a tattoo, this was for the image of the studio, so I asked my friend sabir to be my canvas. For this, we both agreed to select a design, which was a ladybug with flowers, in neotradi style.
I liked the idea of bringing this process to the hive, so I also asked him to help me take some pictures with my cell phone so I wouldn't contaminate the tattoo area and could share it with you.
Without further ado, let's get started!
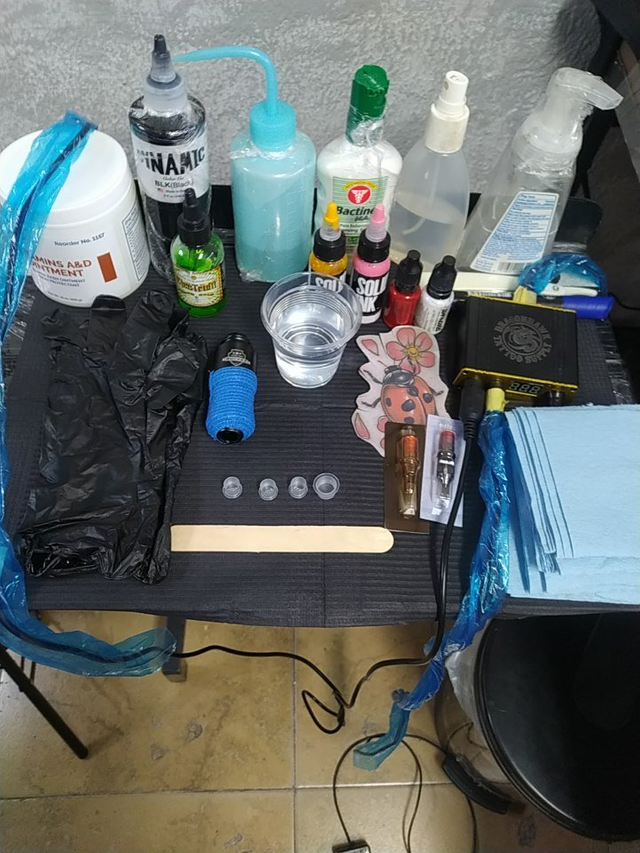
I used my Pen Rocket machine, in needles I used 1005rs for line and shadows and 1009m1 for color. In the inks:
- Dynamic Black
- Red Scarlet (Radiant Colors)
- Super White (Radiant Colors)
- Dark red (Intenze)
- El dorado (Solid ink)
- Pink (Solid ink)
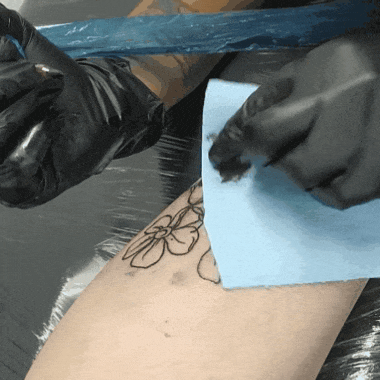
To begin the tattoo, I asked Fabi (sabir) to please get on the stretcher so I could clean the area where the tattoo would go, I put on my gloves, assembled my work equipment and began to disinfect the area with alcohol, then I put some foam on the area and proceeded to shave. My next step was to mark the center of her outer lateral calf, place gel to transfer the template to the skin. I let this dry a bit and removed it.
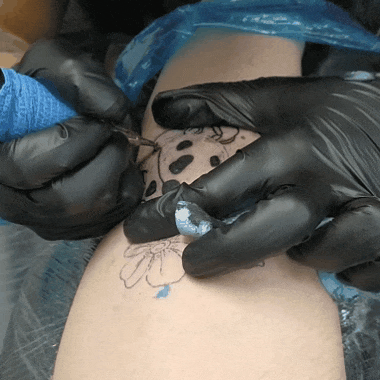
Then I started to make my lines with black ink (from bottom to top, from right to left). When working with several colors of inks in tattooing, you should always start from the darkest to the lightest, to avoid smudging the tones. So first I did all my strokes and shadows in black.
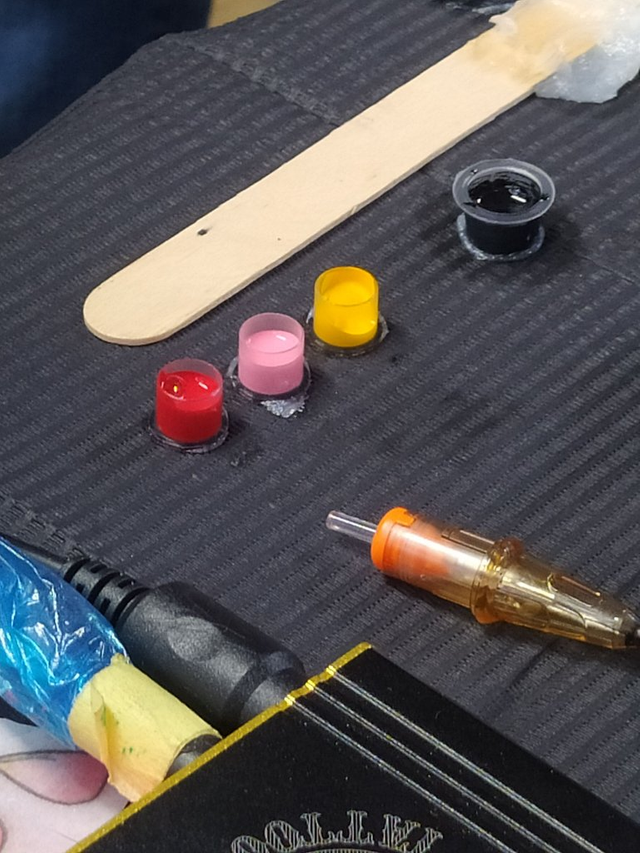
Once this was finished, I poured the remaining colors (the two shades of red, pink and yellow) into the other cups. For the whole body of the ladybug I used the scarlet red color, and then with the dark red I gave some shadows in some areas. Then I took the scarlet red color again with some distilled water and gave some shadows to the flowers, and then I took the pink color and saturated it over them.
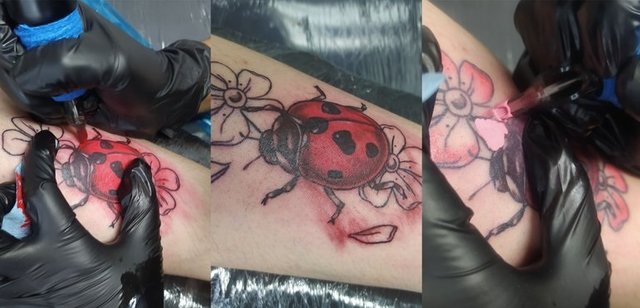
What I do to saturate the color, is to remove the needle to its minimum, since this magnum tends to hurt the skin a little more, and I make small circles against the hair growth so that the needle injects the ink better.
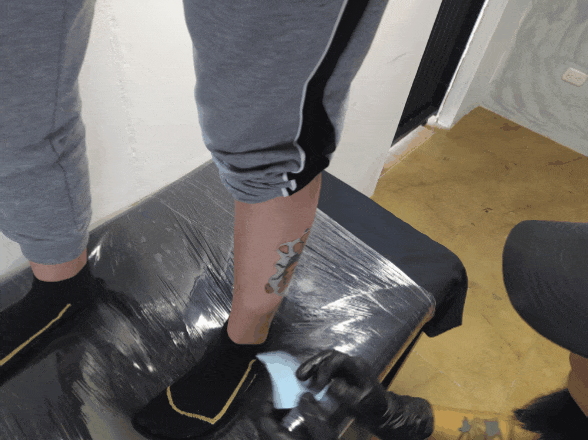
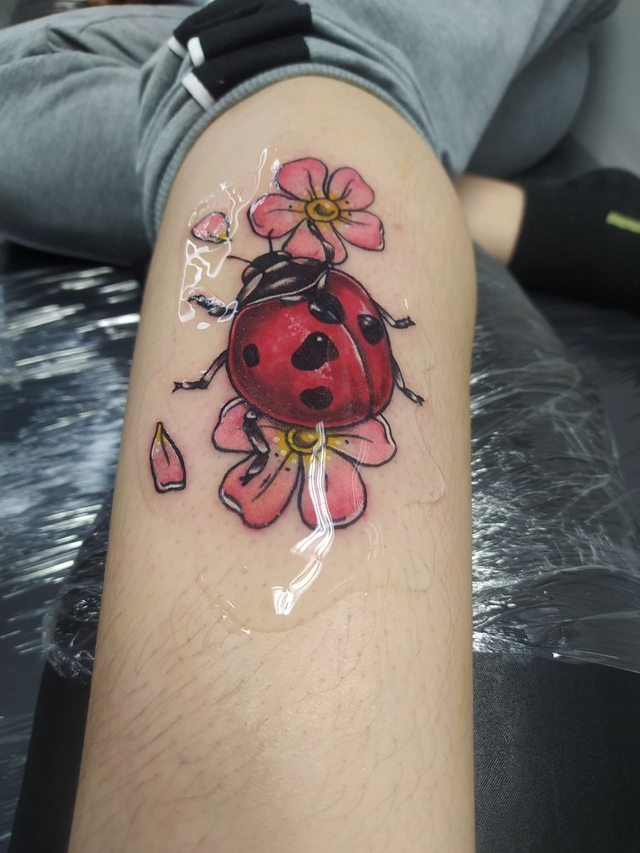
Once this was finished I changed the color to yellow for the center of the flowers. Finally and very important I used the white ink hehe, to give illumination to the tattoo. To finish clean the tattoo well with foam and water. Then I put a little bit of bactine, this makes the tattoo swelling go down a little bit.
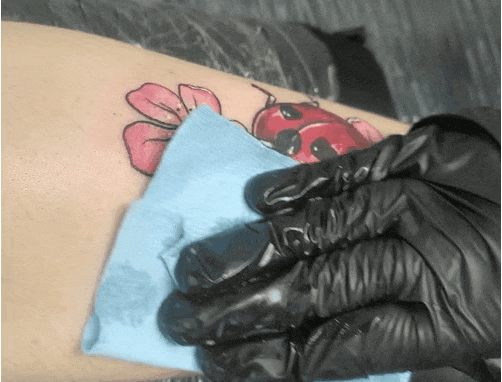
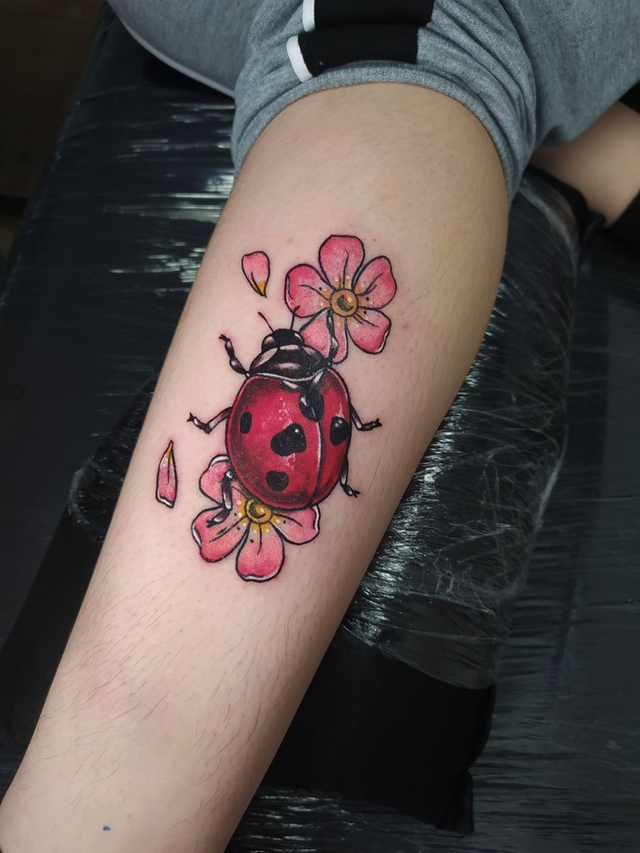
Photo taken with polarized lens | Foto tomada con lente polarizada
This is the final result, I am 70% satisfied with the result, since I am a person who demands too much in this area, and I always keep in mind that it can be better hehe.
For some photos I used the polarized lens and for others I used only colorless gel, without filters, I hope you like it. Thanks for reading me again. Good vibes!


Hello friend!


I'm @steem.history, who is steem witness.
Thank you for witnessvoting for me.
please click it!
(Go to https://steemit.com/~witnesses and type fbslo at the bottom of the page)