SNAPSEED TUTORIAL I- THE APP THAT IMPROVES YOUR PHOTOS- LA APP QUE MEJORA TUS FOTOS
Hello photography lovers!
With a few simple tutorials I'm going to show you how the photo editing application for mobile and tablets SNAPSEED works.
It is free to download.
It is very easy to use, and has many filters and tools that will improve the quality of your photos.
I show you how to add light to your dark photos.
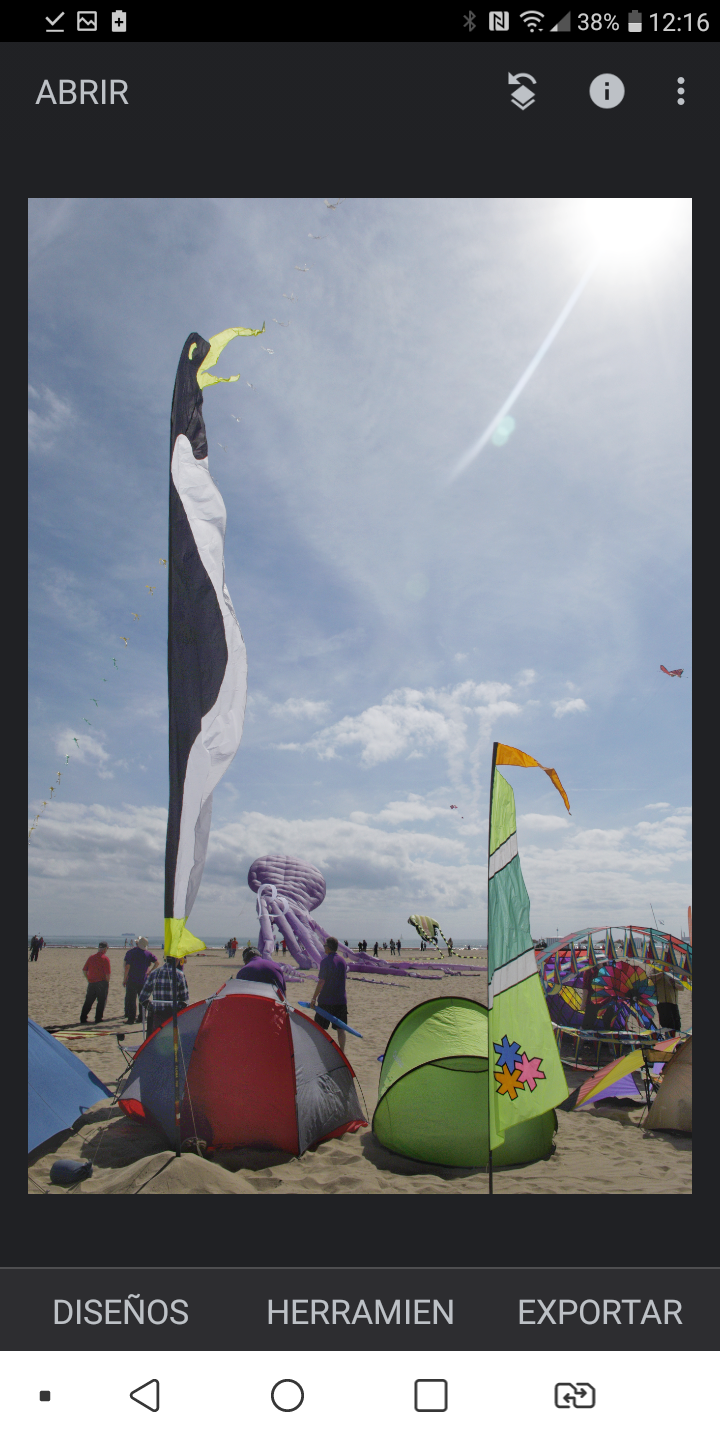
. This is the tools screen of the application. Selecting the top left icon "Enhance Photo" / "Mejorar Foto" we can raise or lower the light with the brightness tool. Within "Enhance Photo"/ "Mejorar Foto" we can also brighten shadows, contrast, saturation...


The icon in the second row called "Selective" is for modifying values, for example the light in points of the photo, not in the whole photo.

This is an example of correcting the light in a photo that was too dark.
Before ....

...and after:

You can see on the top left that I used the selective corrector for a part of the sky that was a bit dark.
. When you lighten the photo you may find that the contrast is a bit low, we increased it and this is the final result.

Before and after/ Antes y después

If you have any questions don't hesitate to ask me,
greetings!
..............................................................................
ESP
Hola, amantes de la fotografía!
Con unos sencillos tutoriales os voy a mostrar como funciona la aplicación de edición de fotos para móvil y tablets SNAPSEED.
Se descarga gratuitamente.
Es muy sencilla de usar, y tiene multitud de filtros y herramientas que mejorarán la calidad de vuestras fotos.
Os enseñaré como añadir luz a vuestras fotos oscuras.
Arriba os muestro la pantalla de herramientas de la aplicación. Seleccionando el icono superior izquierdo "Mejorar Foto" podremos subir o bajar la luz con la herramienta brillo. Dentro de "Mejorar Foto" podemos también aclarar sombras, dar contraste, saturación...
El icono de la segunda fila llamado "Selectivo" es para modificar valores, por ejemplo la luz, en puntos de la foto, no en la foto entera.
Os muestro arriba un ejemplo de corrección de la luz de una foto que me quedó muy oscura.
Podéis ver en la parte superior izquierda que he utilizado el corrector selectivo para una parte del cielo que quedó un poco oscura.
Al aclarar la foto puede que os quede un poco baja de contraste, lo subimos y este es el resultado final.
Si tenéis alguna pregunta no dudéis en consultarme, saludos!
Silvia.
TEAM 1
Congratulations! This post has been upvoted through steemcurator04. We support quality posts , good comments anywhere and any tags.That is wonderful tutorial that you created, the final result is absolutely awesome!
Thank you @stef1! in a simple way almost magic is done with the photos.