[STEEM-EXCLUSIVE] How to make an organizing girl |👧| Como hacer una niña organizadora | TUTORIAL 🎨 [ENG-ESP]
.jpg)

English
Hello, dear STEEMIT ❤️ First of all, happy new year, this beautiful day I have decided to make an exclusive publication for steeemit.com, it is a new and fun tutorial where we will learn how to make a beautiful organizer, perfect for decorating and ordering our work table and the best everything is that it is made with very cheap and easy-to-find materials, so let's not wait any longer and let's give this new year developing our creativity to the fullest.
Español
Hola querido STEEMIT ❤️ Primero que todo, feliz año nuevo, este lindo día he decidido hacer una publicación exclusiva para steeemit.com, se trata de un nuevo y divertido tutorial donde aprenderemos a realizar un bello organizador, perfecto para decorar y ordenar nuestra mesa de trabajo y lo mejor de todo es que está hecha con materiales muy económicos y fáciles de conseguir, así que, no esperemos más y démosle a este año nuevo desarrollando nuestra creatividad al máximo.
What are they waiting for?
Thanks to this simple step by step we can easily make our own organizer girl, perfect and ideal for organizing our work table, and also, we can decorate our environment and give that creative touch to our work environment. Before we start, let's not forget to wash our hands.
¿Qué están esperando?
Gracias a este sencillo paso a paso podemos elaborar fácilmente nuestra propia niña organizadora, perfecto e ideal para organizar nuestra mesa de trabajo y además, podemos decorar nuestro entorno y darle ese toque creativo a nuestra ambiente de trabajo. Antes de comenzar no olvidemos lavarnos nuestras manos.

[Materials | Materiales]
To make this cute work we will need:
- Foamy or eva foam.
- Graphite pencil.
- Paintings.
- Brushes.
- Scissors.
- Recycled boxes.
- Glue or liquid silicone.
Para realizar esta linda obra necesitaremos:
- Foamy o goma eva.
- Lápiz de grafito.
- Pinturas.
- Pinceles.
- Tijera.
- Cajas recicladas.
- Pegamento o silicón liquido.
Procedimiento (paso a paso)
Process (step by step)
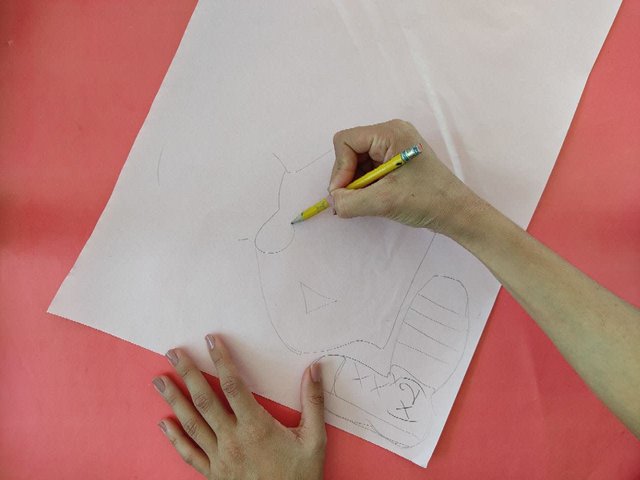
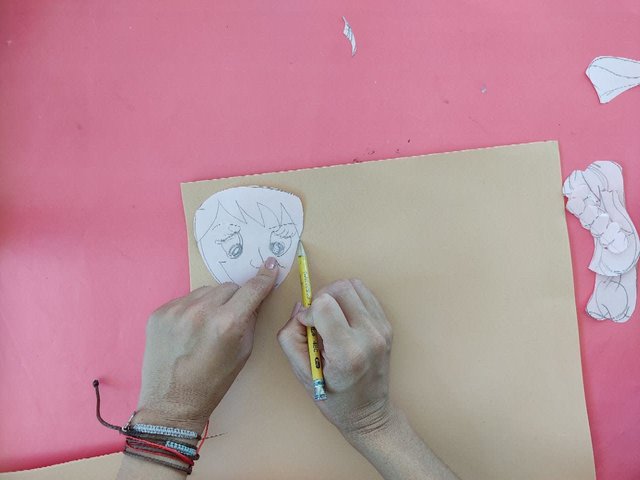
First, we draw a cute girl, letting our imagination fly, and taking into account the size of the boxes that we are going to use.
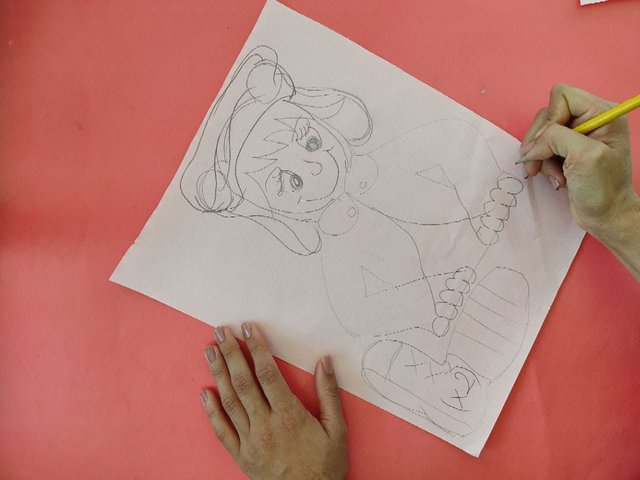
Primero, dibujamos una linda niña dejando volar nuestra imaginación y teniendo en cuenta el tamaño de las cajas que vamos a utilizar.
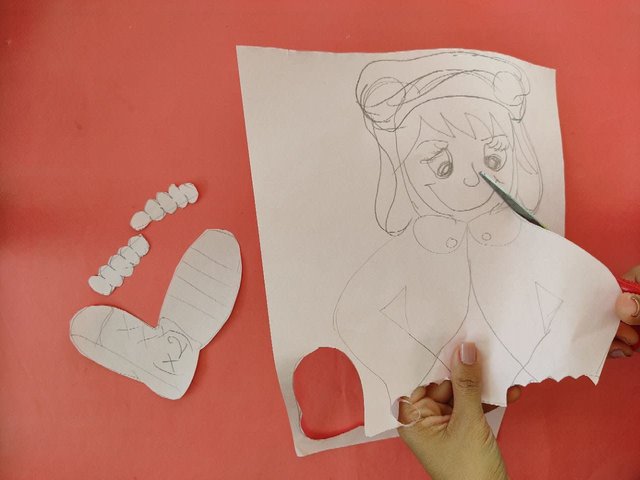
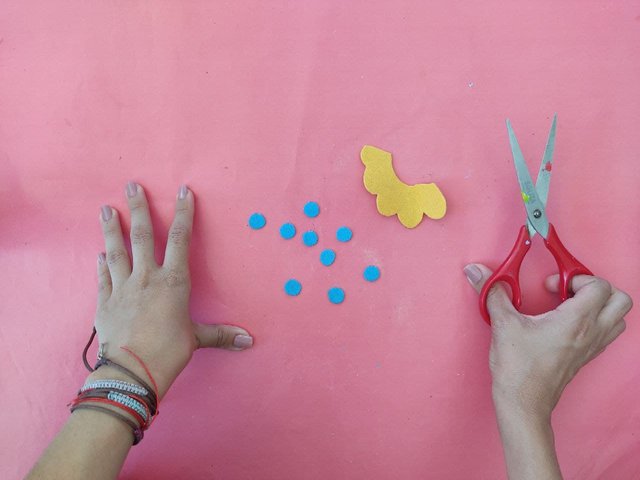
Next, we cut out the girl, separating each of the pieces that make her up.
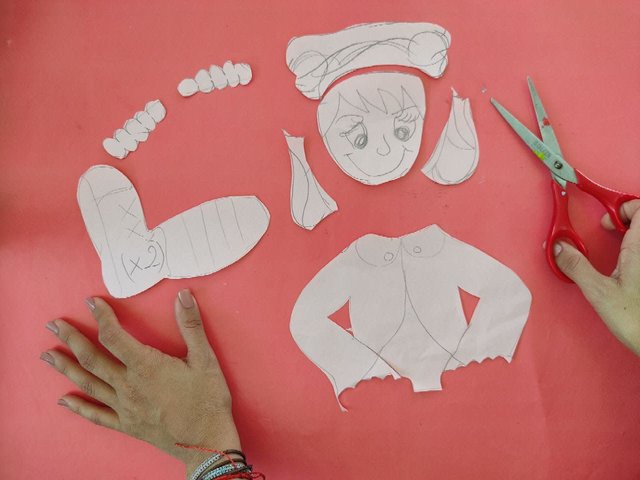
Seguidamente, recortamos la niña separando cada una de las piezas que la conforman.
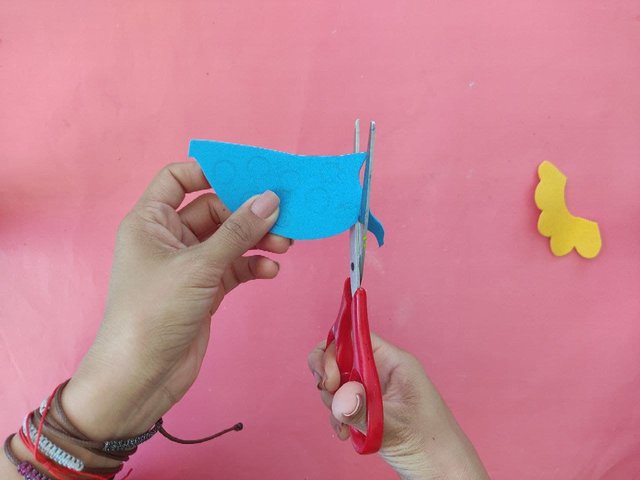
Now, we transfer the pieces to the different pieces of foamy, selecting the desired colors according to their shapes, and cut very carefully.
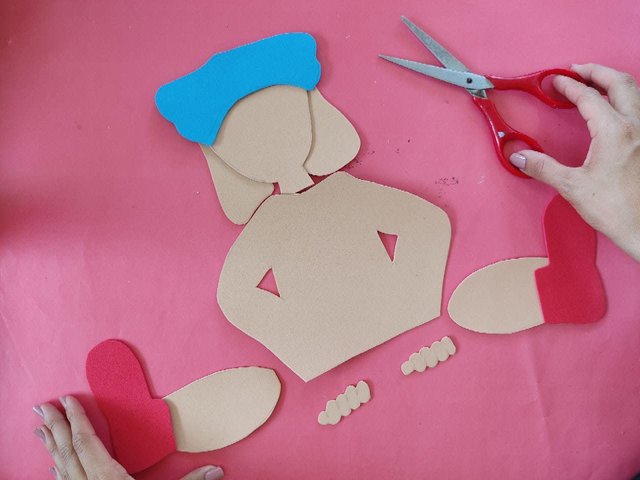
Ahora, transferimos las piezas a los distintos trozos de foamy, seleccionando los colores deseados de acuerdo con sus formas, y recortamos con mucho cuidado.
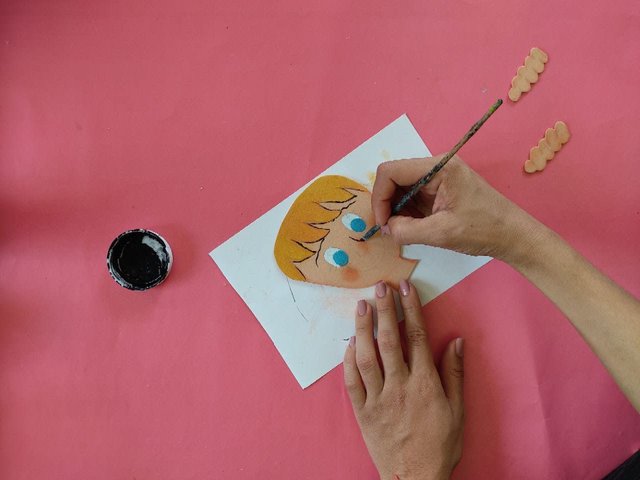
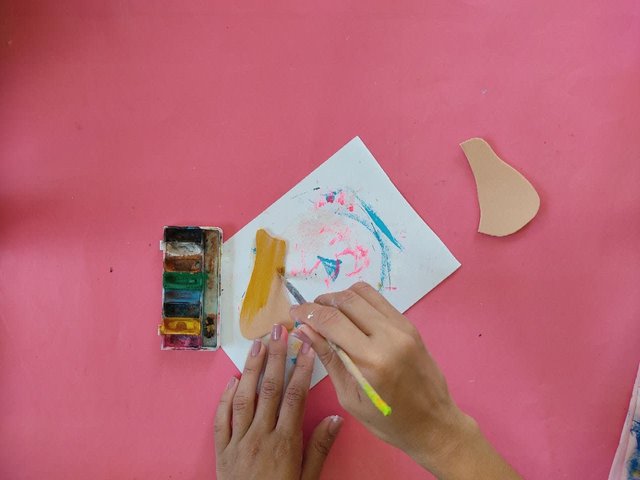
Once all the foamy parts are obtained, we give life and color to the face, eyebrows, mouth, eyes, and fingers of our wrist. Next, we define its edges and details with the help of the fine brush and black paint.
Una vez obtenidas todas las partes en foamy, le damos vida y color a la cara, cejas, boca, ojos y dedos de nuestra muñeca. Seguidamente, definimos sus bordes y detalles con ayuda del pincel fino y pintura negra.
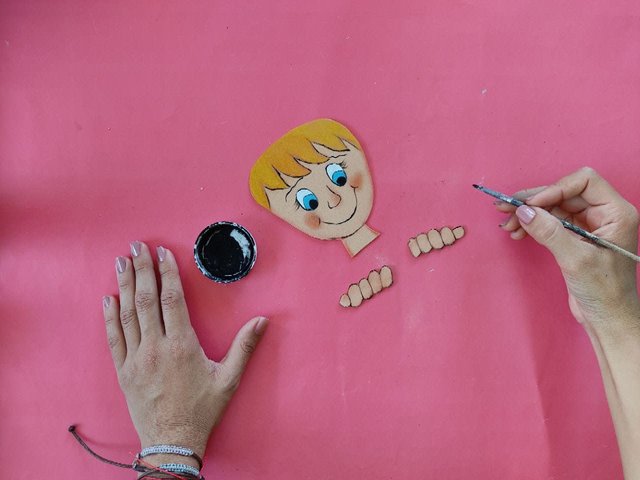
Then, we paint the rest of her hair yellow and mark the edges of her, and details in black.
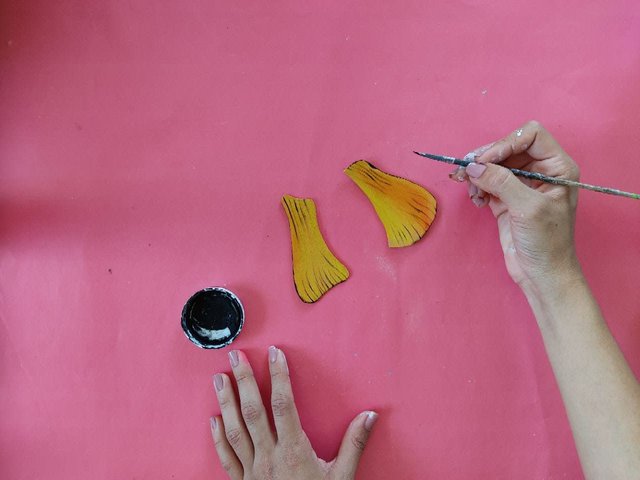
Luego, pintamos el resto de su cabello de color amarillo y marcamos sus bordes, y detalles de color negro.
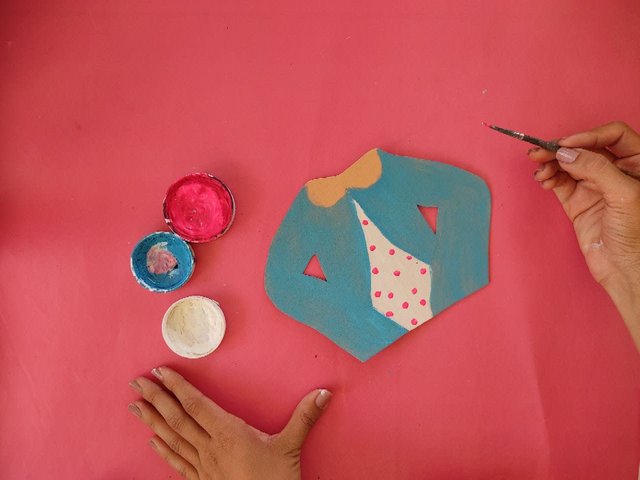
Now, we paint the girl's clothes making details such as points, pockets, and everything we want. And we mark the edges of this cute and elegant suit in black with the fine paint brush.

Ahora, pintamos la ropa la niña elaborando detalles como puntos, bolsillos y lo todo que deseamos. Y marcamos los bordes de este lindo y elegante traje en color negro con el pincel de punta fina.
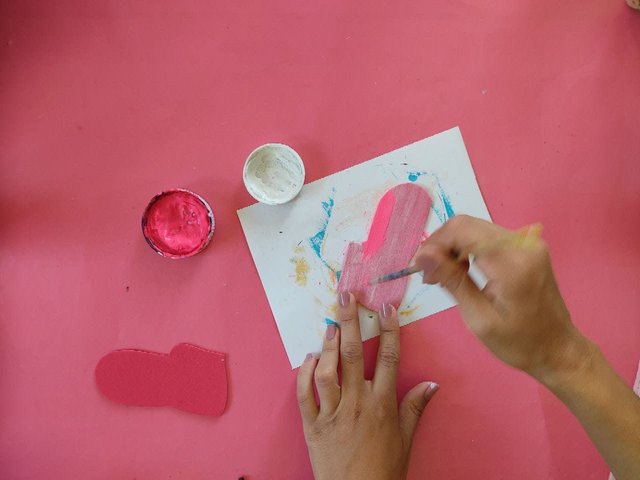
Then we paint our girl's shoe neon pink and we make her little braids.
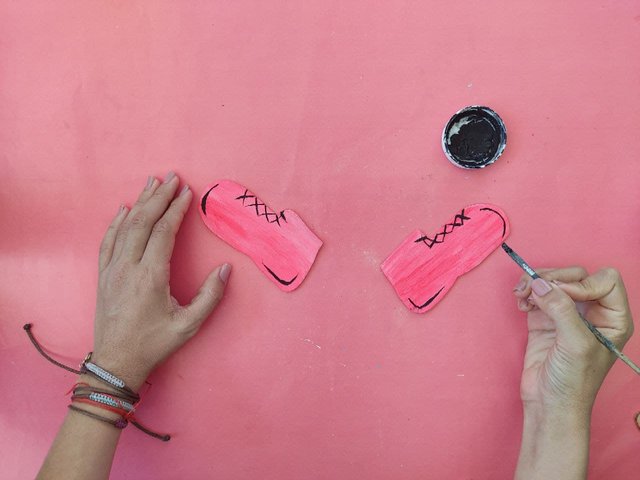
Después, pintamos los zapatos de nuestra chica de color rosa neón y le hacemos unas pequeñas trenzas.
Then, we paint and shade the edges of her hat with the black paintbrush.
Luego, pintamos y sombreamos los bordes del sombrero con el pincel pintura negra.
Now, we make a yellow collar for her shirt, blue dots for her socks, and paint the socks white
Ahora, elaboramos un cuello amarillo para su camisa, puntos azules para sus calcetines, y pintamos los calcetines de color blanco
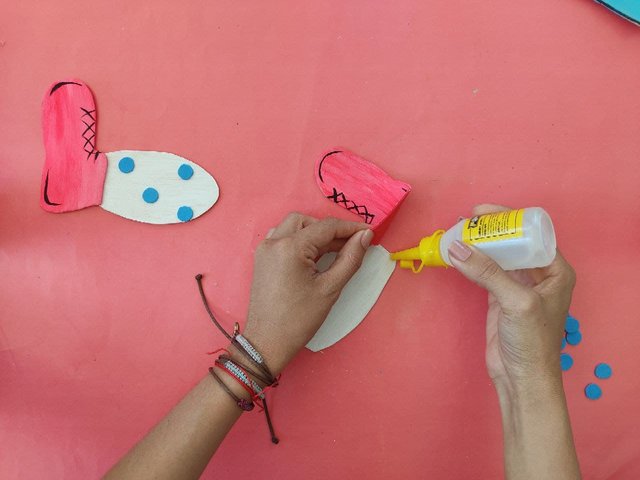
Next, we assemble the lower part of the wrist, that is, legs, and put on shoes. Making sure that everything is well glued.
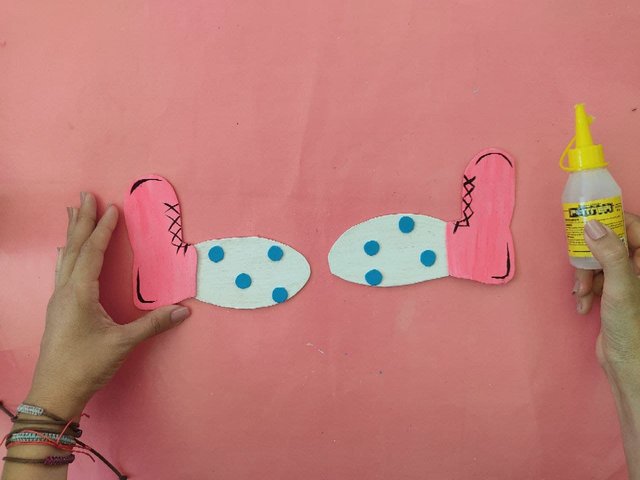
Seguidamente, armamos la parte inferior de la muñeca, es decir, piernas y calzamos. Asegurándonos que todo quede bien pegado.
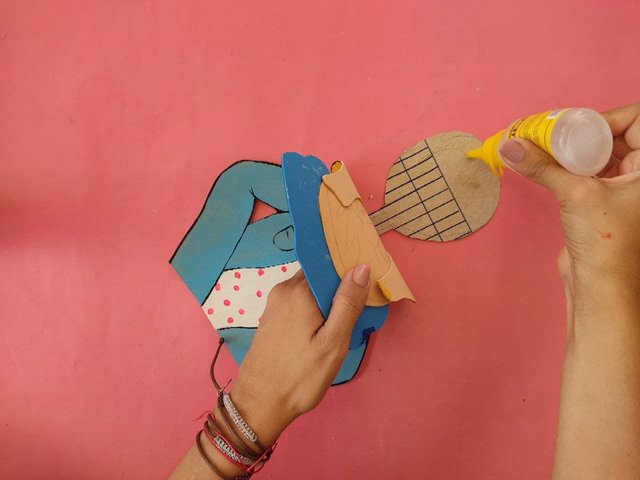
Then, we started loving the top of our cute girl, first we glued the top, that is, the head, the shirt, and the hat. Next, we glued this part on a cardboard mold a little thicker, so that our girl was firm.
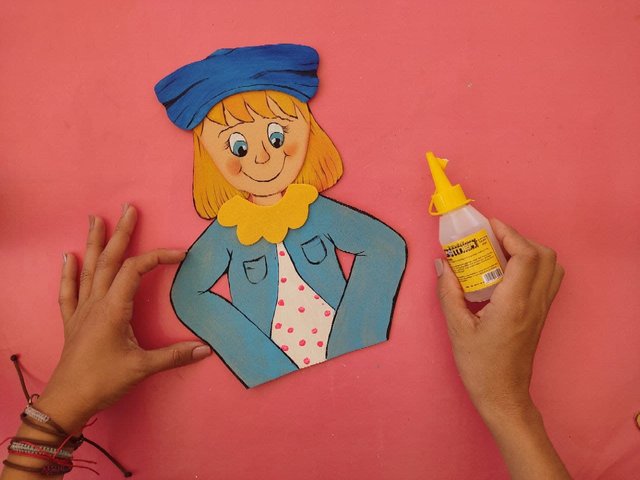
Luego, comenzamos a amar la parte superior de nuestra linda chica, en primer lugar pegamos la parte superior, es decir la cabeza, la camisa, y el gorro. Seguidamente, pegamos esta parte sobre un molde de cartón un poco más gruesa, de manera que nuestra niña quedé firme.
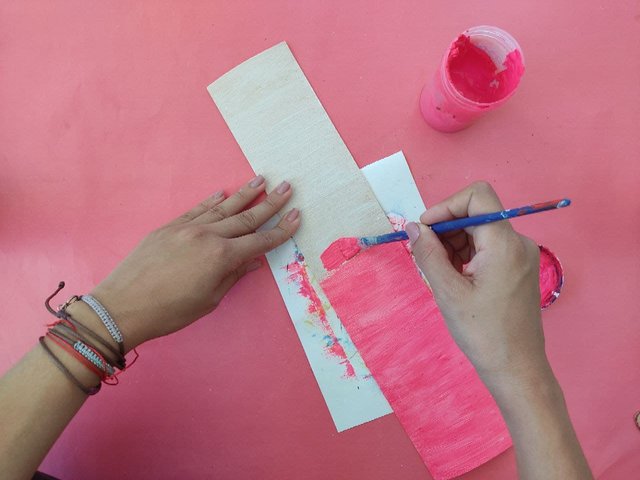
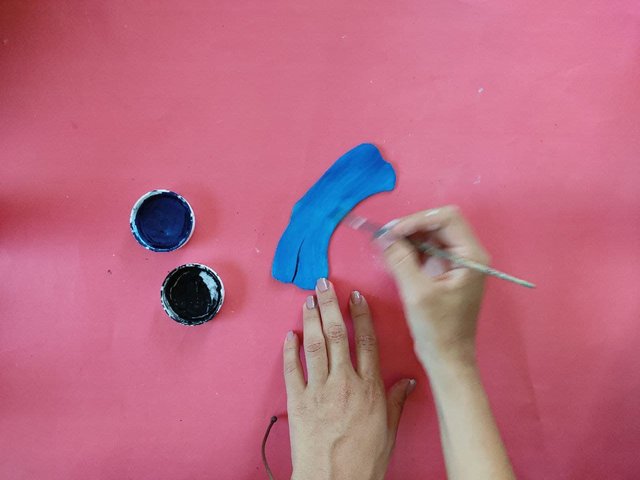
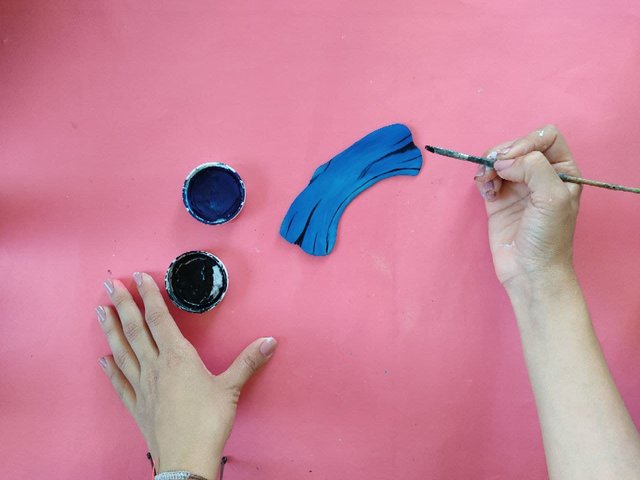
Now, we make a 6cm by 30cm strip of Foamy and cut it very carefully. Next, we paint this strip neon pink.
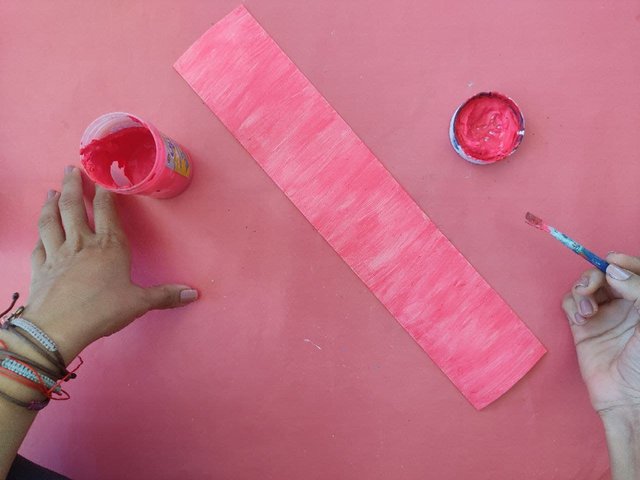
Ahora, elaboramos una tira de Foamy de 6cm por 30cm y recortamos con mucho cuidado. Seguidamente, pintamos esta tira de color rosa neón.
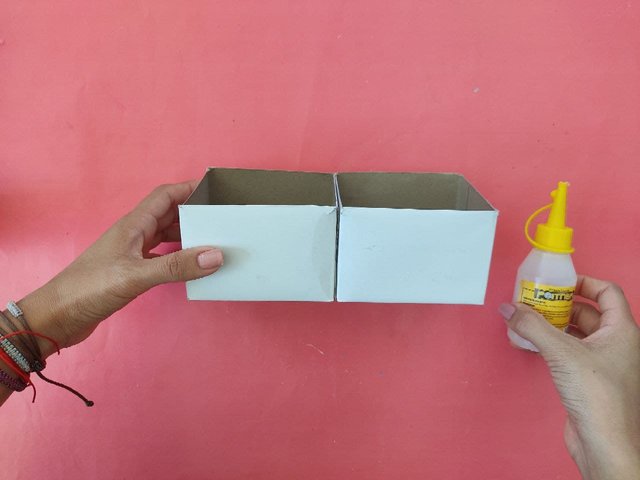
Then, we join the recycled boxes and cover them with the pink strip that we have made.
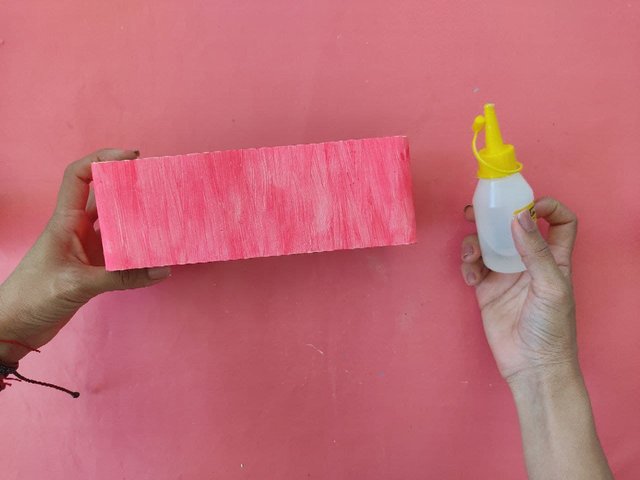
Luego, unimos las cajas recicladas y las cubrimos con la rosa tira que hemos elaborado.

Finally, we put together our work by gluing the parts of the girl on the back, and the flowers on the front of the boxes to decorate.
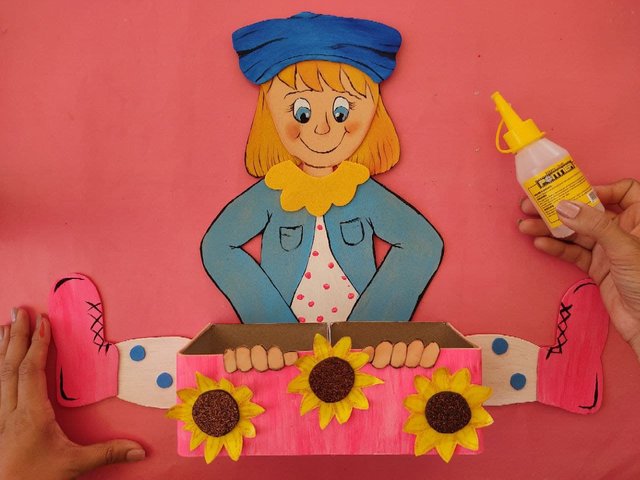
Finalmente, armamos nuestra obra pegando las partes de la niña en la parte trasera, y las flores en el frente de las cajitas para decorar.
.jpg)
.jpg)
Thanks for joining and I hope you enjoyed it. ❤️
Gracias por acompañarme y espero que lo hayan disfrutado.❤️
.jpg)
.jpg)

https://twitter.com/SaraCampero6/status/1347008118690107396?s=20
Happy new year 🎊
Congratulations, your post has been upvoted by @dsc-r2cornell, which is the curating account for @R2cornell's Discord Community.
very mucho dear!
Nice DIY work 😊 keep up the good work!
Thank you for your visit and comment ... Thank you from the heart, greetings!
Thank you @saracampero for this wonderful tutorial, you have done it so well. To tell the truth, I have not expected such great organized post and it is done with a lot of love to details and to what you do. Really appreciate your hard work adn of course you are my nomination:
You post is nominated for „Wold of xpilar“ Community Support Program, @blooming account upvote. Only the posts that are not cross posted, original and posted from community page are eligible. If your post gets approval, then you get upvote within 24 hours. Good luck!
More info: visit @steemitblog post
Thank you very much for appreciating my work, I would love to be able to talk with you in the discord, even for a few minutes, it would be very light for me, in this new beginning in steemit. Thanks for the support and many blessings to you.
I love your hard work ❤️