Charcoal pencil Art ✏️
Greetings
Greetings to all members of this community I glad to bring to you new art peice .
I has been more than two weeks now I haven't displayed any of my charcoal pencil art today I bring you a new piece I pray you joy your time I talk and share about my art piece.
Actually for the past two weeks I received this commission work from a friend which I finally finished with the work yesterday.
Perhaps making this drawing wasn't really easy for me because I tried using an unknown paper that I don't even know the name which actually gave me a difficult time but at last I succeed in making the drawing look good .
I also tried in making photo shot of my work on progress though they aren't much because I really had no time to take more photo shots.
These are the step by step process of my Drawing below.
1st step(Grid lines):
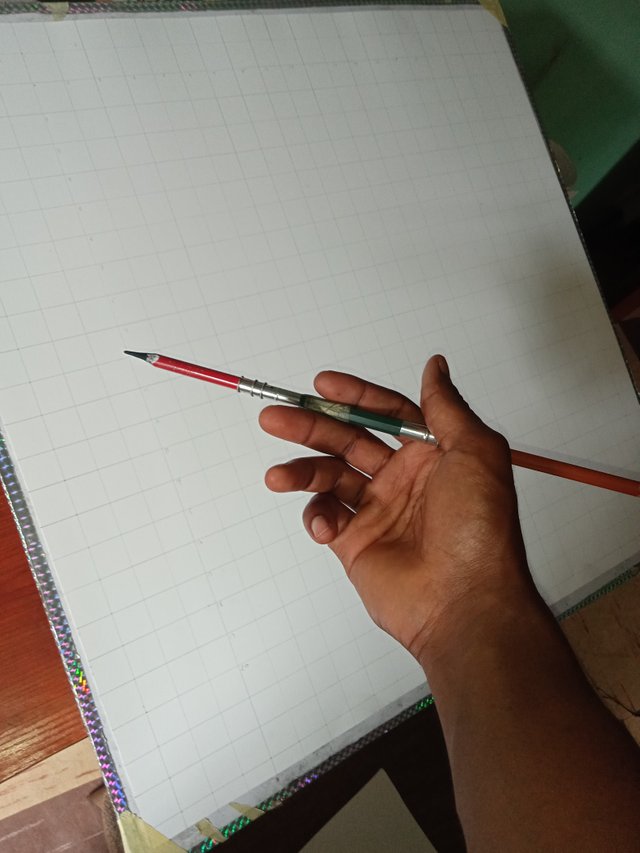
As a beginner it is advisable to make use of gride lines in making your drawing,this really helps in creating a right proportion for the drawing your making or you're about to make.
This my grid line is been measured by one inche with a complete size of 16"20.
2nd step(outline):
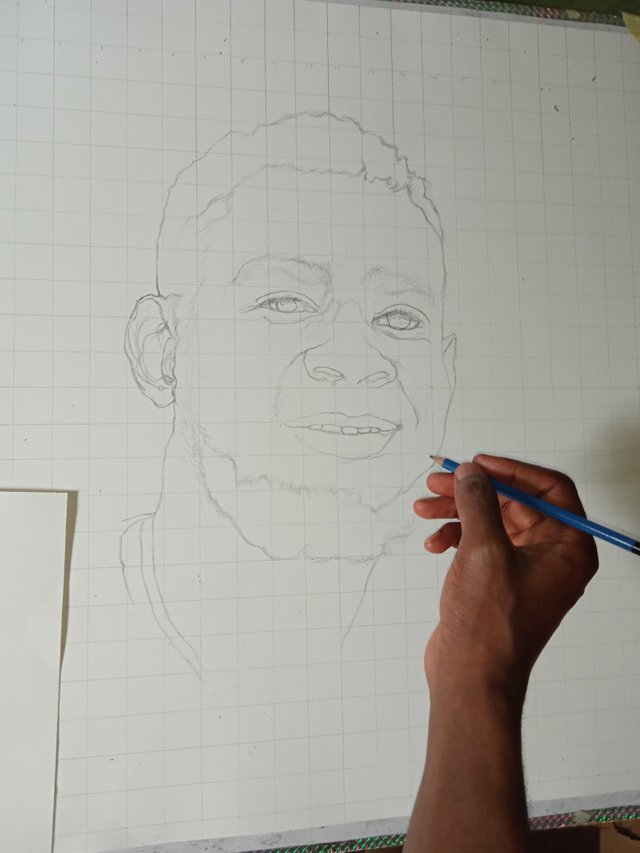
At this point I created outline of my drawing using the grid lines with the equal proportion of size given, with the help of the grid it made my outline look so easy and simple.
3rd step:
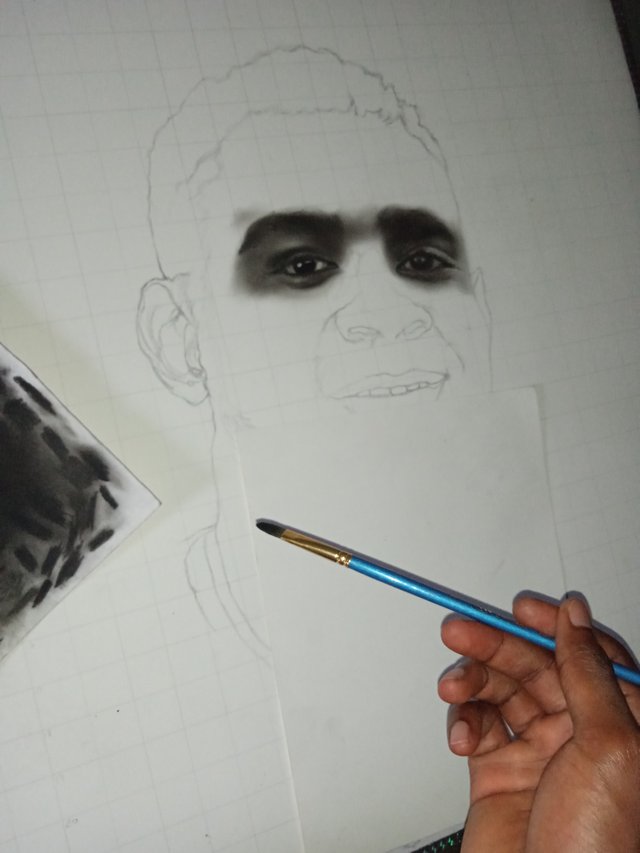
At this stage I started with the easiest part for me which was the eyes because for me starting from this point gave me a little confidence on the work from the starting point to finishing line. I should say the point is called the confidence builder , because thisvis always necessary for all artists because at small point we need courage and confidence to starting up any art work .
4th step:
I was already done with the eyes which I was also try to create more details on the fore head using my monozero eraser and my skin tints pastel colour pencil.
I used this two tools I mentioned to create the skin pores which I believes brought out a sign of realism on the art work.
5th step:
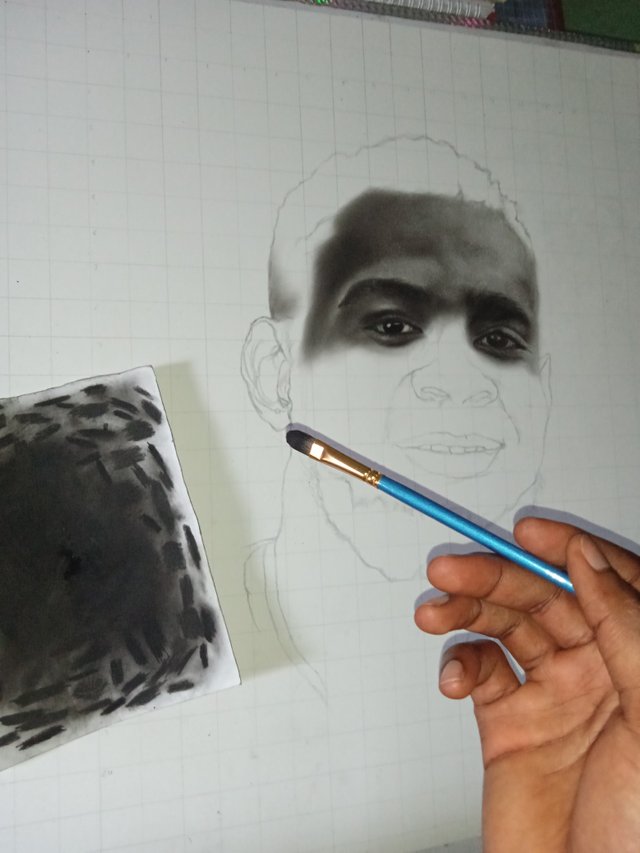
At this stage I started creating the hair on the head which used my soft painting brush and and a charcoal powder to create the first layer of the hair which after that,I used my charcoal pencil to create hairs gradually and then used my brush to blend then applied highlights on the hair using my monozero eraser and skin tints pastel colour pencil.
6th step:
At this step I repeated the same procedure I used on step 5 to create the beards.
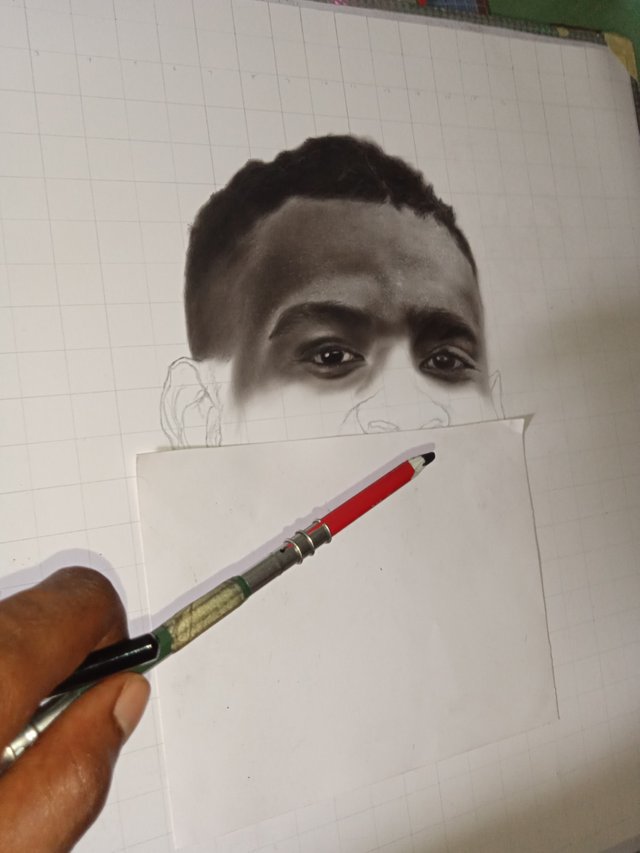
7th step:
At this stage I was done with anything hair now on the skin (neck area ) I noticed that from the reference picture there wasn't much reflection of light on the neck area so I had to make my shading darker than the face area which I created a three layer in the skin before adding some little details .
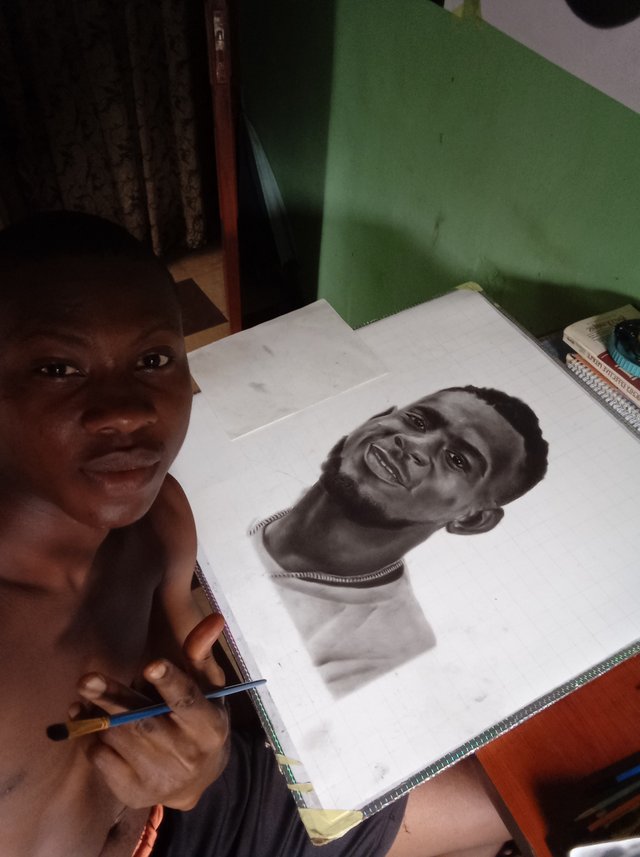
Me having a break on my work space😅😎
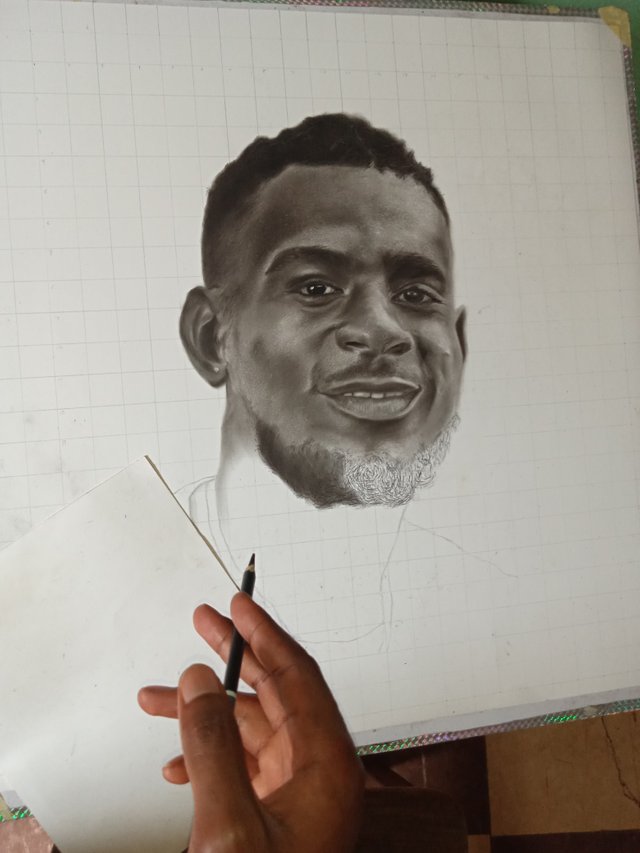
8th step: (cloth pattern)
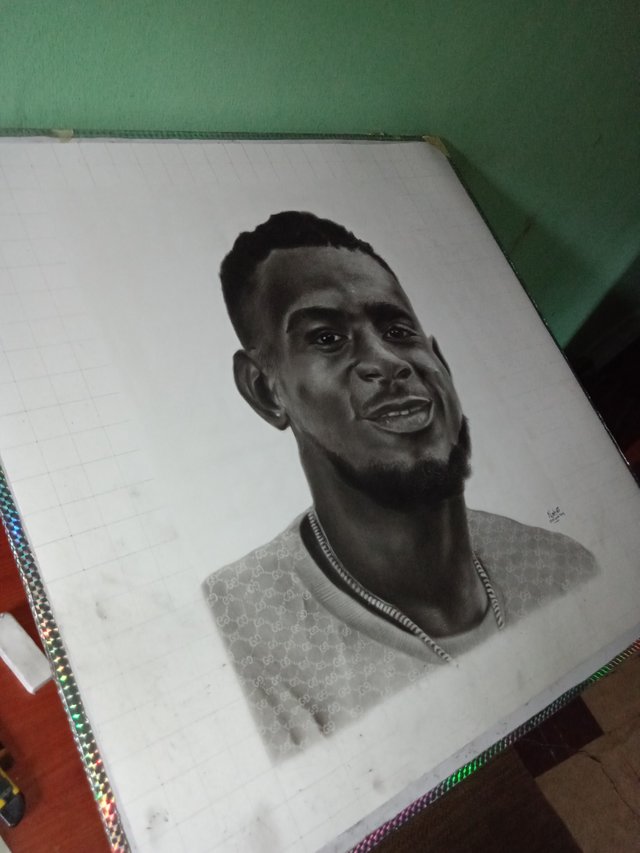
At this step before I started anything on the cloth I had to finish up first with the necklace on his neck by using my monozero eraser to create the chain pattern because at first I may sir I darken the chain area before putting in those highlights with my monozero eraser.
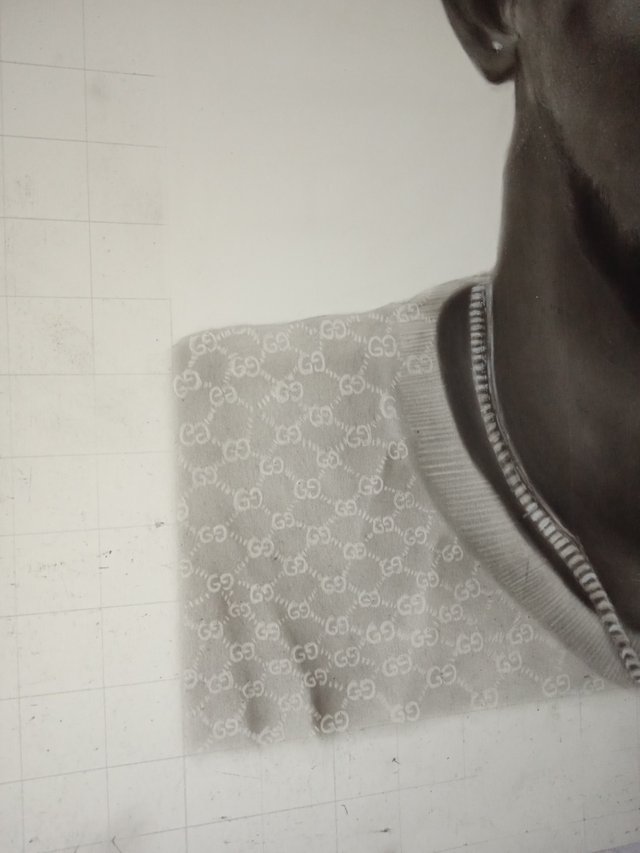
After i was done on the neck lace I I noticed that the cloth on the reference picture was so plain and it had no beauty on it so Instead of making it plane I had to be creative on it and add some beauty on it.
Actually I was kind of confused on what to do so I just thought of a design logo know as GUCCI which used it's design pattern of the cloth by using my monozero eraser to create these patterns on the cloth.
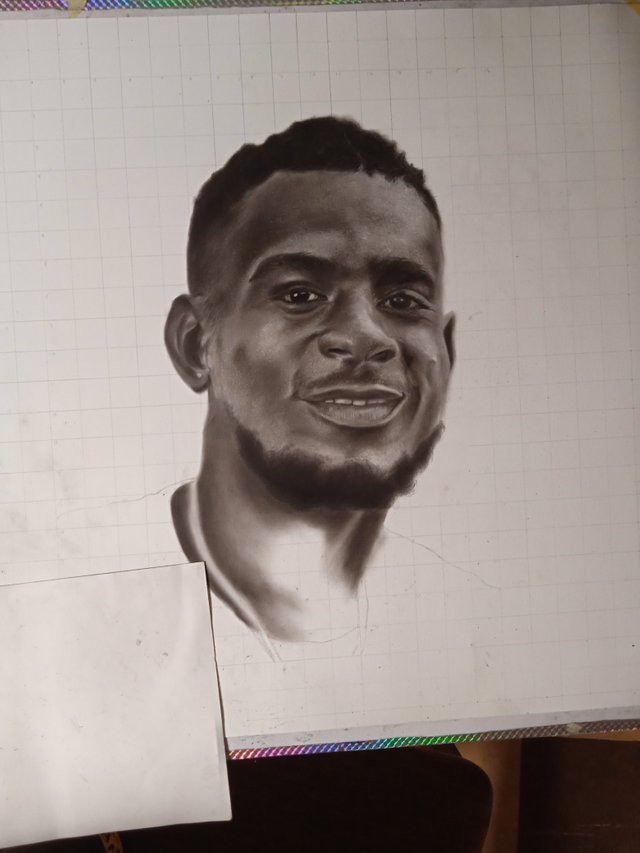
9th step:(Finish point)
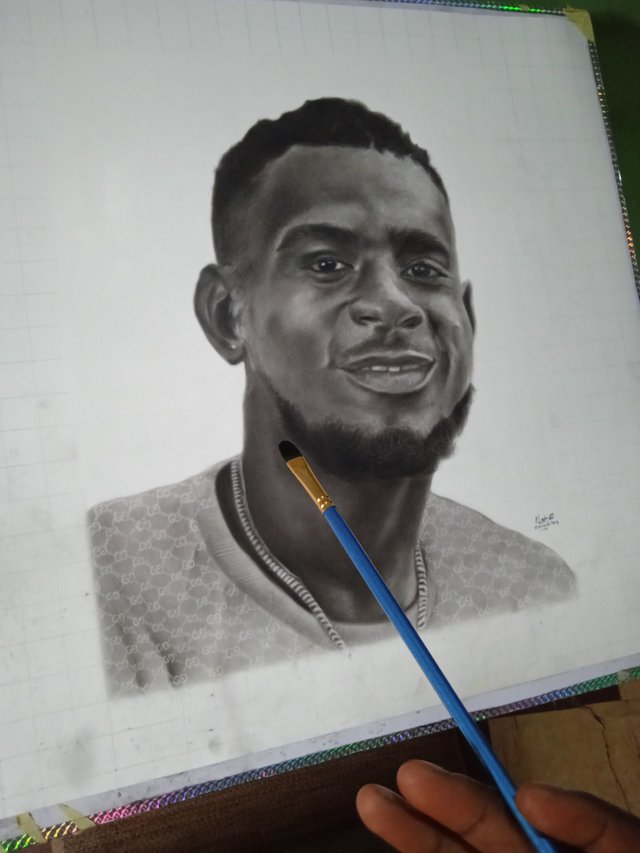
I was already done with the cloth pattern, after that I observed that edges of the hair wasn't that realistic so I had to use my a lighter pencil (2h pencil) to bring out lighter hairs on the beards and hair one the head so after that I had to give my work a last glance to observe if I was missing out on anything before erasing the grid line on the background.
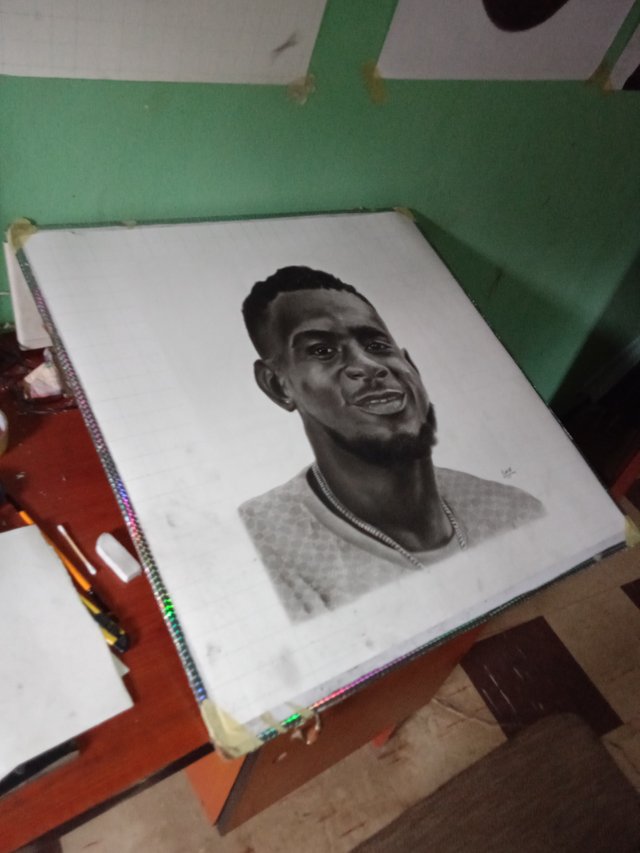
MY ART WORK DISPLAYED ON MY WORK SPACE
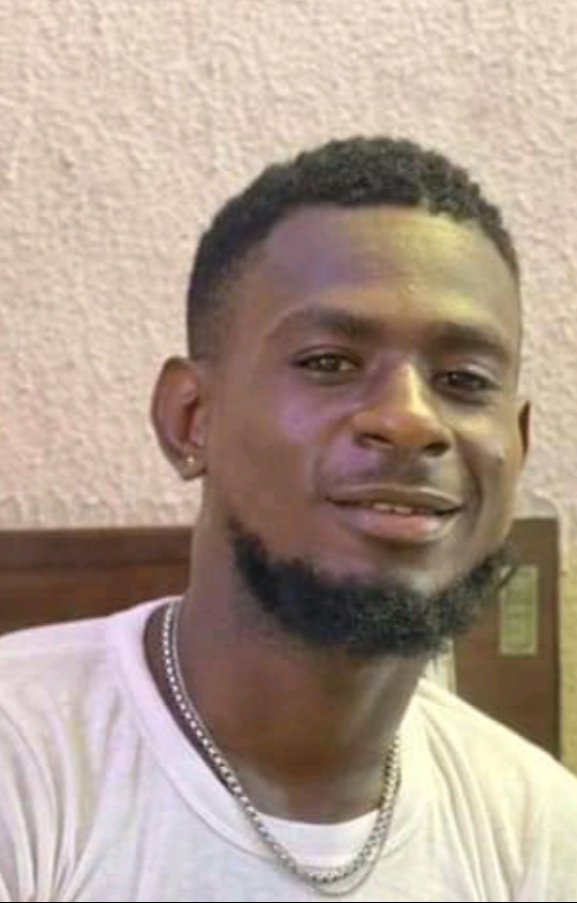
REFERENCE PICTURE.
TOOLS USED
- Unknown paper (semi glossy)
- charcoal pencil and powder
- Monozero eraser
- Skin tints pastel colour pencil
- Soft painting brush
- normal eraser
- 2H pencil
SIZE:
- 16"20
CAMERA TYPE:
- Redmi9a
DURATION:
- 2weeks
I'm inviting @xpilar to check out this post.