Beauty made Flesh - Watercolour Painting + Process
Hi everyone, it's been a while since I last posted as I have been busy finishing my degree however, now that I have finished I have more time to focus on creating and sharing my artwork. I have recently been working on some watercolor portrait commissions for a family friend and today I will share the process that went into creating the first one. It has been a while since I have done watercolor painting so it was nice to experiment with them once again.
Step 1 - Initial Pencil Sketch

It was important to draw the initial pencil sketch with the correct proportions before moving on to the painting. This was the reference image I used to help complete this.
Step 2 - Adding Colour

I wanted the painting to stand out so I used a strong orange tone to make the mid tone of the face. I used a lot of water for this stage so that I could blow the paint into random directions for effect.
Step 3 - More Colours!

I began adding some blues for the darker tones in the face and hair.I experimented with some yellows and greens but decided they should be used in very small quantities as it's very easy to use too many colours and muddy the overall final result.
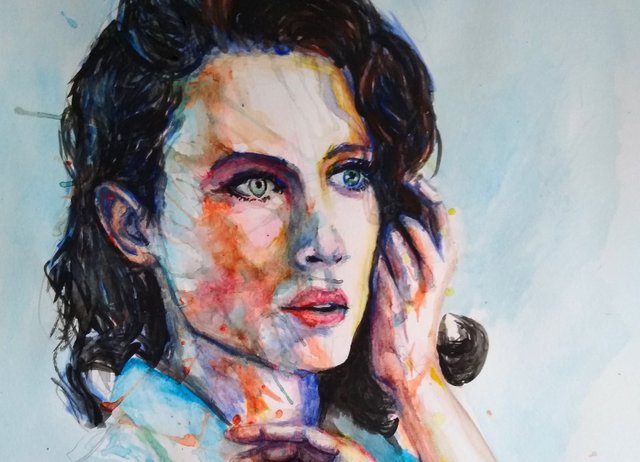
Step 4 - Final Touches

Using a a smaller brush I will add some more details and fix some parts before finishing the piece.
Finished!

Framed

Completed on A3 watercolour paper over several days. It helped the process to spread it over a few days as I was more likely see where I made a mistake or what I could improve further.
Hi Ian, glad to hear that you have finished your degree. My Congratulation! You might have such relief :)
This painting looks very nice, it immediately made me stop and look into the details. I like such variety of colours. As watercolor portrait looks amazing!
Thanks, it is a relief to have finished and all a bit strange completing it from home.
Glad you liked the painting! :)