Dibujando efecto de plano principal - Drawing the main plane and blur effect (purple pen) esp - eng
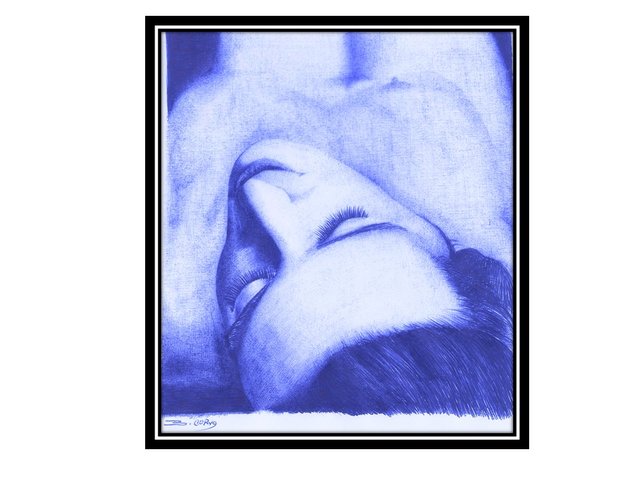
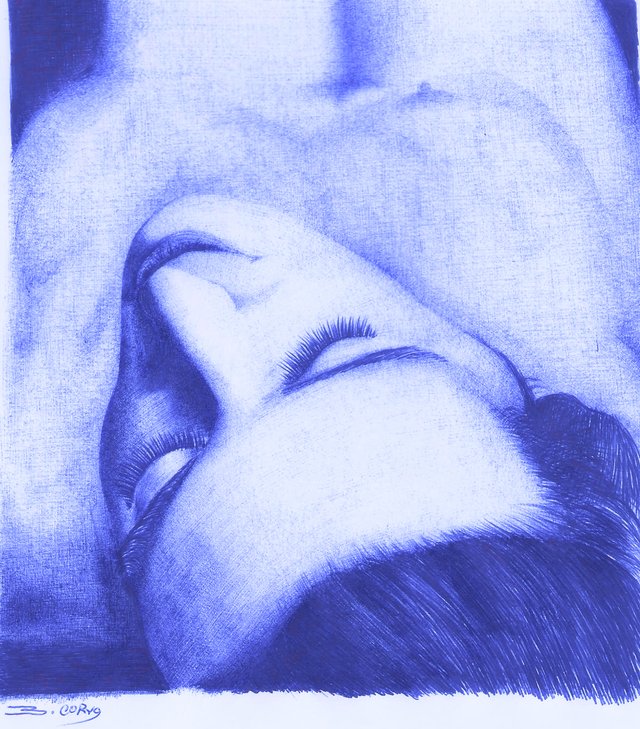
Hola amigos, hoy los invito a que me acompañen en esta actividad de arte realizado en bolígrafo color azul, en este trabajo quise realizar el efecto de perspectivas y enfoques, es un efecto muy común en el arte de la fotografía, en donde vemos el primer plano de acercamiento enfocado y a medida que percibimos el entorno se ve desenfocado, creando un efecto maravilloso, yo quise plasmarlo en la técnica del dibujo tradicional.
Hello friends, today I invite you to join me in this art activity made in blue pen, in this work I wanted to make the effect of perspectives and approaches, it is a very common effect in the art of photography, where we see the first Focused approach plane and as we perceive the environment it is out of focus, creating a wonderful effect, I wanted to capture it in the traditional drawing technique.
"Efecto de enfoque principal"
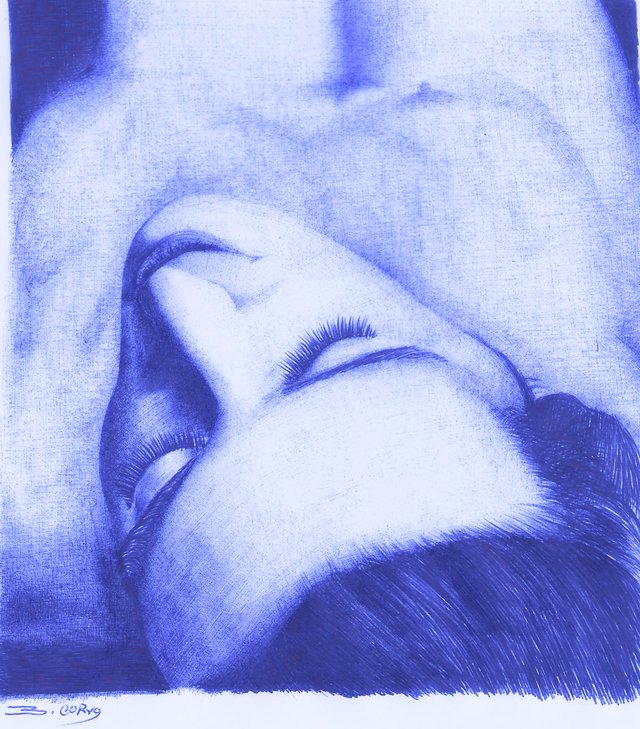
Paso 1 y 2 | Step 1 and 2
Realizo el boceto grafito Hb 2, para este proceso es importante tener las simetrías correctas del cuerpo, es importante hacer un estudio previo a la fotografía de referencia, de esta forma podemos tener las medidas correctas, comienzo con la primera capa de bolígrafo color azul.
I make the Hb 2 graphite sketch, for this process it is important to have the correct symmetries of the body, it is important to do a study prior to the reference photograph, in this way we can have the correct measurements, I start with the first layer of blue pen.
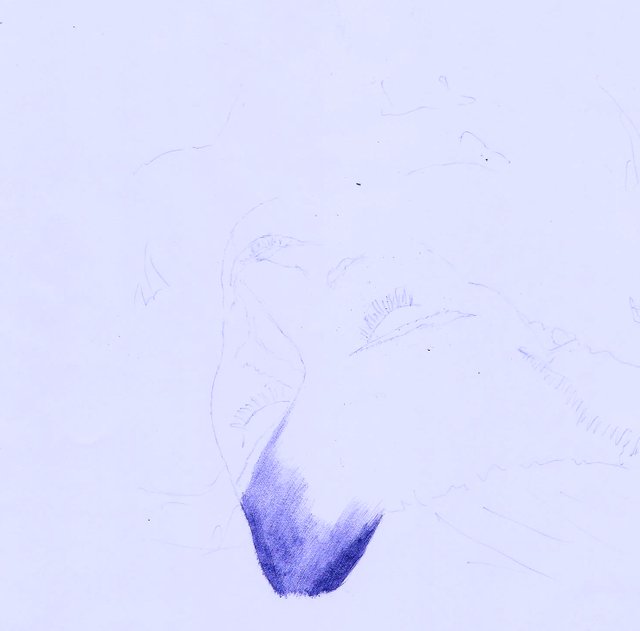
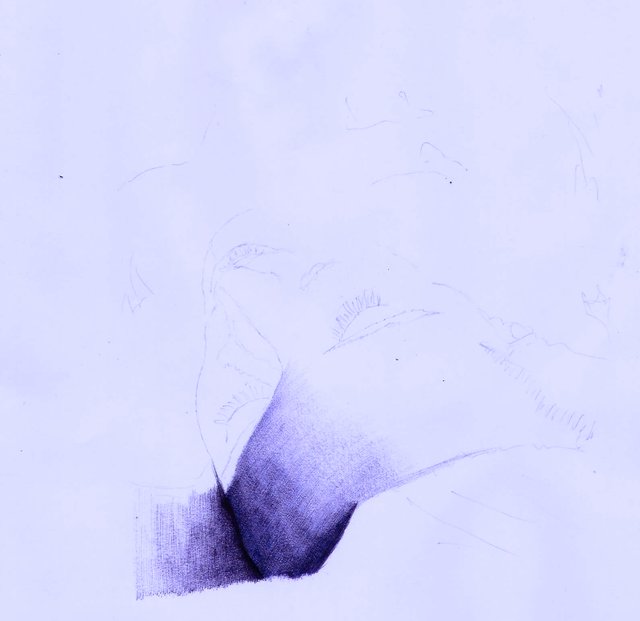

Paso 3 || Step 3
Defino los sectores que le voy a dar un sombreado fuerte, esto hace que resalte el contraste, para obtener este efecto de enfoque tengo que trabajar el plano principal con tonos fuertes y con tramados definidos.
I define the sectors that I am going to give a strong shading, this makes the contrast stand out, to obtain this focus effect I have to work the main plane with strong tones and with defined patterns.
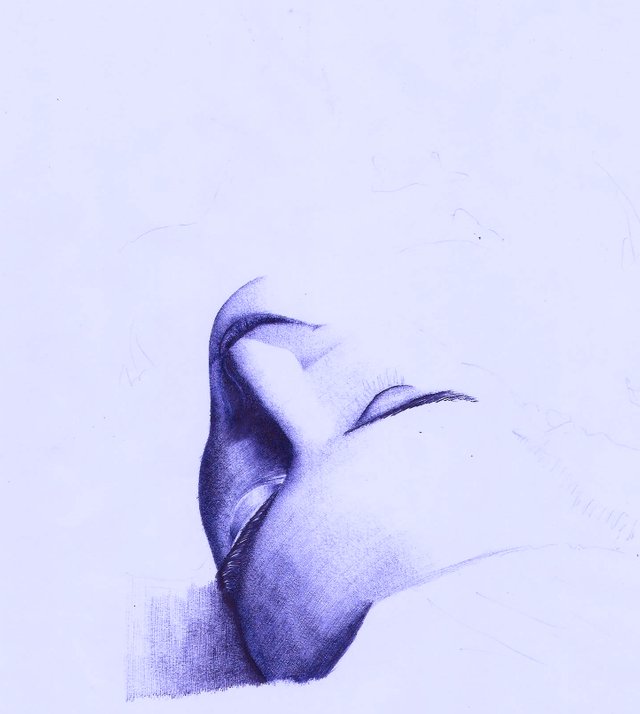
Paso 4 || Step 4
Con tramados, rayados, patrones lineales y verticales voy dando texturas y volumen al rostro, comienzo a trabajar el contorno del cuerpo, para este paso tengo que usar matices suaves, para ir difuminando el tono del bolígrafo desde el mas oscuro, hasta tener tonos claros, cuando dibujamos con bolígrafos hay que mantener limpia la parte en donde se encuentra la expulsión de la tinta, en ese lugar se acumulan desechos muy pequeños de papel que obstruyen la salida de tinta.
With hatches, stripes, linear and vertical patterns I am giving textures and volume to the face, I begin to work the contour of the body, for this step I have to use soft shades, to blur the tone of the pen from the darkest, to have light tones When we draw with pens, we must keep the part where the ink ejection is located clean, in that place very small waste of paper accumulates that obstructs the ink outlet.
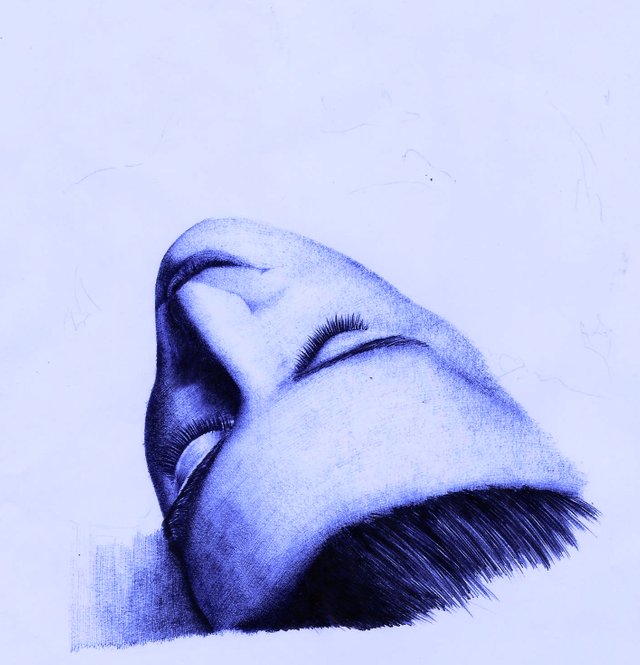
Presentación || Presentation
Referencia de fotografía || Photo Reference
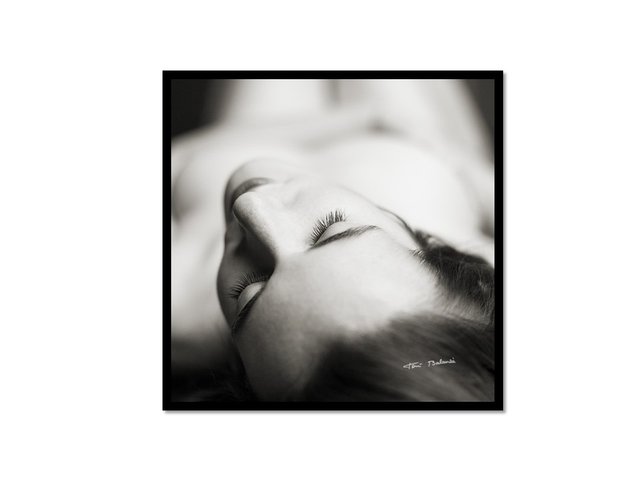
• fuente

Gracias amigos por su dedicar su tiempo a este contenido su comentario sera muy bien recibido y respondido.
Thank you friends for your dedicating your time to this content, your comment will be very well received and responded to.
Your post was upvoted by the @art-venture account after manual review. Support of Visual Artworks and Photogrpahy on Steem by @stef1 and @art-venture
Your post is manually rewarded by the
World of Xpilar Community Curation Trail
join the World of Xpilar Curation Trail, info can be found here