SEC20/WK4: Graphic Design Hands - On practical 1.
Hello dear friends how are you all? I hope you are very well by the grace of God. I am also very well by the grace of Allah. Today I appeared with a contest entry post. The ongoing contests of the Steemit Engagement Challenge Season Twenty are excellent. The contest organized by lhorgic is, . I am ready to participate here with pleasure. Hope you enjoy my entry and stay with me. Let's get started.
 thumbnail
I have tried to present what I have learned in the teaching post. I have tried to maintain the quality of the post very carefully. I have tried to explain each step very clearly to you. It can be called full teaching post simulation. I continued my efforts and completed my work. I have developed these designs in series and collected their screenshots. I have mentioned step by step in each screenshot. I have clarified each step by adding two or three screenshots. Below I mention the series of screenshots and details of my design creation.
Step 1
 1 1 |  2 2 |  3 3 |
|---|
First I opened my canva app. After opening the app I selected a size for the banner shape here. Which will help to create a good and attractive design. I selected the page colors as per my preference. I chose the color purple here, which I liked. The hex code for this color was #781A94 which is slightly lighter than ultra violet.
step 2
 1 1 | 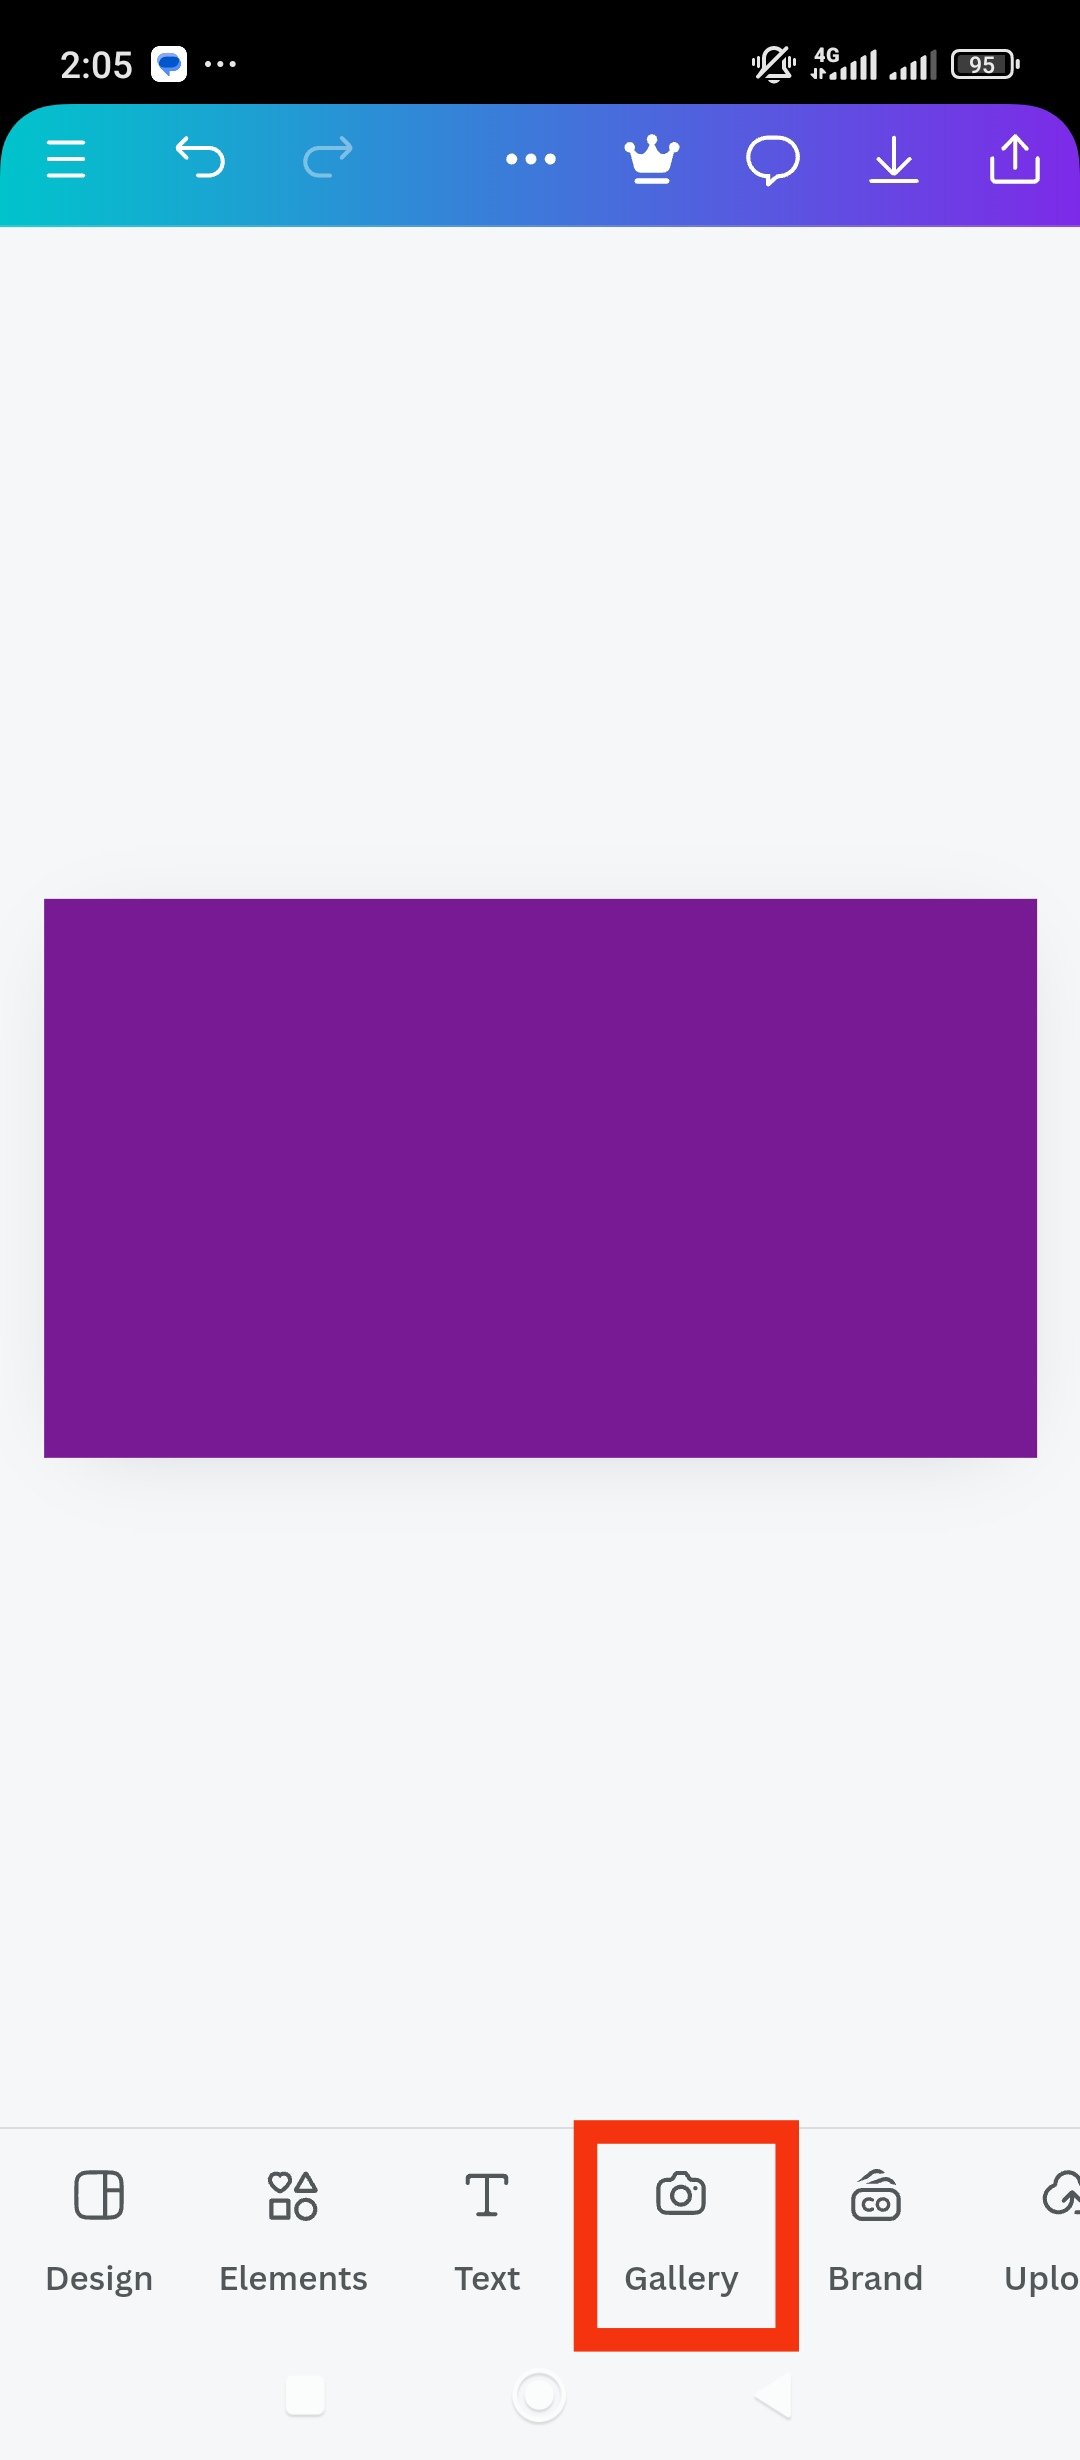 2 2 |  3 3 |
|---|
After selecting the page colors I got a nice mix. Now I will start creating my design on this page. Of course I'll add one more picture here that will show the light. It would be nice to see some blur behind the color. I selected a copyright free image to download from the gallery. After that, I clicked on writing add to page to add it to the page.
step 3
 1 1 |  2 2 |  3 3 |
|---|
The already downloaded image has been added to the page. I will now match the image to the page so that the back page is covered. I'll go to the transparency option to blend the color with the image. After clicking here I can make the color more or less. I kept a 50/50 mix of image and purple. Which you can see in the screenshot.
step 4
 1 1 |  2 2 |  3 3 |
|---|
After the color mixing is done I will see image #1. Next I will click on the text option. Because I'll add the type here that I was asked to specify. After clicking on text option I wrote the texts mentioned in the competition. They are, EARN WRITE BLOG. I wrote the words in three stages.
step 5
 1 1 |  2 2 |  3 3 |
|---|
I will then proceed to convert the text to a typeface of my choice. I used the Anton typeface here, because I liked it. Anyway, after that I added typefaces to the texts and arranged them. I arranged the three words in order from smallest to largest. I put the text on the left side of the banner, because on the right side I'll use one of the images mentioned in the contest.
step 6
 1 1 |  2 2 |  3 3 |
|---|
Next I'll add a highlight line to the design. And for that I have to click on element option. I clicked on the element option. After clicking here I noticed many different shapes. I want to use the square shape from here. So I clicked on the square shape.
step 7
 1 1 |  2 2 |
|---|
I pulled the shape and made it bigger. After enlarging it I placed it below the text EARN. I gave the EARN text a different color to clarify the shape. Then I placed the shape equal to the text EARN. The color hex code of the text Earn is #94FFOB. Which I clarified through screenshot.
step 8
 1 1 |  2 2 | 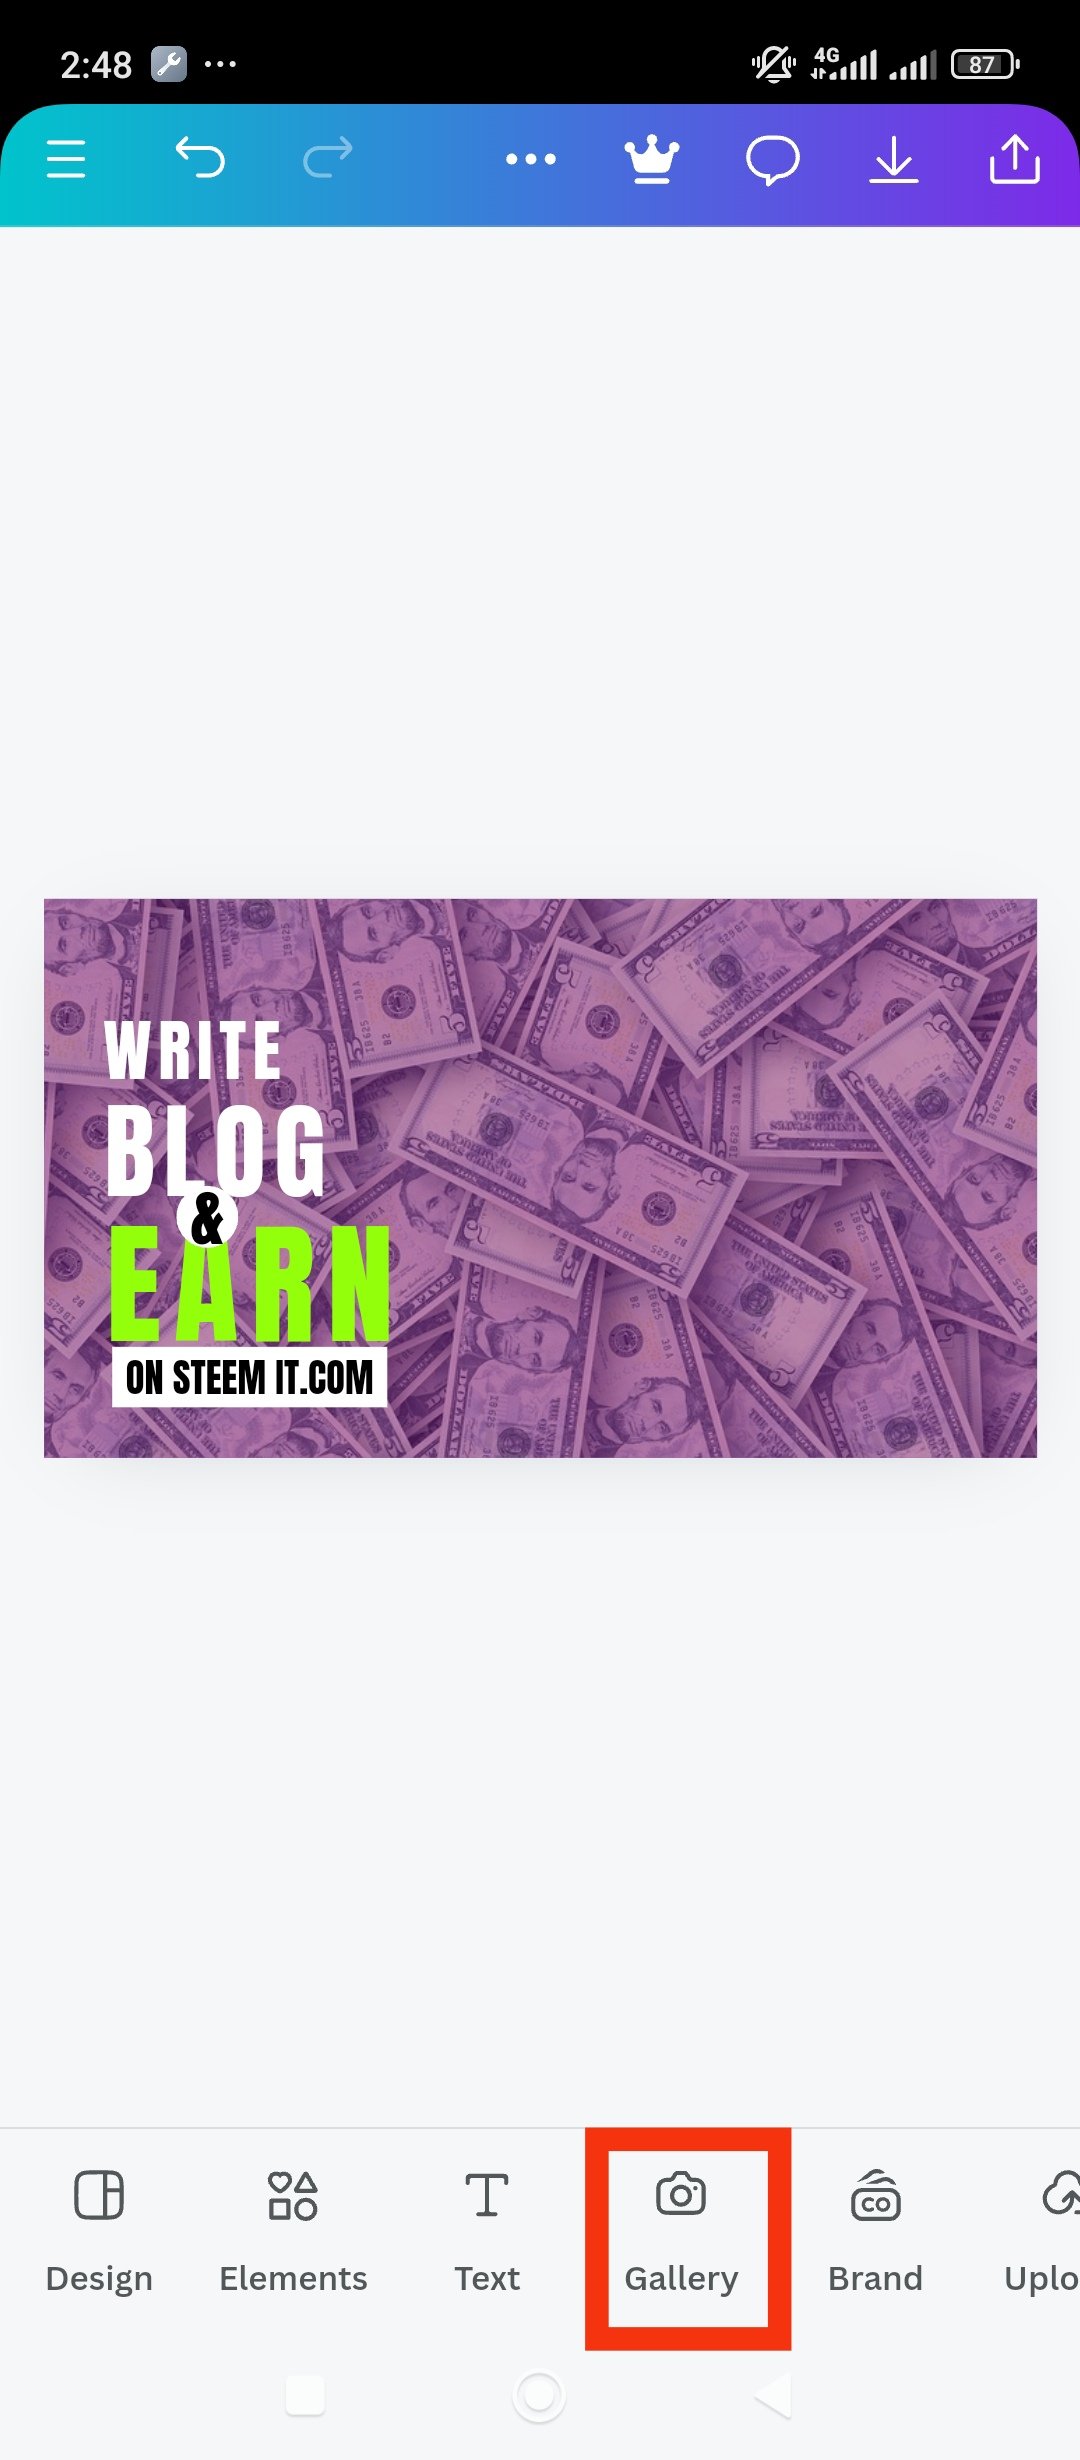 3 3 |
|---|
Then I added the text ON STEEMIT.COM to the banner. I will put this text on white thin shape which will look more attractive. Anyway I added the text and then I placed it on the shape. I kept the text ON STEEMIT.COM black so that it stands out against the white. After placing the text I put an & between EARN and BLOG. It makes the design more structured.
step 9
 1 1 |  2 2 |  3 3 |
|---|
Now I will use one of the images suggested in the design. I had already downloaded my favorite image. After clicking on gallery I got my downloaded image. Then I selected the image. Then I clicked on add to page below. After clicking here, the image is added to the design. Then I set the picture in a certain place. Of course I set it in place to my liking so that the design looks good.
step 10
 1 1 |  2 2 |  3 3 |
|---|
Behind the image I want to add another background which will make the image stand out more. That's why I took a circular design behind the image. I have to add it to Backwards. That's why I made it a little bigger so that it looks like the moon in the background of the photo. Now I click on write backward.
step 11
 1 1 |  2 2 |
|---|
The round shape is already gone. Now I'll make it one more big. After enlarging it enough I changed its color. I'll keep the color closer to yellow to make the image stand out more. I have now colored the rounded shape at the back. The color hexacode for this circular design is #FAFF13. It now looks like a moon along the head behind the picture.
| FINAL DESIGN |
|---|
Now my design is complete. I finished my design and downloaded it from canva. After downloading I got the clear banner of my final design. It's a good banner for me, because I made it with my heart. I am happy to complete my design and it makes me want to learn more.
It's a great competition that teaches us about great design. I participated here with pleasure and learned valuable things. So inviting my dear friends to participate in this contest, @stef1 @pea07 @ripon0630 @irawandedy Hope you enjoy participating here.
X share link
https://x.com/solaymankabirr/status/1841062335676563597
Upvoted. Thank You for sending some of your rewards to @null. It will make Steem stronger.
You did a great job following the tutorial. This is how we all learn. Your results are not that bad, just noticed that your colors are not complementary enough. You didn't use the principle of balance, the image and the effect around it seem much larger than the other elements. It totally covered it. There is much more to learn about graphic design and upcoming lessons. All in all you have done beautifully and I applaud your efforts.