Club100 👍 Tech Diary Game | 11.03.22 | Timer and temperature stabilizer. - Arduino UNO
Timer and Temperature Stabilizer
Hello everyone,
Are you ready to turn the virtual into reality using technology? 😊 A relative I know asked me to make a timer and a heat stabilizer. He will use this project in the chemistry lab. It was necessary to keep the liquids in the tubes at a certain temperature for a certain time.
This was a pretty simple yet complex project for me. I talked to my relative and tried to understand exactly what he wanted. Then I did a feasibility study with small trials. In this post, I will tell you about the developments I have made and what step I am at now.

Hardware
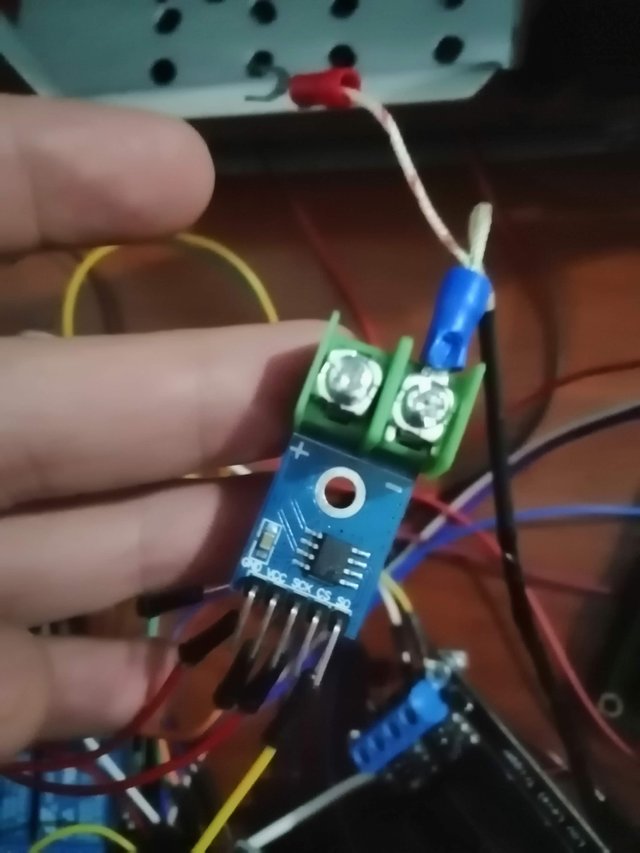
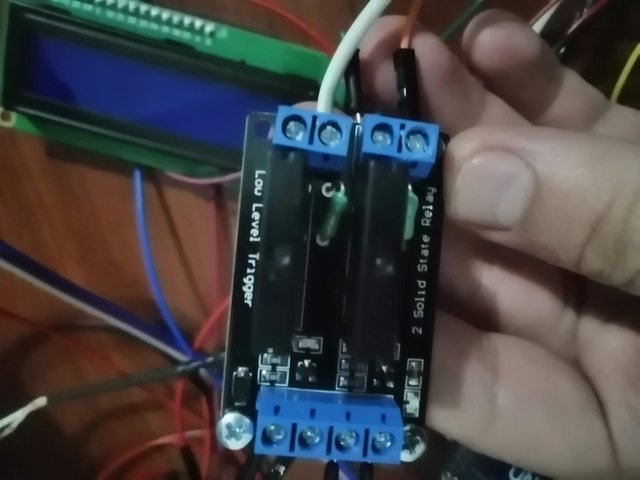
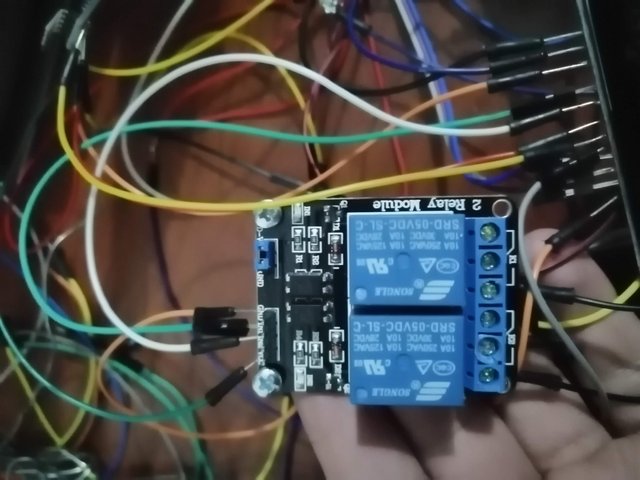
There are input and output electronic elements requested from us in the project. There are ready-made electronic cards for these. Technology is beneficial for us in this regard. For example, more than one electronic component must be used to measure temperature. But they made them into a kit and collected them as a single electronic card. It is useful for us.
It is necessary to know the uses of the kits to be used in the project. There are many datasheet files for these. Before starting the project, I designed the electronic circuit I will make on paper. I drew how the materials I will use should be connected with each other.

After the hardware plan was prepared, I combined the electronic materials on a test board. There are 4-5 different types of I/O cards here. I measured the voltage values that should be at their inputs and outputs. In order to control the circuit, we need to control every electronic path step by step.
In the photo below, the iron block on the right needs to be warmed up at the end of the process. In this block, chemistry laboratory tubes will enter. In addition, the main board is required to adjust the temperature and the display is necessary to see how many degrees this temperature is.

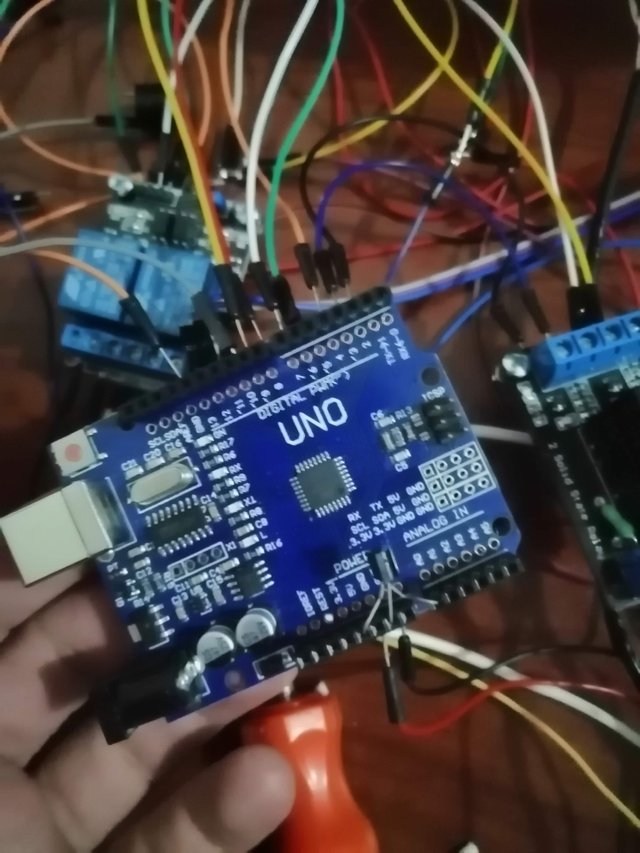
I will share with you the pictures of the Electronic kits I used in the project. Here is the main card, that is, the card that will do all the routing. We will also throw the software into this card. I used temperature sensors and relay boards.
Cables may seem very complicated to you. These are just feasibility studies. If the working circuit works without problems, these cables will not be used. Electronic paths will be drawn on the copper circuit and it will be turned into a more professional electronic circuit.
Electronic Components
In the country where I live, you can easily buy these materials on the website. I am attaching a table showing their prices in Turkey, where you can buy these materials and how many dollars you can buy them.
| Material | Link | Turkey Price | USD Price |
|---|---|---|---|
| Arduino Uno | Link | 132,5 TL | 9 USD |
| LCD Display | Link | 79,5 TL | 5.4 USD |
| Temperature Meter | Link | 291,5 TL | 19.8 USD |
| Power Supply | Link | 331 TL | 22.5 USD |
In order to fully understand that the hardware part is working smoothly, it is necessary to examine it by throwing software into it. Hardware alone will not be enough in this regard.
Software
In electronics, it helps us to make technology real by throwing software into the hardware part. What we call software is machine language. Its root comes from 1 and 0. It provides directing the inputs and outputs of the processor's electronic legs with certain command sequences.
I did not create a script directly on the computer for this project. First of all, it is necessary to make an algorithm and a flow chart. This will create an outline. It is important to determine step by step what phases the program will go through and what warnings it will give.

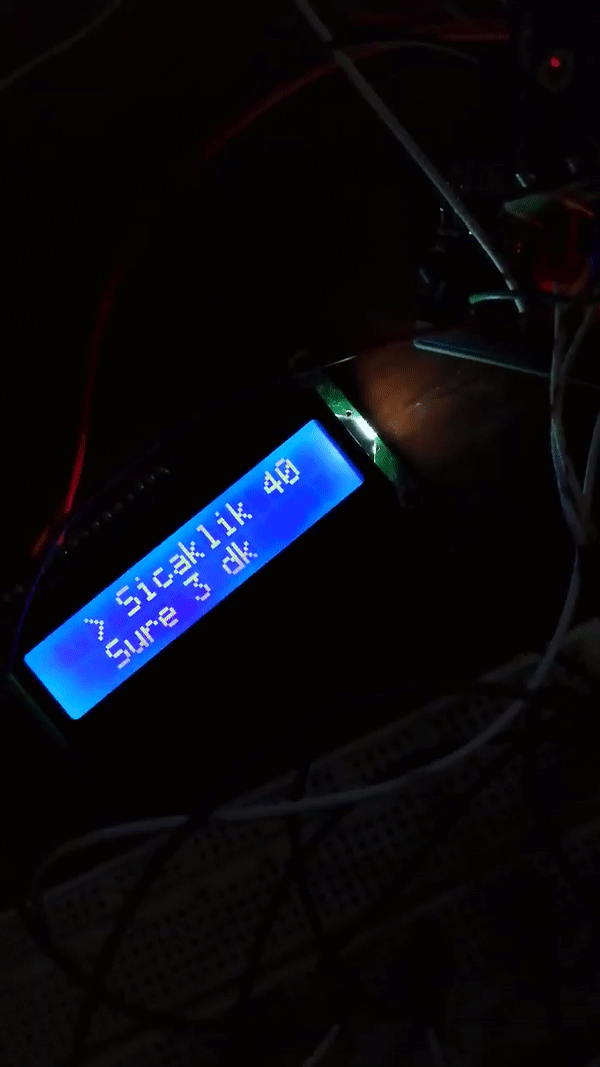
The progress of the flow chart will be as follows. After the temperature and time are set, the iron block will start to heat up. Thanks to the iron block sensor that reaches the required temperature, it will stop heating. For example if it needs to be at a temperature of 60 degrees for 5 minutes. For 5 minutes, the temperature will increase and decrease. But it will be necessary to fix it in the narrowest range. It will be easier to do this with the software made.
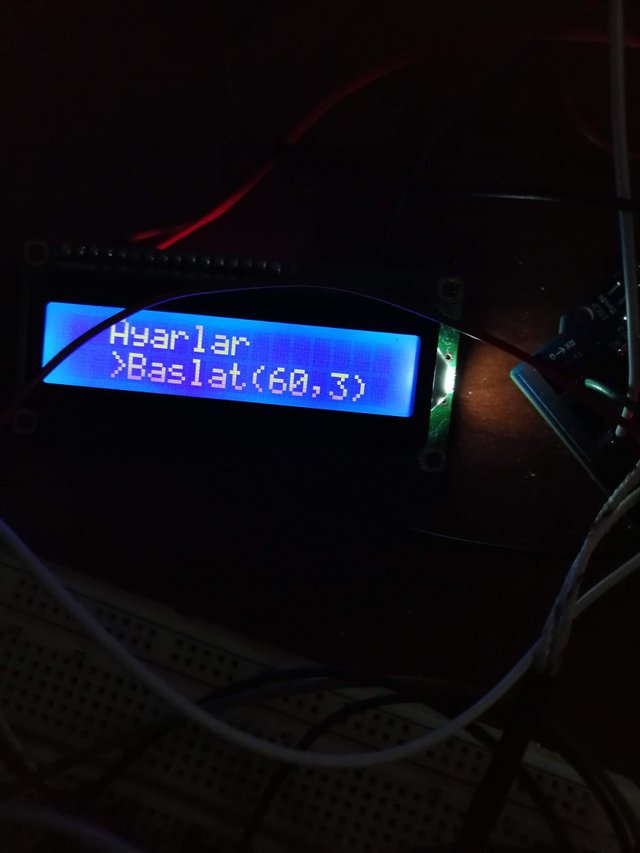
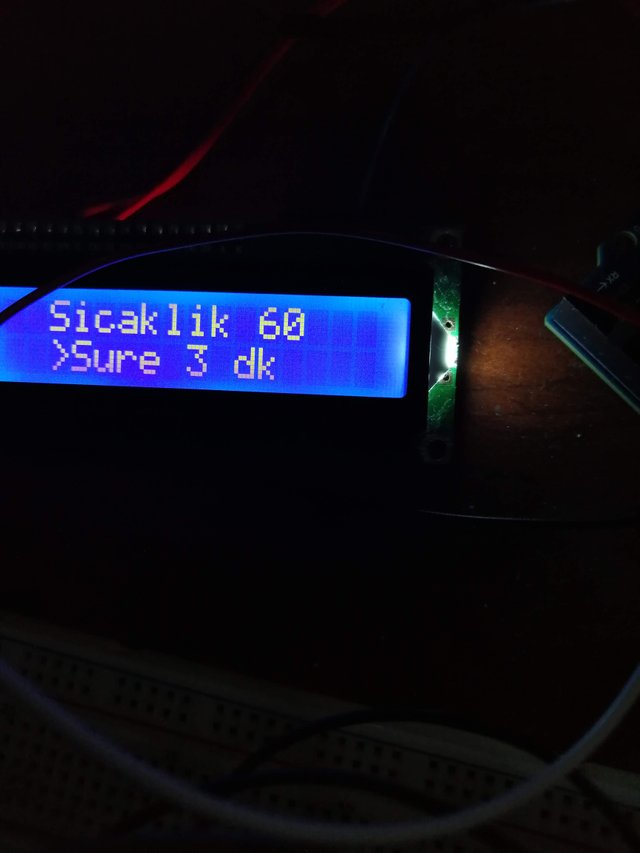
A temperature of 60 degrees and a time of 3 minutes were set.
Conclusion
As a result of the hardware and software developments, the desired temperature was reached. The temperature was kept constant. The feasibility was accomplished successfully. The next step will be to make improvements to the software and hardware.
Arduino can be an easy solution for such needs in many workplaces. There are many open source files available in terms of software and hardware. It will be more beneficial for you to be an example in the projects you will implement.

I hope my sharing about turning the virtual into reality using technology has helped electronics lovers. As an Electronics Engineer, I am happy to be on this platform. Your comments and support are important to me.
Thanks for visiting and reading my articles. See you in the next Tech diary.
Cc : @steemcurator01
@pennsif
Stay Healthy. Goodbye.

👍🏽
Thank you for your attention in siz community.
Please don't mention sc01 on your post.
And please add 10 % beneficiary rewards to siz-official.
Report,
Hi @faran-nabeel
Can you answer the question I asked ?
Yes!
For Growing SiZ community.
Thanks for the review and information. 👍
(10%) Is this a mandatory rule for the community?