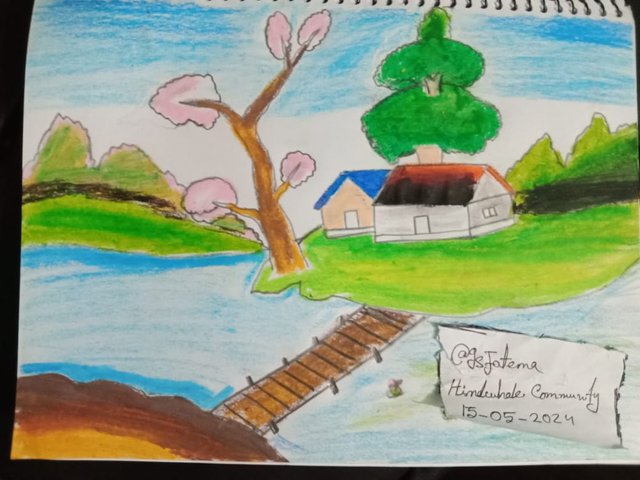
||Drawing Tutorial : A Villages Seen Drowing by me..

| Materials for drawing picture |
|---|
• Ruler.
• Pencil.
• Eras.
• Colour pencil.
• A4 size art paper.

| Let's Start |
|---|
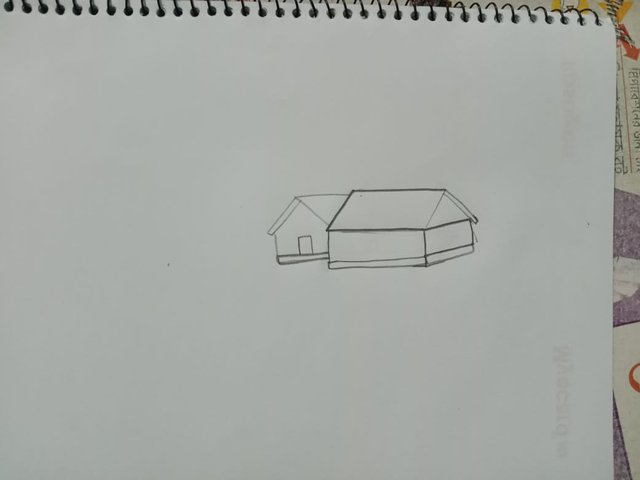
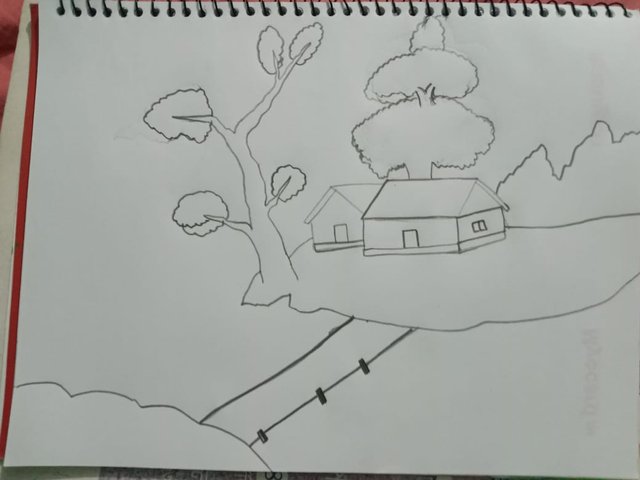
First take a four size paper and with a pencil on the four size paper add two teeth on both sides and add two upper parts to draw a rice on it to make it a house shape and a balcony shape for the servant below. Then he built another house adjacent to it. Thus we conclude the first step.
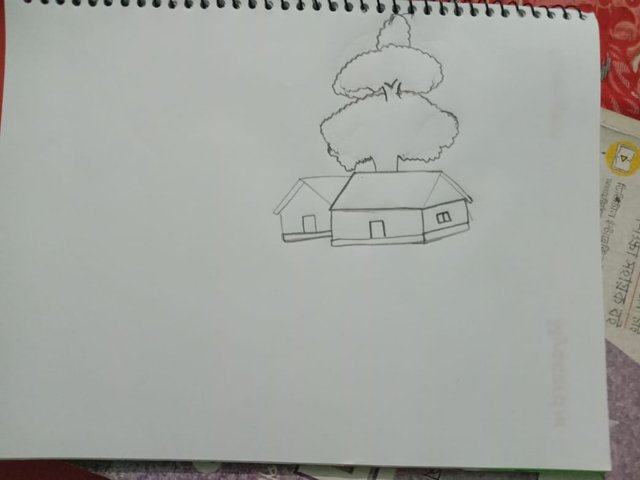
After completing the first step we move to the next step 2. Here we will first go and make two spots on top of the house we made and give these spots two shapes like this tree and then draw the leaves of the tree which is like a banyan tree. Thus we conclude step two.
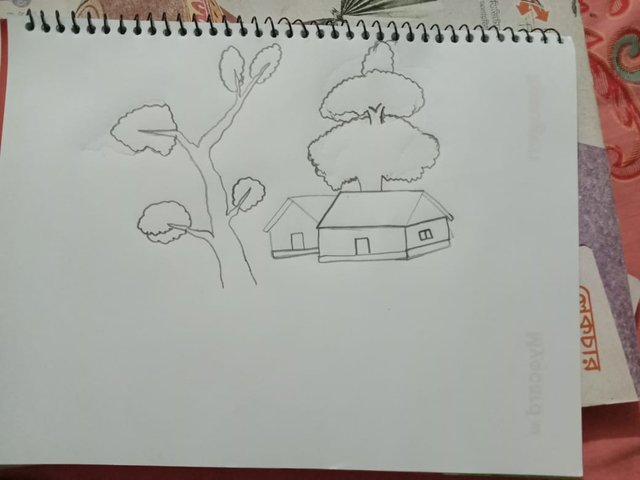
After completing step 2 we move to step 3. In step three, enlarge the left hand of the tree I grew and give a tree shape. And below the body of the tree, I will cut two small branches on both sides and two more branches on both sides with leaves on the top of the branches so that the tree looks alive and well. Thus we conclude step three.
After completing the midwives we move to step four. Then we put the tree on the right hand side of the two big houses that we placed next to each other with a pencil. Then draw a spot with all the big trees and houses and the DJ looks like a terrain is standing there or some houses and some trees are standing on the groundThen make a slight curve downwards on the left side by drawing the mark with a pencil and connecting it with two straight lines to the large terrain tick that I placed a little earlier. Draw the straight line on the right side by making three points thick on the straight line. Thus we conclude step four.
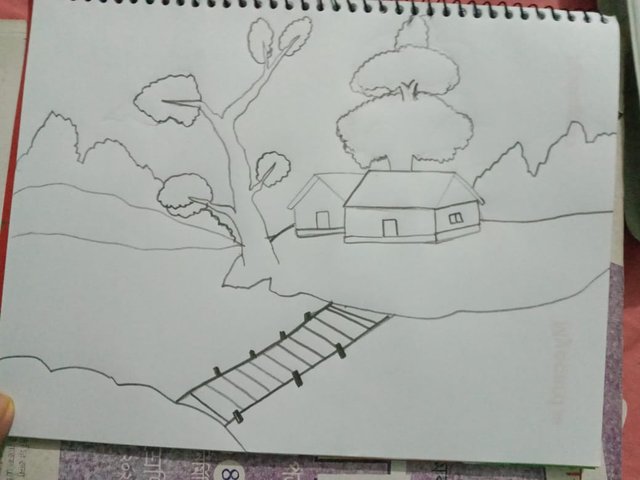
After completing step four we come to step five. Here, mark the straight line we drew in the previous step through the middle, which is being used as a bridge. Then I drew the tree on the big side, made two spots on the near left side and added plants for the forest type on it. Thus we finish this fifth step and then we move on to the next step.
After completing the fifth step we come to the sixth step. Here we will paint over the pencil drawing from steps one to five. For coloring I will first take the blue color and paint the sky with the blue color. As the sky, I have chosen the sky color as the color of the sky. Then I will paint the roof of the big house with orange color and on one side I will give black color on orange color and some part on orange color. And I will paint the house next to it blue. Thus we conclude this sixth step.
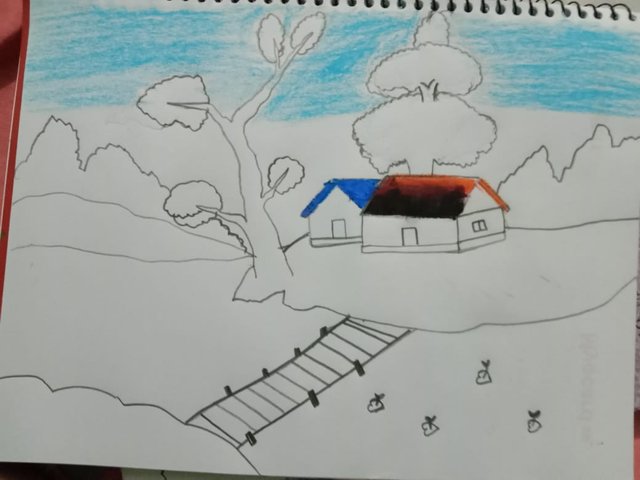
After completing step six we come to step seven. Here I will paint the remaining parts that are without color. I will paint the wall with the blue color I painted on the roof of the small house.
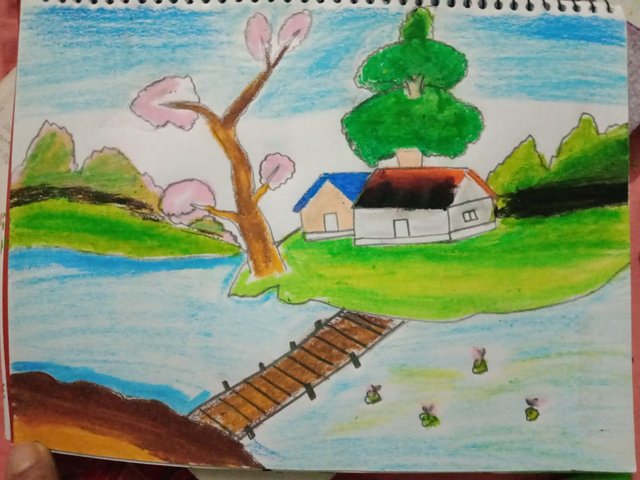
Then we will paint the stairs that we made brown and we will draw the space in the middle of the stairs with sky color and we will put some lotus flowers there and we will paint those lotus flowers green and pink. Then we'll color the terrain green with the big tree we came up with. Then I will paint the leaves pink on the big tree I drew. And I will paint the body of the tree brown. Then we'll paint brown and orange where we drew the spots that were the blanks themselves. And lastly I will paint a bit of black between the big house and the forest that is on both sides of the big tree and this will finish the painting we made today.
| A | B |
|---|---|
| Photography | @isfatema |
| Device | Oppo A-12 |

Thank you, friend!


I'm @steem.history, who is steem witness.
Thank you for witnessvoting for me.
please click it!
(Go to https://steemit.com/~witnesses and type fbslo at the bottom of the page)
The weight is reduced because of the lack of Voting Power. If you vote for me as a witness, you can get my little vote.
https://twitter.com/IsfatE99/status/1790787923136463182?t=SaUFbNw9oy72j88nGyIzMg&s=19
TEAM 1
Congratulations! This post has been upvoted through steemcurator04. We support quality posts, good comments anywhere, and any tags.Thank you mam for your support